The nature of Cogmind combat
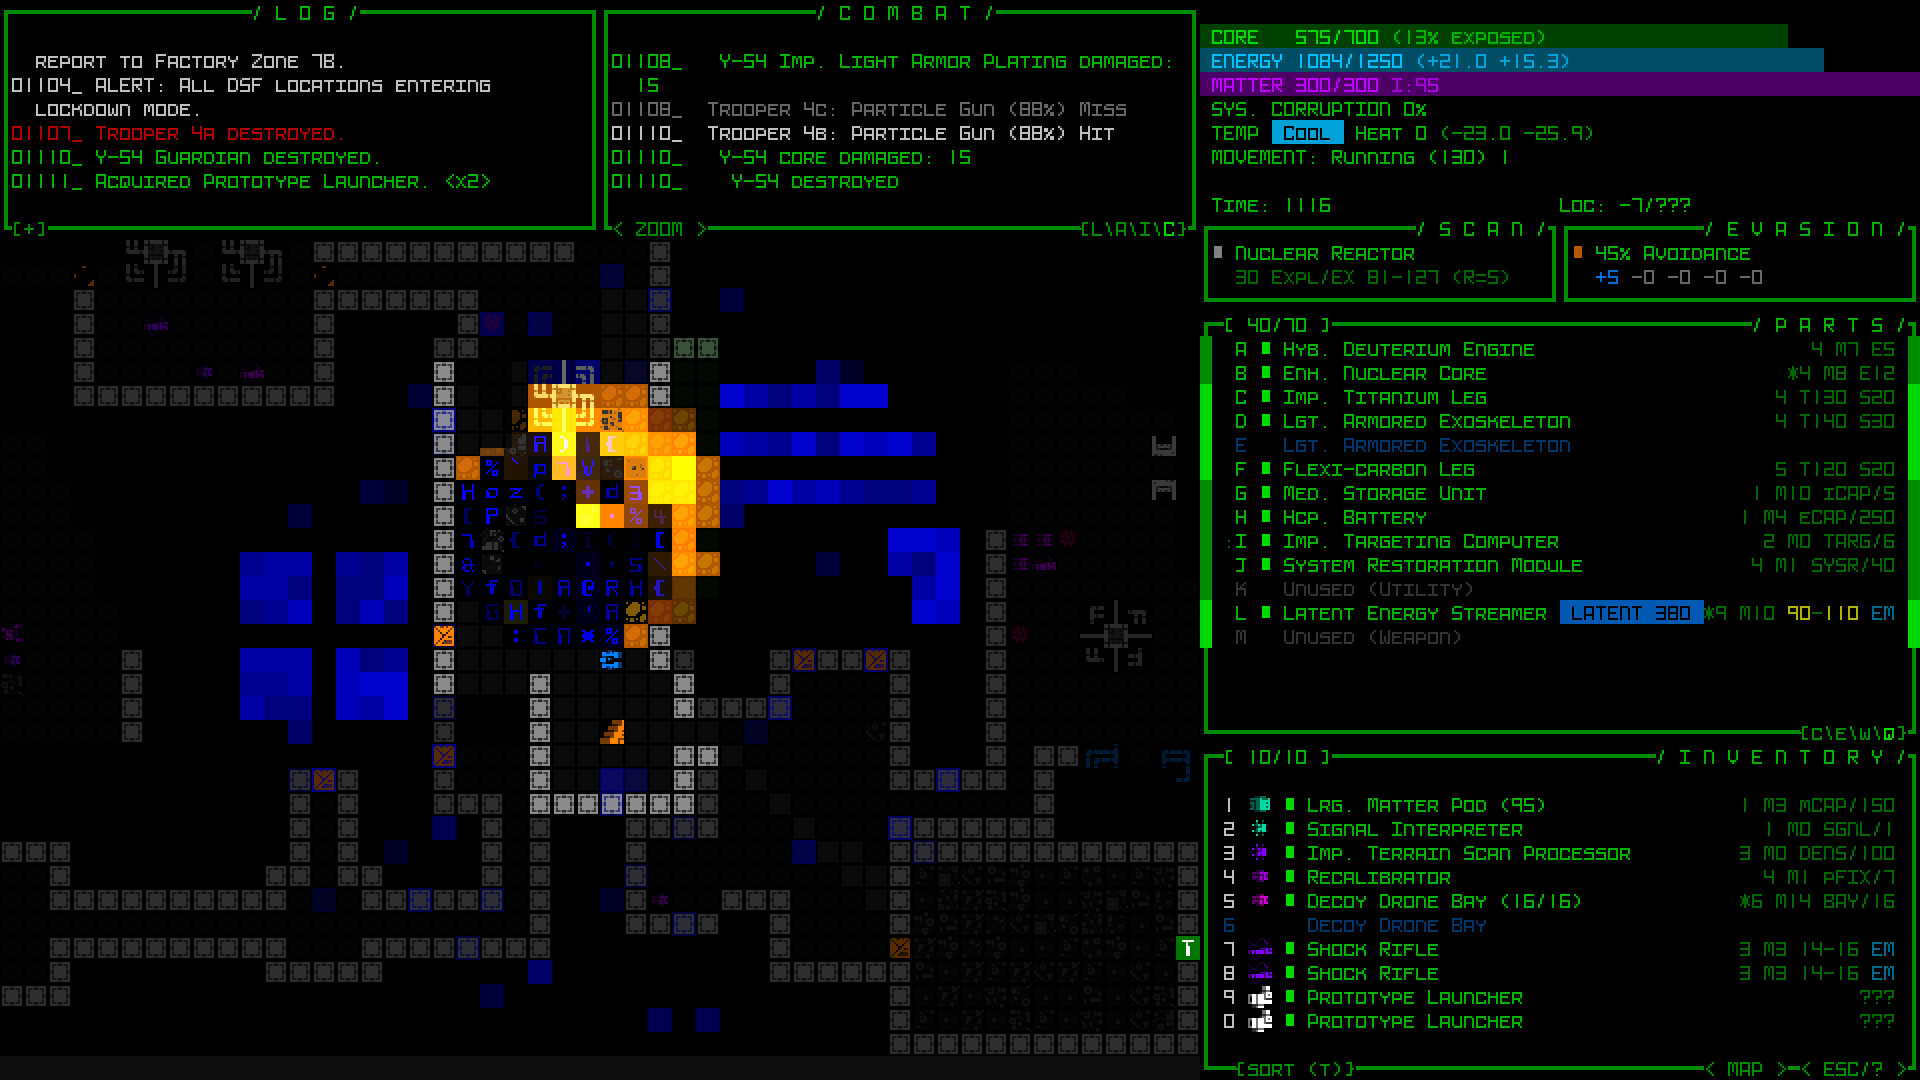
Cogmind combat is unlike most roguelikes because it is fundamentally attritional: you fight using parts that can be destroyed, and those parts are what define you. There is no health bar you simply refill — there is your core integrity and the collection of components keeping you alive and dangerous, and every exchange of fire chips away at them. This means brute force is rarely the answer. Winning in Cogmind is about choosing the right fights, fighting them on your terms, and salvaging so that you come out the other side better equipped than you went in. A battle that only costs you parts, even if you "won" it, was usually a mistake.
This guide treats the core systems in turn — part slots and integrity, heat, positioning and targeting, and the salvage loop — then ties them together. The throughline is economy: combat is a transaction, and the goal is to come out ahead in parts, position and progress, not just to clear the room.
Your core integrity is the one thing you cannot salvage back. Parts break and get replaced constantly, but if your core is destroyed, the run ends. Everything in combat ultimately serves protecting the core while you fight or flee.
Parts, slots and integrity
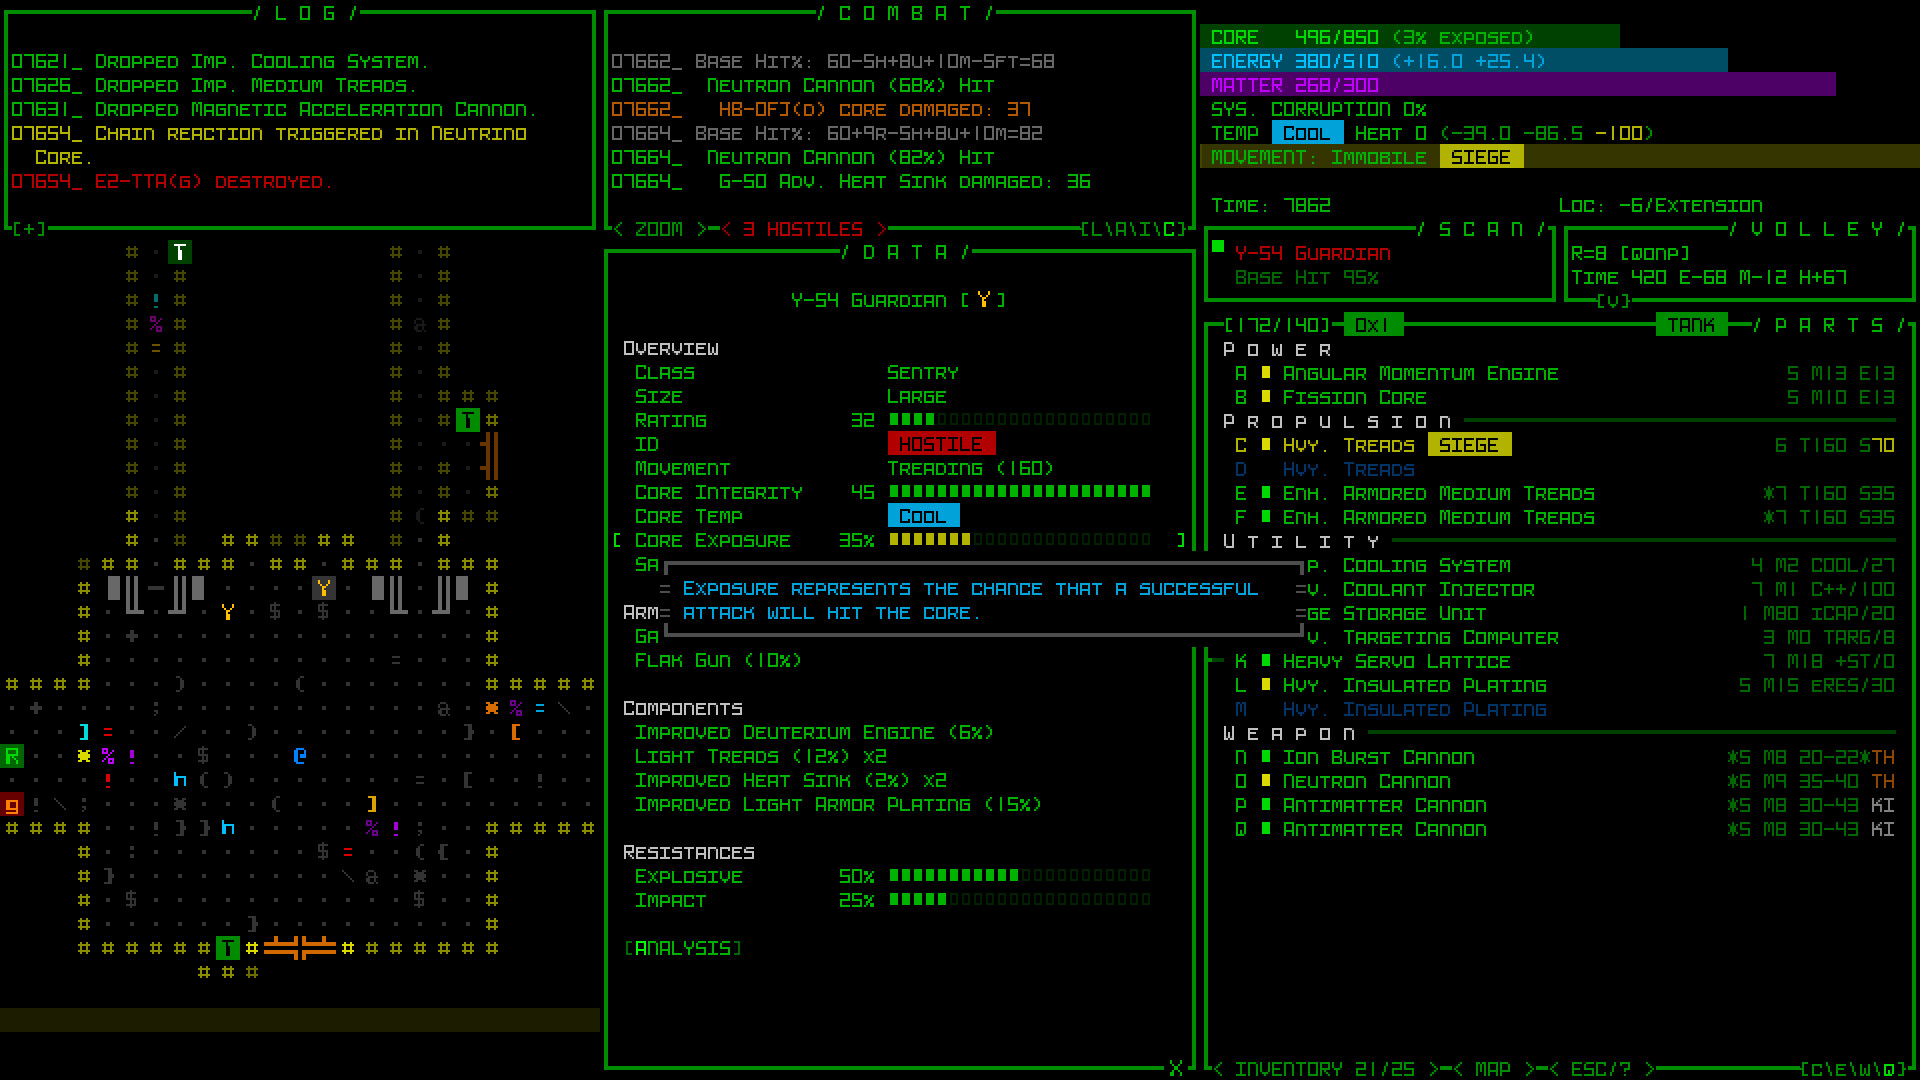
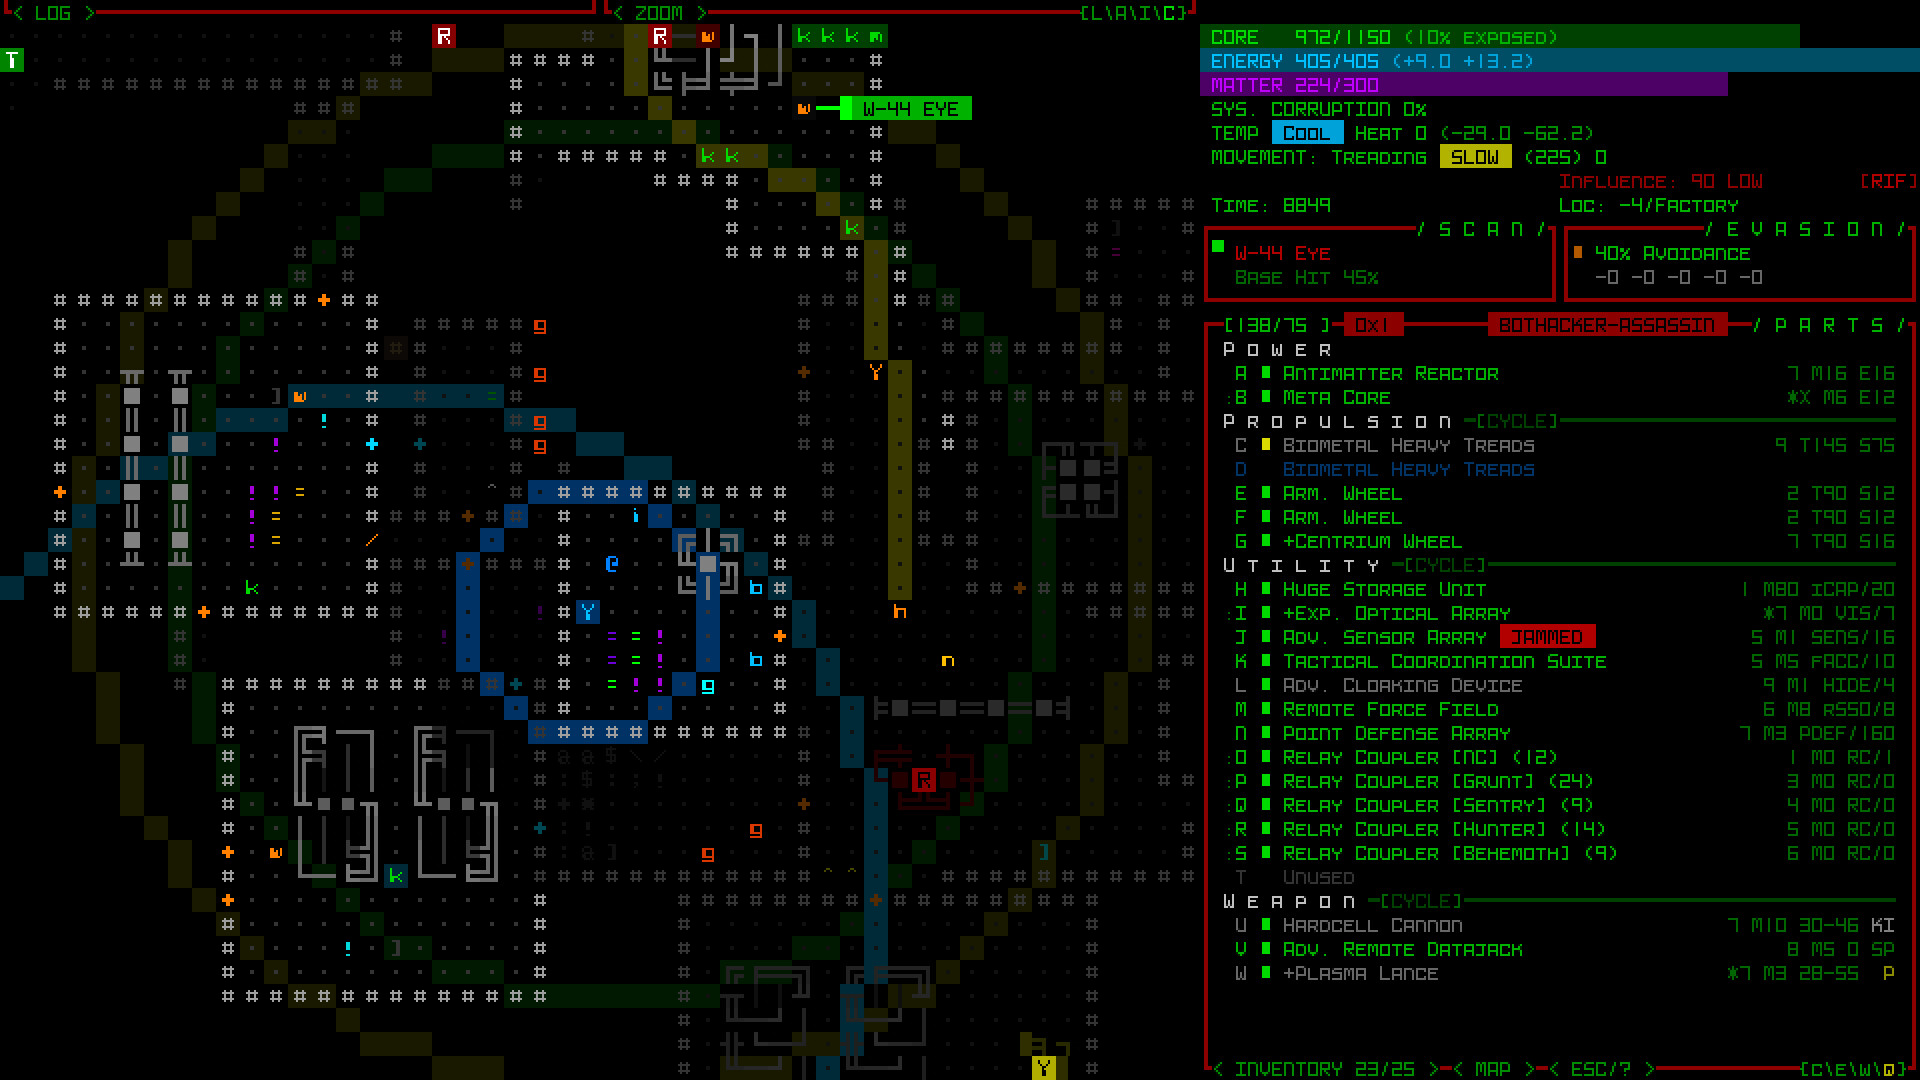
Your combat power lives entirely in your parts. Weapons occupy weapon slots and deal damage; propulsion determines your speed and ability to evade; utilities can add defenses, cooling, sensors and more; and power sources keep it all running. Each part, and your core, has integrity that depletes under fire until the part is destroyed. Because of this, the smart approach is to think about your loadout as a balance: enough firepower to win the fights you pick, enough propulsion to disengage, and enough defensive and support utilities to survive the exchange. Stacking nothing but weapons leaves you fragile and slow; ignoring weapons leaves you unable to capitalise on good engagements. Balance, tuned to your current salvage, is what makes combat sustainable.
The key mental shift is that parts are expendable ammunition for the fight, not treasures to protect at all costs — except your core. Expect to lose parts, plan to replace them, and protect the core above everything.
Heat, positioning and targeting
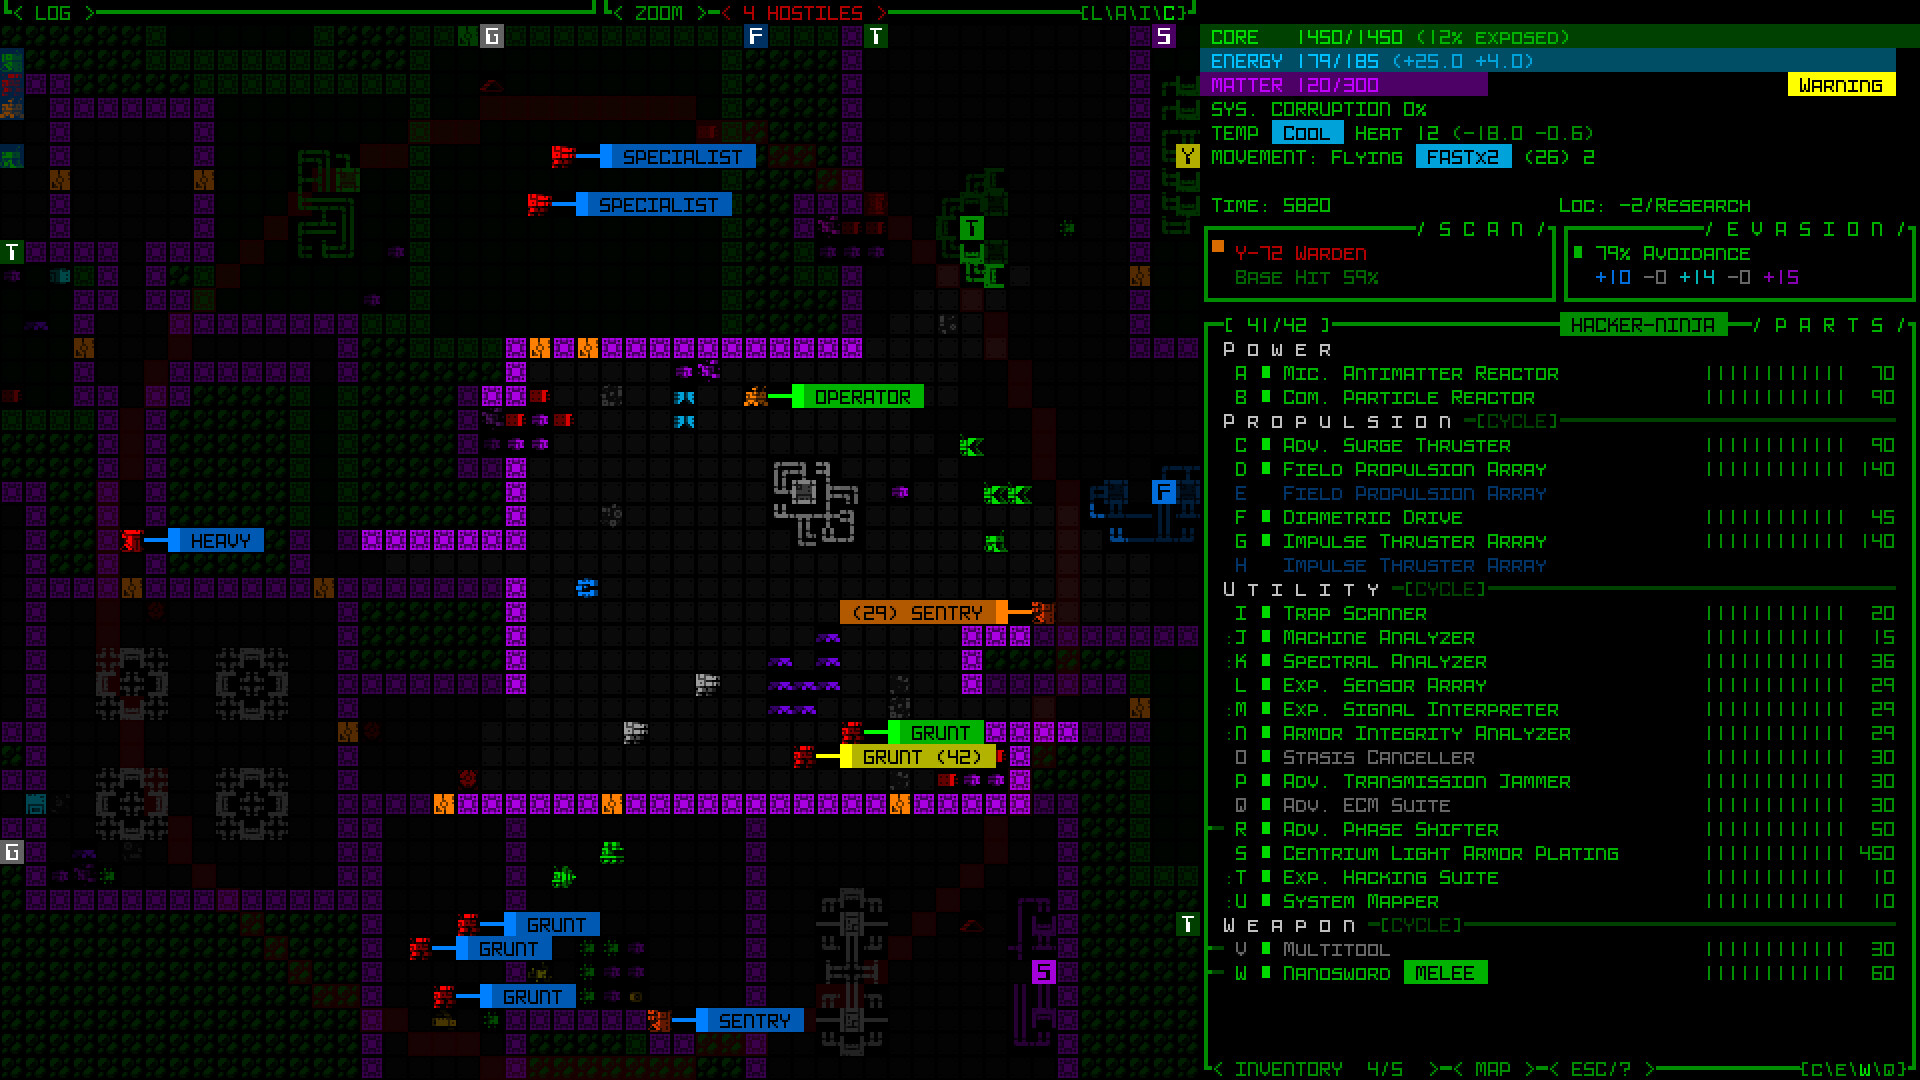
Two systems turn a winnable fight into a clean one: heat and position. Firing weapons generates heat, and letting it climb too high causes serious problems, so you manage it by balancing your rate of fire against cooling and heat-management utilities, and by not over-stacking heat-heavy weapons without the support to dissipate it. Heat discipline is what lets you keep fighting rather than cooking yourself mid-battle. Position is the other half: use corridors and cover to limit how many enemies can hit you at once, avoid being surrounded, lean on sensors to know what is coming, and keep enough propulsion to reposition or disengage. Fighting in a doorway where enemies come one at a time is vastly better than being caught in the open by a group.
With heat and position handled, targeting is about focus. Concentrate fire to destroy one enemy at a time rather than spreading damage, since a destroyed enemy stops shooting back and leaves salvage. Prioritise the most dangerous threats, and aim to end fights quickly to minimise the integrity you lose.
| Factor | What it does | How to manage it |
|---|---|---|
| Part integrity | Keeps you fighting | Balance firepower, defense and propulsion; protect the core |
| Heat | Rises when firing | Pace shots, use cooling, don't over-stack heat weapons |
| Position | Limits incoming fire | Use corridors and cover; avoid being surrounded |
| Targeting | Ends threats fast | Focus one enemy at a time; hit the dangerous ones first |
The salvage loop: win the fight AND the parts
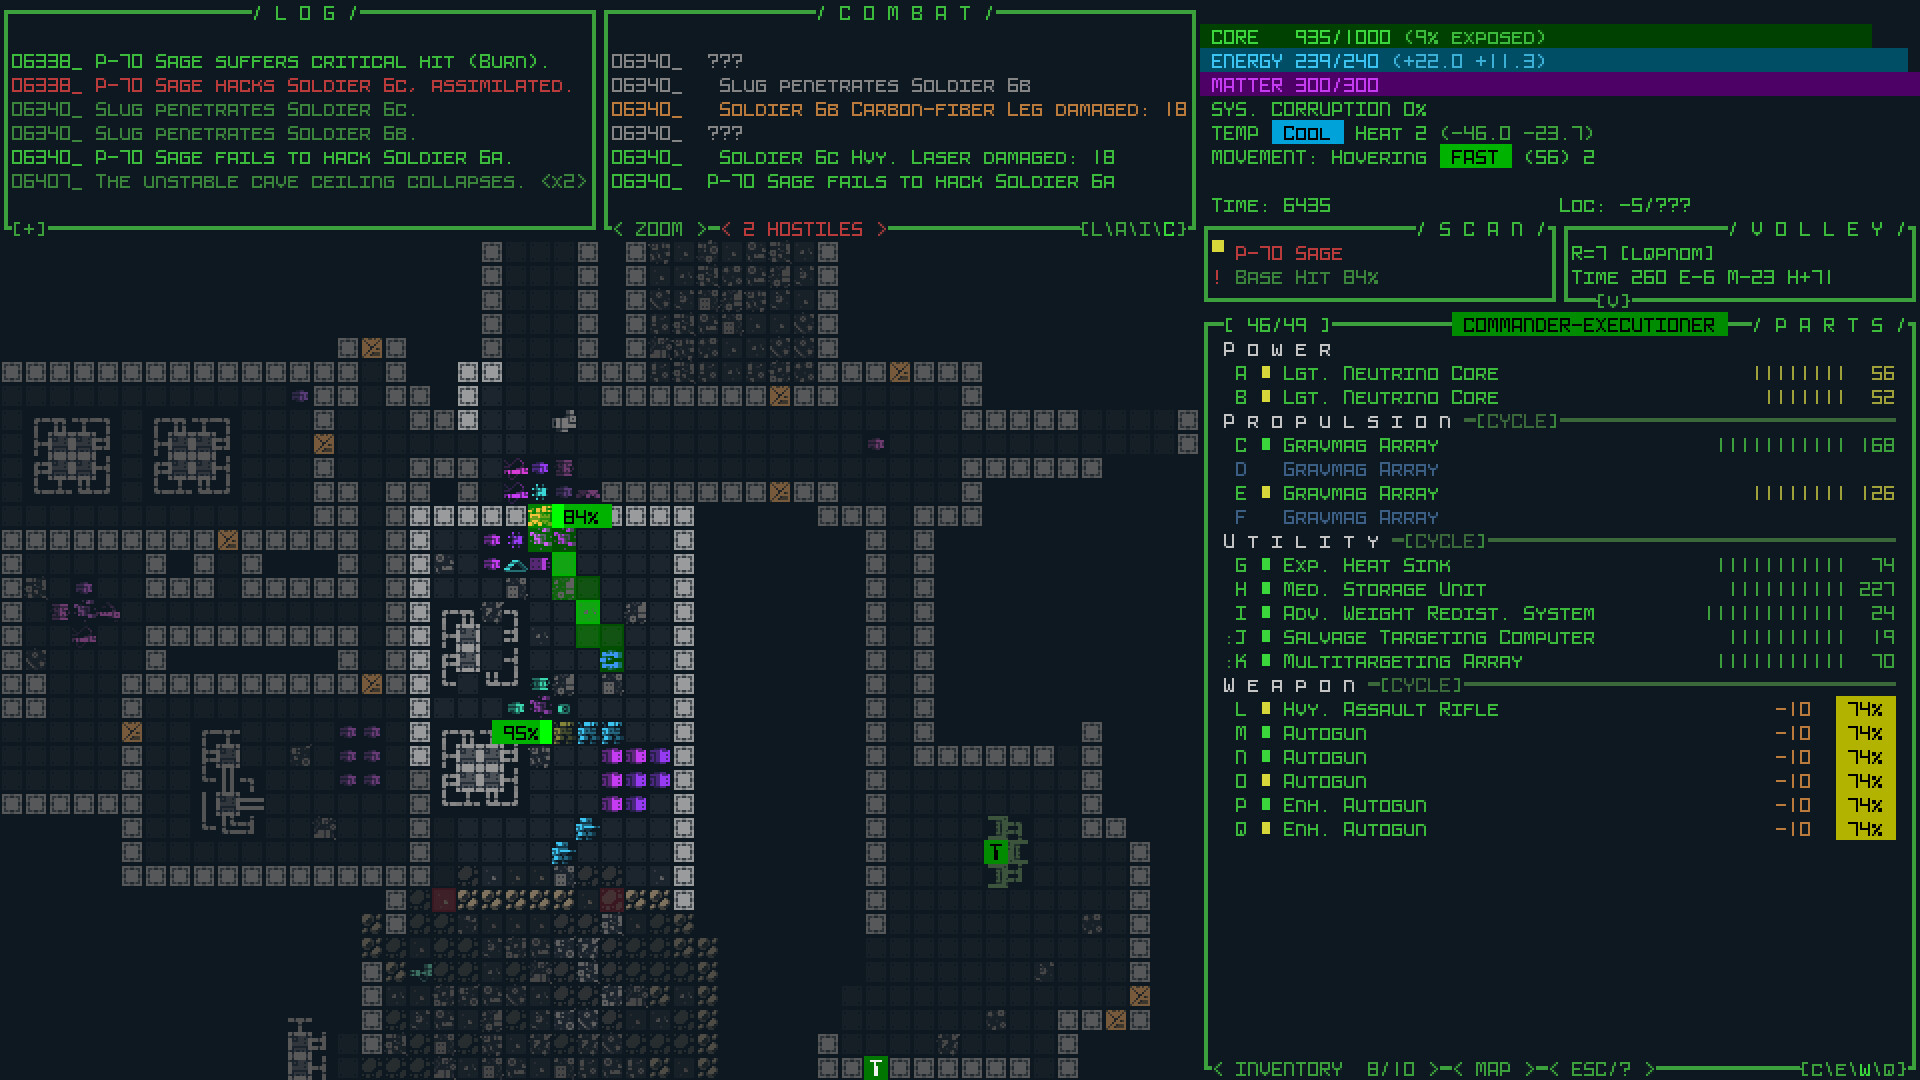
What makes Cogmind combat strategic rather than just tactical is the salvage loop. Destroyed robots leave parts, so a fight is not only a risk to your loadout — it is an opportunity to refresh and upgrade it. The best engagements are ones where you can reliably win and walk away with salvage that replaces what you lost and ideally improves your build. This reframes the central combat question from "can I win this fight" to "will I come out of this fight better equipped than I went in." If the answer is yes, the fight is probably worth taking; if it only costs you, evade instead. After any fight, immediately swap fresh salvage into your damaged or empty slots so you are ready for the next encounter.
This loop is also why combat and evasion are not opposites but partners. You evade the fights that only cost you, and you take the fights that pay you in parts and progress, keeping your machine refreshed as you climb.
-
1
Assess the engagement
Count enemies, judge the threat, and decide if you can win cleanly and gain salvage — if not, evade.
-
2
Set up your position
Use corridors, cover and sensors to fight one or few enemies at a time and avoid being surrounded.
-
3
Fight with heat and focus
Pace your fire to manage heat, focus targets down one at a time, and protect your core integrity.
-
4
Salvage and refit
Grab parts from destroyed enemies and immediately swap fresh components into damaged or empty slots.
Putting it together
A clean Cogmind fight looks the same most of the time: a favourable engagement chosen on purpose, a good position that limits incoming fire, disciplined heat management, focused targeting that ends threats fast, and a salvage refit that leaves you better equipped than before. Combat is a tool you use selectively, in concert with evasion, to climb the Complex while keeping your machine strong. Win the salvage, not just the fight, and protect the core above all. For the build choices that make combat sustainable, see our Cogmind builds tier list; for the path that lets you avoid fights entirely, the hacking guide; and if you are new, the beginner guide covers the survival fundamentals.
The most common combat mistake is fighting battles that only cost you parts. Before engaging, ask whether you will come out better equipped — if not, evade. A fight you win but lose your loadout to is still a loss in Cogmind.