The shape of Wildermyth combat
Wildermyth's combat is more approachable than hardcore tactics games, but it is not shallow once you engage with its tools. Battles are turn-based and play out on grid-like maps where each hero moves and acts, and the outcome usually comes down to three things: how well you position, how you use each class's role, and how you exploit the battlefield with the Mystic's interfusion. The game forgives a lot, but the one thing it does not forgive is carelessness with your fragile heroes — because death here is permanent and ends a character's whole story. So the real goal of combat mastery is not just winning; it is winning cleanly, without feeding your legends to avoidable deaths.
This guide treats the core tools in turn — positioning and flanking, the Warrior's lane control, and interfusion — then ties them together. The throughline is protection: a party that controls space and shields its backline wins reliably and keeps the heroes you care about alive.
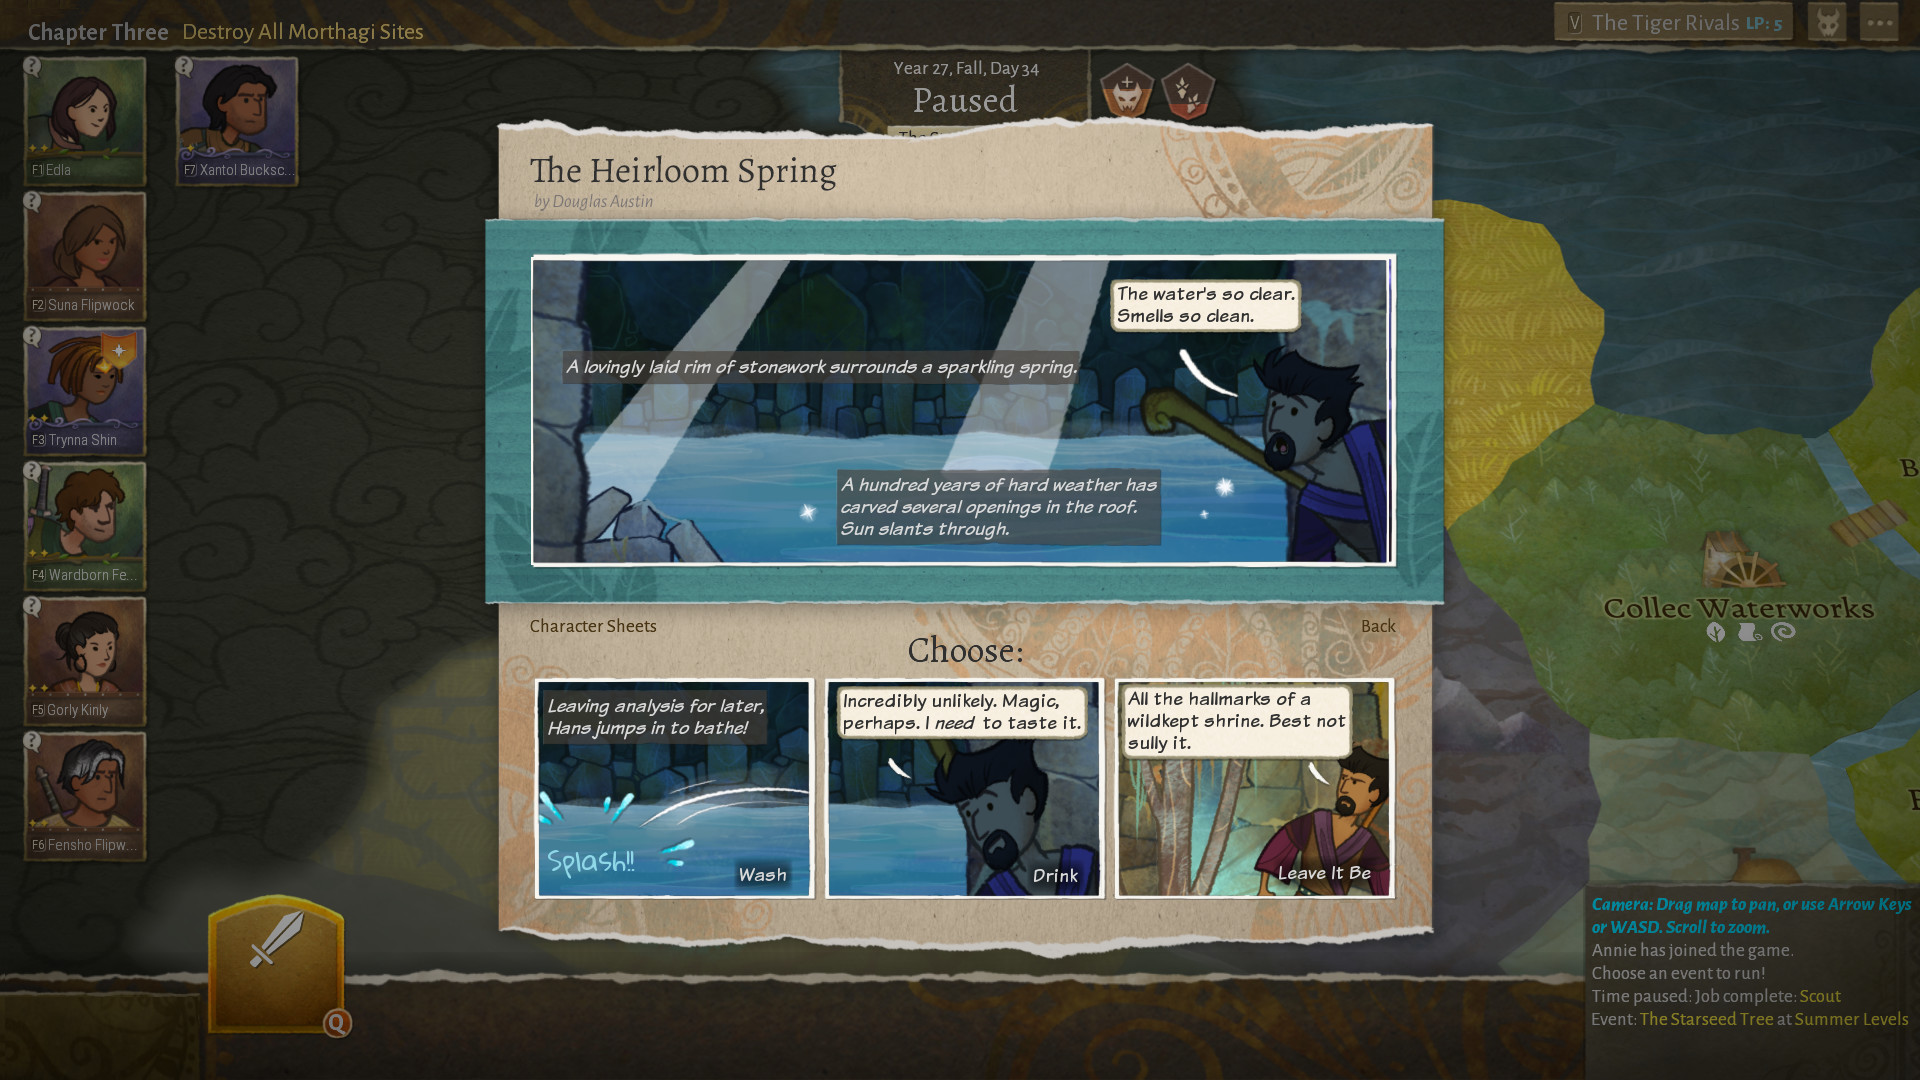
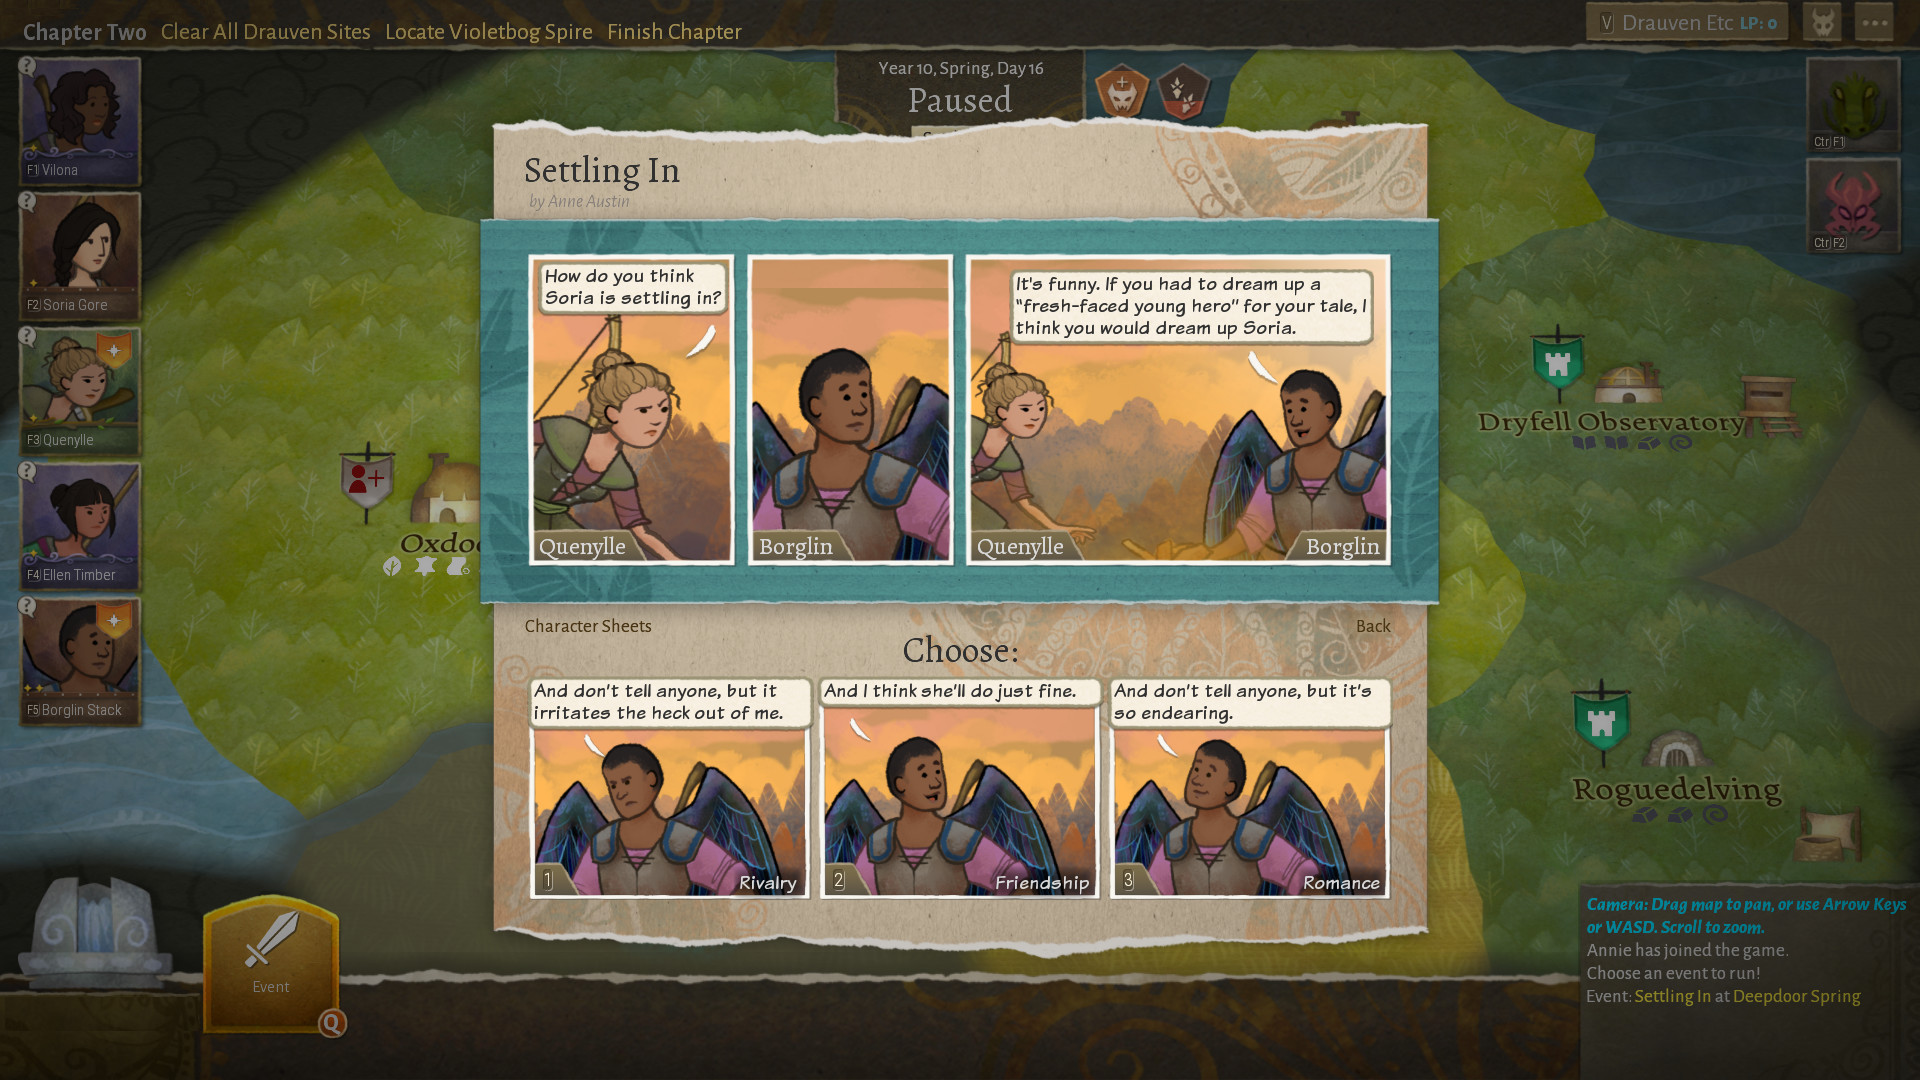
Combat exists in service of the story. Heroes age, get maimed and can die in battle, which is exactly what gives the narrative its stakes. Playing well is how you choose which losses are dramatic sacrifices and which are simply mistakes.
Positioning and flanking
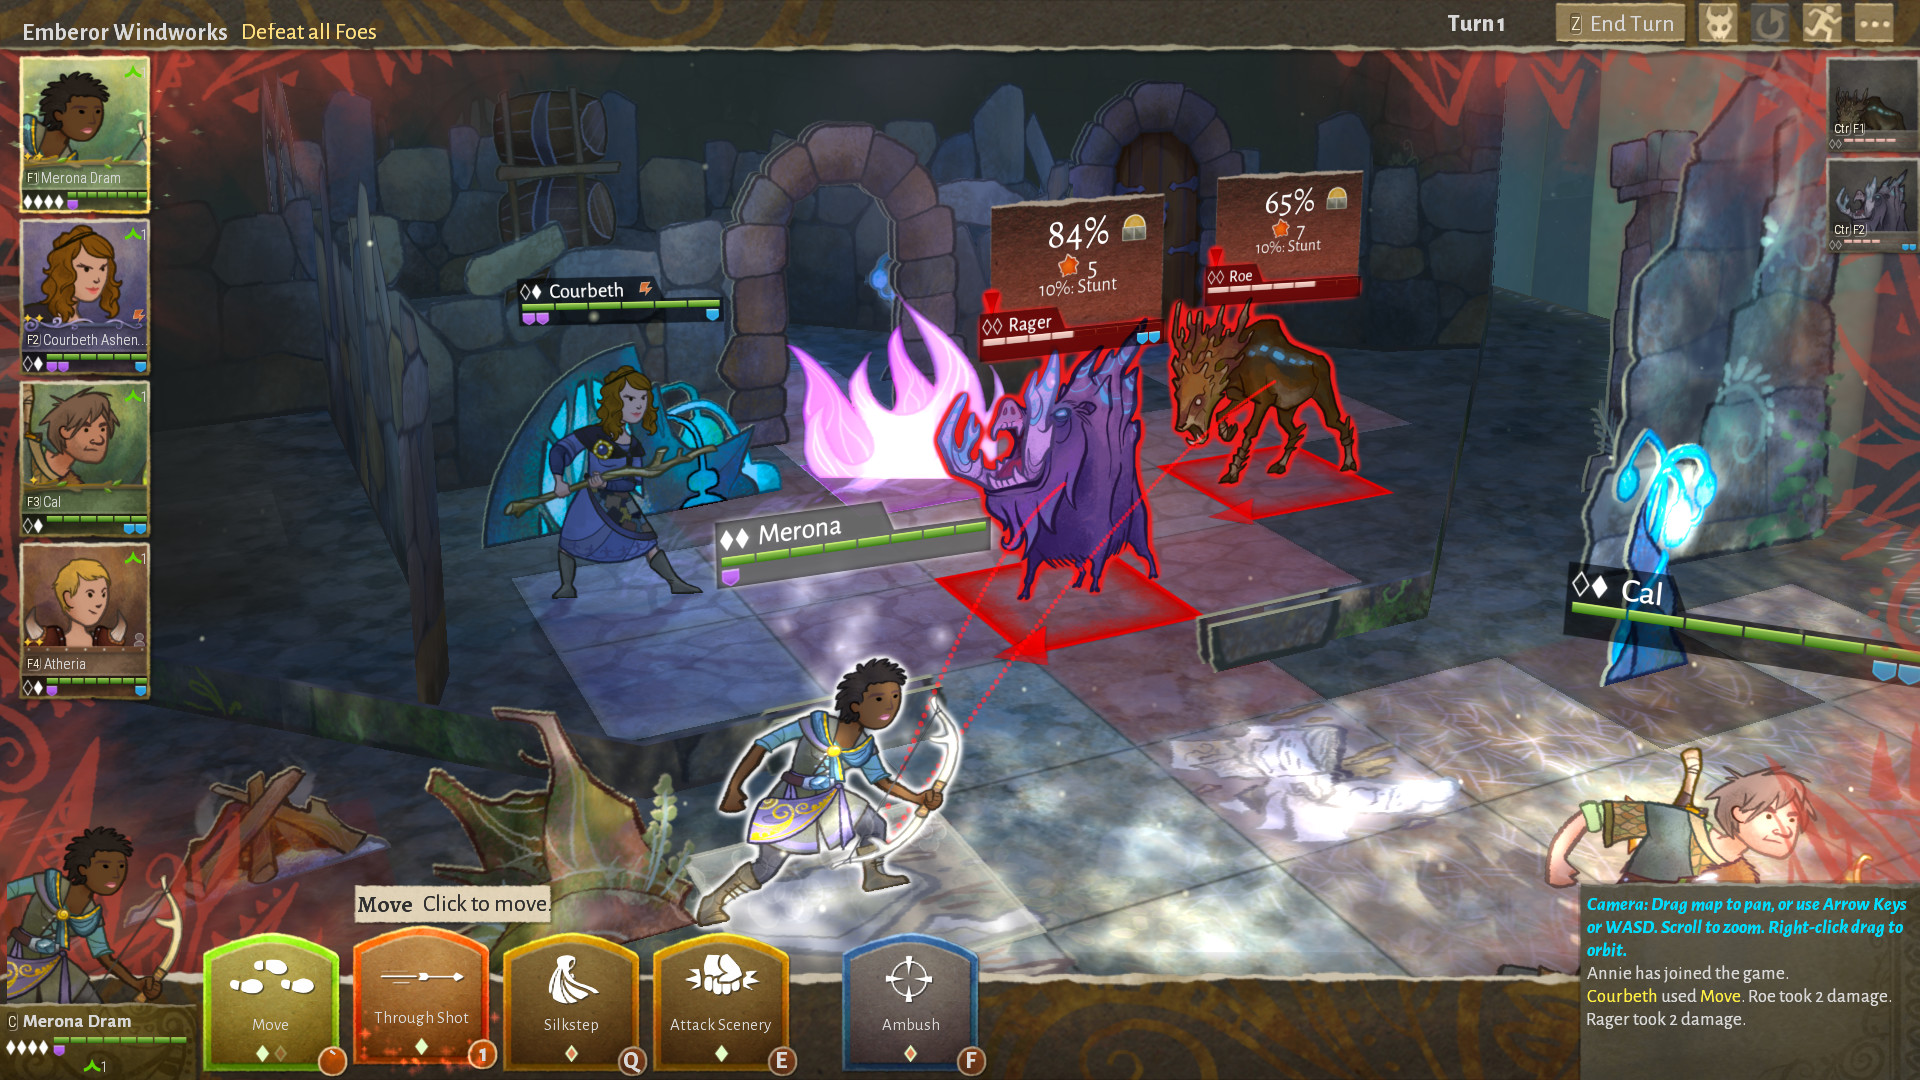
Positioning is the first decision every turn, not an afterthought. Attacking from good angles, avoiding being surrounded, and controlling the space between your party and the enemy shape nearly every fight. Fragile heroes — the Hunter and especially the Mystic — must act from safety, which means thinking about where enemies can reach before you commit. Overextending a damage dealer to land one extra hit is the classic way to lose a hero, because next turn the enemy collapses on the exposed character. Move as a coordinated group, keep escape routes open, and focus your attacks to remove threats before they can punish you.
Flanking and angles matter on offense too: concentrating fire to drop one enemy at a time reduces the damage coming back at you, and good placement lets your whole party contribute without anyone standing alone. Think in terms of the whole board, not single attacks.
The Warrior: lane control and protection
The Warrior is the tool that makes everything else safe. Its job is not just to deal damage but to control lanes — standing where it blocks enemy paths, body-guarding your fragile heroes, and pinning enemies in melee so they cannot reach your backline. A well-placed Warrior turns a chaotic scrum into a manageable front, giving your Hunter and Mystic the space and safety to do their work. Build it for durability and lane control, position it between the enemy and your squishier heroes, and use it to dictate where fights happen.
The mistake is treating the Warrior as just another attacker and pushing it forward for kills while leaving your backline exposed. Its value is positional: hold the line, protect the party, and let the damage come from behind it.
| Tool | What it does | How to use it |
|---|---|---|
| Positioning | Decides who can hit whom | Place first, attack second; avoid being surrounded |
| Warrior lane control | Blocks and pins enemies | Body-guard fragile heroes and hold the front |
| Interfusion | Weaponises terrain, controls space | Strike and shape fights from safety with the Mystic |
| Focus fire | Removes threats fast | Drop one enemy at a time to cut incoming damage |
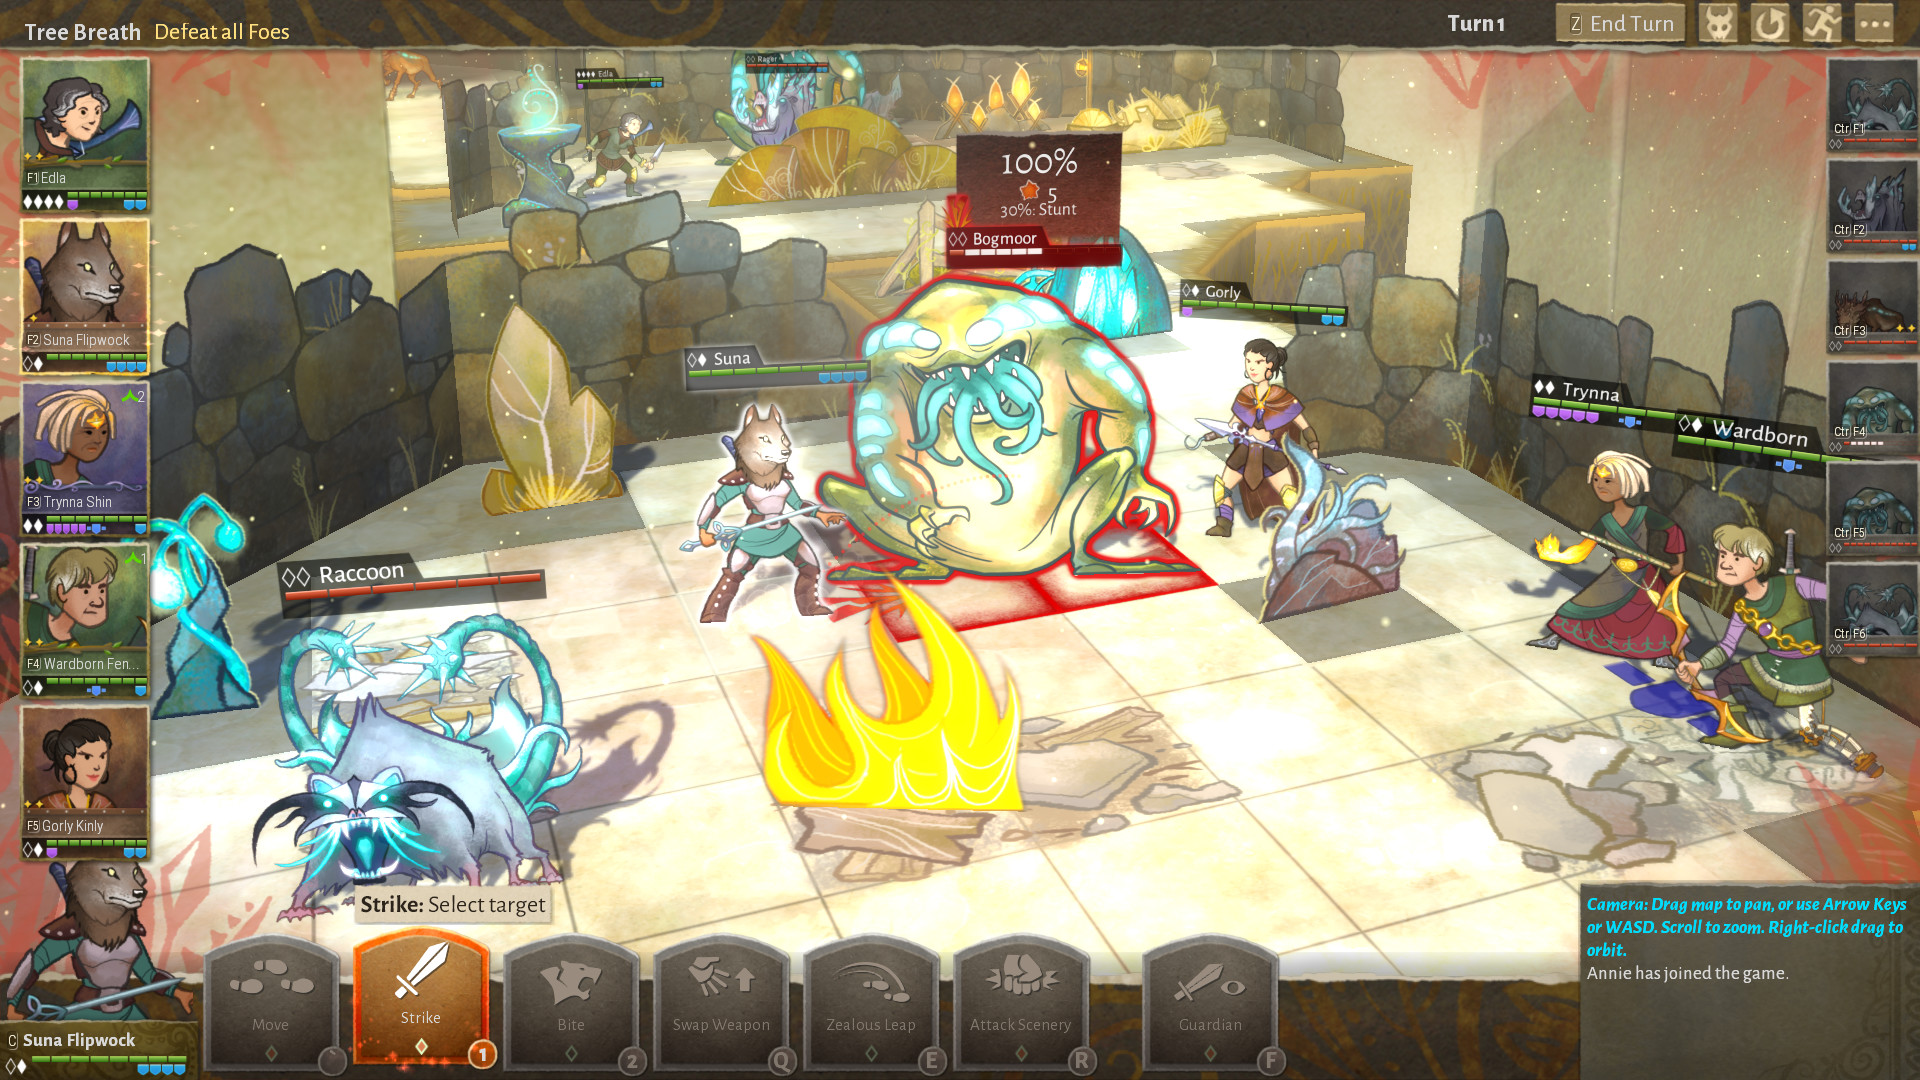
Interfusion: the Mystic's engine
Interfusion is what gives Wildermyth combat its distinctive flavour and its highest ceiling. The Mystic bonds with objects, walls and terrain to weaponise the battlefield, dealing damage and creating control effects from relative safety. Used well, it lets you shape an engagement before it becomes dangerous — softening clusters of enemies, controlling chokepoints, and adding damage without exposing the fragile caster. As the Mystic gains abilities and transformations, its interfusion grows in range, targets and effect, which is why a protected, well-developed Mystic becomes the most impactful hero in your party.
The key is safety: interfusion is powerful precisely because the Mystic can use it without being in the front line. Keep it behind your Warrior, pick targets that ease pressure on the party, and let its scaling power carry the back half of a campaign.
-
1
Set your frontline
Place the Warrior to block lanes and body-guard your fragile heroes before engaging.
-
2
Position the backline safely
Keep the Hunter and Mystic out of enemy reach, with escape routes open.
-
3
Shape the fight with interfusion
Use the Mystic to weaponise terrain and control space before enemies close in.
-
4
Focus and retreat
Drop one enemy at a time, and pull back any badly wounded hero rather than risking a death.
Putting it together
A clean Wildermyth victory looks the same most of the time: a Warrior anchoring the front and controlling lanes, a Hunter and Mystic working safely from behind it, interfusion shaping the battlefield, and focused fire removing threats before they punish you. Win that way and you not only clear the fight — you keep your heroes alive to age into legends, which is the whole point. When a hero is badly hurt, retreat is almost always the right call; a living legend is worth far more than one more attack. For how to build each class to perform these roles, see our Wildermyth classes tier list; if you are new, the beginner guide covers the basics; and to understand why keeping heroes alive matters so much, the legacy guide explains how they carry forward.
The most common avoidable loss is an overextended Hunter or Mystic caught without protection. Treat your backline's safety as the priority every turn — a hero who survives the fight continues their story; one who dies for a single extra hit does not.