Crab Champions, the roguelite shooter from Noisestorm, hands you a crab, a gun and almost nothing else at the start of a run. Everything that turns that crab into an island-clearing machine is built on the fly, choice by choice, from the upgrades you pick up along the way. There is no pre-run loadout editor where you assemble a finished build — instead you draft one mid-run, reacting to what the game offers and doubling down on what synergises.
This guide explains the pieces you draft from, how they stack, where to find them, and the broad archetypes those choices tend to fall into. Because the game is in Early Access, exact values and the availability of specific perks shift between patches. Treat the numbers below as illustrative rather than fixed, and verify against your current version.
The five upgrade types
Your build is made of five distinct upgrade classes. Knowing what each one does keeps you from picking blindly when several options appear at once.
- Perks — the flexible, stackable core of any build. They cover health, damage, luck, movement and more, and they are where most of your build identity lives.
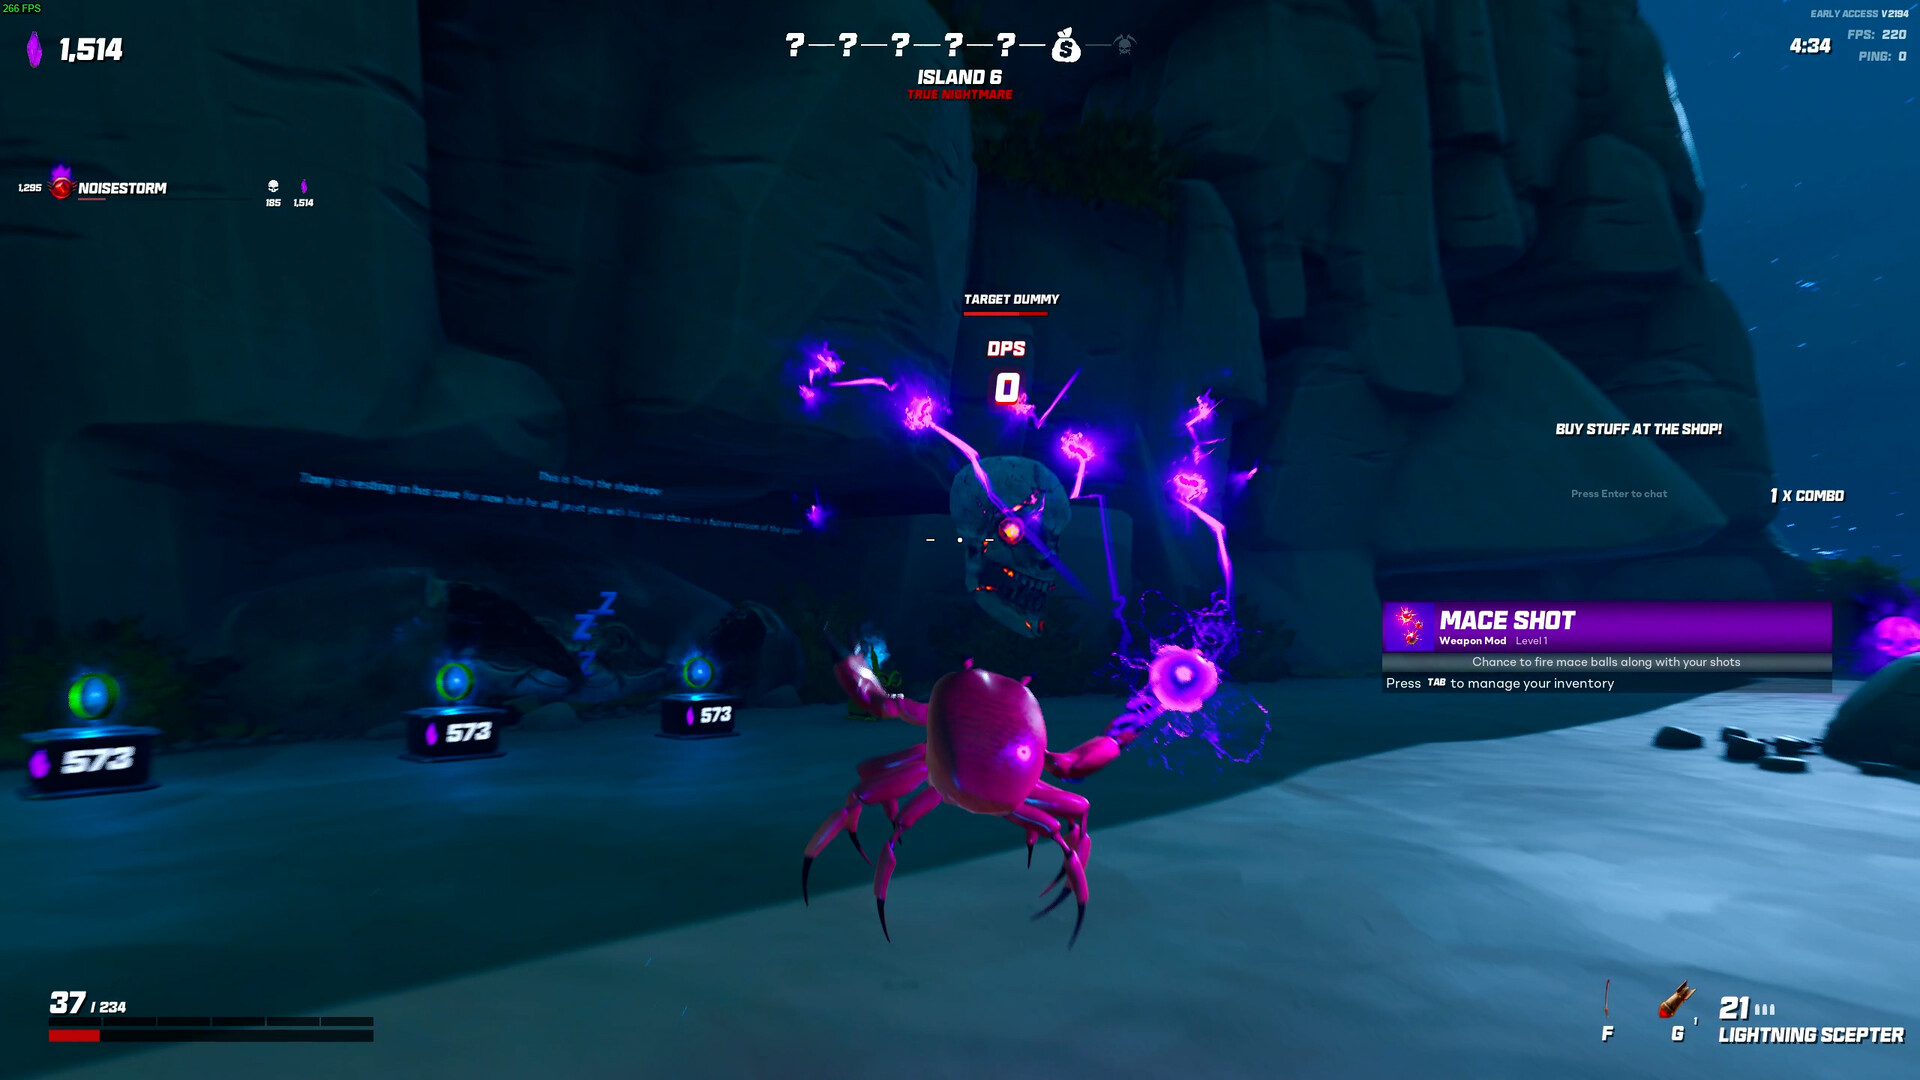
- Weapon Mods — modifiers attached to your gun. These shape how your primary weapon behaves and scales.
- Melee Mods — modifiers for your melee attack, the backbone of close-range and health-scaling play.
- Ability Mods — modifiers for your chosen ability, letting you push it toward raw damage or pure utility.
- Relics — a separate upgrade class that adds run-altering effects on top of the others.
Perks are the most universally useful because they stack so cleanly, but a strong run usually mixes several types. A gun build still wants supporting perks; a melee build still benefits from an ability that buys breathing room.
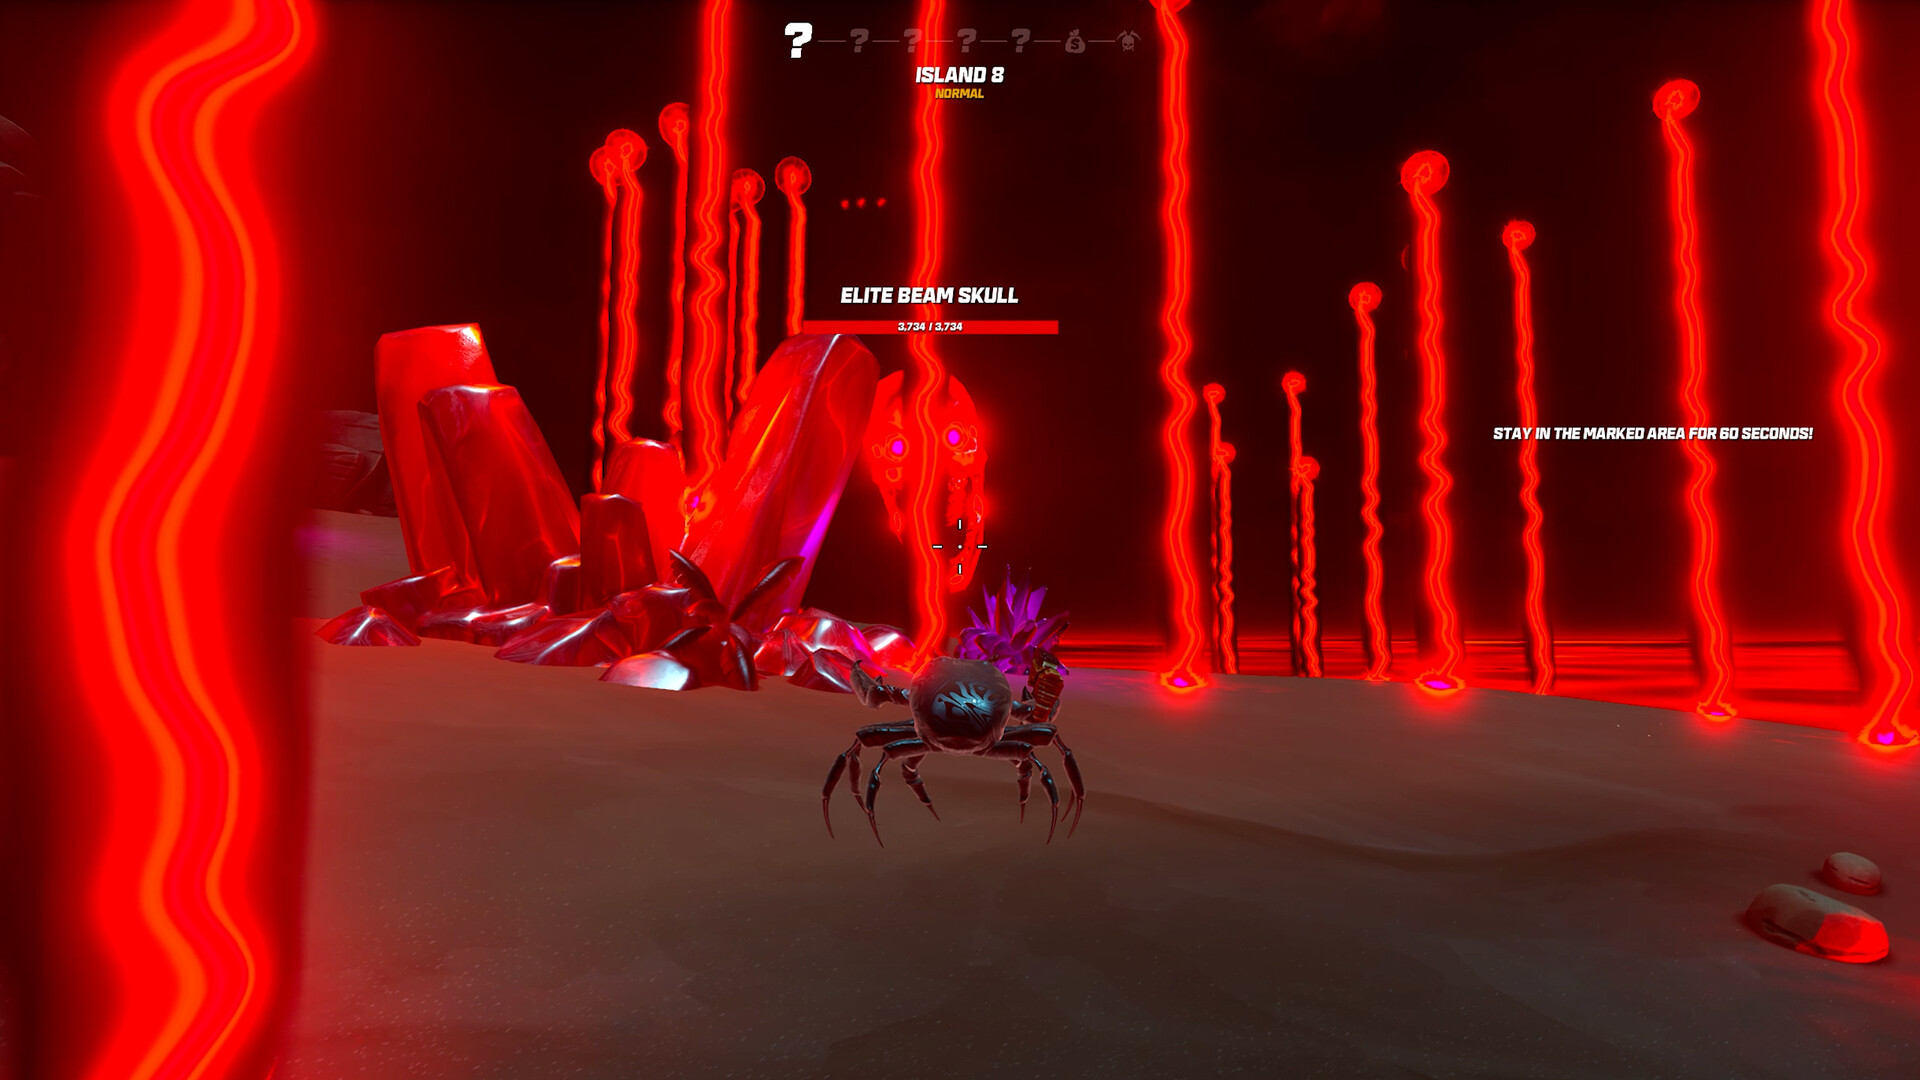
There is no firm, well-documented "curse" system in Crab Champions. The high-risk role is filled by Greed perks. If you see community talk about curses, treat it cautiously and trust what the in-game upgrade screen actually shows you.
Perk rarities and why stacking matters
Perks come in four rarities: Common, Epic, Legendary and Greed. The first three roughly track raw power and how impactful a single copy is. Greed is the odd one out — it is a high-risk, high-reward tier, offering strong upside in exchange for a drawback, and it suits players willing to gamble a run for a bigger payoff.
The single most important mechanic to understand is duplication. Picking a perk you already own does not waste the choice — it upgrades and stacks that perk's effect. This is the engine behind the "game-breaking" builds the community loves. One copy of a damage perk is fine; six copies of the same perk, layered with two or three other perks that scale off the same stat, is how a run goes from "comfortable" to "deleting bosses before they finish spawning."
The practical takeaway is focus. A build that spreads thinly across many unrelated perks stays mediocre. A build that repeatedly grabs the same handful of synergistic perks compounds, because each stack multiplies against the others.
When two good options appear and one is a duplicate of a perk already central to your build, the duplicate is usually the stronger pick. Stacking what you already have beats adding breadth, especially past the early islands.
The nine perk categories
Perks fall into nine categories. Most builds lean on two or three of them and use the rest as glue.
columns: Category | What it does | Example perks
- Health | Survivability and HP scaling | Mango (+250 max HP per level)
- Luck | Better rarity and drop outcomes | Streamer Loot (chance to upgrade drop rarity)
- Speed | Movement and mobility | movement-focused perks
- Elemental | Fire, ice, poison and lightning effects | element-specific damage perks
- Economy | Currency, crystals and shop value | income and discount perks
- Damage | Raw and scaling weapon damage | Gemstone, Checklist, Money is Power
- Skill | Ability-oriented power | ability-boosting perks
- Critical | Crit chance and crit damage | crit-scaling perks
- Greed | High-risk, high-reward effects | gamble-style Greed perks
A few examples worth naming. Mango raises max HP substantially per level and anchors tanky and health-scaling builds. Hard Target cuts damage taken by a flat percentage and is a quietly excellent survivability pick. Streamer Loot gives a chance to upgrade the rarity of drops, feeding Luck-oriented runs. On the offensive side, broadly strong damage perks like Gemstone, Checklist and Money is Power show up repeatedly in high-power builds because they scale aggressively when stacked.
Use these as orientation, not a checklist — the exact roster of perks changes across patches, and the best pick is always the one that compounds with what you already have.
Where to find upgrades
You cannot stack what you cannot find, so knowing your sources matters as much as knowing your perks.
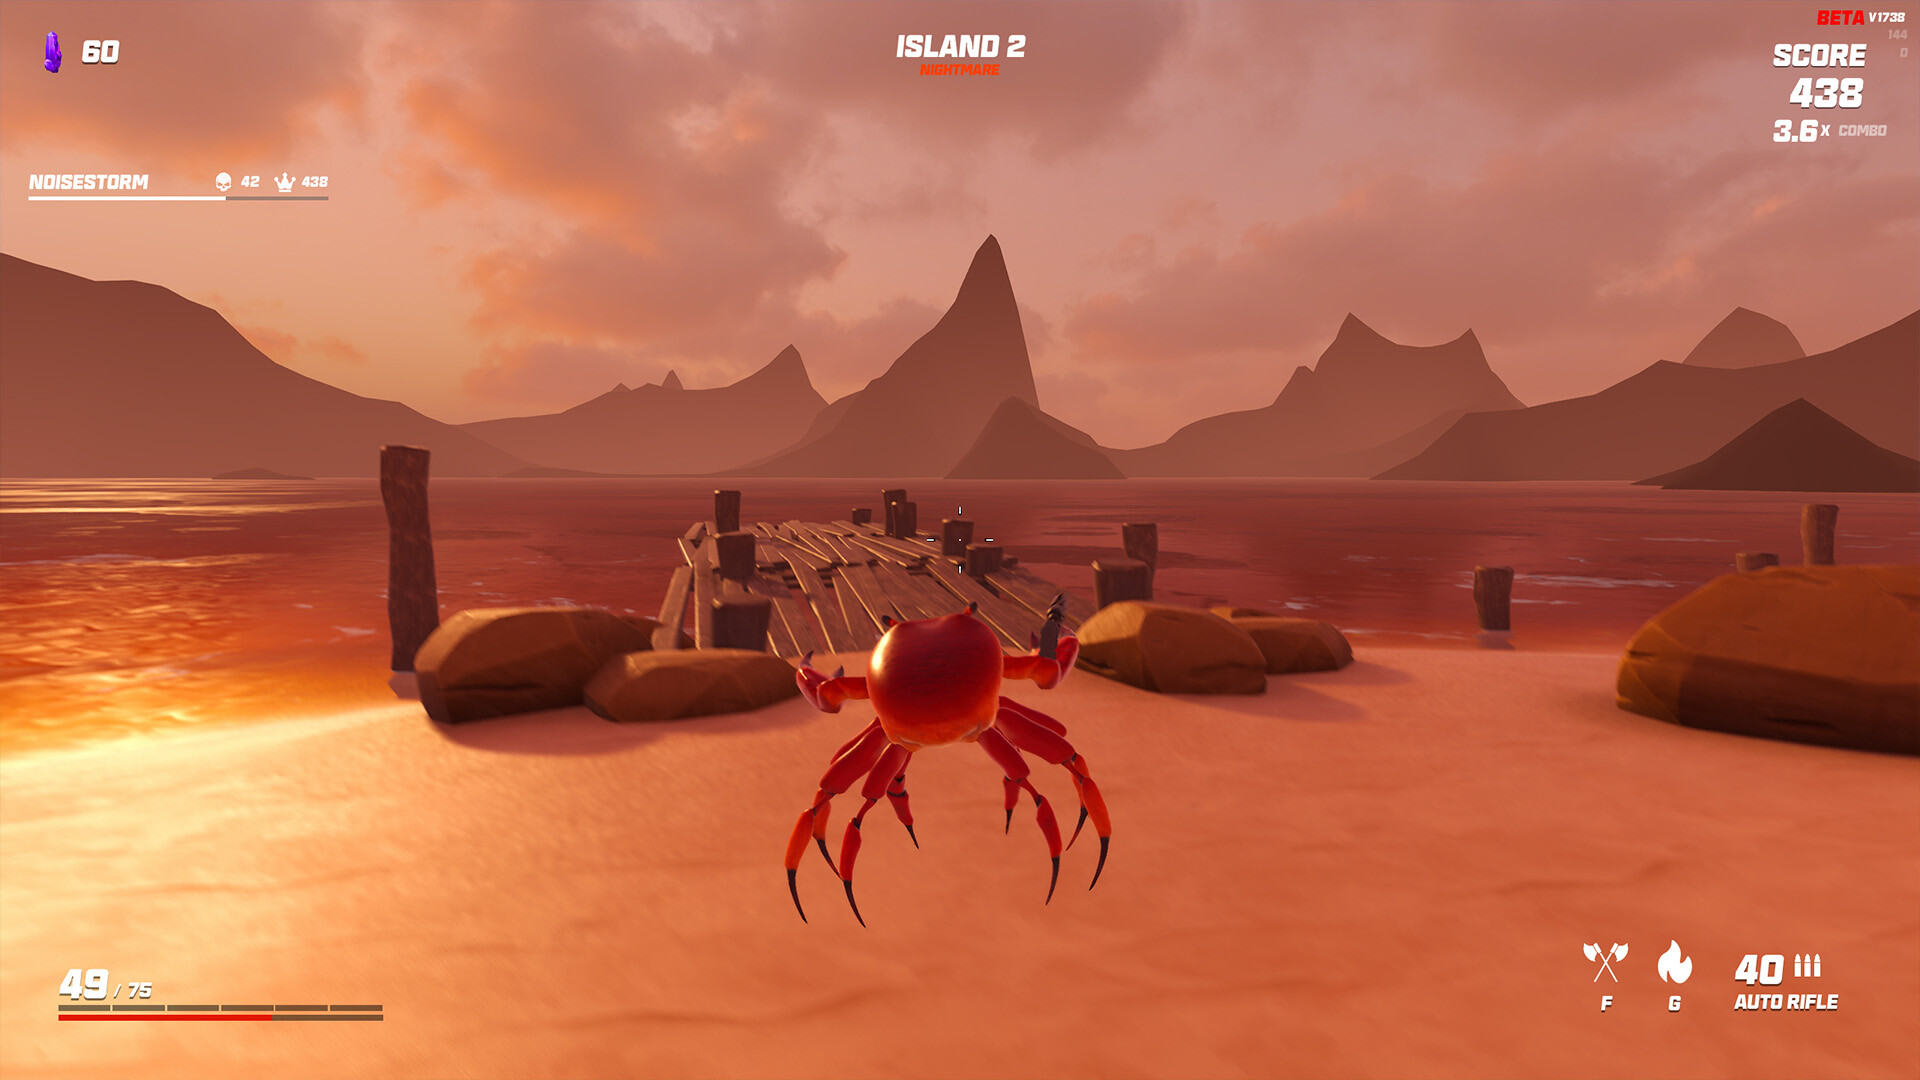
- Chests — the standard reward across islands; open everything you can reach.
- Tony's Shop — spend crystals and currency on chosen upgrades, which makes Economy perks indirectly powerful by funding more picks.
- Totems — activatable sources that grant upgrades, often with a tradeoff worth weighing.
- Rocks — destructible objects that can yield resources and upgrades.
- Enemy drops — enemies can drop upgrades directly, and rare-treasure style perks increase how often that happens.
Economy is the hidden multiplier here. The more currency you generate, the more you can buy from Tony, and the more often you reroll your way toward the duplicates your build needs. A modest Economy investment early can pay for a far stronger late run.
-
1
Commit to a theme early
By the first few islands, decide whether you are leaning crit, an element, explosive, or health and melee. Early commitment means more stacks by the end.
-
2
Stack duplicates relentlessly
Prioritise repeat copies of the perks and mods that feed your theme over scattered one-offs. Compounding beats breadth.
-
3
Add a secondary damage source
Pair your main weapon with an aura, ability or mod that deals damage independently, so you are never relying on a single output.
-
4
Shore up survival
Fold in Health and damage-reduction perks like Mango or Hard Target so escalating fights do not end the run early.
Build archetypes
Builds tend to organise around two questions: what is your main source of damage, and what theme are you scaling? The first gives four broad paths.
columns: Archetype | Main focus | Key upgrades | Playstyle
- Gun-focused | Primary weapon output | Weapon Mods plus Damage and Critical perks | Aim, kite and let the gun carry
- Ability-focused | Your chosen ability | Ability Mods plus Skill perks | Cycle a heavily-modded ability as the core
- Melee-focused | Close-range melee | Melee Mods plus Health perks | Dive in, scale HP, brawl
- Mod and Perk-focused | Stacked passive scaling | Layered perks and mods | Let stacked effects do the killing
On top of those, runs usually pick a damage theme: crit (stacking crit chance and crit damage for huge spikes), elemental (committing to fire, ice, poison or lightning and the perks that amplify it), explosive (area damage that clears packs), or health-scaling and melee (turning a large HP pool into both survivability and offense). The strongest runs are simply a clear archetype crossed with a clear theme — a gun-crit build, an ability-elemental build, a melee-health build — fed by relentless duplicate stacking.
Greed perks and risky totems can swing a run hard in both directions. They are worth taking when you are already strong enough to absorb the downside, and worth skipping when a run is fragile. Do not gamble a clean run on a single high-variance pick.
Synergy tips and secondary damage
Two habits separate runs that fizzle from runs that snowball.
First, always invest in a secondary damage source. Your main weapon will have gaps — reloads, reposition, bad angles — and a build that only outputs through one channel stalls whenever that channel is interrupted. Auras, a damage-built ability, or damage-dealing mods all fill that gap. Auras are especially valuable because they have a large invisible range and chew through crowds passively while you focus on the threats your gun or melee handles. Many players underrate them precisely because the range is not drawn on screen.
Second, read your existing build before every pick. The right choice is almost never the flashiest option in isolation — it is the one that multiplies what you already have. A duplicate damage perk on top of five stacks is worth more than a brand-new effect with no synergy. Crit perks want more crit perks; elemental damage wants more of the same element; health builds want more HP and the melee scaling that converts it to damage.
For the weapons that anchor gun builds, see the Crab Champions weapons guide. For how all of this scales against tougher content and rising difficulty, see the Crab Champions difficulty guide.
The honest summary: Crab Champions rewards commitment over variety. Pick a lane early, stack into it without apology, cover your gaps with a second damage source, and the runaway power the game is famous for tends to follow. Just remember it is Early Access — perks, values and the exact best combinations will keep moving, so stay flexible about the specifics while keeping the core principle fixed.