What Crab Champions Is, and What to Expect
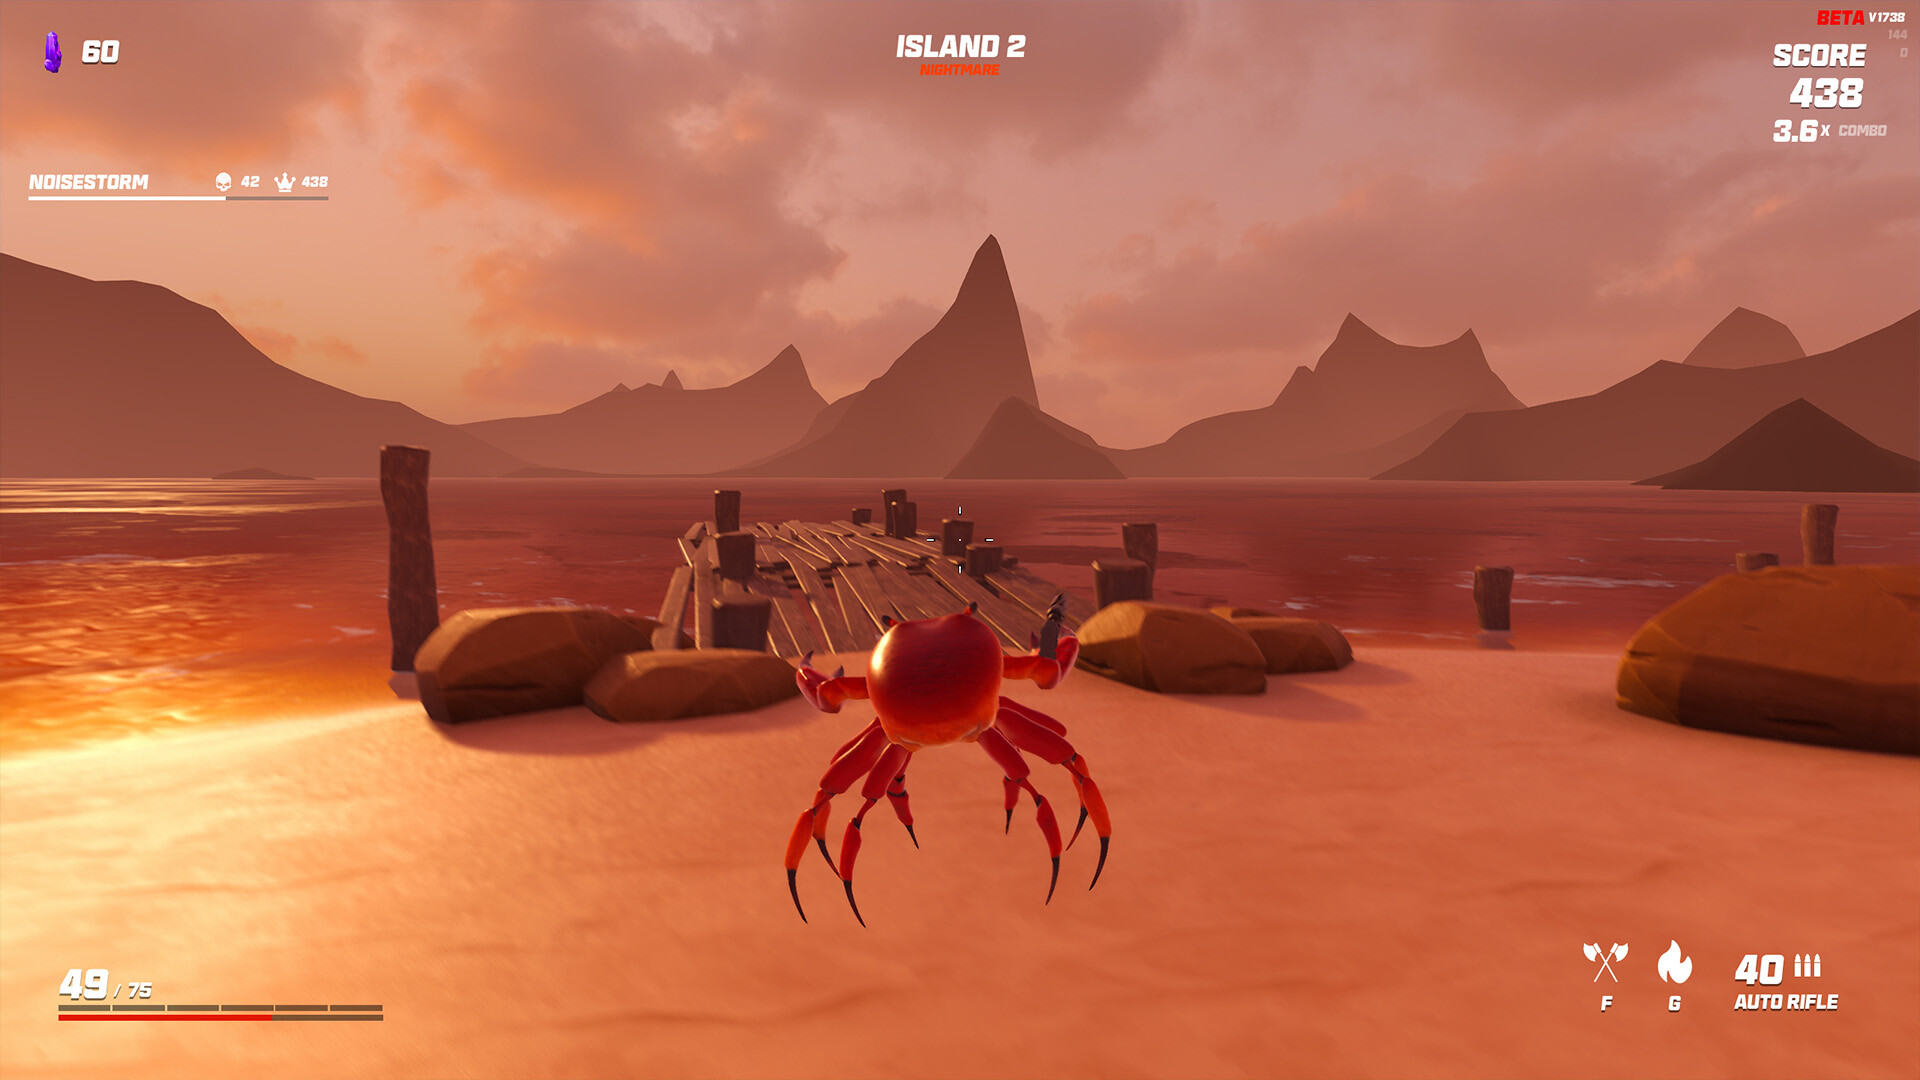
Crab Champions is a fast-paced third-person roguelite shooter by Noisestorm. You play a crab that moves across a chain of floating islands, clearing each one of its enemy waves, collecting weapons and perks along the way, and pushing as far and as high in difficulty as your build can carry you. It is in Early Access, and you can play solo or in online co-op.
If you are coming from cover-based shooters, reset your expectations. There is no cover here and no reason to stand your ground. The game is built around speed and air control. Your job on each island is to keep moving, thin out the waves, grab the chest reward at the end, and loot whatever the island dropped before the next one opens.
Two things separate the players who survive from the players who keep dying on the first few islands — movement, and build commitment. Everything below is built around those two ideas.
Crab Champions is English only at the moment, and it is an Early Access title, so menus, balance, and content can change between updates. Treat exact numbers as a moving target and focus on the habits, which stay true across patches.
Master the Movement First
Movement is the core skill and the skill ceiling of Crab Champions. More than your weapon, it is what keeps you alive. The single biggest beginner mistake is treating it like a normal shooter where you plant your feet to aim. Do that here and a wave will surround you in seconds.
Get comfortable with the full movement kit:
- Jump constantly. A crab in the air is a crab that is hard to corner. Treat the jump button as something you are always feathering, not an occasional escape.
- Sideways double-jump is a short air-dash. Jumping left or right in the air gives you a quick lateral burst — your main tool for sliding out of the way of incoming fire and breaking line of sight.
- Forward or back is a flip. Jumping forward or backward in the air performs a flip that repositions you. Use it to close gaps or peel off an island edge to safety.
Because aim and movement are decoupled, you can keep firing at one target while dashing in a completely different direction. Practise shooting and moving as two independent jobs — that habit alone will carry your early runs.
The instant a wave spawns, spin roughly 180 degrees and check behind you. Enemies appear behind and around you, not just in front. A quick spin-check on every spawn stops you from being shot in the back while you focus forward.
Picking a Loadout
Before a run starts you choose three things — a Weapon, an Ability, and a Melee. These are locked for the entire run; you cannot swap them once you begin. You still upgrade all three mid-run through mods and perks, but the base choices are committed, so pick deliberately.
The default starter weapon is the Auto Rifle, and it is a genuinely good first pick — forgiving, steady damage, and easy to control while you are still learning to move. There is no need to chase an exotic weapon before you can survive a few islands consistently.
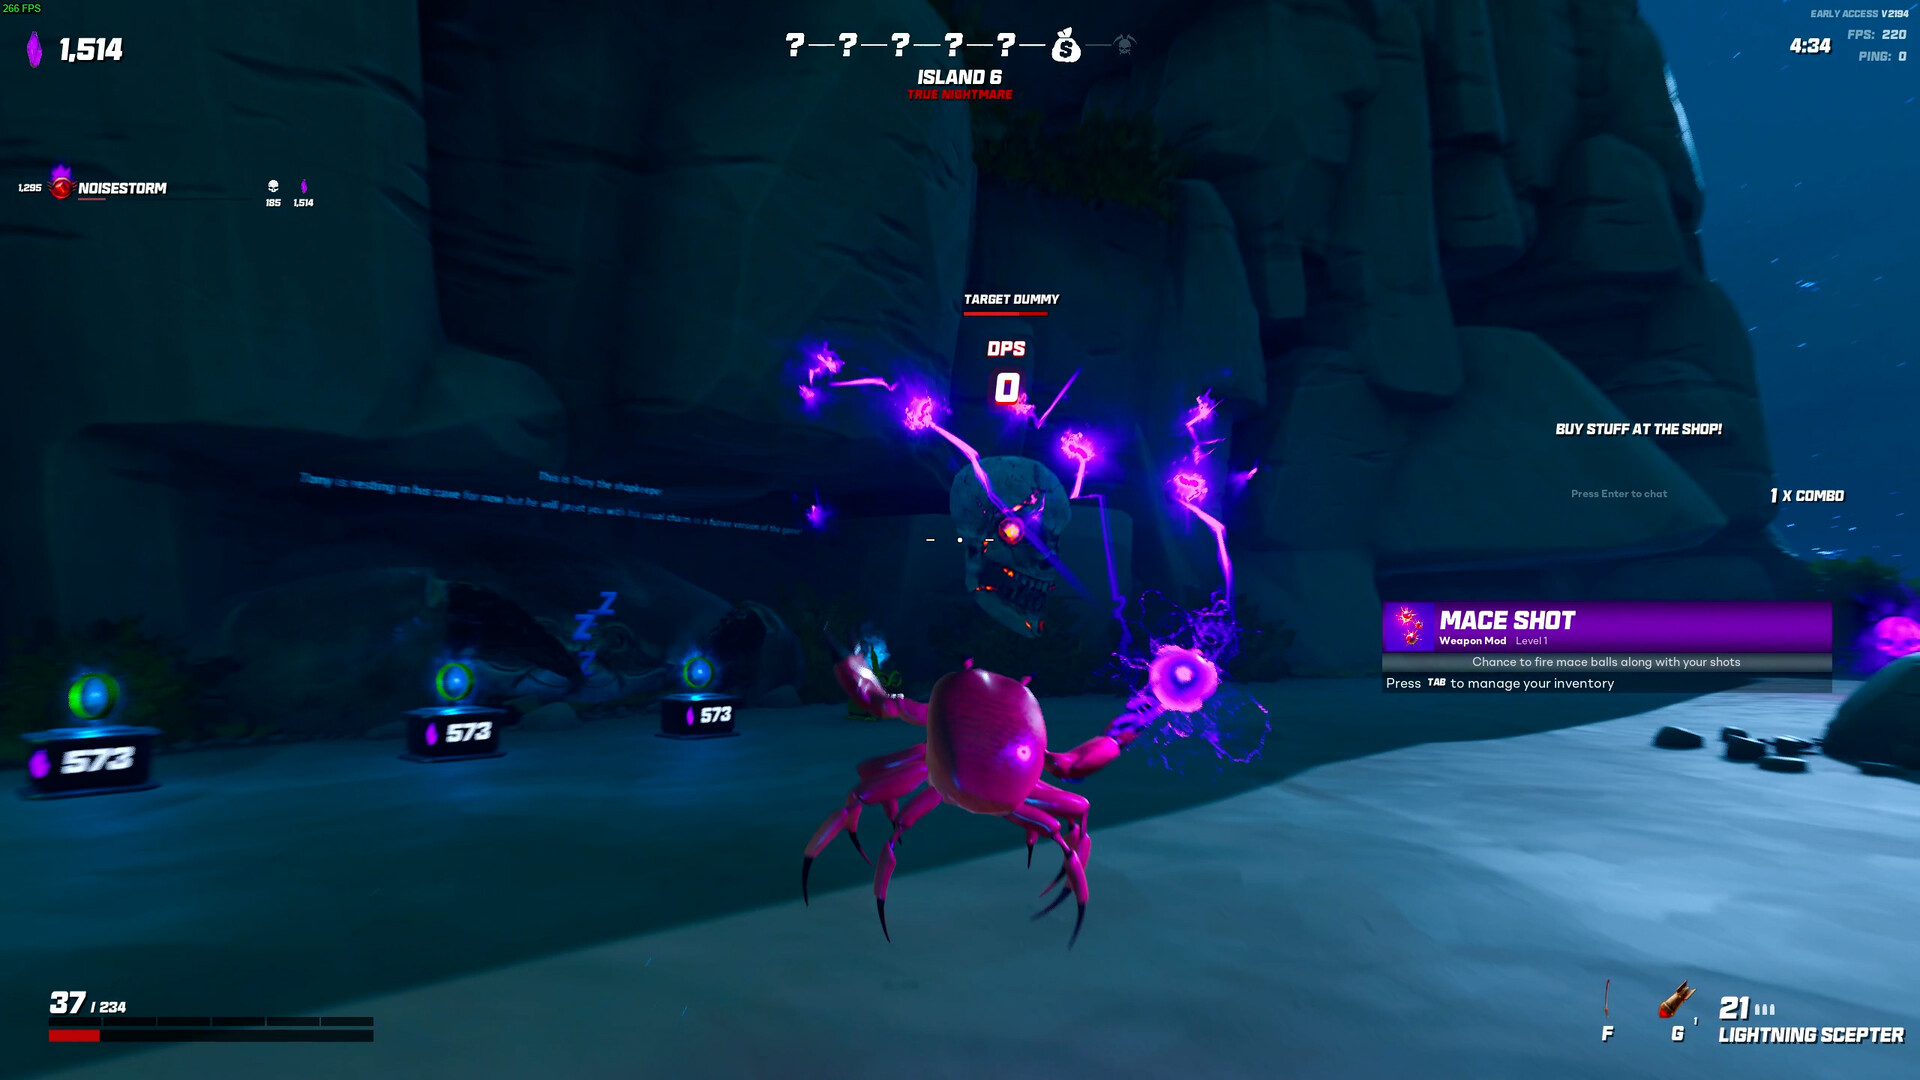
Your Ability is a second pillar of damage and utility. Each one changes how you handle crowds and bosses.
| Ability | What it does | Good for beginners |
|---|---|---|
| Grenade | Thrown area-of-effect burst | Yes — simple, reliable crowd clearing |
| Laser Beam | Sustained focused beam | Single-target and elite damage |
| Grappling Hook | Pulls you across the map fast | Mobility-focused players |
| Black Hole | Pulls enemies together | Grouping packs before AoE |
| Air Strike | Calls down area damage | Clearing dense waves |
For your first runs, pair the Auto Rifle with an ability that clears crowds, like Grenade or Air Strike. That gives you a second damage source that does not depend on perfect aim while you are still learning the movement. Keep a Melee you are comfortable with for when enemies close in.
Perks, Stacking, and Why Auras Win
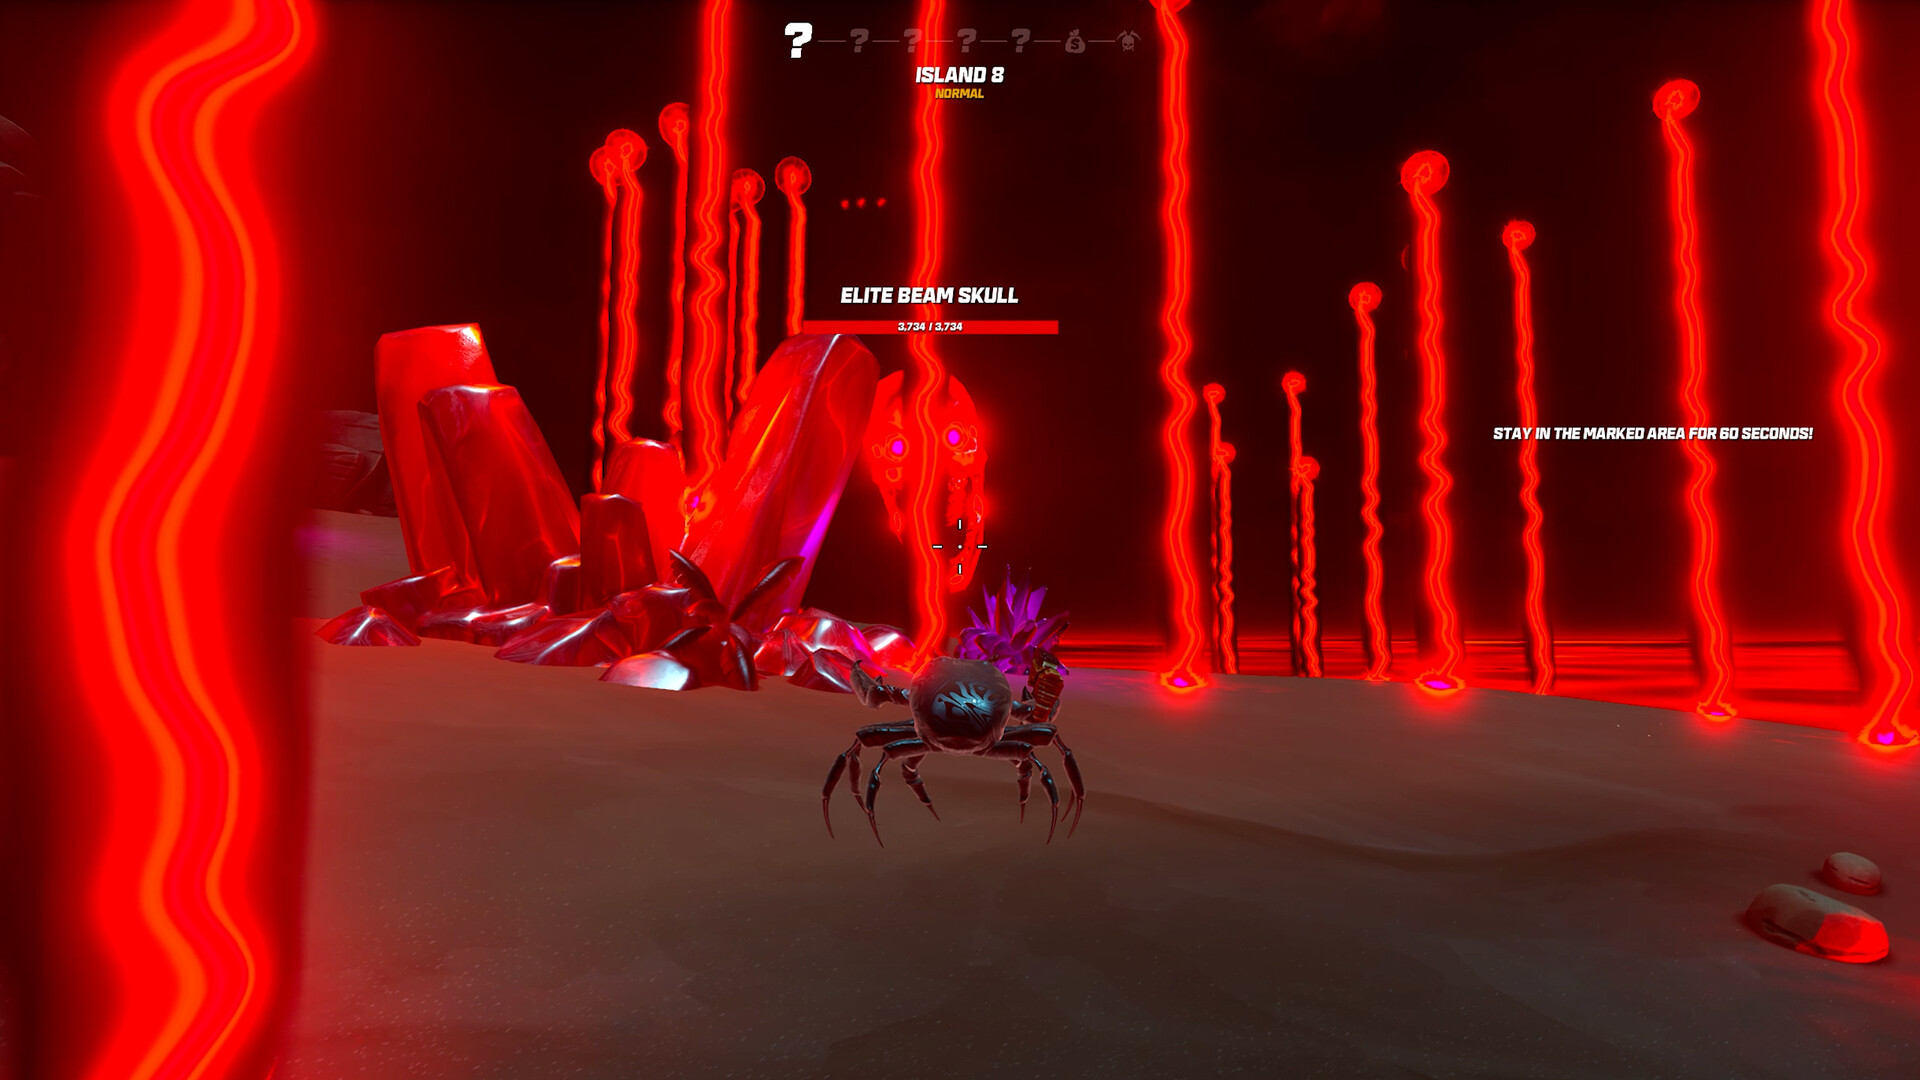
There are five upgrade types in the game — Perks, Weapon Mods, Melee Mods, Ability Mods, and Relics. You acquire them from victory chests, Tony's Shop, totems, rocks, and enemy drops. Perks come in rarities Common, Epic, Legendary, and Greed, where Greed perks are high-risk, high-reward and best left until you understand a build.
The most important mechanic to internalize early is stacking. Picking a duplicate perk does not waste the slot — it stacks or upgrades the one you already have, making it stronger. This is the engine of every strong build, and it is why spreading your picks thinly across many different perks is weaker than doubling down on a few.
Prioritize Aura upgrades from victory chests. An aura's range is invisible and much larger than it looks — a single aura can cover most of an island. Because it deals damage passively to everything inside it, an aura keeps working while you move and dodge, which is exactly when your aim is least reliable.
Auras pair perfectly with the movement-first playstyle. While you are jumping and dashing to stay alive, your aura is clearing the chip damage around you for free. Build that into your plan: a primary weapon, an ability, and at least one aura or passive damage source so you are never relying on aim alone.
Reading the Island and Shop Loop
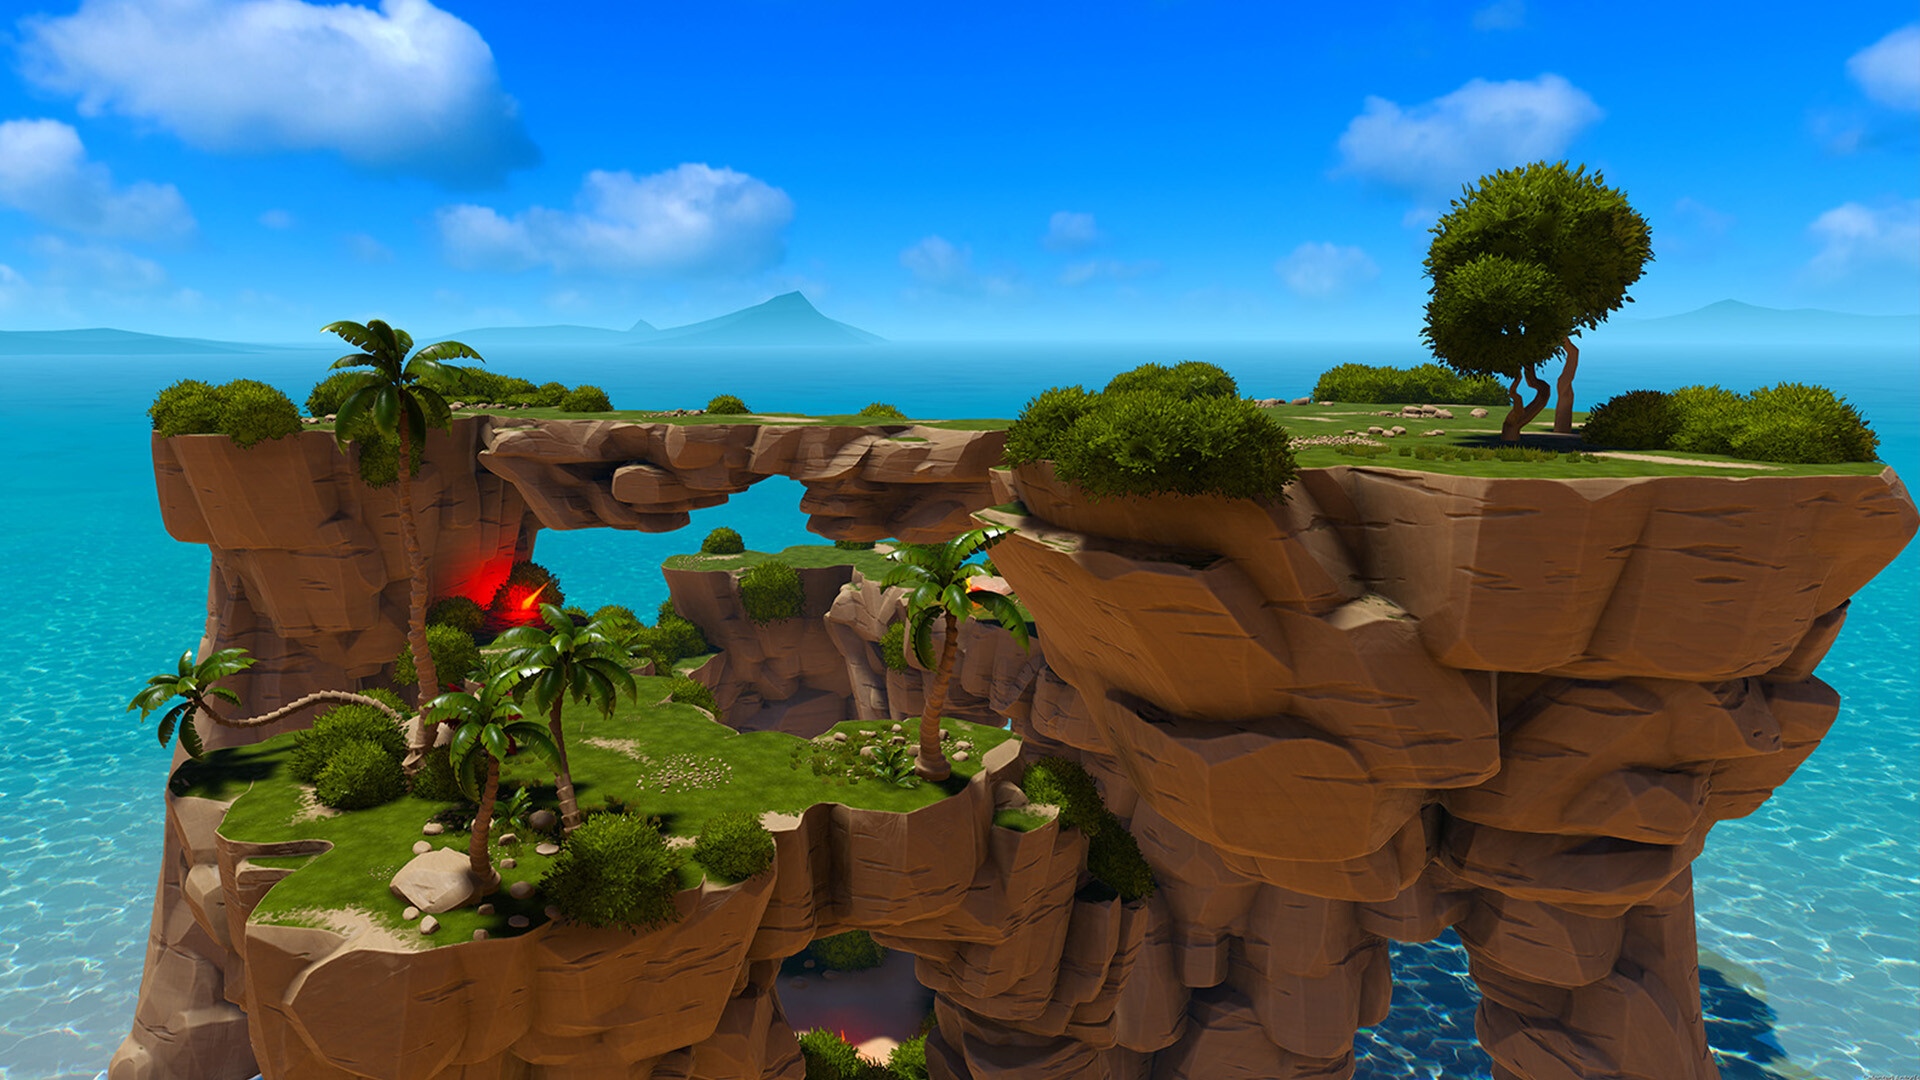
A run is structured as a series of themed island biomes. Within each set you will find a shop island and an elite or boss island. Clearing four biomes "completes" a run, but you can keep looping with the difficulty ramping each time.
The loop on every cleared island is the same, and the order matters:
items:
  - title: "Clear the waves"
    body: "Keep moving, lean on your aura and ability, and finish every enemy on the island."
  - title: "Open the victory chest"
    body: "Take your upgrade — favour auras and perks that stack with what you already run."
  - title: "Loot the whole island"
    body: "Smash rocks and totems and sweep the ground for crystals before you leave. Crystals are your shop currency, and you cannot come back."
  - title: "Spend at the shop island"
    body: "When a shop island appears, buy from Tony's Shop with your crystals — reinforcing your existing build beats buying something random."
The discipline here is patience at the end of each island. It is tempting to jump straight to the exit after the last enemy dies, but every crystal you leave behind is a perk or mod you cannot afford later. A full sweep before leaving funds the shop that keeps your build scaling.
For the deeper weapon and mod choices that come up as you progress, see the Crab Champions weapons guide.
Prioritizing Threats — Exploding Enemies First
Not all enemies are equal, and target priority is a survival skill in its own right. The most dangerous early threats are the rushing exploding enemies — the slugs and sappers that sprint straight at you and detonate in an area-of-effect blast. If one reaches you in a crowd, it can chunk you and stagger your whole position.
Kill these first, before you turn your attention to the slower ranged enemies. A rusher you ignore for two seconds is a rusher in your face. Because they move directly toward you, your movement also helps — keep dashing and you buy time to shoot them down before they connect.
Never let exploding enemies group up on you. If several are closing at once, dash through a gap and put distance between you and the pack rather than backpedalling into a corner or off an island edge. Reposition, then deal with them from range.
The general rule is simple — deal with whatever can punish you immediately first (exploding rushers, then elites), and let your aura and passive damage handle the trickle of weaker enemies while you do it.
Commit to a Build, Then Decide When to Push
The final beginner lesson ties the rest together. Commit to one build early and stack synergistic perks rather than spreading thin. A focused build that doubles and triples down on a few mechanics will out-scale a scattered collection of one-off upgrades every time. When a perk reinforces your direction, take it; when it pulls you sideways into a new mechanic with nothing supporting it, usually skip it.
Keep a secondary damage source as a safety net — an aura, your ability, or stacked mods — so a single bad weapon roll does not end your run. The strongest beginner builds layer constant aura damage under a reliable weapon and a crowd-clearing ability.
On difficulty, start on Easy or Normal. These tiers give you room to learn the movement and the shop loop without being punished for every mistake. The harder tiers, Nightmare and Ultra Chaos, plus the optional modifiers, exist for when your build and reflexes are dependable.
| Difficulty | When to play it |
|---|---|
| Easy | Your very first runs — learn movement and the loop |
| Normal | Once you can clear a few islands without panic |
| Nightmare | When your build reliably carries a full run |
| Ultra Chaos | For tested builds and confident movement only |
Push to a higher tier only when your current one feels routine — not when you have had one lucky run. If you want to know how the game holds up before you sink hours into it, read our Crab Champions review. Otherwise, jump in, keep moving, stack your aura, and see how far up you can climb.