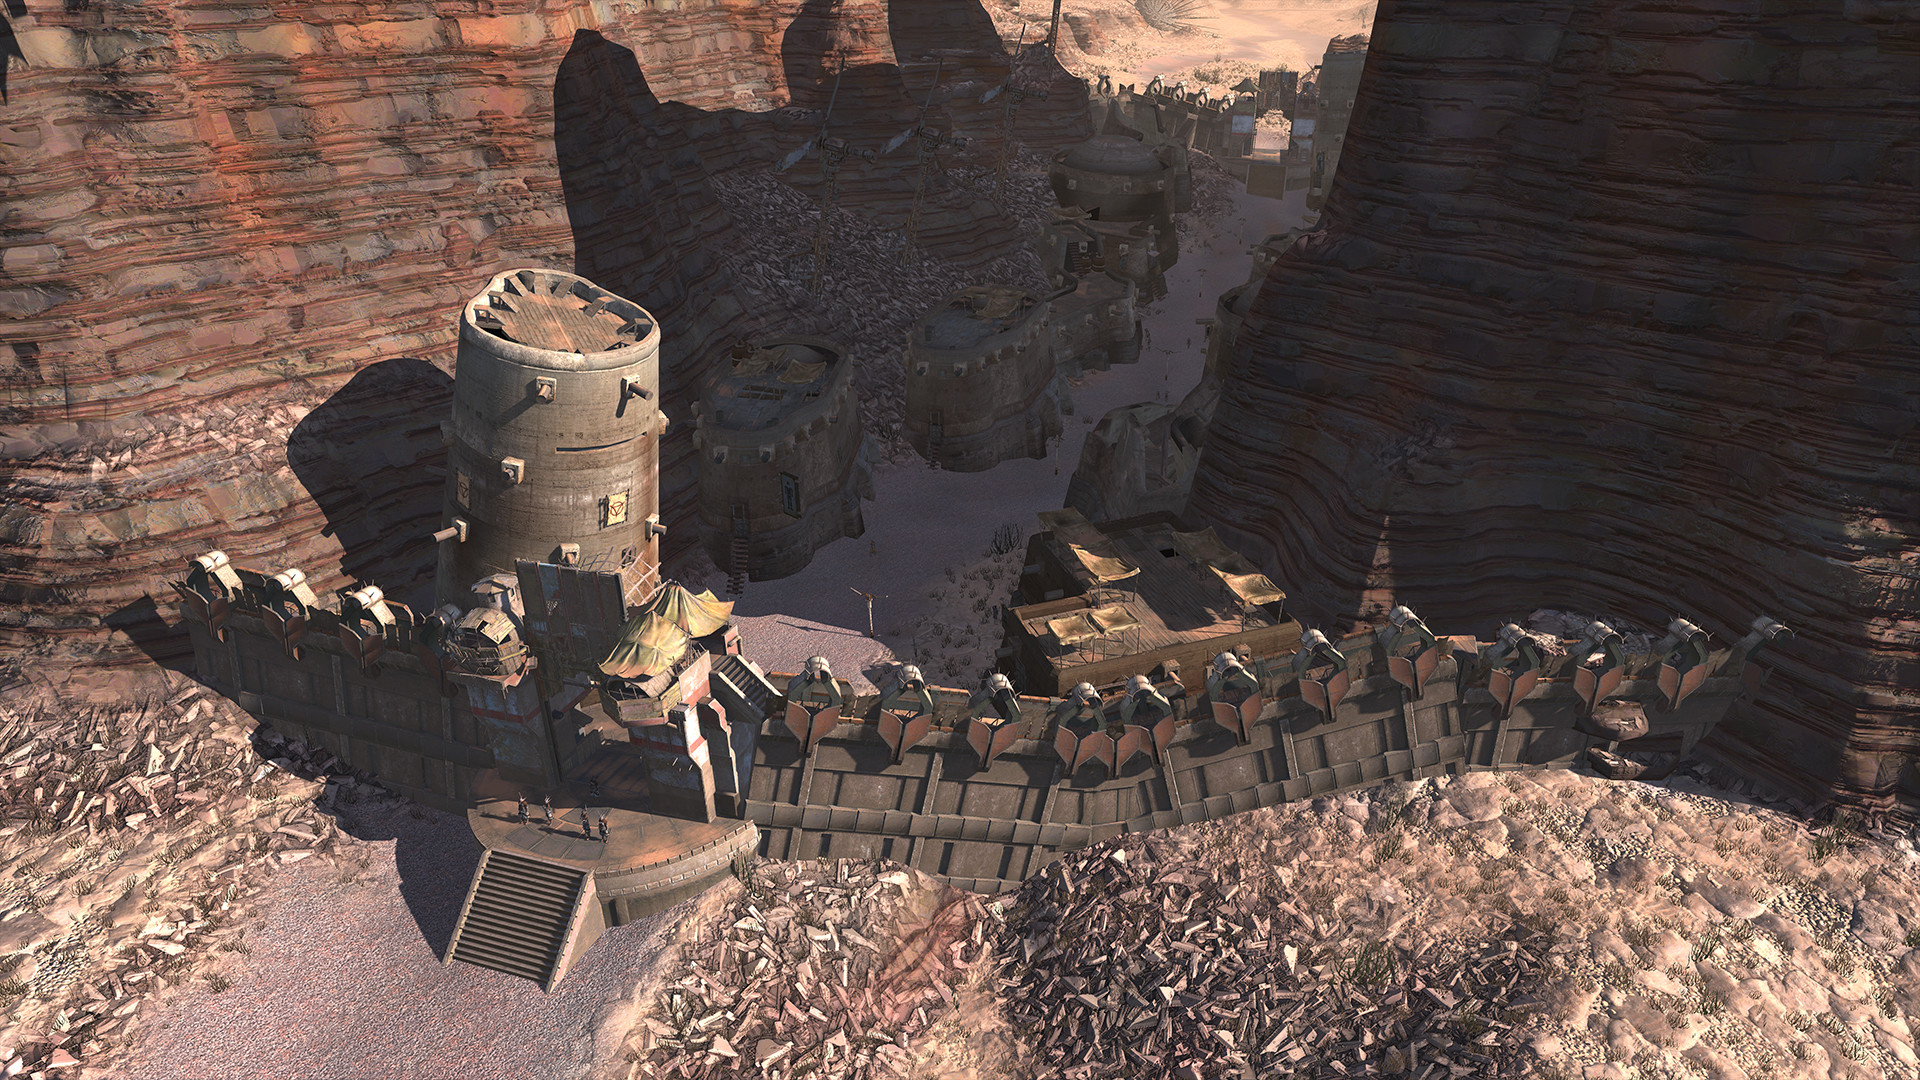
Why base building is Kenshi's mid-game turning point
For a long time in Kenshi you are a wanderer — surviving, trading, training, and avoiding fights. Building a base is the moment that changes, turning a mobile squad into a settled, self-sufficient operation with its own gear, food and income. It is one of the game's most rewarding pursuits, but it is also one of its most dangerous, because a base is a fixed target that the world will come to attack. Done well, settling down compounds your power; done carelessly, it invites raids that wipe out everything you have built. Understanding location, research, self-sufficiency and defense is what separates a thriving outpost from a smoking ruin.
The unifying idea is that a base is a commitment, not a convenience. Every benefit it provides comes with the responsibility of defending it, so the smart approach is to plan the whole thing — where, what, and how you will hold it — before you lay the first foundation.
A base draws raids. The more valuable and exposed it is, and the more hostile the surrounding factions, the more often and harder you will be attacked. Plan defense from the very start rather than bolting it on after your first raid.
The base locations worth settling — ranked
Most base guides stop at "pick somewhere defensible with resources nearby", which is true and useless. Here are the sites that actually keep coming up, what each one gives you, and who it suits. The honest summary: there is no site that is simultaneously rich, safe and easy — every entry below trades one of those away.
| Rank | Site | What it gives you | What it costs you |
|---|---|---|---|
| 1 | Waystation plateau (Greenbeach / Stobe's Garden border) | Iron, copper and stone **on-site**, unusually high fertility, and a single ramp above the river as the only approach. The rare site where you do not have to choose between production and defensibility. | Reaver patrols, and the walk to get set up. Best once you have a squad that can survive the trip. |
| 2 | Shem | Near the centre of the map and genuinely quiet. Copper and iron on the Swamp border, wind and biofuel power both viable, water from wells and rain collectors, workable fertility. | No dramatic chokepoint — you build your own walls. Unexciting, which is exactly why it is the right first base. |
| 3 | Greenbeach plateau | One narrow passage up is the only way in, so you can hold it with very little wall. | Crab Raiders and Beak Things, and you import most of your materials. Defense-first pick, not a production site. |
| 4 | Crescent Canyons | Outstanding killzone — you can run walls straight into the canyon rock and let turrets do the work. | Few resources on-site. You will be hauling everything in, so it only makes sense once trade caravans are routine. |
| 5 | The Hook (Stenn Desert) | Easy to reach and easy to read early, with a clear shape to wall off. | Limited fertility and water, and poorer copper. Fine to learn base-building on; not where you want to finish the game. |
| 6 | Fog Islands / The Gut | Remote enough that the major faction armies never come, with strong natural terrain. | Fogmen swarms, Beak Things and Blood Spiders instead. **Late game only** — an early squad dies here. |
How to actually choose. Decide which of the three you are willing to give up first. Want to be self-sufficient fast? Take the Waystation plateau. Want to learn base-building without losing the run? Take Shem. Want a fortress and do not mind a supply line? Take Greenbeach or the Crescent Canyons. The sections below explain the machinery — research order, farming, and the defenses each of these sites actually needs.
Choosing a location
Location is the single most important base decision, because it determines your resources, your defensibility and how much trouble you attract. You want resources nearby — ore for crafting, water and fertile ground for farming — so you are not constantly hauling from elsewhere. You want terrain that is easy to wall off and defend, ideally with natural chokepoints. And you want to weigh isolation against danger: a remote spot draws less faction attention but leaves you on your own, while settling near towns, allies or trade routes adds convenience and income at the cost of more frequent raids. Scout candidate sites thoroughly before committing, because moving a base later is painful.
The best location is the one that matches your goals: a quiet, resource-rich corner for a peaceful self-sufficient outpost, or a bolder spot near conflict if you intend to fight. Decide what you want the base to be, then pick the ground that supports it.
Research, production and self-sufficiency
Once settled, research drives everything. A research bench, fed with resources and books, unlocks a technology tree that gates better buildings, production, equipment and defenses, so prioritising research early is how you climb from crude shacks to a capable outpost. With tech in hand, you build production chains: mining ore, smithing weapons and armour, processing crops into food, and crafting trade goods. The goal is self-sufficiency — farming suited to your biome (including hydroponics indoors), a reliable water source, and enough production to feed, equip and fund your squad without constant trips to town. A self-sufficient base is both a fortress and an economic engine, turning your squad's labour into steady power.
| Pillar | What it provides | Priority |
|---|---|---|
| Location | Resources, defensibility, safety | Decide first — it shapes everything |
| Research | Tech for buildings, gear, defense | Early — gates all progression |
| Farming / production | Food, gear, income, self-sufficiency | Core — reduces dependence on towns |
| Defense | Survival against raids | Mandatory — build before you are attacked |
Defending your base
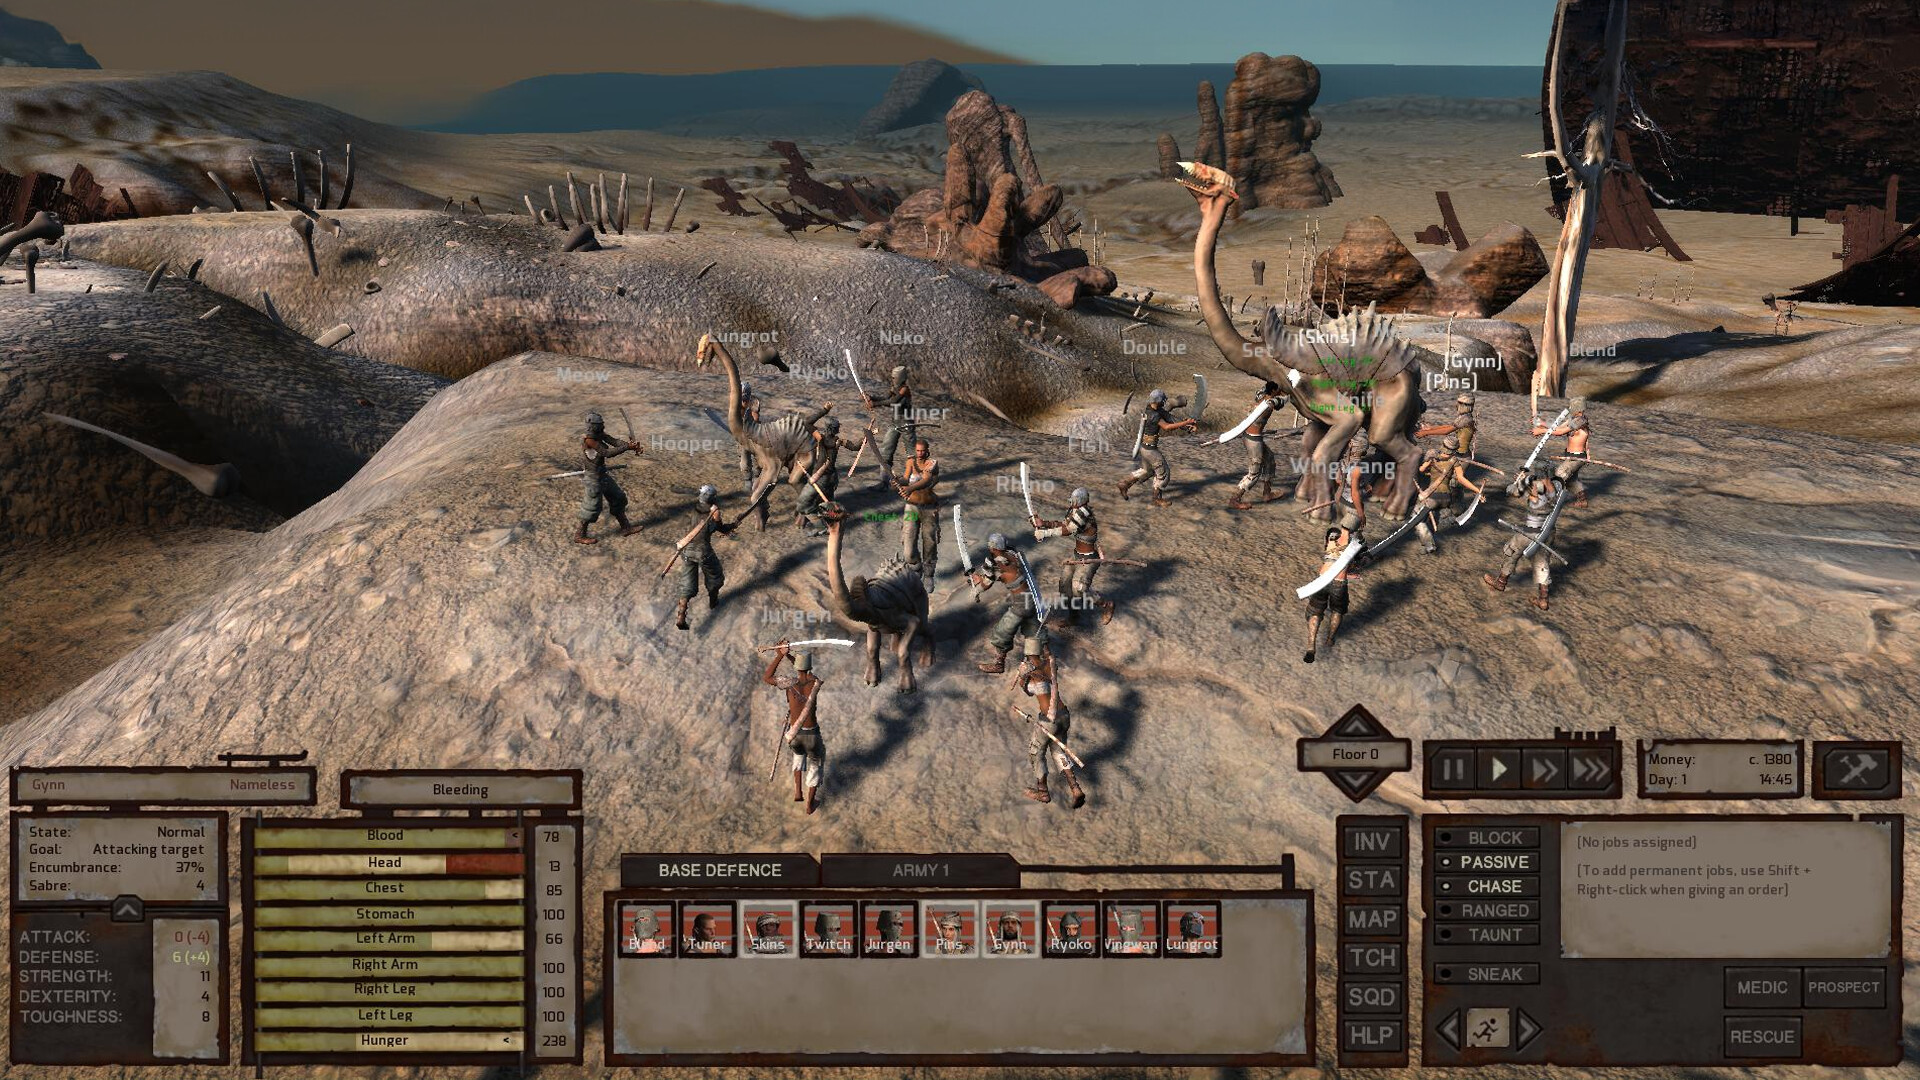
Defense is not optional in Kenshi — a base attracts raids from factions and beasts, and an undefended outpost is a death trap. The fundamentals are walls and gates to control how attackers approach, funnelling them into chokepoints where your defenders and turrets can concentrate fire. Position trained fighters to hold those points, keep turrets manned, and maintain medics and supplies so a raid is something you weather rather than a catastrophe. Crucially, match your defenses to your location: settling near a hostile faction means frequent, tougher raids that demand serious fortification, while a remote base may face lighter, less frequent threats. Build your defenses before the first raid, not after, because the world will not wait for you to be ready.
The mindset is to treat every wall, gate and defender as part of the base's core function, not an afterthought. A base that produces well but cannot hold is a liability; one that is both productive and defensible is the engine that carries your run into the late game.
Start small and defensible, then expand. A compact, well-walled base you can actually defend beats an ambitious sprawl that raids tear apart. Once your outpost is secure and productive, your trained squad — see our Kenshi combat guide — can use it as a springboard for anything. New to the game? Begin with the beginner guide, and pick a race that suits your plans with the races tier list.