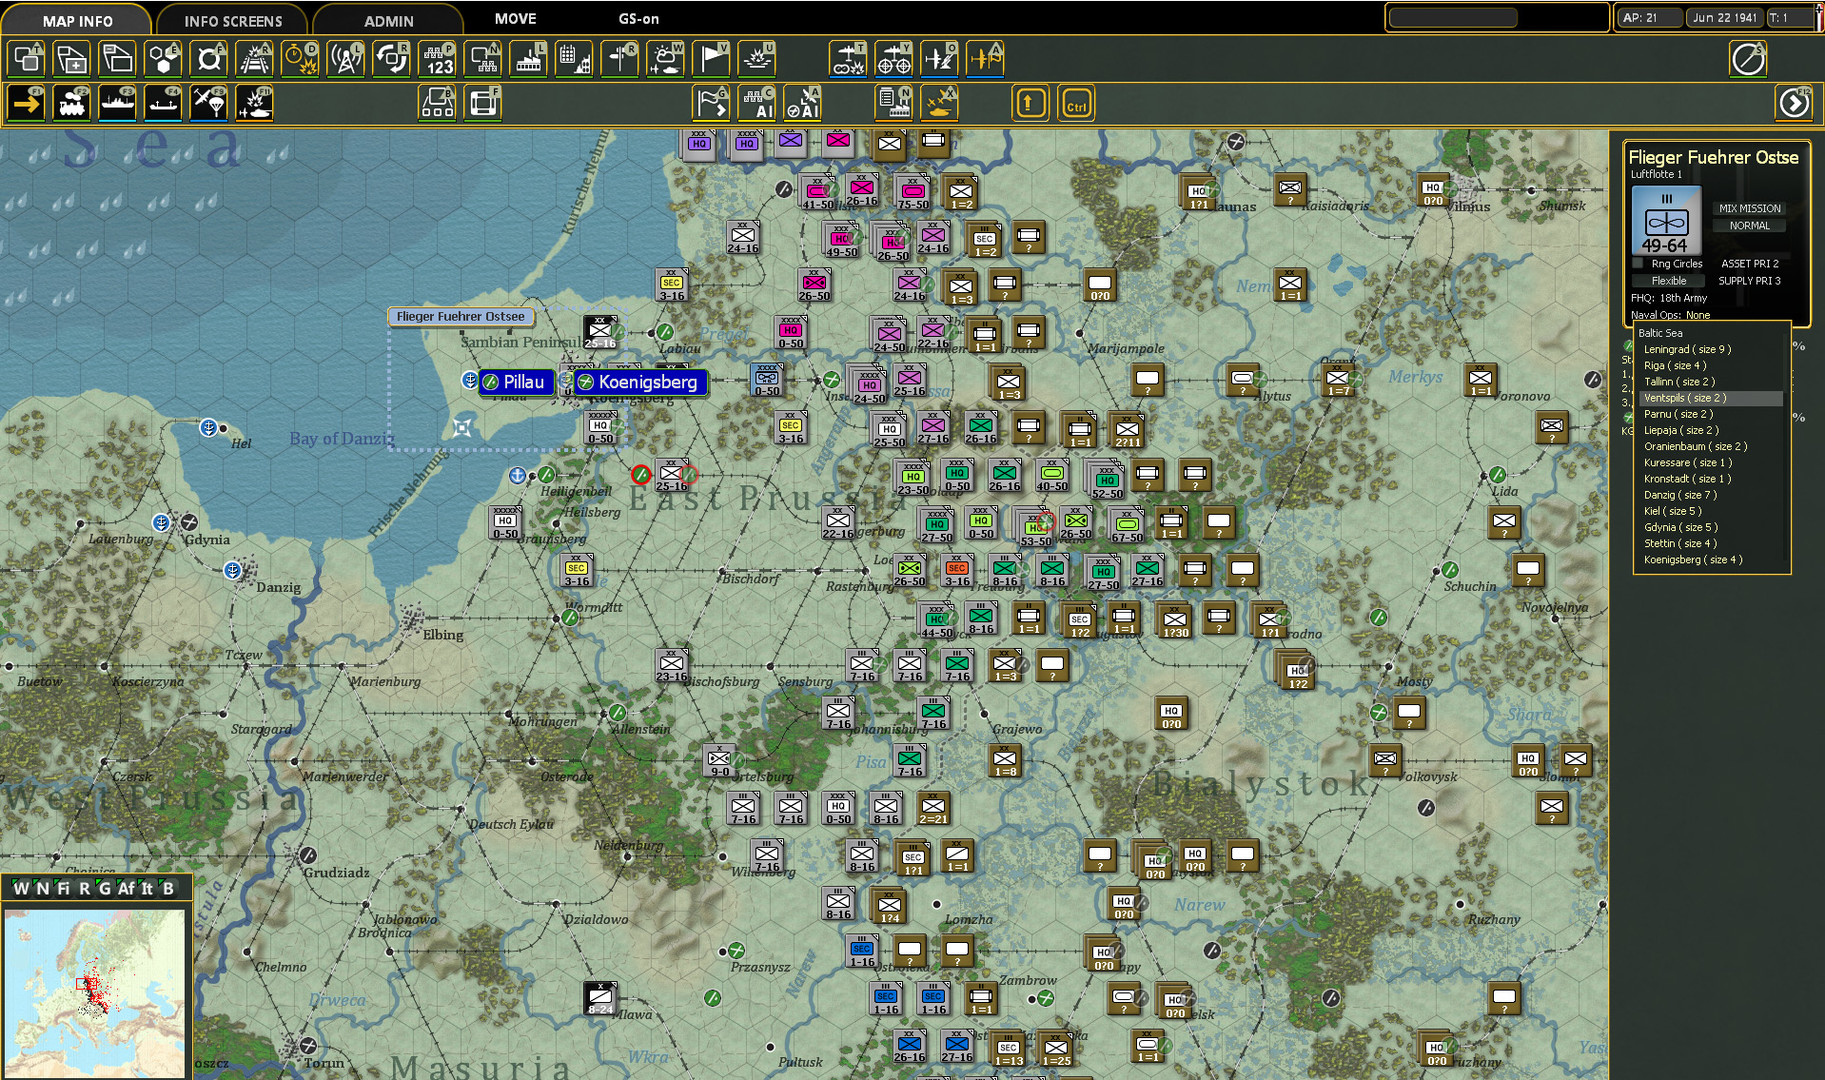
Logistics is the game
More than any other system, logistics is what defines Gary Grigsby's War in the East 2. Where most strategy games treat supply as a number that quietly ticks along, War in the East 2 makes moving beans, bullets and fuel across a continent the central strategic challenge. Your armies are only as strong as the supply reaching them, and the difference between a war-winning offensive and a stalled one is almost always logistics rather than raw combat power. This guide explains how supply flows from the home front to your front-line units, why the railhead and HQ placement matter so much, how the three supply types behave, and how to keep your offensives moving instead of grinding to a halt. Master this and you have mastered the heart of the game; ignore it and no amount of tactical skill will save you.
The mindset to hold onto is that in this game, you win with your rail and your trucks as much as with your tanks. Real Eastern Front commanders lived and died by their supply lines, and War in the East 2 models that truth faithfully — so think like a quartermaster as much as a general.
Supply in War in the East 2 flows from the home front, along the rail network, to depots, and then to your units through your HQ structure. The further from the railhead, the less arrives. Keeping that chain intact and advancing is the core of the whole game.
The railhead and the rail network
At the centre of the supply system is the railhead: the furthest forward point your rail network reaches. Supply moves efficiently along rail up to the railhead, and then degrades with every hex it must travel beyond it, which makes the railhead one of the most important places on the entire map. Keeping it as far forward as possible — and advancing it as you advance — is one of your most constant and important jobs. This is complicated on the offensive by the fact that captured enemy rail often has to be repaired and converted before you can use it, a task performed by your construction units and shown clearly in the rail view. An attacker who neglects rail repair will find their supply falling further behind their spearheads with every week, while one who diligently extends the railhead keeps their armies fed as they advance.
There are also inherent penalties to model historical reality: supply efficiency falls with distance, and an advancing force pushing deep into enemy territory faces a growing logistical drag the further it gets from its railhead. This is not an obstacle to fight against so much as a rhythm to work with — the game is telling you that offensives have a natural reach, and that pausing to bring the rail forward is often as important as the attack itself.
Make rail repair a priority every single turn on the offensive. Your construction units extending the railhead are as important as your combat units, because every hex of repaired rail is more fuel and ammunition reaching your spearheads. An offensive that forgets its rail will stall no matter how many tanks it has.
HQs, depots and the supply chain
Between your rail network and your fighting units sits the command and depot structure that actually delivers supply, and managing it well is essential. Your HQs are the link in this chain: keep your combat units close to their HQ — generally within about five hexes — so that supply and support reach them reliably, and so the HQ can share the support squads units need to recover damaged equipment. The HQs themselves should stay connected back toward your railhead and depots, so the whole chain, from home front to rail to depot to HQ to unit, remains unbroken. When a unit drifts too far from its HQ, or an HQ is cut off from the rail, supply suffers immediately and combat power drains away.
The three supply types add another layer to manage. General supplies matter most to your non-motorized infantry, fuel is the lifeblood of your motorized and mechanized formations, and every combat unit needs ammunition to fight effectively. Different parts of your army therefore have different logistical needs, and a mechanized spearhead in particular is hungry for fuel in a way that foot infantry is not. Keeping the right supplies flowing to the right units — fuel to the panzers, ammunition to everyone in combat — is part of what makes logistics in this game a genuine strategic art rather than a background number.
| Element | What it does | How to manage it |
|---|---|---|
| Railhead | Furthest efficient supply point | Repair and extend rail forward every turn |
| HQs | Link supply to combat units | Keep units within about five hexes |
| Depots | Store and distribute freight | Keep them moving up behind your advance |
| Supply types | General, ammo and fuel | Match each to the units that need it |
Advancing without outrunning supply
Everything above comes together in the single most important discipline in War in the East 2: advancing in step with your supply. Because supply degrades with distance from the railhead, a spearhead that races far ahead of its repaired rail and depots will run short of fuel and ammunition and lose its combat power, exactly as historical offensives repeatedly did. The temptation to push tanks as far as they can physically move each turn is strong, but it is a trap — an overextended spearhead is a weak one, vulnerable to counterattack and unable to sustain its own attacks. The disciplined commander instead paces the advance to what logistics can support: pushing forward, then pausing to bring up rail, depots and HQs, then pushing again.
This rhythm — advance, consolidate supply, advance again — is the heartbeat of a successful campaign, and learning to feel it is what separates a commander who wins from one whose offensives peter out in the mud. When you plan a week's moves, plan your logistics alongside your attacks: where will the railhead be, are the HQs keeping up, which units are running low. A force that respects its supply lines keeps its momentum for the long haul, while one that ignores them wins a few brilliant weeks and then grinds to a halt. For turning that supplied army into battlefield victories, see our combat guide; for choosing where to practise, our scenario tier list; and if you are just starting out, the beginner guide.
Never let your spearheads outrun your railhead. It is the most common way promising offensives collapse in War in the East 2. A tank corps far beyond its supply is nearly helpless — low on fuel, short on ammunition, and easy to cut off. Advance at the speed your logistics can sustain, not the speed your units can move.