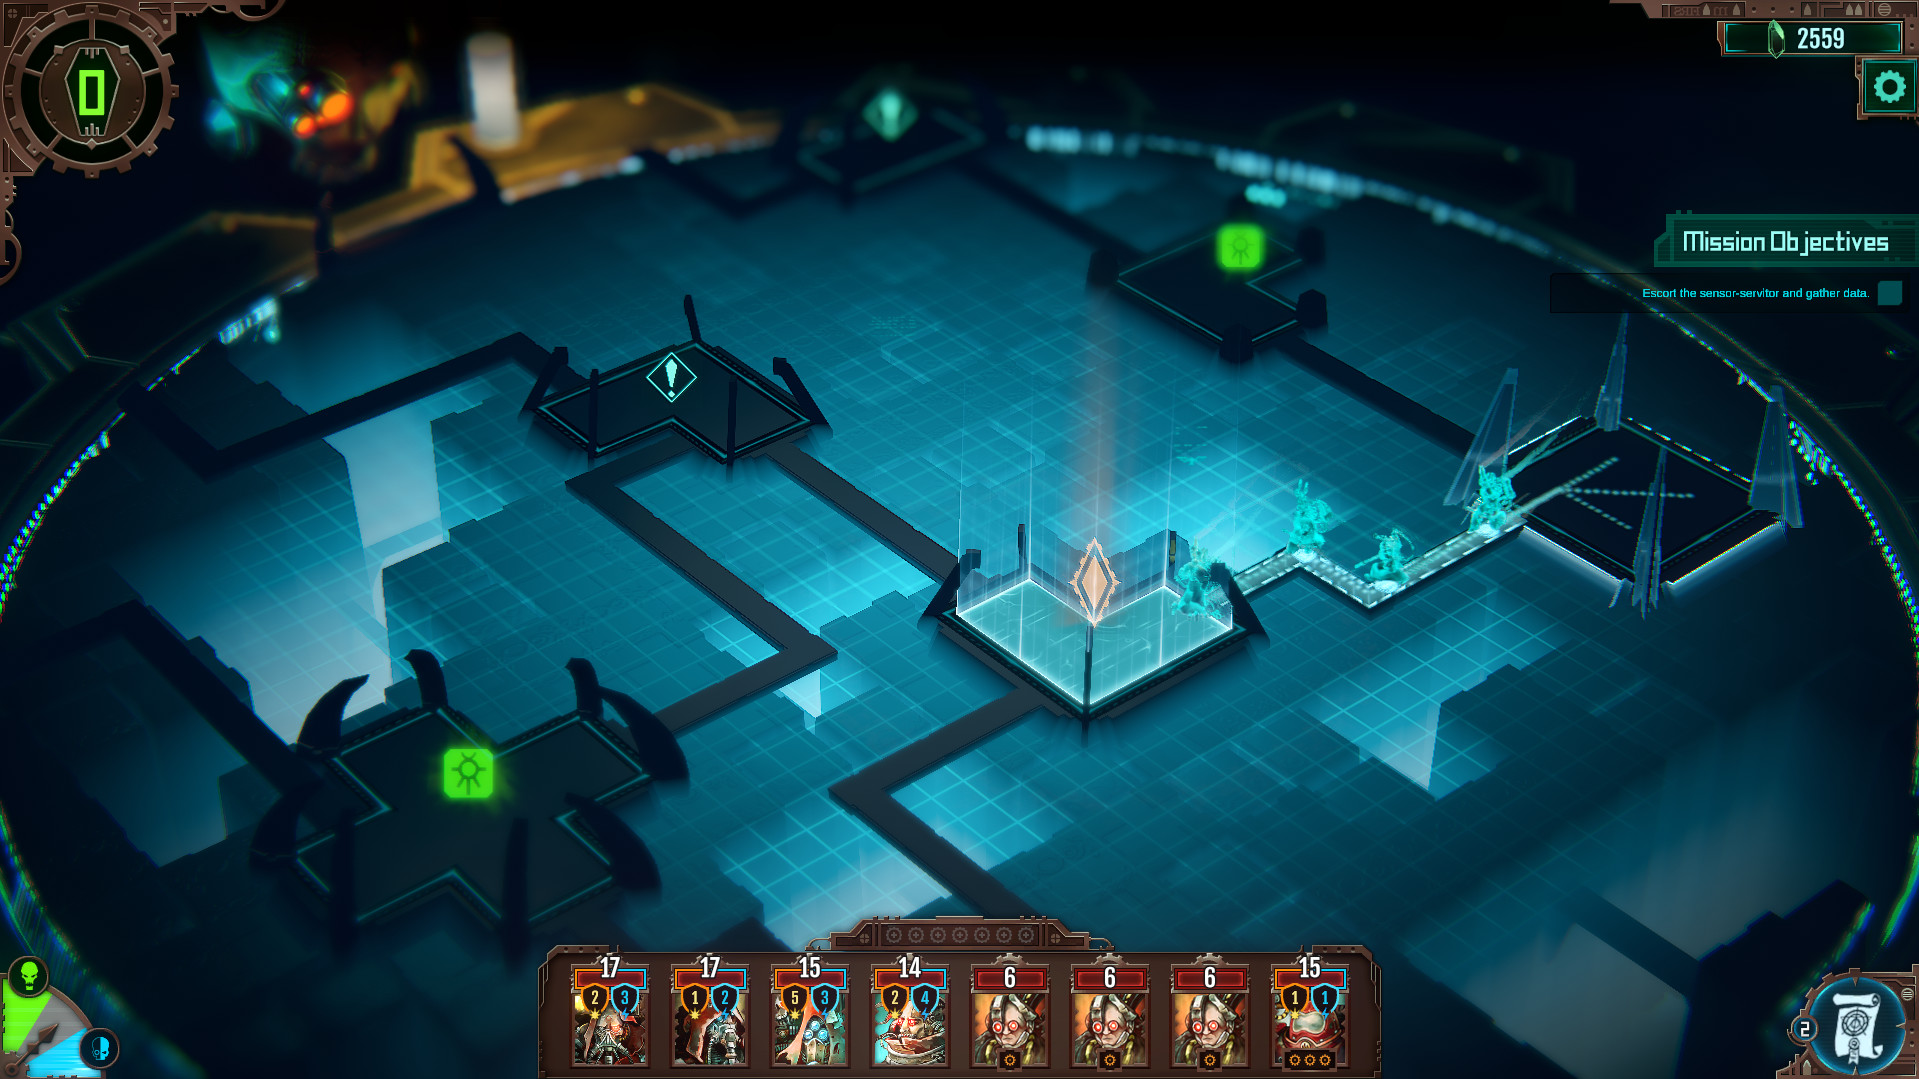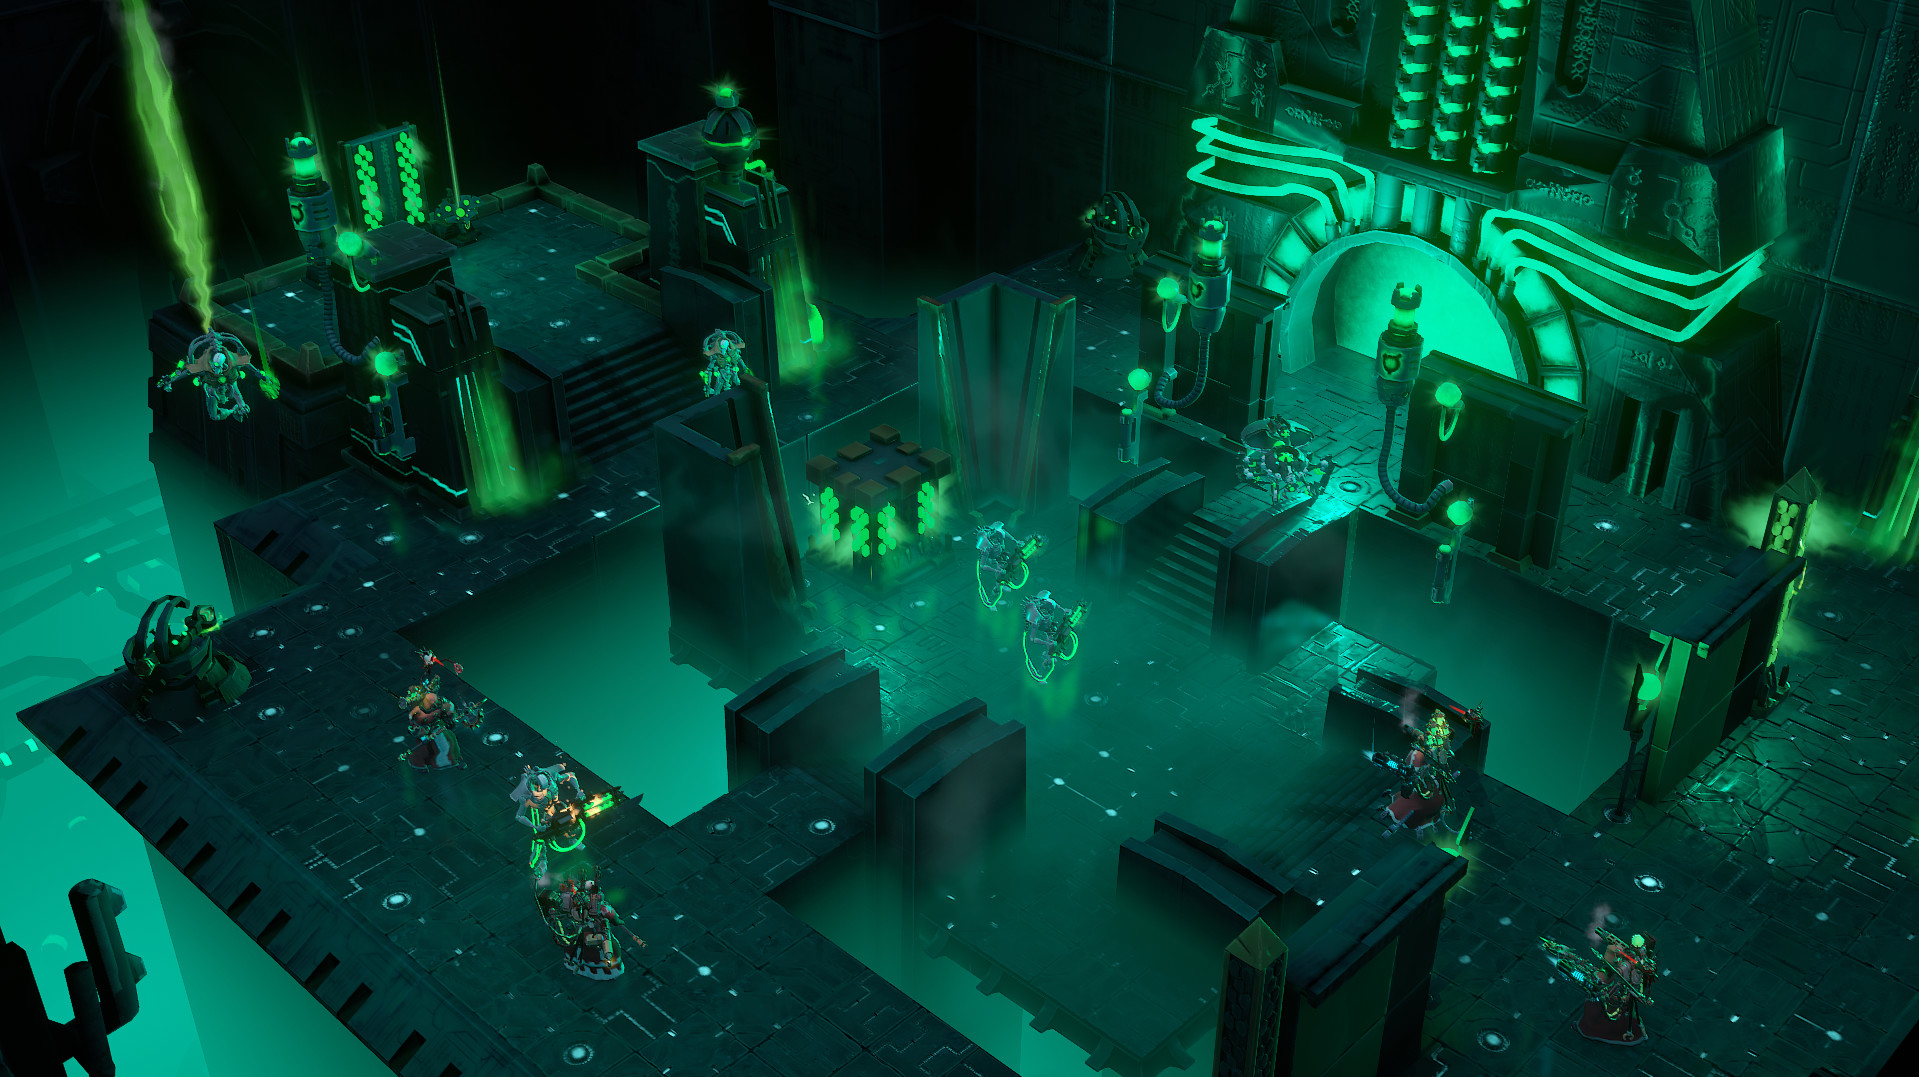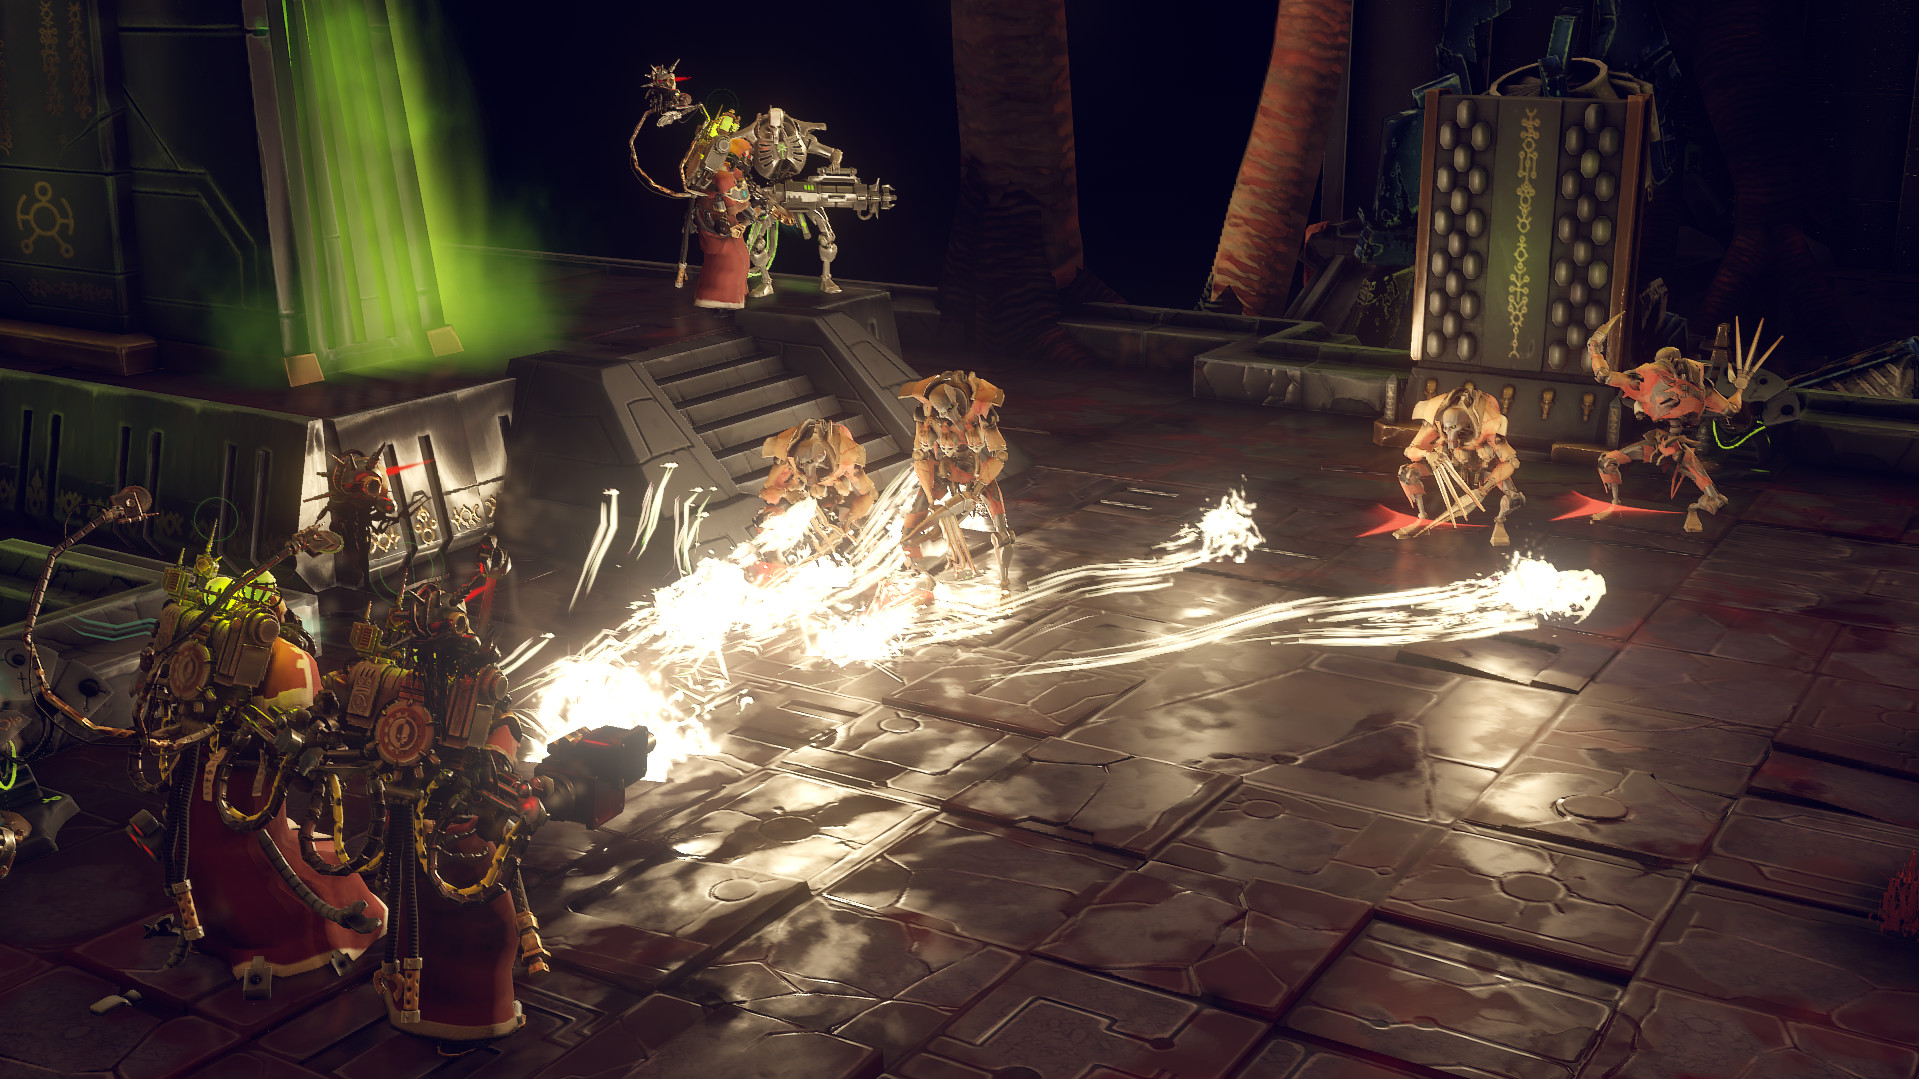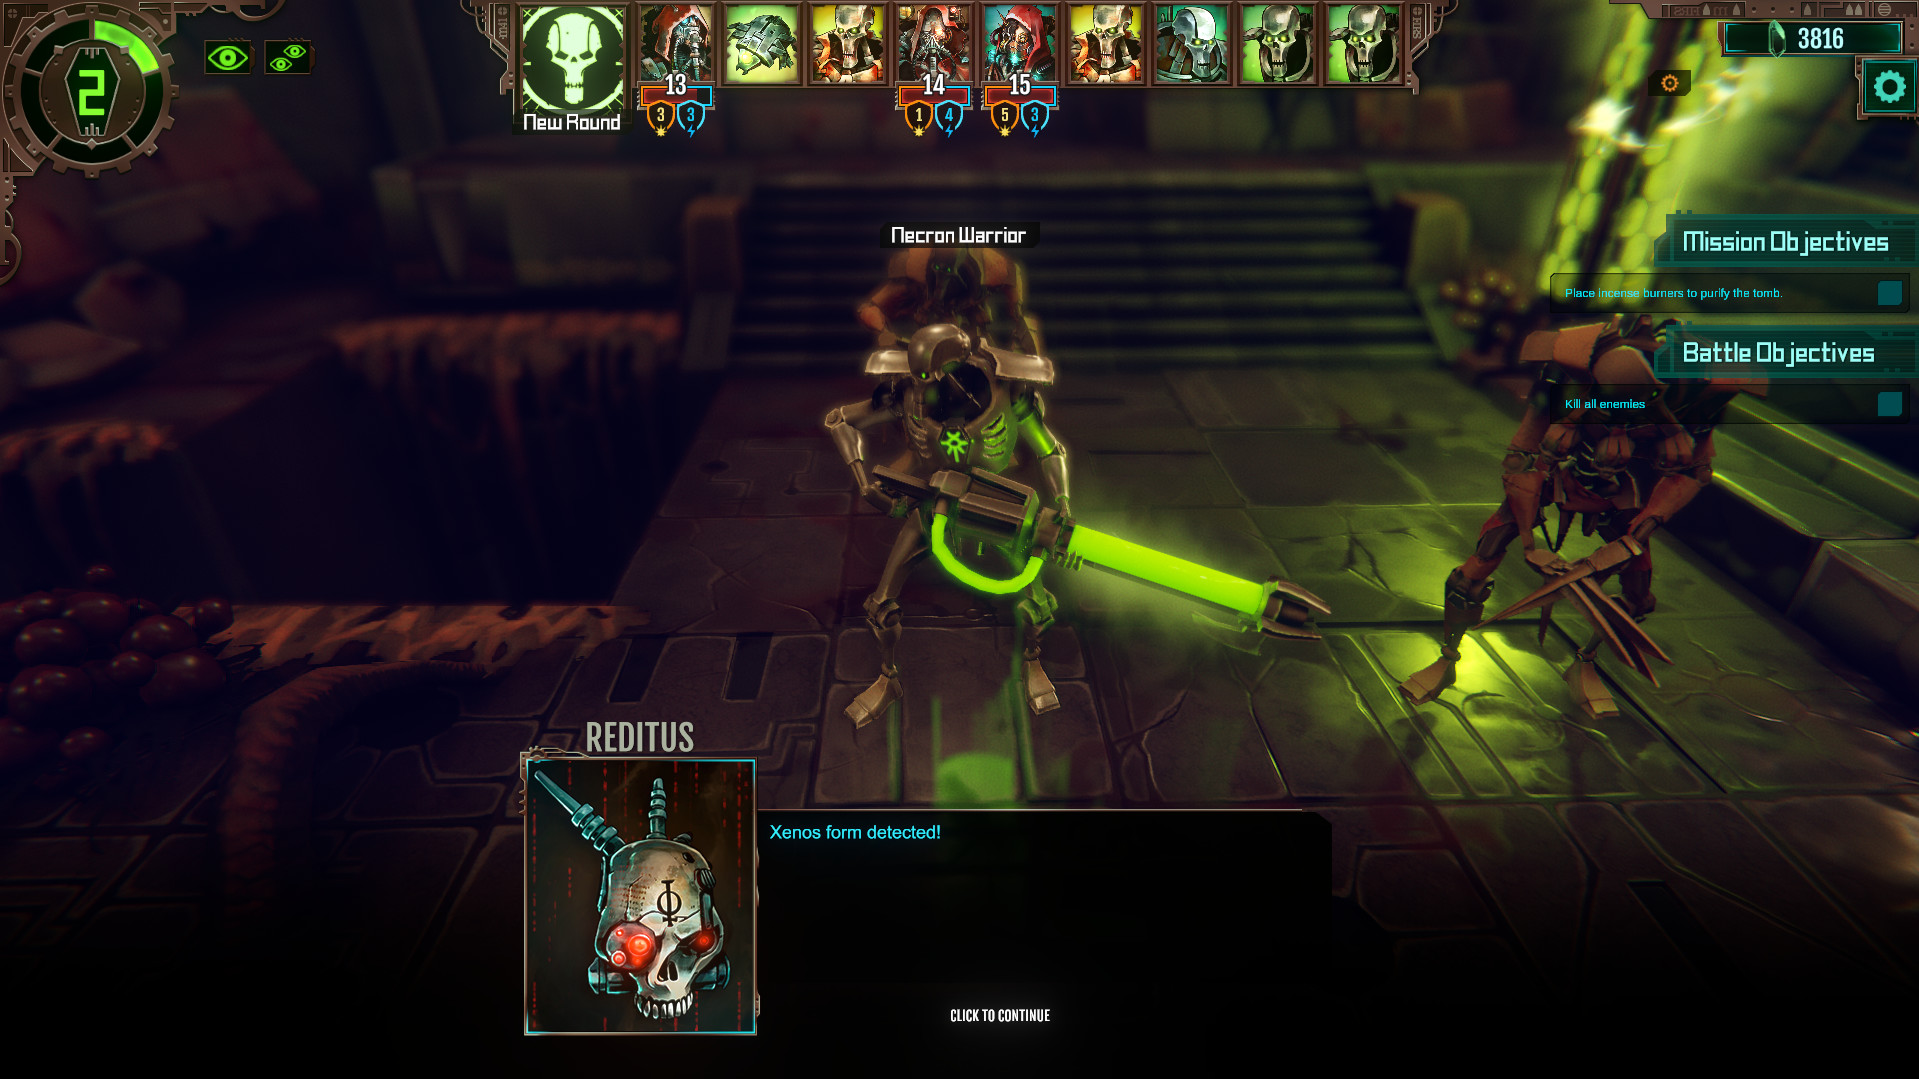
Mechanicus gives you a squad of tech-priests, a Necron tomb to dig through, and two resources it explains only in passing. Almost every difficult first campaign goes wrong in the same two places: level-ups spent on damage before Cognition, and awakening paid that did not have to be.
Both are fixable in the first hour if you know the rules.
What to do first — in priority order
| Priority | What to do | Why it ranks here | Common mistake |
|---|---|---|---|
| 1 | Spend early level-ups on Cognition | CP pays for extra movement, summoning Skitarii and firing any weapon above the starting pistol. Without it your expensive priest fires a pistol | Building a damage priest first and wondering why it does nothing for three missions |
| 2 | Send a servo-skull for distant CP | Skulls collect Cognition at range, so your priests stay where they are useful instead of walking to a terminal | Marching a priest across the map to touch a structure, paying movement and awakening for it |
| 3 | Count awakening ticks | Rooms are +2, combat turns after the first are +1, and ticks convert at one percent per full five with the remainder discarded | Full clearing every map, or sprinting and wasting the free remainder |
| 4 | Route through consoles and Combat Zones | A scanned-then-destroyed console is −2 awakening and pays Blackstone. A Combat Zone is −4 | Walking past consoles because they look like set dressing |
| 5 | Keep one priest generic for now | Level-ups cannot be reset and get more expensive as you go | Specialising all four priests in mission two on no information |
If you take one thing: Cognition before damage. Everything else on this list gets easier once your priests can actually act.
The two resources
| Resource | What it does | How you get it | What it constrains |
|---|---|---|---|
| Cognition Points (CP) | Extra movement, summoning troops, firing any weapon bigger than the starting pistol | Interacting with structures, or a servo-skull collecting at range | Everything you do inside a battle |
| Blackstone | Level-ups for your tech-priests | Finishing missions, scanning Necron consoles, killing Necrons, events | How strong your priests ever become |
They are connected by awakening. Exploring more rooms finds more Blackstone and raises awakening; awakening is the campaign's hard limit. So the whole game is one trade made repeatedly.
The awakening clock, briefly
-
1
Ticks accumulate inside a mission
Entering a new room is +2. Each combat turn after the first is +1. The higher the mission meter, the more Necrons appear and the faster they revive, so long fights cost ticks and then make themselves longer.
-
2
Two things lower it
Scanning a Necron console and then destroying it is −2 and pays Blackstone. Completing a Combat Zone is −4. Both are worth routing toward early, before you spend ticks on rooms.
-
3
At mission end the ticks round down
Every full 5 ticks becomes +1% planetary awakening, and 0 to 4 ticks costs nothing. So 10 ticks and 14 ticks cost exactly the same, and the difference is two free rooms of Blackstone.
-
4
Planetary awakening is a one-way budget
Reaching 100% before you clear the final area loses the campaign, and there is no meaningful way to spend it back down. Percent banked in mission three is percent you do not have in the finale.
The rounding is the single most useful thing to know early. Keep a running tick count — rooms are 2, combat turns after the first are 1 — and explore up to the next multiple of five. The rooms inside that margin are free.
The decisions you cannot take back
Level-up spending cannot be reset. Each level grants one augment capacity and lets you buy either one ability or one armour piece, and capacity stops growing at level 25. Armour costs one slot; equipment and weapons cost one to three.
Two consequences for a first campaign:
- An armour piece from another discipline needs that discipline's previous ability, so every outside piece is two level-ups rather than one. Taking one piece from a tree is cheap; taking pieces from four trees is not.
- Losing a priest costs 10 Blackstone per point of their maximum HP. They come back next mission, so death is a fine rather than a disaster — but it does mean the tankiest priest is the most expensive one to lose, which is a reason not to build health by reflex.
Because nothing can be reset and levels get more expensive as you go, the cheapest insurance in the game is to leave one priest deliberately unspecialised for the first few missions. You will know much more about what the campaign is asking for by mission four than you do at the faction screen.
Canticles
You take three Canticles into each mission and they are once-per-mission buffs, usable any time you can act. They are unlocked through exploration, which ties them back to the awakening budget.
The habit worth forming is holding them. A Canticle spent to finish a fight you were already winning has bought you nothing, while the same Canticle spent on the turn a fight is about to go wrong saves both the priest and the extra turns — and the turns are awakening ticks.
Five things that waste a first campaign
- Damage before Cognition. The expensive weapon does not fire without CP.
- Walking priests to CP terminals. Send a servo-skull instead.
- Not counting ticks. The rounding rule is unusable without a running number.
- Ignoring consoles. −2 awakening and Blackstone is among the best-value actions available.
- Specialising everyone early. No respec, rising costs, and you do not yet know what you need.
Once the basics are in place, the awakening guide covers the tick arithmetic in full, the discipline tier list ranks where level-ups should go, and the build guide gives three complete priests. If you have not bought it, the honest review is the place to start.