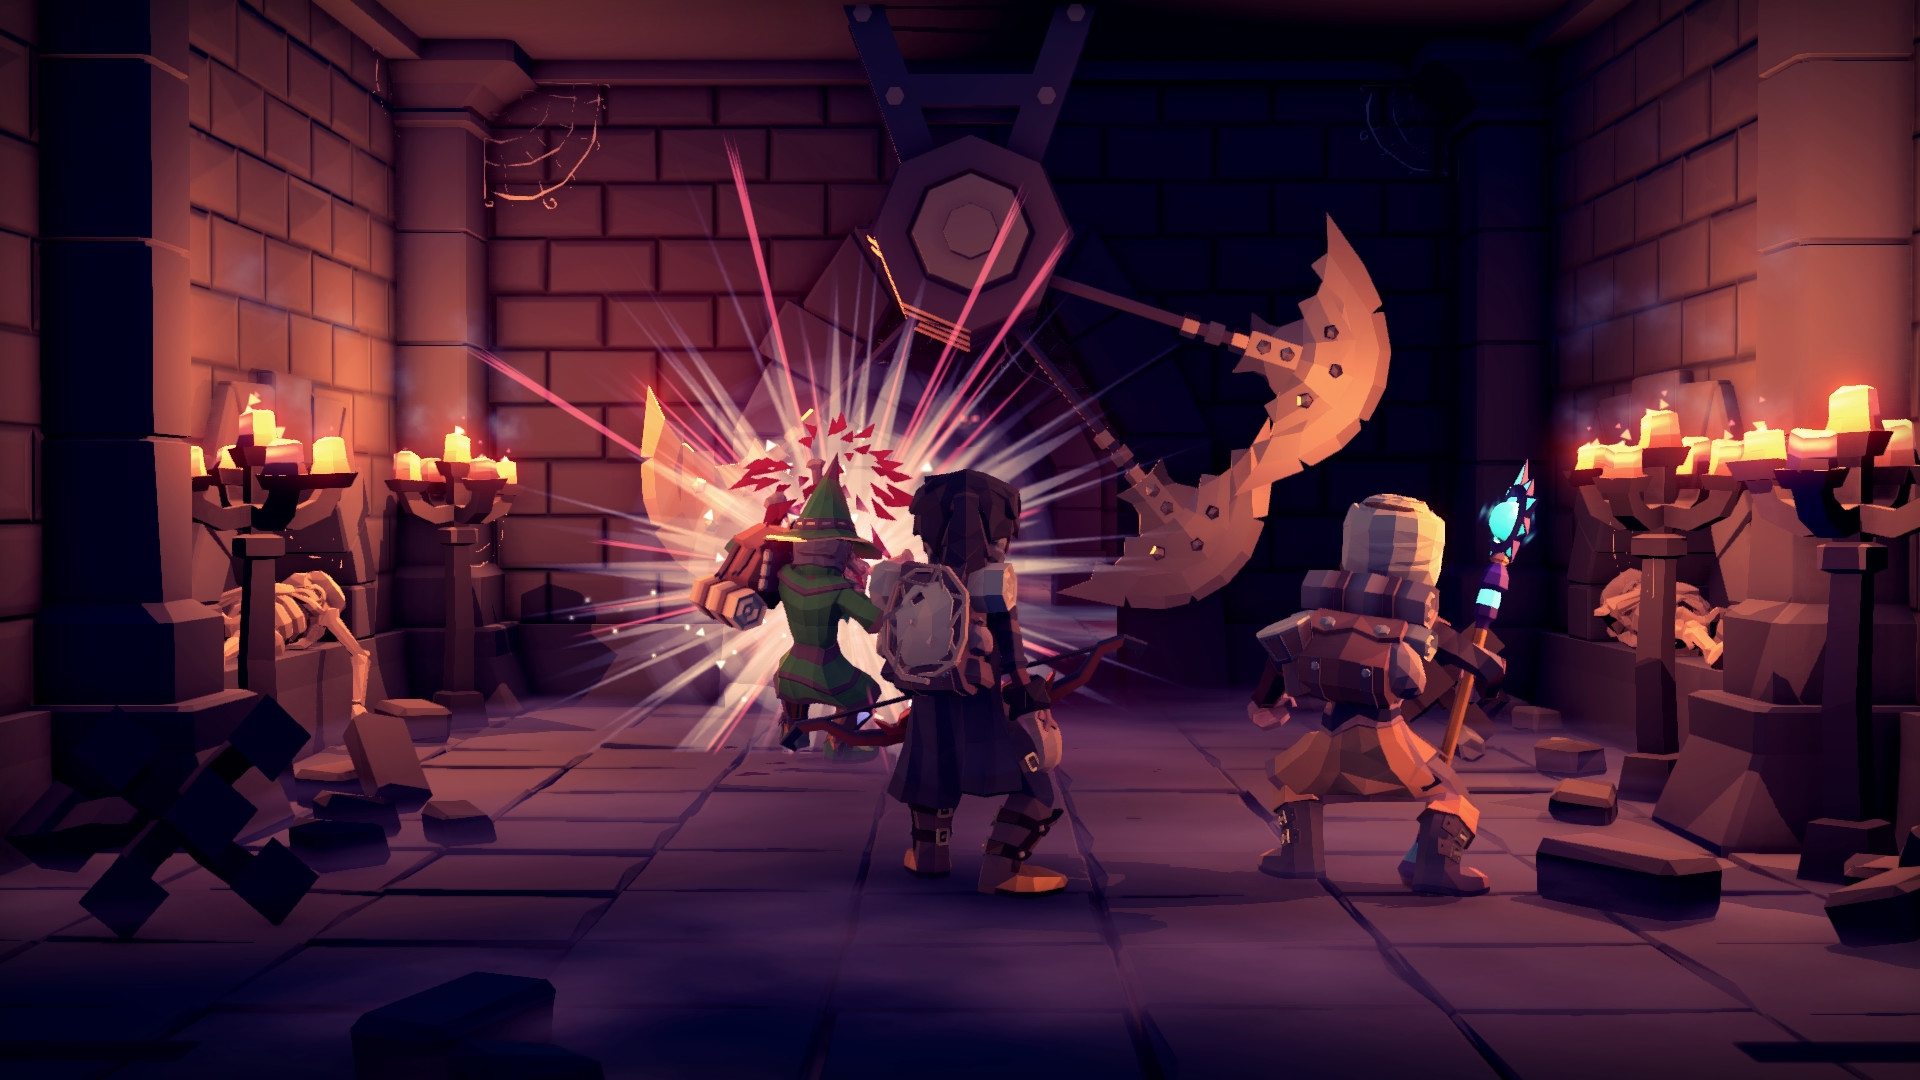
Almost every party guide for this game reaches for the same three words: tank, healer, damage. It is a reasonable instinct imported from games that work differently, and it is good enough to win on Apprentice.
On Journeyman and Master it quietly fails, because it optimises the wrong resource.
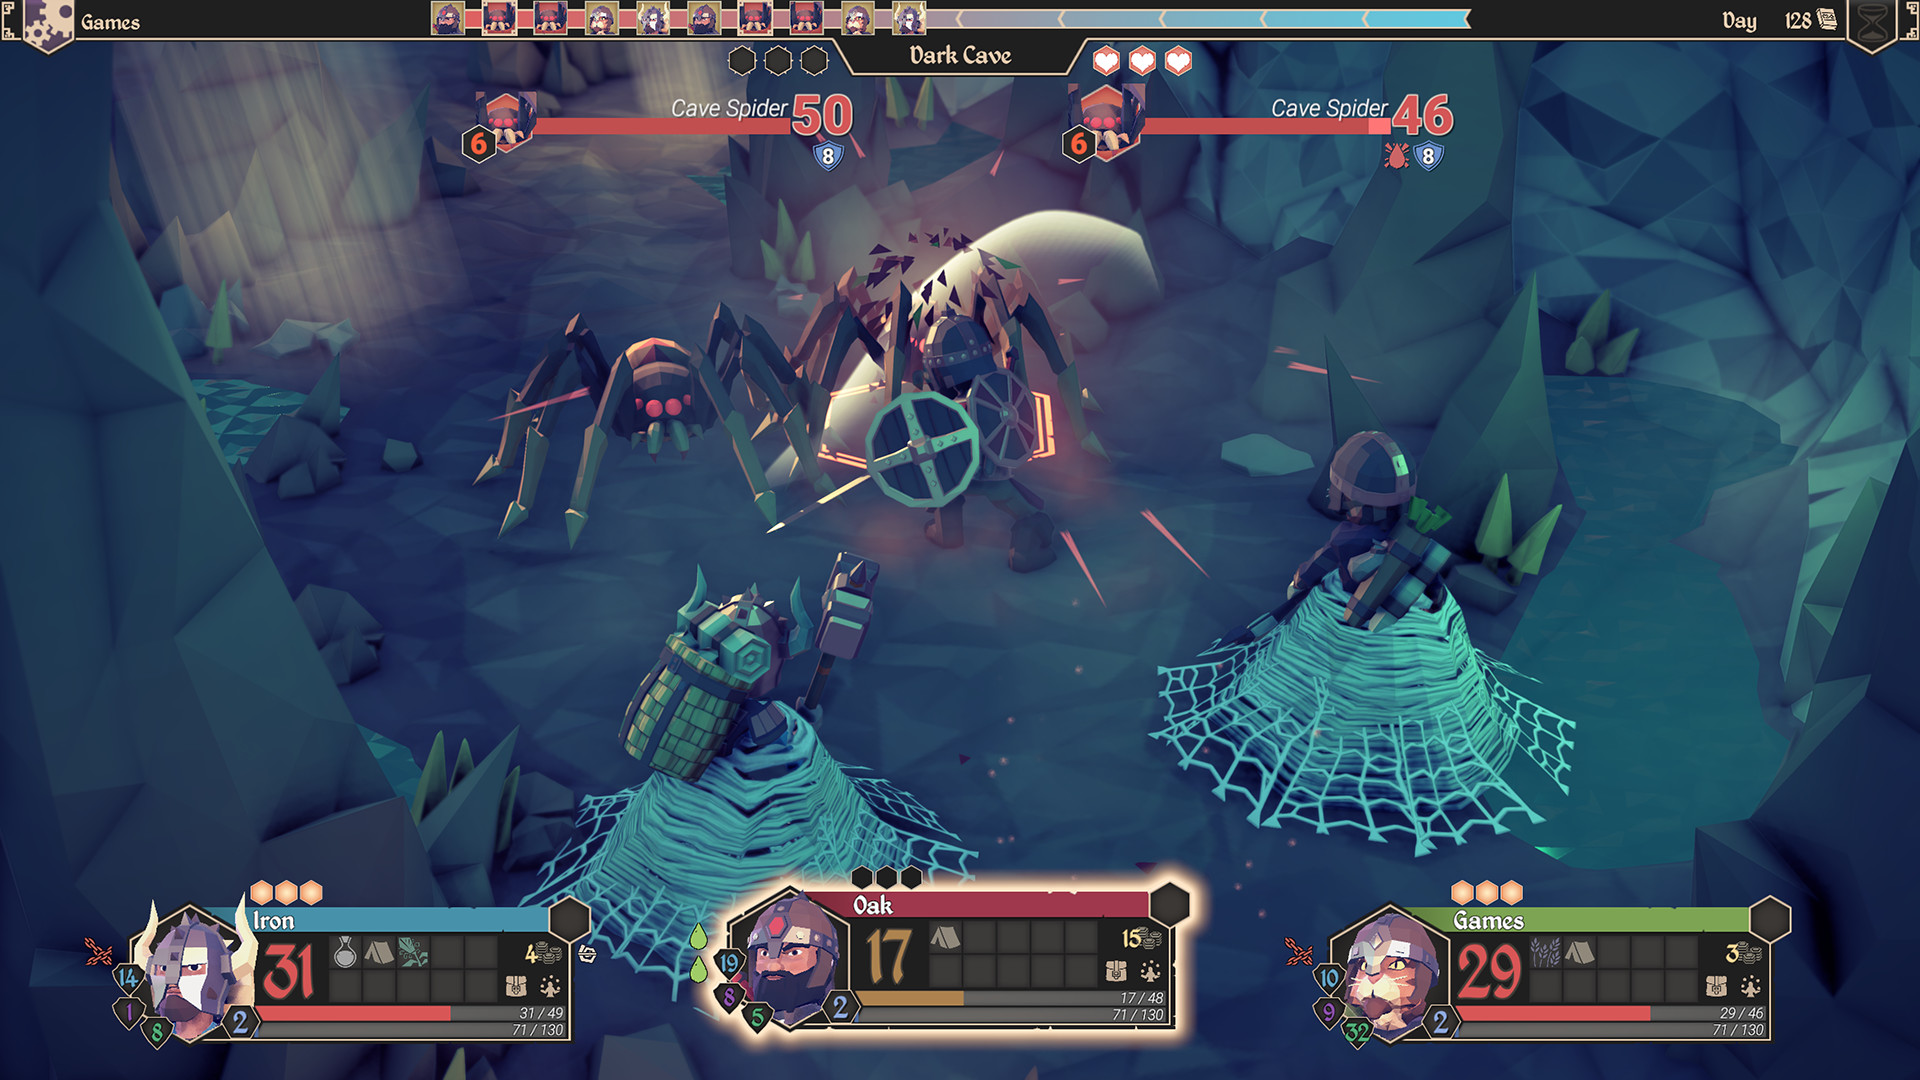
A party in For The King is three separate Focus pools paying into one adventure. Focus is what converts a chance roll into a guaranteed one, and it is spent per character on attacks, chests, traps and movement. A party that runs dry is a party rolling naturally against enemies that are not.
The three parties worth building
| Party | Lore cost | Why it works | Weakness |
|---|---|---|---|
| **Scholar + Hunter + Blacksmith** | **0** | One Focus generator, one Focus saver, one body. Refocus tops the pool up each turn, elite trap evasion stops dungeons draining it, and 33 HP with Vitality 80 absorbs what remains | No healing at all. You will spend gold on consumables |
| **Scholar + Trapper + Monk** | 28 | Two Focus engines (Refocus and Discipline) plus elite trap disarm. The least Focus-starved party in the game, and the Monk's Party Heal covers the gap | Expensive to unlock, and Strength 42, 48 and 74 means fights are slow |
| **Scholar + Scholar + Blacksmith** | 0 | Two Focus 4 pools both regenerating. Everything either character attempts can be made certain, and Intelligence 78 twice hits harder than it looks | Strength 42 twice. Against armoured enemies this party grinds |
All three keep the Scholar, and that is not laziness. It is free at 0 Lore, it has Focus 4 where most of the roster sits at 3, and Refocus is one of only two skills in the game that regenerates Focus. The other is the Monk's Discipline, which costs 18 Lore to unlock.
Build around the budget, not the roles
-
1
Take at least one Focus generator
The Scholar (Refocus) or the Monk (Discipline). Without one, your party's certainty only ever goes down between towns, and the last fight of a dungeon is fought on raw dice.
-
2
Take at least one Focus saver
The Hunter's elite trap evasion, the Trapper's elite trap disarm or the Woodcutter's elite door bash. Focus you never spend is identical to Focus you gained, and dungeons are where the pool actually disappears.
-
3
Take one character who can be hit
The Blacksmith at 33 HP and Vitality 80, or the Woodcutter at 32 and 74. Somebody has to be the answer when the fight cannot be avoided, and the Scholar at Strength 42 is not that answer.
-
4
Fill healing with gold, not with a slot
A dedicated healer is a convenience rather than a requirement. Consumables and inn visits cover most of it, and the slot is usually better spent on a second Focus source.
Duplicates are legal and sometimes correct
There is no rule against bringing the same character twice, and the game does not penalise it.
Two Scholars is the clearest case. You get two pools of Focus 4, both running Refocus, and two characters with Intelligence 78. The party has Strength 42 twice and no healing, which sounds fatal until you notice that both characters can guarantee almost every roll they attempt. Fights end before the missing Strength matters.
The mirror case is worse: two Blacksmiths gives you 66 HP of wall and Intelligence 40 twice, which means neither character can reliably do anything except stand there.
Party size is a real decision
You may bring one, two or three characters.
| Size | What you gain | What you lose |
|---|---|---|
| **Three** | Three Focus pools, three actions per round, the widest coverage | Experience and loot split three ways |
| **Two** | Faster levelling, better equipment on both, simpler positioning | A whole Focus pool and an action every round |
| **One** | The fastest levelling and the best gear in the game | Everything else. Any bad fight is the end |
Fewer characters is not purely a handicap — the concentration of experience and loot is genuine. What it costs is the resource that matters most, so try it after you have won at least once, not as a way of making a first campaign feel more interesting.
Practical details people miss
Trade before you meditate. Characters can exchange items and gold when within one hex of each other, and maximum-Focus equipment can be passed to whoever is about to use a town meditation service. Meditation restores Focus fully without ending the turn, so filling a temporarily larger tank and then passing the gear back is real value — especially since Focus converts into movement points.
- Layout matters. Position decides who gets attacked and which support abilities reach. Keep the Blacksmith, with Evasion 7, where it will absorb hits, and do not park the Herbalist at 30 HP in the path.
- Apprentice gives everyone +5 to base stats. If you are learning, the difference between difficulties is larger than the difference between most characters.
- An adventure consumes its heroes. Once a run ends, win or lose, those specific characters cannot be carried into a future adventure.
Common mistakes
- Building tank, healer, damage. It is the wrong axis; build for Focus.
- Skipping a Focus generator. Only the Scholar and Monk have one.
- Treating duplicates as a gimmick. Two Scholars is a real party.
- Dropping to two characters early. The levelling is tempting and the missing pool is not.
- Meditating before moving gear. Raise the maximum first, then fill it.
Why Focus decides everything, including its cap of nine and the weapons that disable it, is in the Focus guide. Every character's full stats are in the class tier list. New players should start with the beginner guide, and the honest review covers whether the campaign is worth the time.