Combat is about range and choices, not just firepower
Ship combat in Star Traders: Frontiers looks simple and is anything but. It is turn-based and fought across range bands, and the player who controls the range and spends their Reactor Points wisely usually wins, regardless of who has the bigger guns. Just as importantly, you are not always trying to blow the enemy up — you can destroy, cripple, capture or force a surrender, and the outcome you choose changes how you should fight. Master the three levers below — range and Reactor Points, weapons by range, and boarding — and combat turns from a nervous gamble into a tool you wield deliberately.
The mindset that matters most: decide what you want from a fight before you commit, then control the range to make it happen.
Combat usually opens at long range. From there you choose your approach — fight at distance, close to board, or escape — and every turn is a question of how to spend your limited Reactor Points to push that plan.
Lever 1 — range bands and Reactor Points
Every turn, you spend Reactor Points to act: advancing or retreating to change the range, firing weapons, and triggering crew talents. The key subtlety is that holding your distance — issuing no movement order — costs nothing, which frees up points for weapons and abilities. So range is a resource you manage, not a state you drift through. Closing the distance lets shorter-ranged guns and boarding come online but spends points and exposes you; holding at long range keeps you safe and conserves points for torpedoes. Thinking about each turn as a budget — "do I move, shoot, or hold and save points?" — is the foundation of good ship combat.
Your Tactics and Command skills feed this directly: Tactics provides dice for changing range, escaping and boarding as well as attacking, while Command supplies defensive dice. A crew strong in both can dictate the range and protect itself, which is exactly what you want.
When in doubt, hold distance rather than charging in. Issuing no move order is free and lets you pour Reactor Points into weapons or talents. Close the range only when you have a reason — to bring guns online, to board, or to finish a crippled foe.
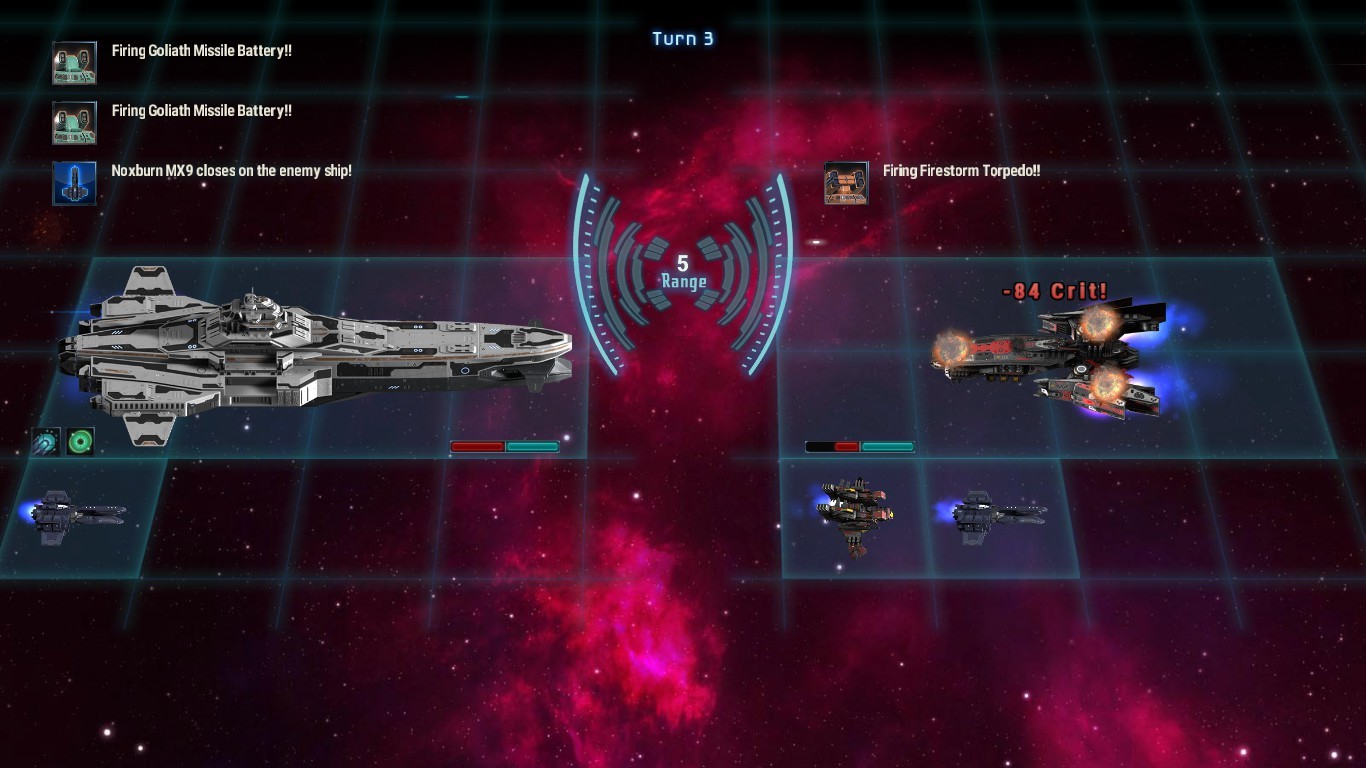
Lever 2 — torpedoes versus guns
Weapons work at different ranges, and using the right one for the range is half of winning. Torpedoes shine at long range, crippling enemy ships where many weapons simply cannot reach. That makes them ideal for softening a target safely from afar before you ever close. Guns and shorter-ranged weapons then finish the job once you have the range advantage. A reliable approach is to sit at long range, cripple the enemy with torpedoes, and only then decide whether to close and finish it, board it, or let it surrender. Because many human ships carry few weapons that work at the closest ranges, controlling distance can let you fight on terms where the enemy can barely shoot back.
The lesson is to match your weapon loadout and your range plan. A torpedo-heavy ship wants to hold long; a gun-heavy ship wants to close. Know which you are, and steer the range accordingly.
| Approach | Range | How it works | Best outcome |
|---|---|---|---|
| Torpedo cripple | Long | Wear the enemy down where guns cannot reach | Safe setup, capture or surrender |
| Gun duel | Close | Trade fire with the range advantage | Destroy or cripple |
| Hold distance | Any | Skip moving to save Reactor Points | Conserve points for weapons or talents |
| Boarding | Close | Send crew to kill the enemy captain | Fast win, capture intact |
Lever 3 — boarding to end fights fast
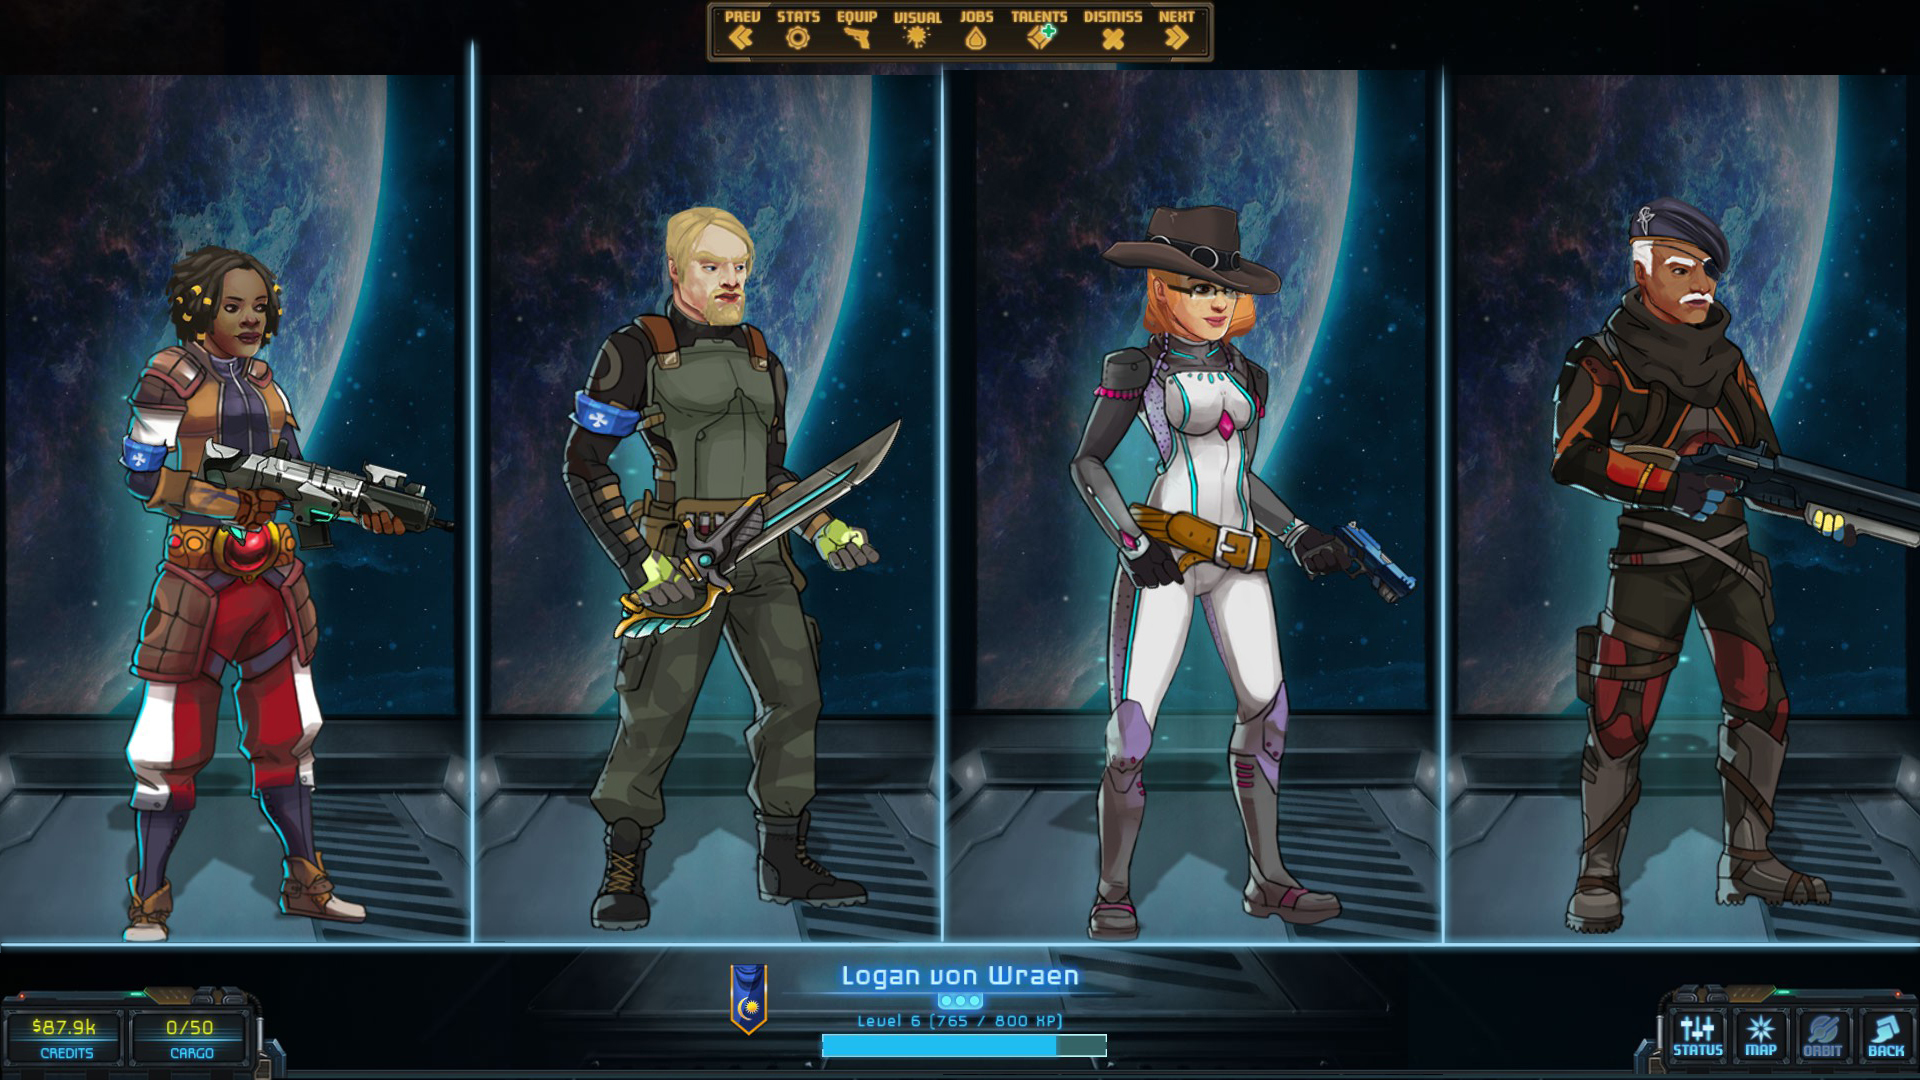
Boarding is the great equaliser. Instead of trading blows in a weapons duel you might lose, you close the range and send your crew aboard the enemy ship for a tactical, crew-versus-crew fight — and killing the enemy captain can end the whole battle outright. This makes boarding invaluable when you are outgunned: rather than dying slowly to a stronger ship, you close in and kill its leadership. It is also the cleanest path to capturing ships in good condition, since you disable the crew rather than wrecking the hull. Soldiers and Swordsmen are your boarding specialists — Soldiers bring powerful talents that hit the enemy crew hard, while Swordsmen buff and attack at once — so a crew built to board can punch well above its weight.
The trade-off is that boarding puts your crew at risk in melee, so you want capable fighters and good talents before you rely on it. Used well, though, it is often the fastest and most profitable way to end a fight.
Choosing your outcome and putting it together
Before and during a fight, decide what you actually want. Destroying a ship is simplest but leaves nothing to claim. Crippling it sets up a capture or surrender. Capturing a ship intact is lucrative but pointless if it is so damaged that repairs cost a fortune and weeks of time — so aim to capture ships in relatively good condition, usually through a fast boarding action rather than a prolonged bombardment. Forcing a surrender can spare you a grinding fight entirely. The best captains pick the outcome first and then control range, weapons and boarding to achieve it.
Put together, a model battle often looks like this: open at long range, cripple the enemy with torpedoes while holding distance to save Reactor Points, then close and board to kill the captain and capture the ship before it is wrecked. Pair these tactics with a crew built for the job — see our jobs tier list — and the income to sustain it from our trade and contracts guide. If you are still finding your feet, the beginner guide covers when to fight and when to run.
Do not trade blows with a ship that has better dice pools and weapons than you. If you are outgunned, either escape or close in and board to kill the captain — a stand-up weapons duel against a stronger ship is how good crews get killed.