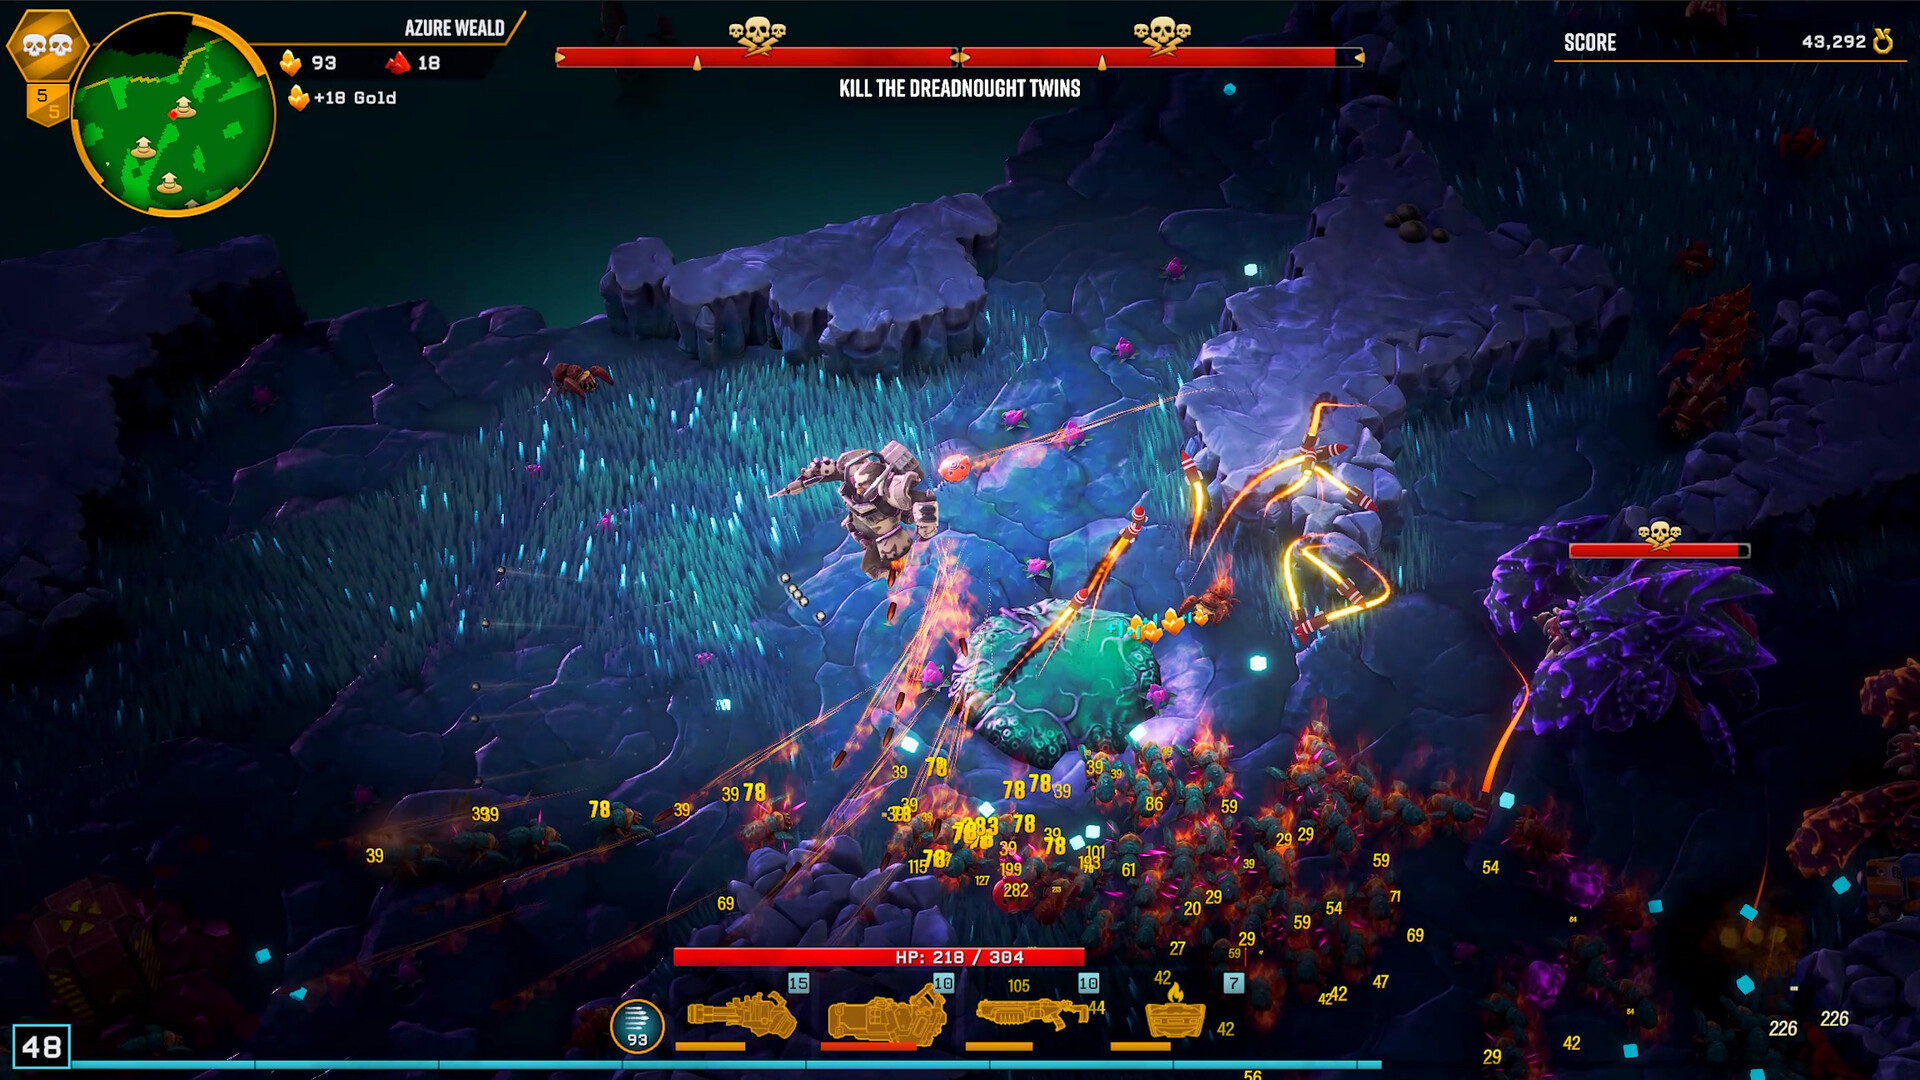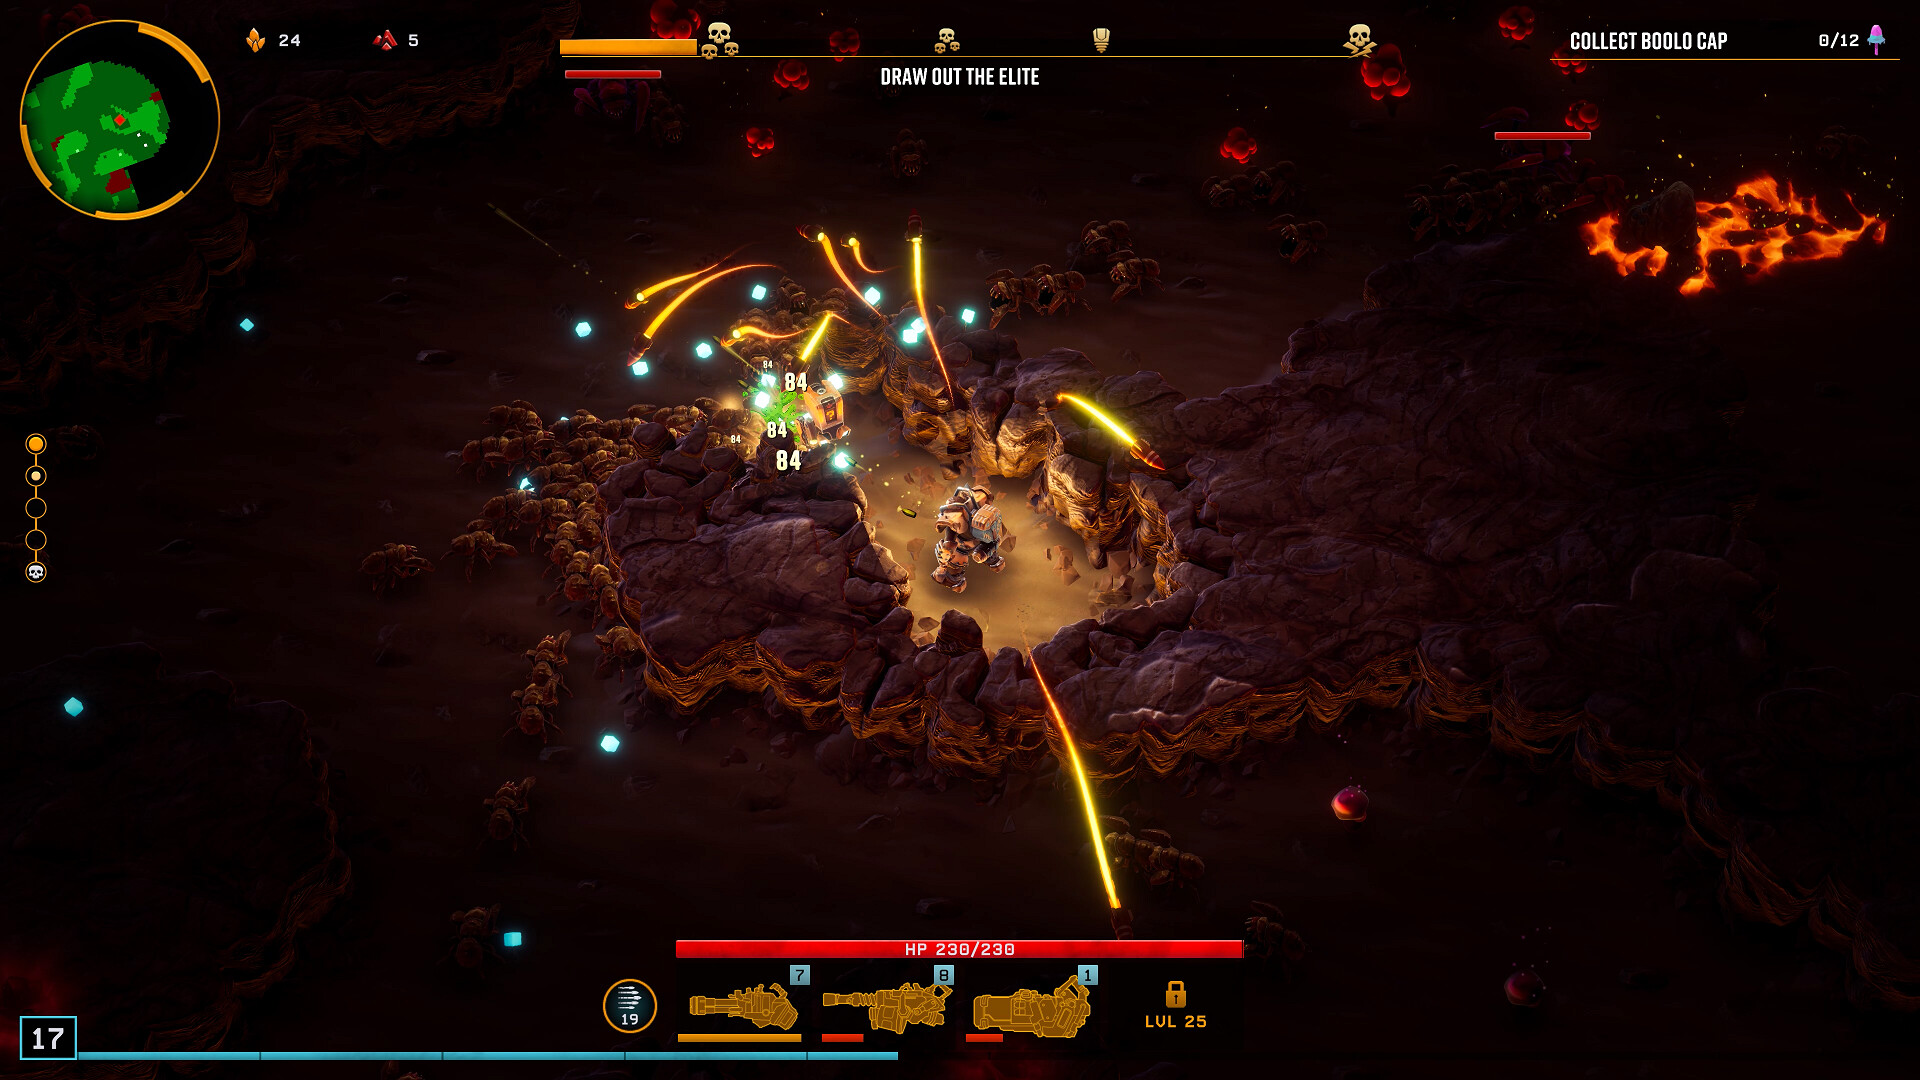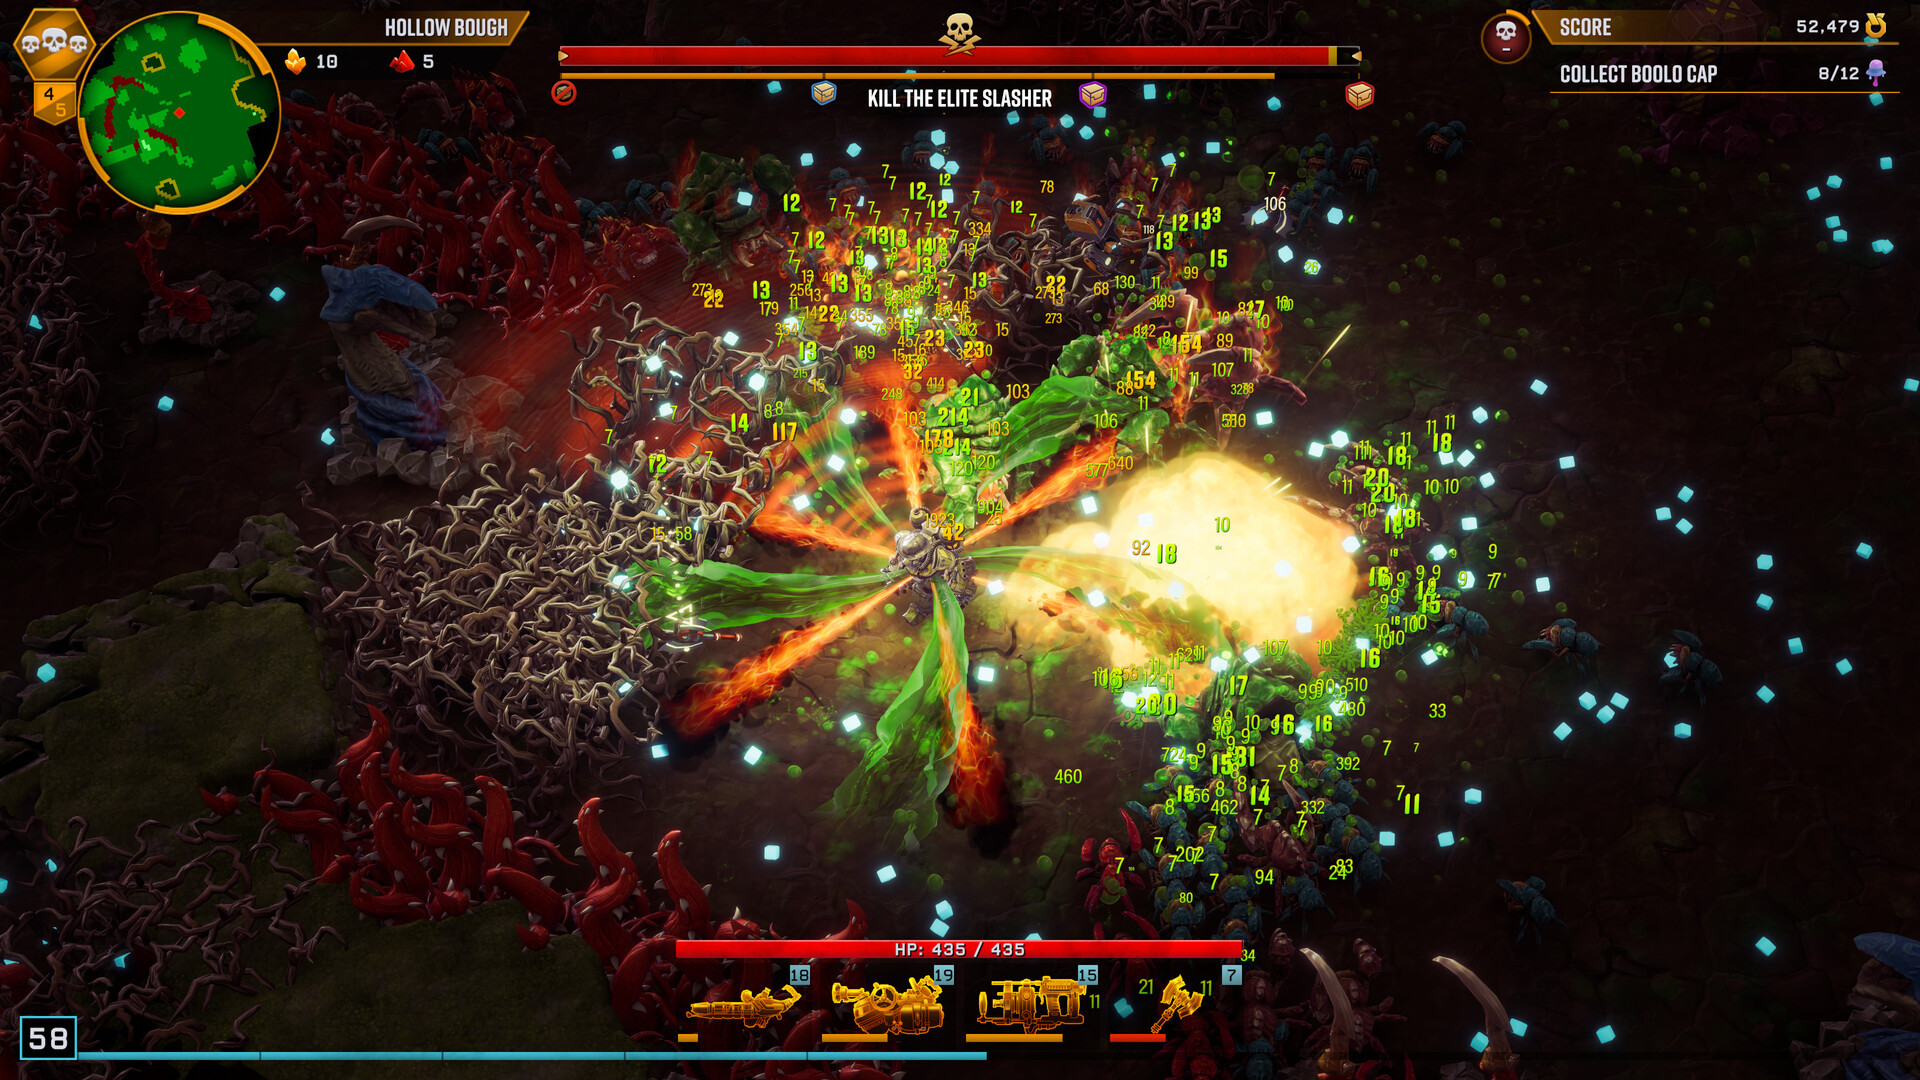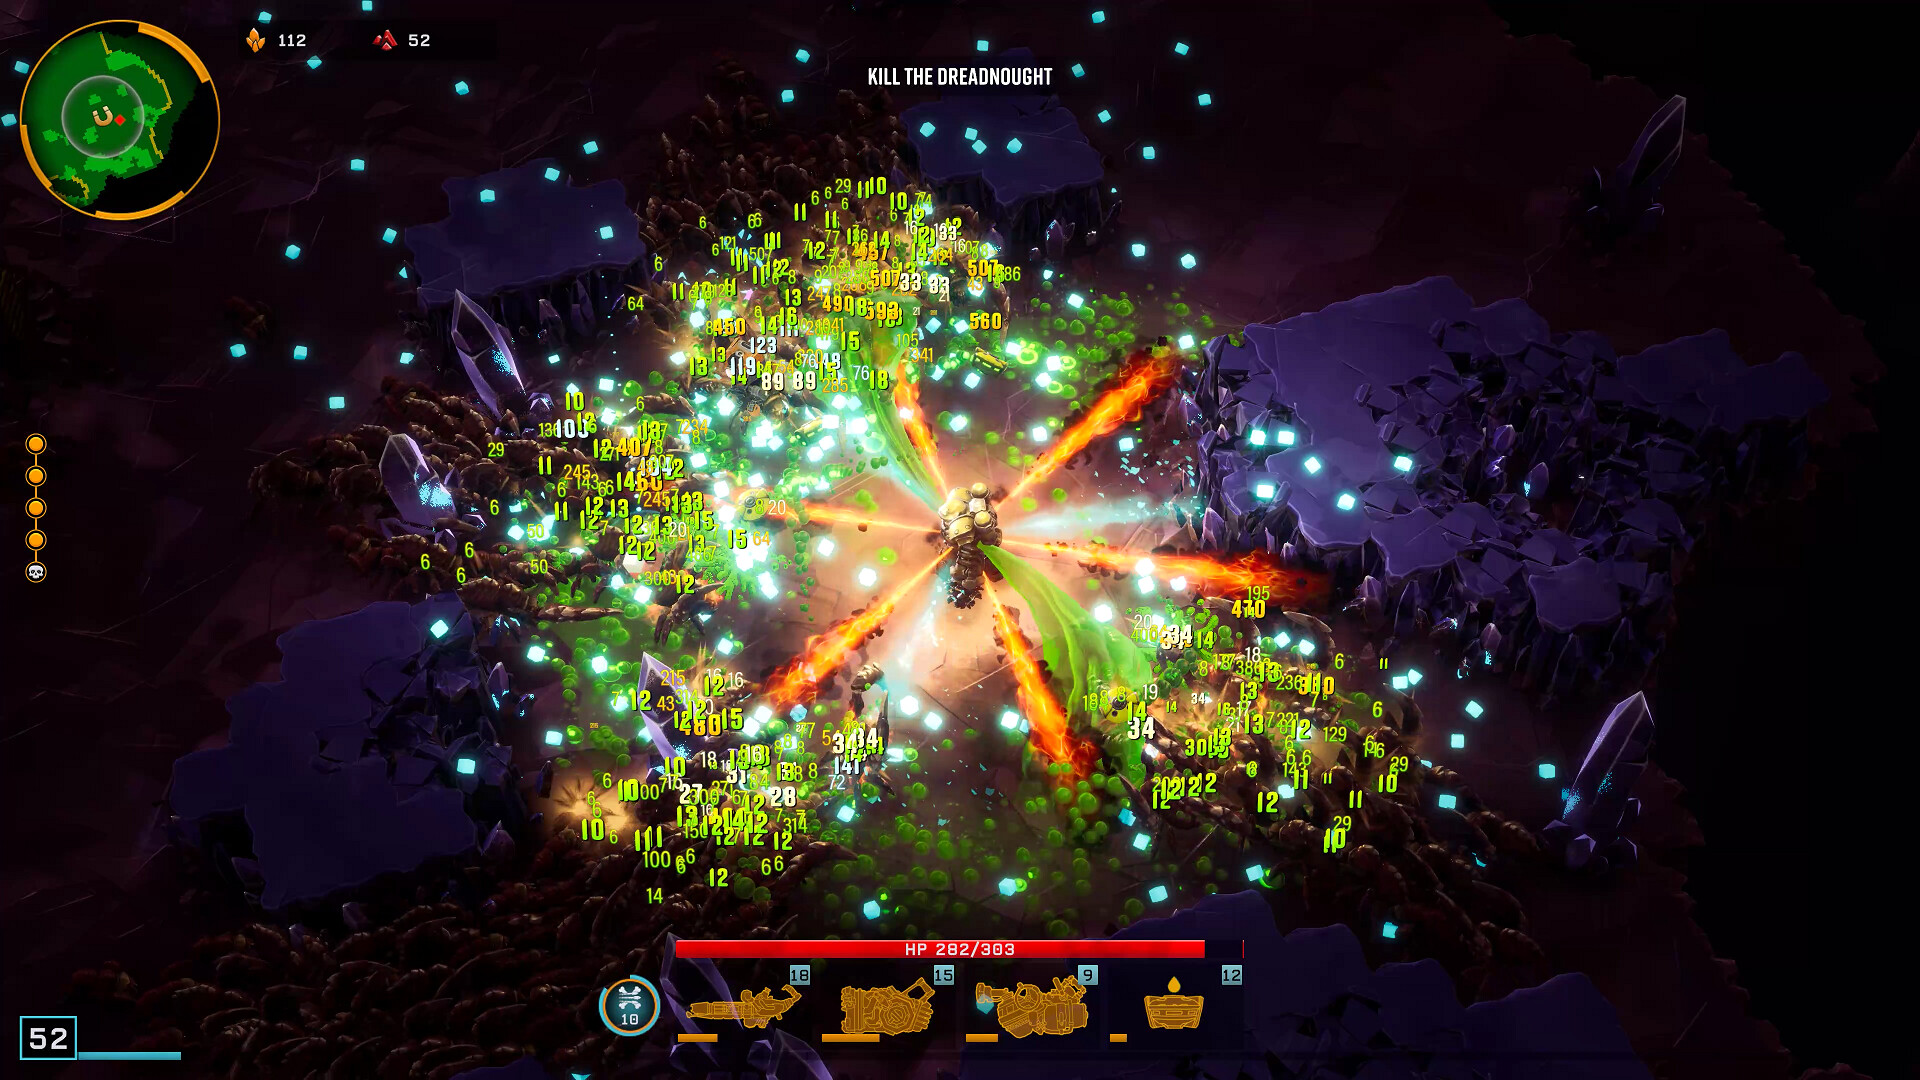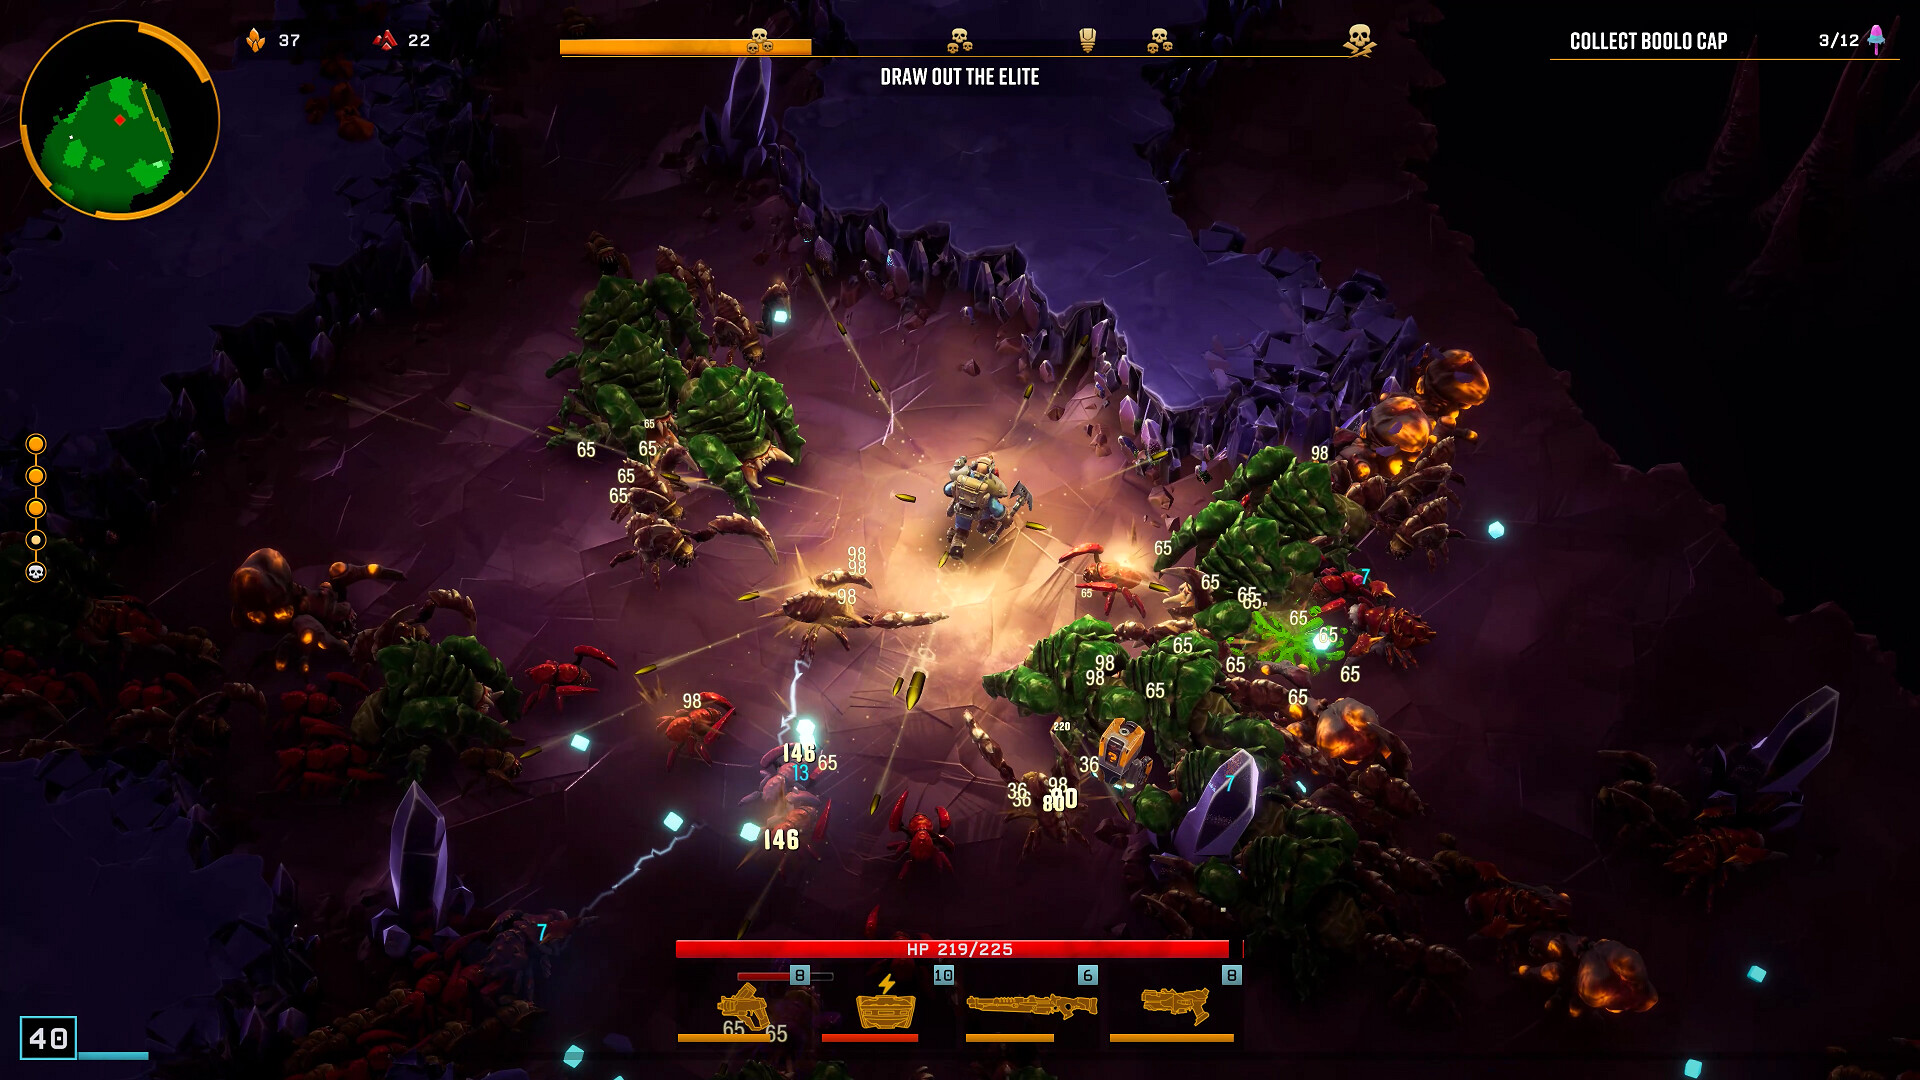
Deep Rock Galactic: Survivor gives you five classes with three class mods each, and the class mod — not the class — is what you are really choosing. It sets your starting weapon, it often sets which weapon families you will be offered for the rest of the dive, and it applies a permanent bonus from the first second to the last.
This guide ranks all fifteen, then lists every one with its starting weapon, bonus and unlock rank so you can see the whole board.
Which class mod to take — ranked
The ranking below uses one test: does the bonus compound as the dive goes on, or is it the same number on stage five that it was on stage one? In a survivor-like where you are fighting an ever-growing horde on a timer, a bonus that grows is worth more than a larger flat one.
If you want one answer: unlock the Engineer and grind it to rank 9 for Tinkerer. If you are dying rather than clearing slowly, take Juggernaut instead — the two sit at the top for opposite reasons, and which one is right depends on which problem you actually have.
Every class mod, with its starting weapon and unlock
Class mods unlock at that class's rank 9 and rank 18, not your overall player rank, so working toward a specific mod means diving as that class.
| Class | Class mod | Starting weapon | Bonus | Unlock |
|---|---|---|---|---|
| Scout | Classic | Deepcore GK2 | +10% Move Speed, +15% HP | Available from the start |
| Scout | Recon | Zhukov NUK17 | +25% Dodge, speed and reload after dodging; light weapons | Scout rank 9 |
| Scout | Sharp Shooter | M1000 Classic | +15% Critical Chance, +50% Critical Damage, overkill explosions | Scout rank 18 |
| Gunner | Weapons Specialist | "Lead Storm" Powered Minigun | All projectile weapons; burst every 100 shots | Player rank 3 |
| Gunner | Juggernaut | "Bulldog" Heavy Revolver | +10 Armor, +50 Max HP, damage stacks when hit | Gunner rank 9 |
| Gunner | Heavy Gunner | "Thunderhead" Heavy Autocannon | +25% Weapon Range, +25% Reload Speed | Gunner rank 18 |
| Engineer | Maintenance Worker | LMG Gun Platform | +10% Damage and +10% Reload for constructs | Player rank 5 |
| Engineer | Tinkerer | "Warthog" Auto 210 | Weapons start at level 3, +10% XP Gain | Engineer rank 9 |
| Engineer | Demolitionist | Deepcore PGL | +20% Explosion Radius, +20% Reload; all explosive weapons | Engineer rank 18 |
| Driller | Foreman | Subata 120 | +2% Mining Speed, stacking up to 25 times | Player rank 7 |
| Driller | Interrogator | CRSPR Flamethrower | +100% Status Effect Damage, -30% Damage; fire and acid weapons | Driller rank 9 |
| Driller | Strong Armed | Impact Axe | +20% Weapon Range; throwables | Driller rank 18 |
| Demolisher | Contractor | Dragonstorm Incinerator | +20% Armor, +20% Pickup Radius, +5 Life Regen, +10% Max HP | Player rank 9 |
| Demolisher | Gridrunner | Twincoil Arc Burster | +10% Armor, +30% Pickup Radius, +5 Life Regen, +20% Potency | Demolisher rank 9 |
| Demolisher | Operator | Slither Drones | +20% Armor, +20% Pickup Radius, +5 Life Regen, +20% Lifetime | Demolisher rank 18 |
Why "compounding" is the right test
It is tempting to rank these by the size of the number. Heavy Gunner's plus 25 percent reload looks stronger than Tinkerer's plus 10 percent XP, and on the first stage it is.
But a dive is five stages, and the shape of the run is that enemy pressure rises the whole way while your build is assembled in pieces. A bonus that makes your build assemble faster is worth more at the end than a bonus that makes your current weapon slightly better, because by the end the difference is an overclock you have and would not otherwise have had.
That is the whole reasoning behind Tinkerer at the top. Three free weapon levels and faster XP means the level 6 overclock arrives while it still matters, and in a good run the level 18 Unstable overclock arrives at all.
Overclocks are chosen at weapon level 6 and 12 (balanced options) and at level 18 (a powerful "Unstable" option). Anything that speeds up weapon levelling is really an overclock-timing bonus in disguise.
The survivability tier, and when to take it
The second thing that ends dives is simply dying, and the game gives you two clean answers.
Juggernaut is the aggressive one. Plus 10 armor and plus 50 max HP is a real buffer, and the stacking damage bonus on being hit means a bad stage makes you more dangerous rather than only weaker. It is the mod to take when you keep reaching stage four and losing there.
The Demolisher class is the patient one. All three of its mods carry plus 5 life regen alongside armor and a large pickup radius bonus, and constant regeneration changes how a horde game feels — chip damage stops accumulating into a death. Contractor is the most forgiving single loadout in the game for that reason, even though no Demolisher mod tops the ranking.
The pickup radius line on the Demolisher mods deserves more credit than it usually gets. A larger radius means you collect more of what drops without changing your route, which means more upgrades taken per stage, which compounds exactly the way Tinkerer's does — just more quietly.
The two traps
Interrogator's minus 30 percent damage is not a formality. The mod is built for a fire and acid run, and inside that run plus 100 percent status damage is enormous. Outside it you are simply playing the game at 70 percent damage. Decide before you dive, and then take the status weapons the game offers you rather than the interesting projectile one.
Construct and position bonuses fight the game's core loop. Maintenance Worker buffs turrets and drones, which are anchored to where you placed them, in a game whose fundamental verb is moving away from where you are standing. It is not unusable, but it asks you to play against the grain, and at higher hazard levels the grain wins.
Bringing it together
Five classes, fifteen mods, and one question: does the bonus grow? Tinkerer grows the fastest, which is why it tops the list. Juggernaut and the Demolisher mods buy you the time to let anything grow at all. Sharp Shooter and Demolitionist are what you take once surviving is no longer the problem and clearing faster is.
Everything else is either a flat bonus that is fine, or a narrow one that needs a build built around it. Both are playable — this is a generous game — but if you want to clear a hazard level you have been stuck on, take one of the four at the top.