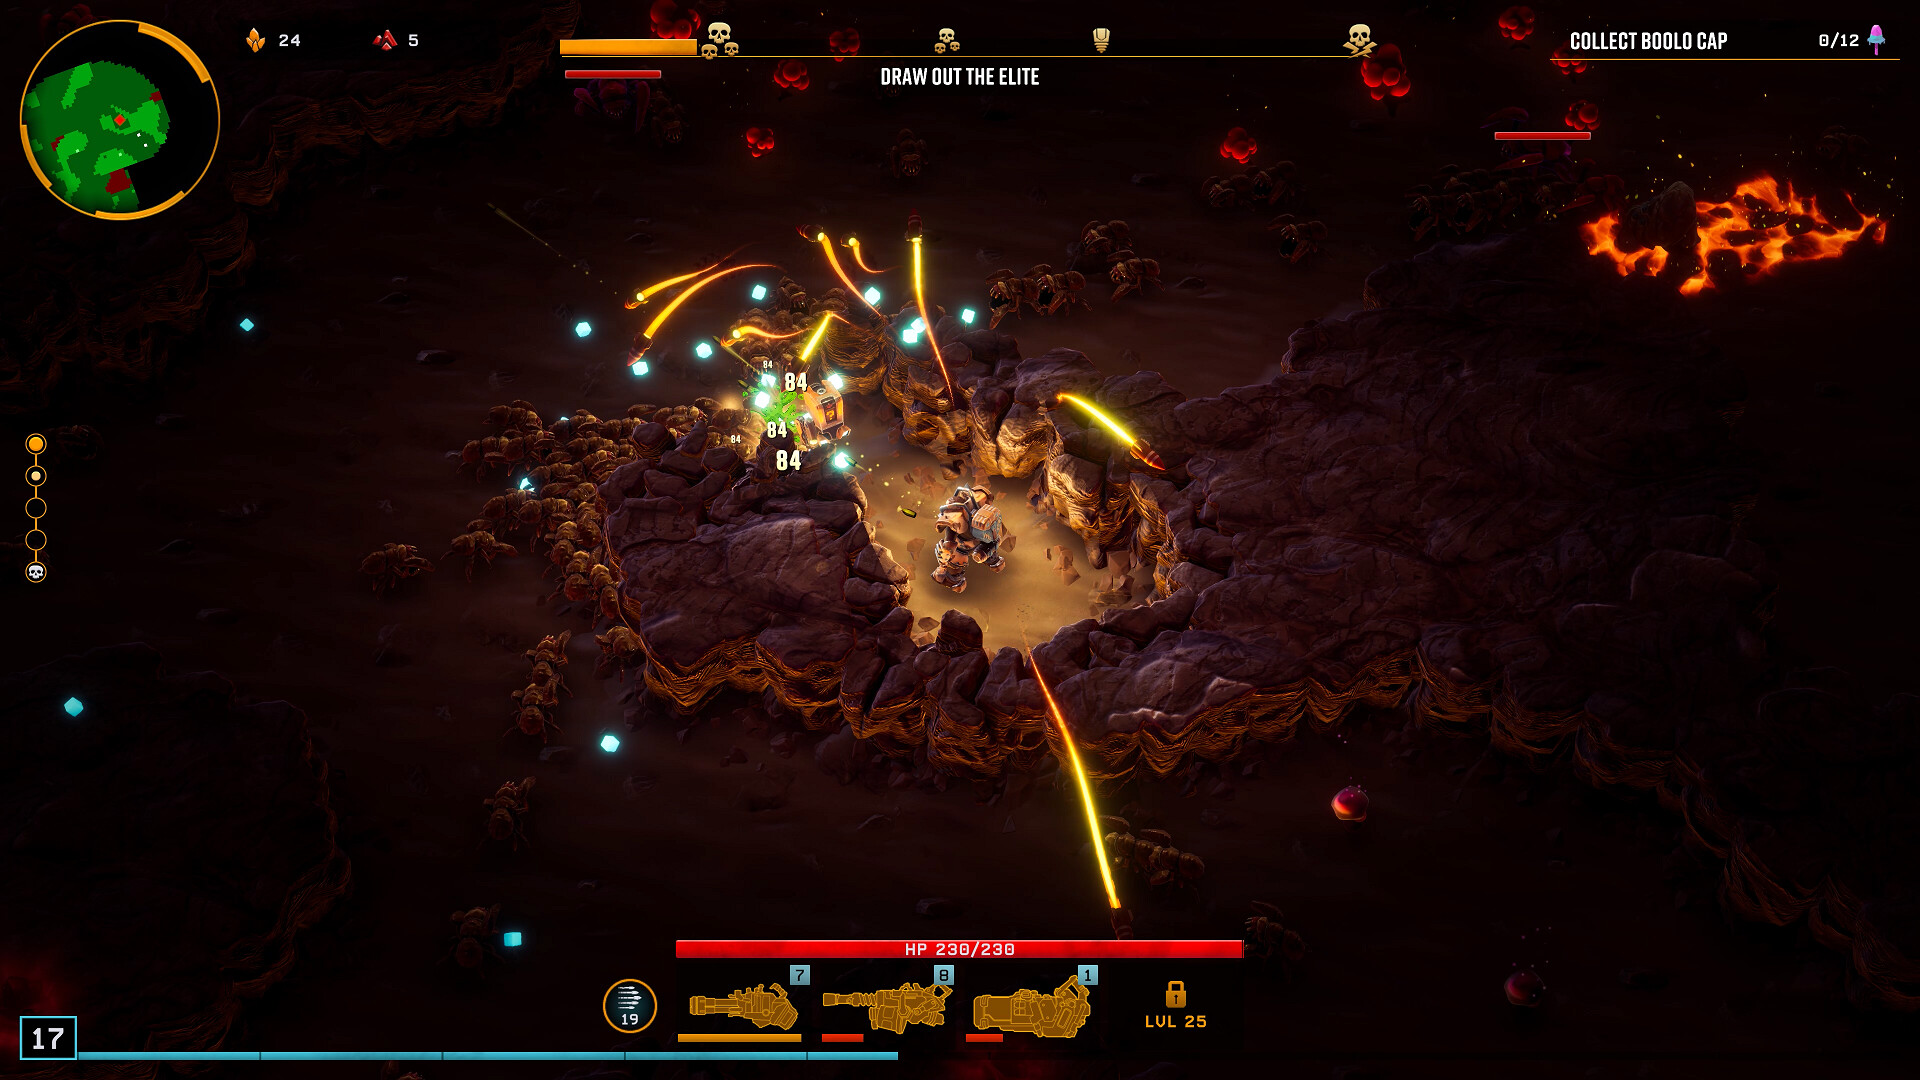
Most of what you buy in Deep Rock Galactic: Survivor is incremental — a little more damage, a little faster reload. Overclocks are not. They arrive on a fixed schedule and they change what a weapon is, which makes them the three decisions in a dive that are actually worth thinking about.
The breakpoints, and what to take at each
| Weapon level | What you get | Default pick | Take something else when |
|---|---|---|---|
| 6 | A balanced overclock | The clean damage option, such as A Little More Oomph! (+25% damage, +25% reload speed) | Your weapon has an obvious bottleneck. Constant reloading means Bigger Mags (+100% clip size, -10% reload) fixes a real problem |
| 12 | A second balanced overclock | Whatever reinforces what your build has already become | You are missing a capability entirely — a damage-type conversion like Acid Dipped Tips can open up enemies you were bouncing off |
| 18 | A powerful **Unstable** overclock | Take it. Reaching level 18 means the dive is going well enough to afford a drawback | Almost never. The drawback is the price of a genuinely run-defining effect |
The order matters more than the individual picks. At level 6 you do not yet know what the dive will become, so take the reliable increase. By level 12 you do, so take the option that compounds with it. At level 18 the question is no longer optimisation — it is whether you want the weapon to behave differently, and by then the answer is usually yes.
Only one is active at a time
This is the detail that changes how you should think about the choice. A weapon has several overclocks available to it, but only one is active, based on what you selected at the breakpoint.
You are not collecting overclocks. You are picking the one that defines the weapon for the rest of the dive, and you will pick again at the next breakpoint. That makes the level 6 choice low-stakes and the level 18 choice final.
Overclocks come from weapon levels, not player levels. They are earned by putting shop money and weapon-specific upgrades into one gun.
The decision that determines whether you see any of them
Here is the uncomfortable part: most dives end without a single overclock, and not because of bad luck.
Overclocks sit at weapon levels 6, 12 and 18. If you spend the shop across three weapons, you might finish a five-stage dive with three weapons around level 5 — which is zero overclocks. Spend the same money on one weapon and you finish with that weapon around level 12, holding two.
| How you spend | Where you end up | Overclocks held |
|---|---|---|
| Evenly across three weapons | Three weapons near level 5 | 0 |
| Mostly one weapon, a little elsewhere | One weapon near level 12 | 2 |
| One weapon, committed | One weapon at 18 on a strong run | 3, including an Unstable |
The pull toward spreading is real — a new weapon feels like more options, and the shop keeps offering interesting things. But in a game where the power spikes are at fixed levels, breadth buys you nothing and depth buys you everything.
Switching to a better weapon mid-dive resets you to the bottom of that weapon's level track. At stage two this usually means arriving at stage five with nothing. The exception is the Tinkerer class mod, whose weapons start at level 3 — the one loadout where a mid-dive pickup is not automatically a setback.
What the tiers actually look like
Balanced overclocks are mostly numeric, often with a trade-off attached. A Little More Oomph! is the archetype — plus 25 percent damage and plus 25 percent reload speed, available on many weapons, with no downside to weigh. Bigger Mags is the other shape: plus 100 percent clip size for minus 10 percent reload speed, which is excellent on a weapon whose problem is running dry and pointless on one that already has a large magazine.
Some balanced picks go further than numbers. Acid Dipped Tips changes the damage type outright, which is less a buff than a different answer to what you are fighting.
Unstable overclocks at level 18 change behaviour:
- Death Spiral — plus 200 percent fire rate and plus 100 percent clip size, with a spiral firing pattern
- The Favourite — dramatically boosts one weapon's stats while penalising your others
- Thick Boy — combines your projectiles into a single powerful shot with bonus range
Notice that all three ask for something back. Death Spiral changes where your bullets go. The Favourite is only correct if you already committed to one weapon — which, if you followed this guide, you did. Thick Boy trades volume of fire for a single heavy projectile, which is a different playstyle rather than a stronger version of yours.
How this connects to your class mod
Two class mods interact with this system directly, and it is worth knowing which.
Tinkerer (Engineer, rank 9) starts weapons at level 3 with plus 10 percent XP gain. Read through the lens of this guide, that is not a stat bonus — it is an overclock timing bonus. It moves level 6 earlier, moves level 12 into reach, and makes level 18 possible on good runs. That is why it tops the class mods tier list.
Interrogator (Driller, rank 9) pushes you toward fire and acid weapons with plus 100 percent status effect damage and minus 30 percent damage. If you take it, your level 12 pick should almost always reinforce status damage rather than raw damage, because raw damage is the half of your kit that the class mod already discounted.
Bringing it together
Three decisions per weapon, at levels 6, 12 and 18. Take the reliable increase first, the build-reinforcing option second, and the Unstable one last — and understand that reaching the second and third depends entirely on a choice you make in the shop rather than on the overclock screen.
Pick one weapon and feed it. Everything else in this system follows from that.