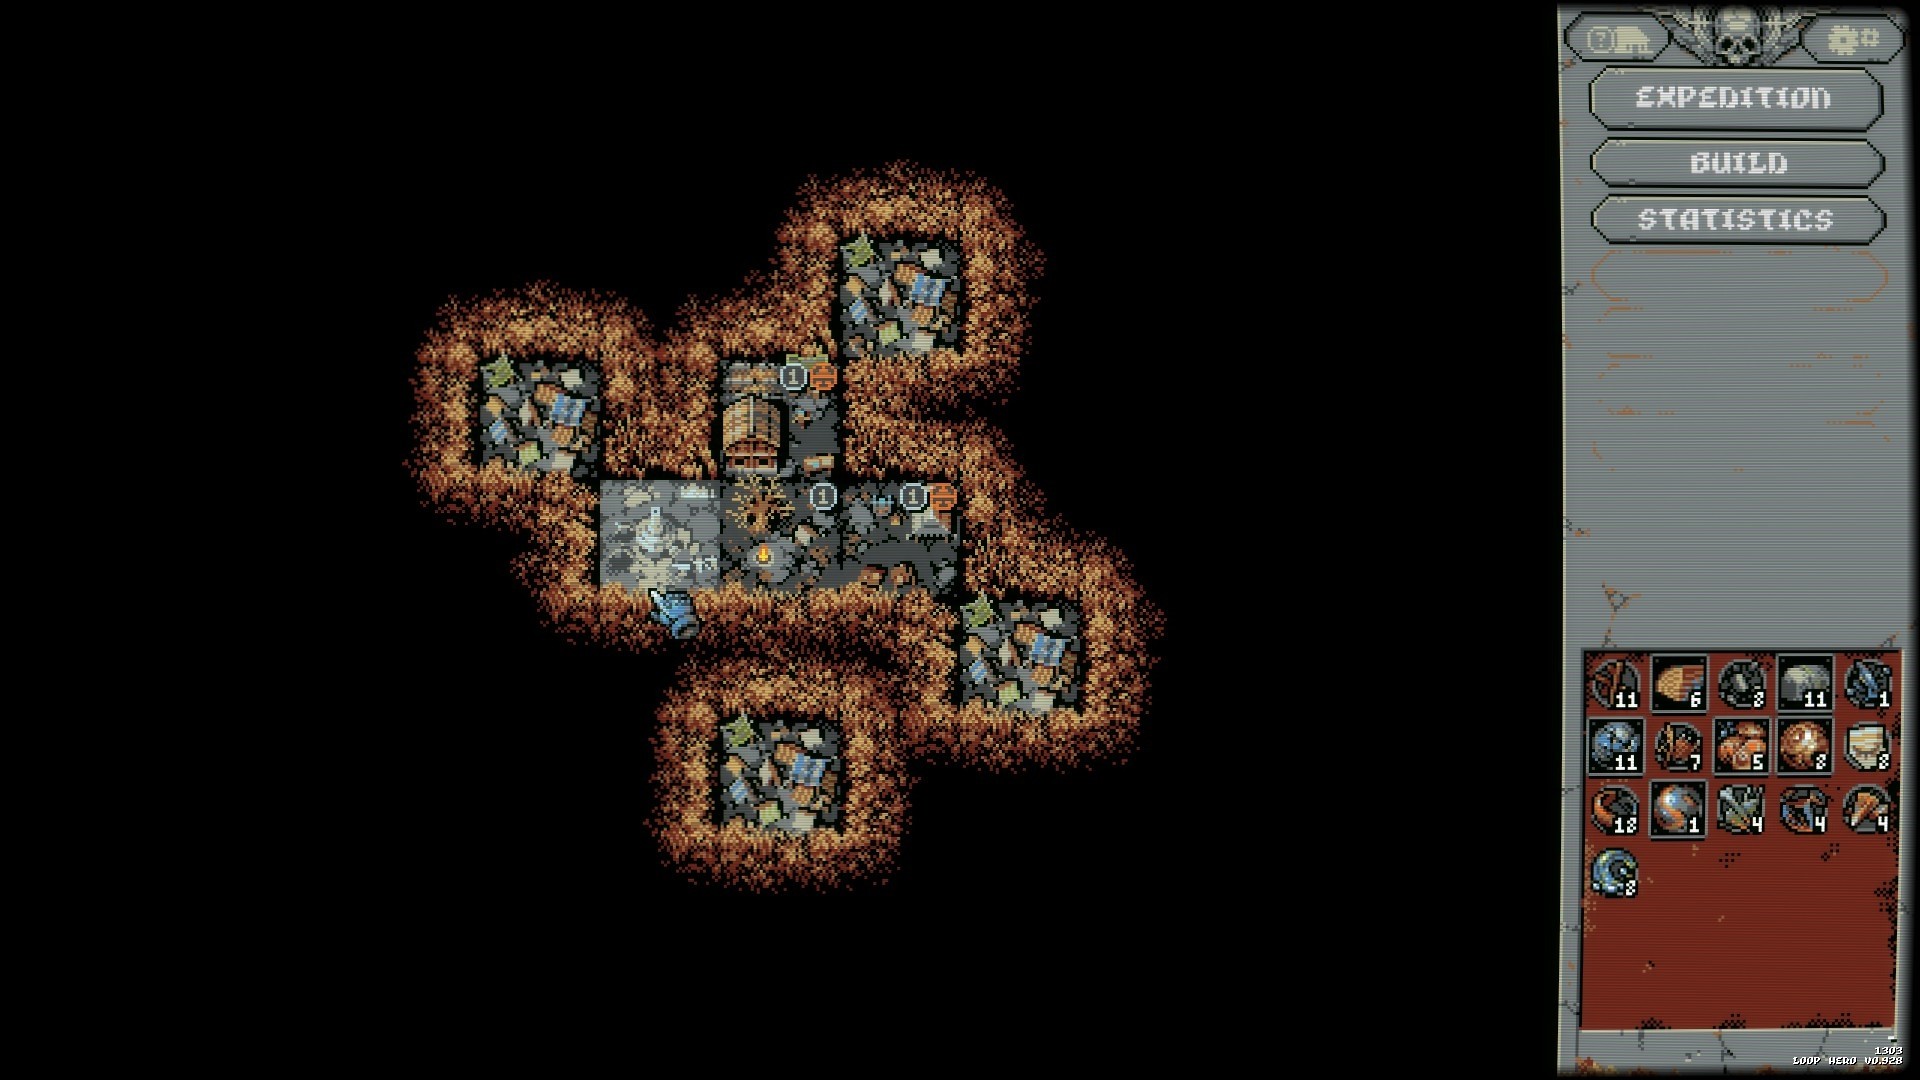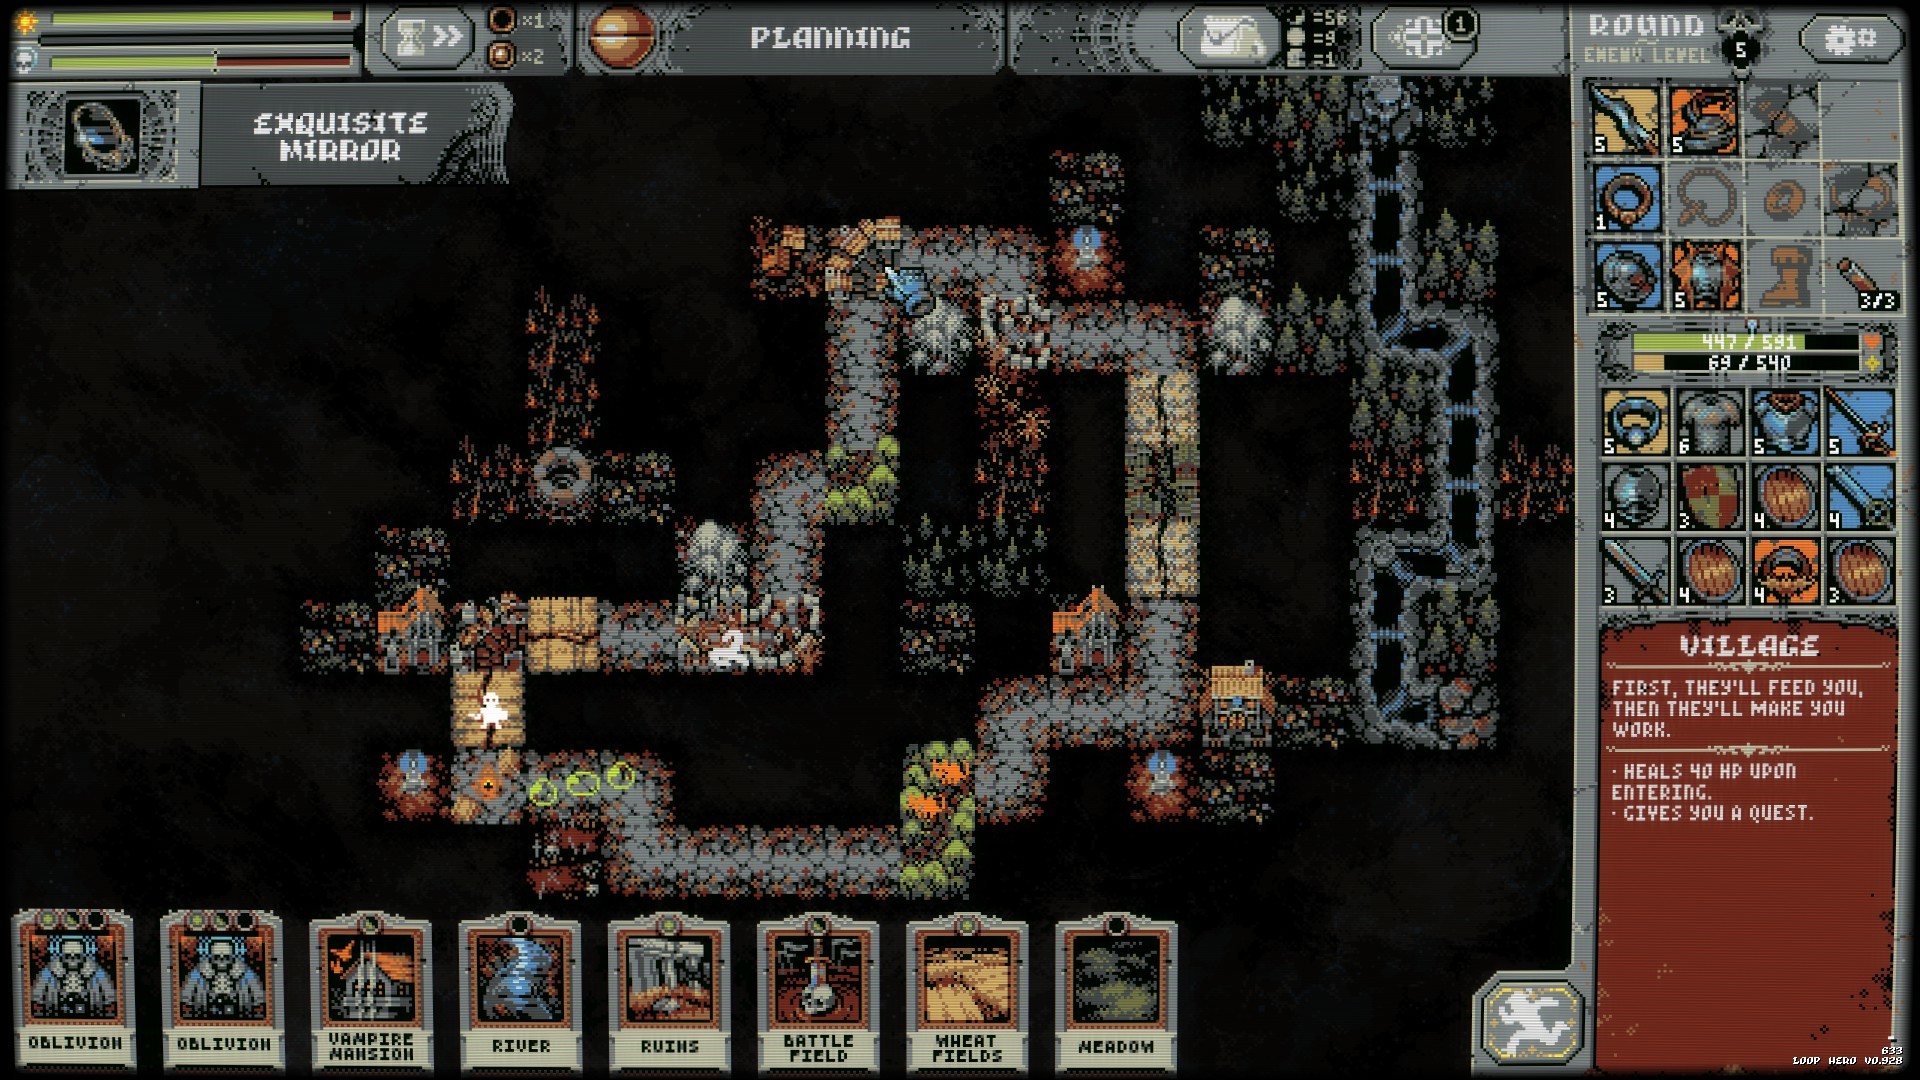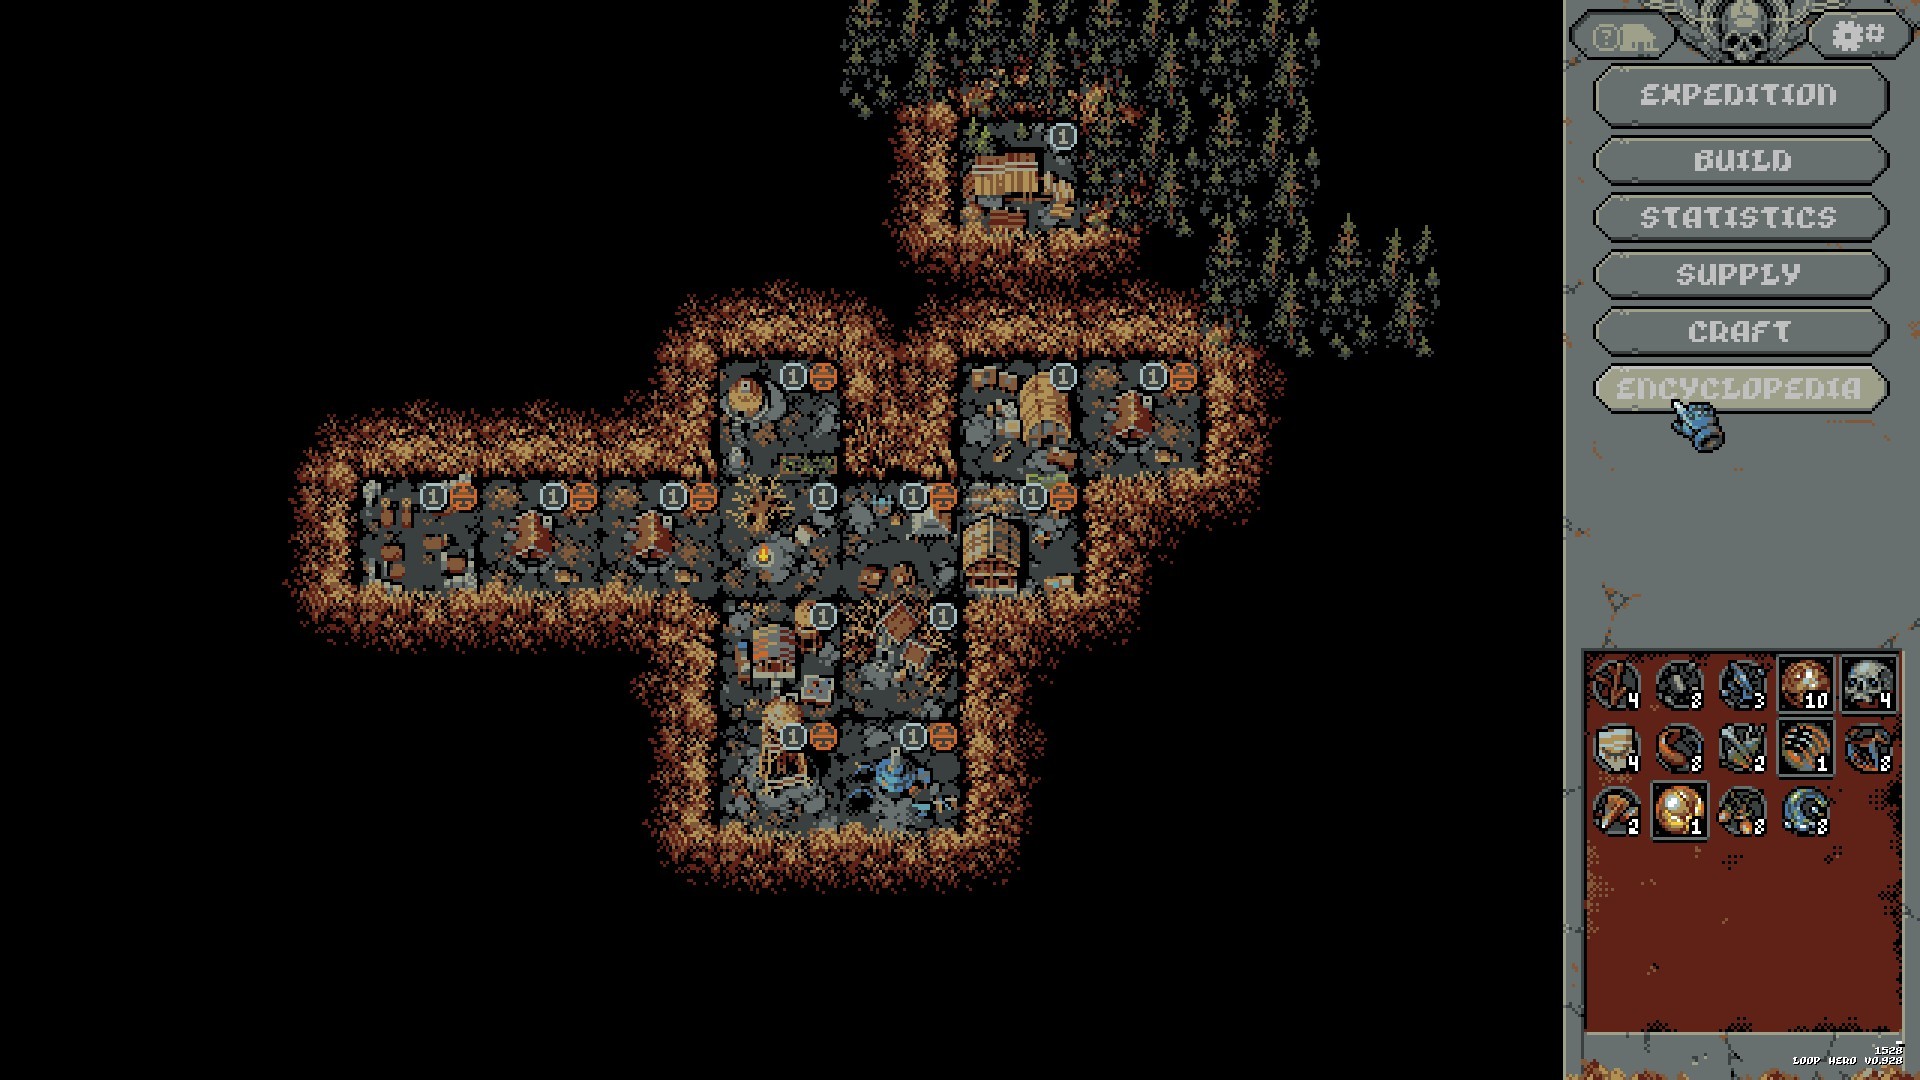
Loop Hero teaches you its controls and almost nothing about its economy. The result is a very specific first evening: you place every card you draw, the loop gets harder faster than your gear improves, you die somewhere around loop eight, and the camp barely moves.
None of that is a skill problem. It is three rules the game never states.
What to do first — in priority order
| Priority | What to do | Why it ranks here | Common mistake |
|---|---|---|---|
| 1 | Retreat at the campfire before a fight looks close | Dying costs you most of what you collected. Retreating keeps it. A banked loop six beats a dead loop nine every time, and the camp is the actual progression | Pushing "one more loop" because the hero is still alive. The hero is always still alive right up until they are not |
| 2 | Build the Herbalist's Hut, then the Gymnasium | Potions are your only tile-independent healing, and the Gymnasium is what makes levelling up grant traits at all | Saving resources for something impressive. Nothing else in the camp matters while levelling up does nothing |
| 3 | Stop placing cards when a loop feels close | Every tile you add makes enemies stronger. Placement is a difficulty dial you are holding, and you can simply not turn it | Spending every card the moment you draw it, then wondering why the difficulty outran you |
| 4 | Place for combinations, not one tile at a time | A Vampire Mansion beside a Village permanently upgrades that Village. Nine Rocks in a square become a Mountain Peak. These are worth more than the same cards spread out | Filling empty space with whatever is in hand |
| 5 | Trim the deck | 20% of a fresh deck is discarded before you draw, so filler directly costs you draws of the cards you wanted | Taking every card you unlock into every run |
If you change one habit: retreat sooner. Everything else on this list is easier once your camp is being fed by runs that end deliberately.
How a run actually works
-
1
The hero walks the loop on their own
You do not control movement or combat. Your entire input is which cards go where, and when to retreat. The hero fights what your tiles have spawned.
-
2
You place cards to create enemies, which drop gear and resources
This is the trade at the centre of the game. Enemies are the source of everything you want, and you are the one summoning them. More tiles means more loot and a harder loop.
-
3
Every lap raises the difficulty regardless
The loop counter itself scales what you face, on top of whatever you have placed. Standing still is not free either — it just costs less than placing.
-
4
The campfire is your only exit
Reaching it lets you retreat with what you have. Dying anywhere else costs you most of it. Plan the lap you intend to leave on.
-
5
Resources go into the camp, and the camp is permanent
Everything you build persists across runs. A failed expedition that banked resources still moved you forward.
The difficulty is not on a timer, it is on your card placements. If the loop has become uncomfortable, the correct response is often to place nothing for a lap while your equipment improves. New players rarely try this because holding cards feels like wasting them — it is not, it is the only brake in the game.
The free upgrades people miss
- Blooming Meadow. A Meadow with any non-Meadow tile beside it upgrades itself and heals better. Costs nothing. Clustering Meadows prevents it.
- Count's Land. A Vampire Mansion beside a Village ransacks it — three loops of Ghouls — and then permanently upgrades it into a Count's Land with better quest rewards. A short cost for a lasting gain.
- Oasis. A River beside Desert or Sand Dunes slows enemy attack speed by 1% per tile while costing you only 0.5%. Two-to-one in your favour.
- Town. Five Suburbs in a plus shape becomes a Town, which gives better experience from kills and quests. Experience is traits, and traits are the run.
What the bosses are for
Each chapter ends with a boss — the Lich, then the Priestess, then the Hunter, then the Destroyer. Beating one lets you choose between unlocking a new trait from three offered, or taking a pile of resources.
That choice is worth thinking about rather than defaulting. Each boss can eventually teach five traits, but only three can be unlocked from each of the first three chapters; chapter four opens the rest. Early on, resources often move you further than a trait you cannot reliably draw — and once you have a lot of traits, you can build trait decks that exclude the ones you do not want, so the ones you do appear more often.
Only boss traits can be removed from a trait deck. Common and class traits are always in the pool. So the thing you are curating is specifically your boss-trait selection, and leaving a boss trait in that you never want is quietly diluting every level-up for the rest of your runs.
Five things that waste your first evening
- Playing without the Gymnasium. Levelling up does nothing until it exists.
- Dying instead of retreating. The single most expensive habit in the game.
- Placing every card immediately. You are choosing the difficulty and then complaining about it.
- Clustering Meadows. The upgrade is free and you are turning it off.
- Running a fat deck. Twenty percent of it is discarded before you draw, so filler is a direct cost.
Once the camp is moving, the camp build order covers which buildings gate what, the cards guide covers every combination worth triggering, and the class tier list explains why the three classes want different decks. If you have not bought the game, the honest review is the place to start.