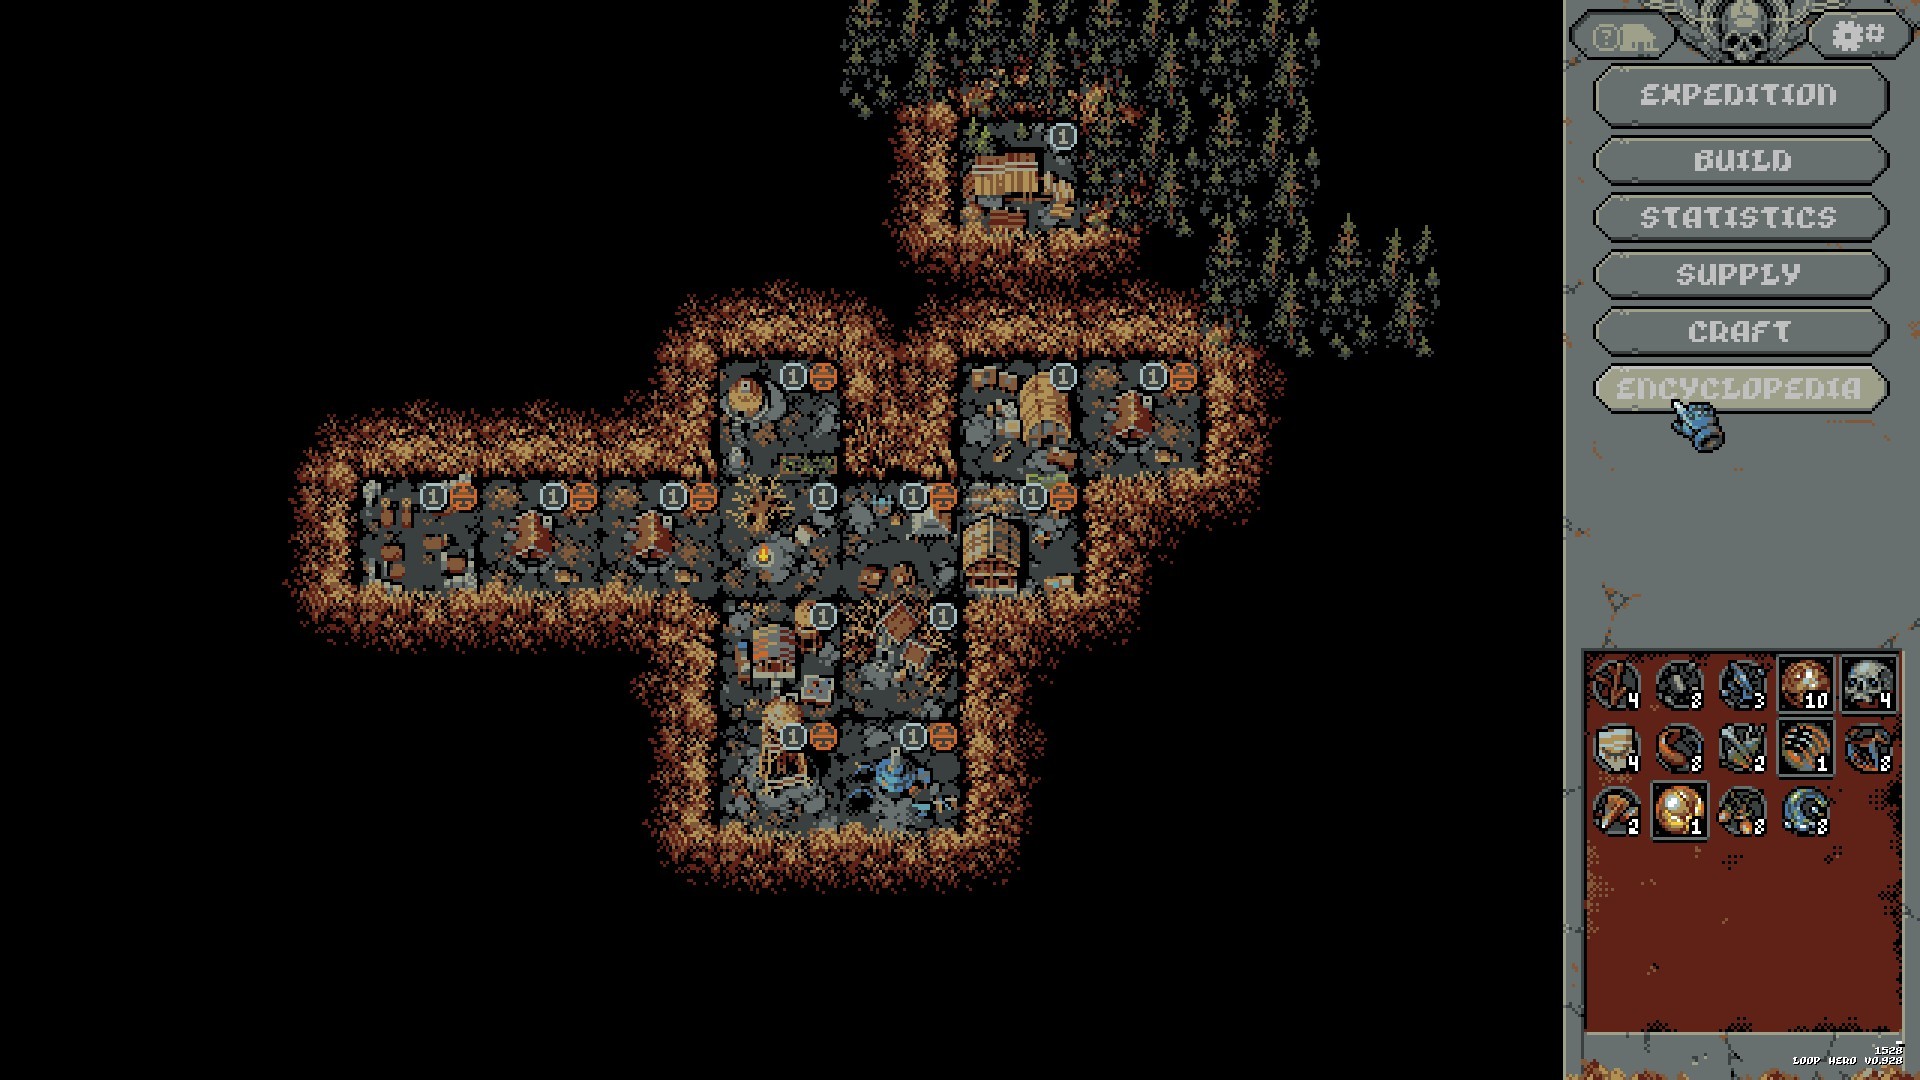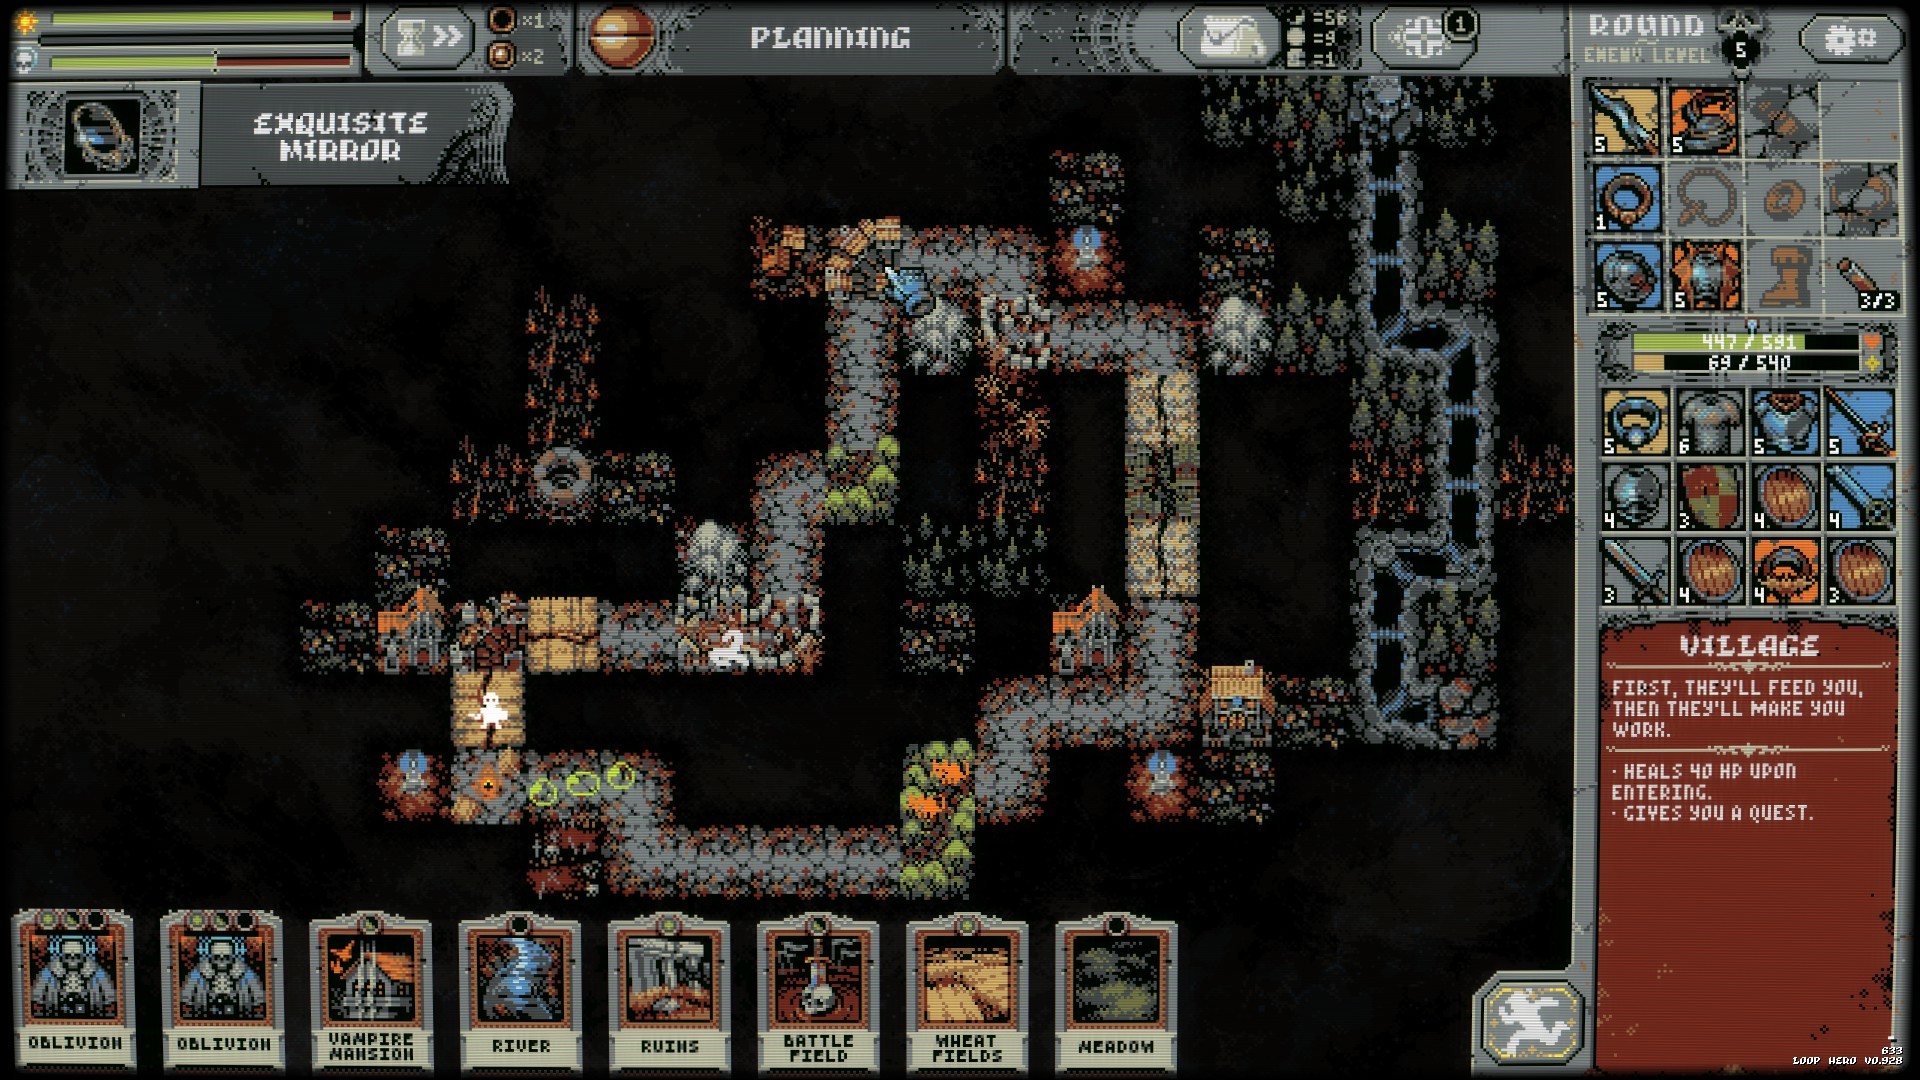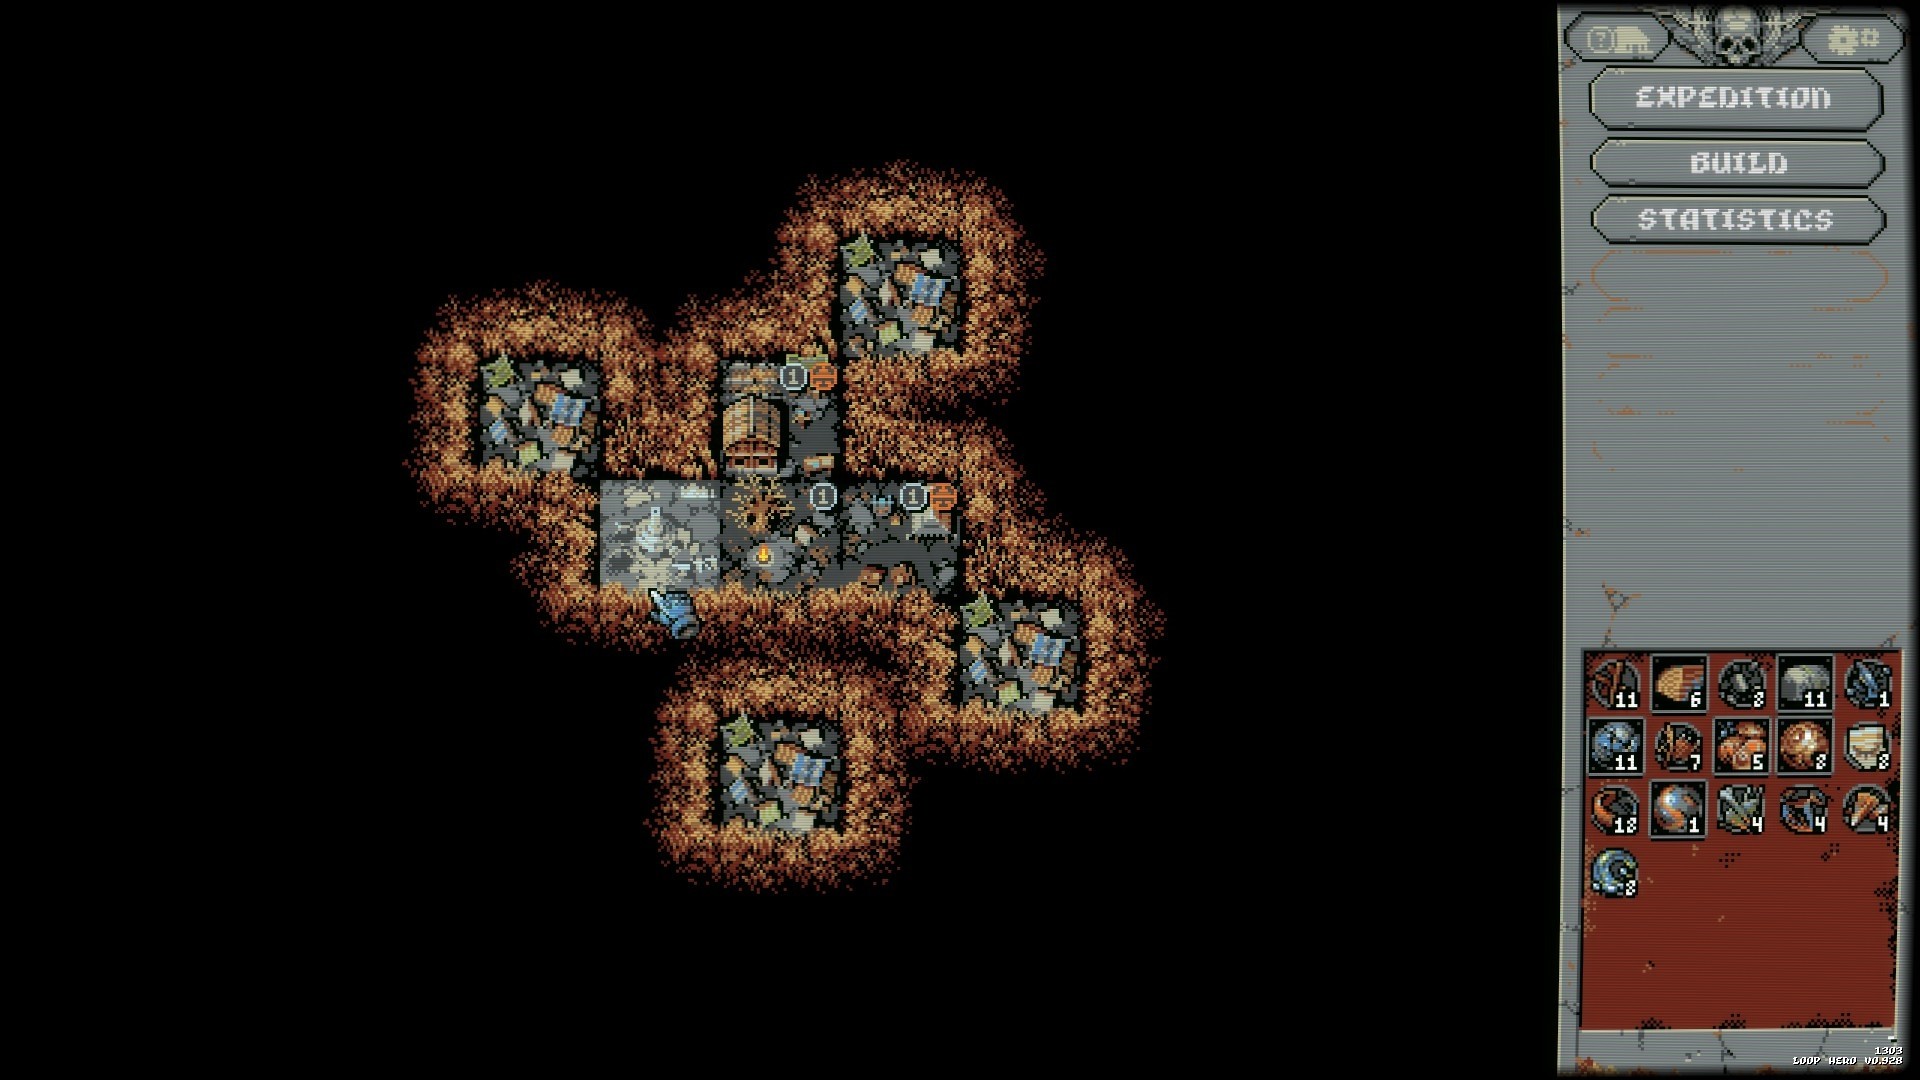
A Loop Hero card is rarely worth what its own text says. Meadow is a small heal until something non-Meadow sits beside it and it becomes a Blooming Meadow. Rock is a little HP until nine of them form a Mountain Peak. Village hands out quests until a Vampire Mansion ransacks it into a Count's Land that pays better forever after.
So build the deck around the combinations you intend to trigger, and cut everything else. A fresh deck has 20 percent of its cards removed before you draw from it, which means every card you include that you did not really want is a draw you lose of one you did.
The combinations worth building a deck around — ranked
| Rank | Combination | How to trigger it | Why it ranks here | The catch |
|---|---|---|---|---|
| 1 | Count's Land | Place a Vampire Mansion beside a Village | The Village becomes a hostile Ransacked Village spawning Ghouls for three loops, then upgrades permanently into a Count's Land whose quests give better rewards. A temporary cost for a permanent upgrade is the best trade in the card system. | Three loops of Ghouls arrive whether you are ready or not. Do it early in a chapter, not while you are already struggling. |
| 2 | Mountain Peak | Nine Rocks or Mountains in a 3x3 square | A large amount of Noticeable Change plus an HP bonus equal to all nine tiles. It is the single biggest survivability swing available to a Warrior. | Spawns Harpies, and it costs nine landscape tiles. Actively bad for a Necromancer, whose survival runs on Magic HP instead. |
| 3 | Blooming Meadow | Place any non-Meadow tile next to a Meadow | Better healing per day per tile than a plain Meadow, for no cost and no downside. The cheapest upgrade in the game and the easiest to forget. | None worth naming. The only mistake is clustering Meadows together, which prevents the upgrade. |
| 4 | Town | Five Suburbs in a plus shape | A Suburbs surrounded on all four sides becomes a Town, which gives better experience from kills and quests than Suburbs do. Experience is traits, and traits are the run. | Needs five tiles in a specific shape, so plan the space before you start placing. |
| 5 | Oasis | Place a River next to Desert or Sand Dunes | Cuts enemy attack speed by 1% per tile while costing you only 0.5% per tile — a two-to-one trade in your favour, which is rare. | Only worth it if you are already running Desert, which rules out the Warrior. |
| 6 | Empty Treasury | Surround a Treasury with 8 cards | A large pile of resources in one go, which is the fastest way to fund a camp building. | Spawns Gargoyles, and it consumes eight surrounding placements you may have wanted for something else. |
If you take one thing from this: place a Vampire Mansion next to your first Village, and never put two Meadows next to each other. The first is the biggest permanent upgrade available early, the second is free and constantly thrown away. Everything below is the complete list, including the combinations that fire whether you planned them or not.
The card pool, by placement type
| Type | Where it goes | Cards |
|---|---|---|
| Road | On the loop road itself | Cemetery, Village, Grove, Wheat Fields, Swamp, Ruins |
| Roadside | On tiles directly touching the road | Spider Cocoon, Vampire Mansion, Battlefield, Blood Grove, Bookery, Road Lantern, Smith's Forge, Chrono Crystals, Outpost, Witch Hut |
| Landscape | Anywhere that is neither road nor roadside | Rock, Mountain, Forest, Thicket, River, Desert, Sand Dunes, Meadow, Suburbs |
| Special | Mostly behave as Landscape | Oblivion, Beacon, Storm Temple, Temporal Beacon, Treasury |
| Golden | One chosen before the run, placeable once | Ancestral Crypt, Zero Milestone, Maze of Memories, Arsenal |
Oblivion is the exception to everything. It can be placed on any tile on the map and erases both the tile and any enemies standing on it. Treat it as a repair tool for a placement that went wrong, not as a card you build around — unless you take the Blissful Ignorance trait, which fills your hand with Oblivion and makes each use heal you for 10 percent of maximum HP.
Every combination tile
Triggered by adjacency
- Blood Path — Wasteland within range of at least two Battlefields. Spawns Blood Clots, and persists even if another card is placed on that road tile.
- Ransacked Village into Count's Land — Vampire Mansion beside a Village. Three loops of Ghouls, then a permanent upgrade.
- Overgrown Field — a Wheat Field next to A Village?, or a Wheat Field whose neighbouring Village you delete. Adds Field of Blades to a free enemy slot in battle.
- Bridge — a River placed onto a Wasteland. Does nothing except let the River cross the road.
- Shipwreck — Battlefield meeting River. Spawns Sirens, which summon Jellyfish from Chapter 3 onward, and keeps the Battlefield's ghost effect.
- Goblin Lookout — Swamp next to a Goblin Camp. Puts a ranged Goblin Archer in the enemy line for every adjacent tile.
- Abandoned Bookery — a Bookery after you exchange 20 cards. Spawns Tomes, or Watcher Mages with a Temporal Beacon present, or Vampire Mages with a Vampire Mansion present. A Vampire Mansion in range blocks the Watcher Mages.
- Hungry Grove — a Blood Grove after you delete an adjacent Grove, Forest or Thicket, or turn that Forest into a Burned Forest. Kills any enemy that drops below 20% health, and occasionally hurts you too.
- Reed — a River placed next to the road. Spawns Fishmen on adjacent road tiles.
- Blooming Meadow — a Meadow with any non-Meadow tile beside it. Straight upgrade to its healing.
- Oasis — River meeting Desert or Sand Dunes. Enemy attack speed down 1% per tile, yours down 0.5%.
- Burned Forest — Forest or Thicket in line with a Storm Temple, whose range is a full row and column. Converts attack speed bonuses into magic damage.
- Maquis — Forest or Thicket next to Desert or Sand Dunes. Lowers enemy strength while raising their attack speed.
- Town — five Suburbs in a plus. Better experience than Suburbs.
- Empty Treasury — a Treasury with eight cards around it. A large resource payout, and Gargoyles.
Triggered by a count, whether you like it or not
| Trigger | What appears | What it brings |
|---|---|---|
| 10 Forests or Thickets placed | A Village? on a free road tile | Wooden Warriors, which only deal damage when directly attacked |
| 10 Rocks or Mountains placed | Goblin Camp on a free roadside tile | Goblins and Goblin Leaders on the adjacent road |
| 2 Villages placed | Bandit Camp on a free roadside tile beside one of them | Bandits on adjacent tiles |
| 3 Swamps placed | A Witch Hut card in your hand | Not an enemy — a free card, and the only way to obtain the Witch Hut |
| 7 Deserts or Sand Dunes placed | Ziggurat on a free tile beside one of them | A Sand Spirit each loop, with a 33% chance to join any battle on the road |
| 9 Rocks or Mountains in a 3x3 | Mountain Peak | Large HP bonus and Noticeable Change, plus Harpies |
The count-based combinations are not optional. Once you have placed ten Forests, A Village? will appear, and its Wooden Warriors will show up in fights. This is only a problem if you did not expect it — as a Necromancer it is nearly free experience, because Wooden Warriors cannot hurt someone who spends the fight summoning rather than attacking.
Deck-building rules that hold across classes
-
1
Pick three or four combinations, then cut everything else
A fresh deck loses 20 percent of its cards before you draw, so filler directly costs you the draws you wanted. Ten deliberate cards beat fifteen padded ones.
-
2
Check the combination against your class
Mountain Peak is the best tile in the game for a Warrior and a waste for a Necromancer. Oasis requires Desert, which a Warrior should not be running at all.
-
3
Count your landscape cards before you place them
The count triggers fire at 10 Forests, 10 Rocks, 7 Deserts and 2 Villages. Knowing where you are in those counts is the difference between a planned spawn and a surprise.
-
4
Keep hand space free
Thirteen cards is the cap, and overflow turns the oldest card in hand into a Memory Fragment. If your hand is full, you are losing cards you paid draws for.
For which class to build all this around, see the class tier list — the three want genuinely different decks. For the camp buildings that unlock these cards in the first place, see the camp guide. New players should start with the beginner guide, and the honest review covers how well the loop holds up over a full campaign.