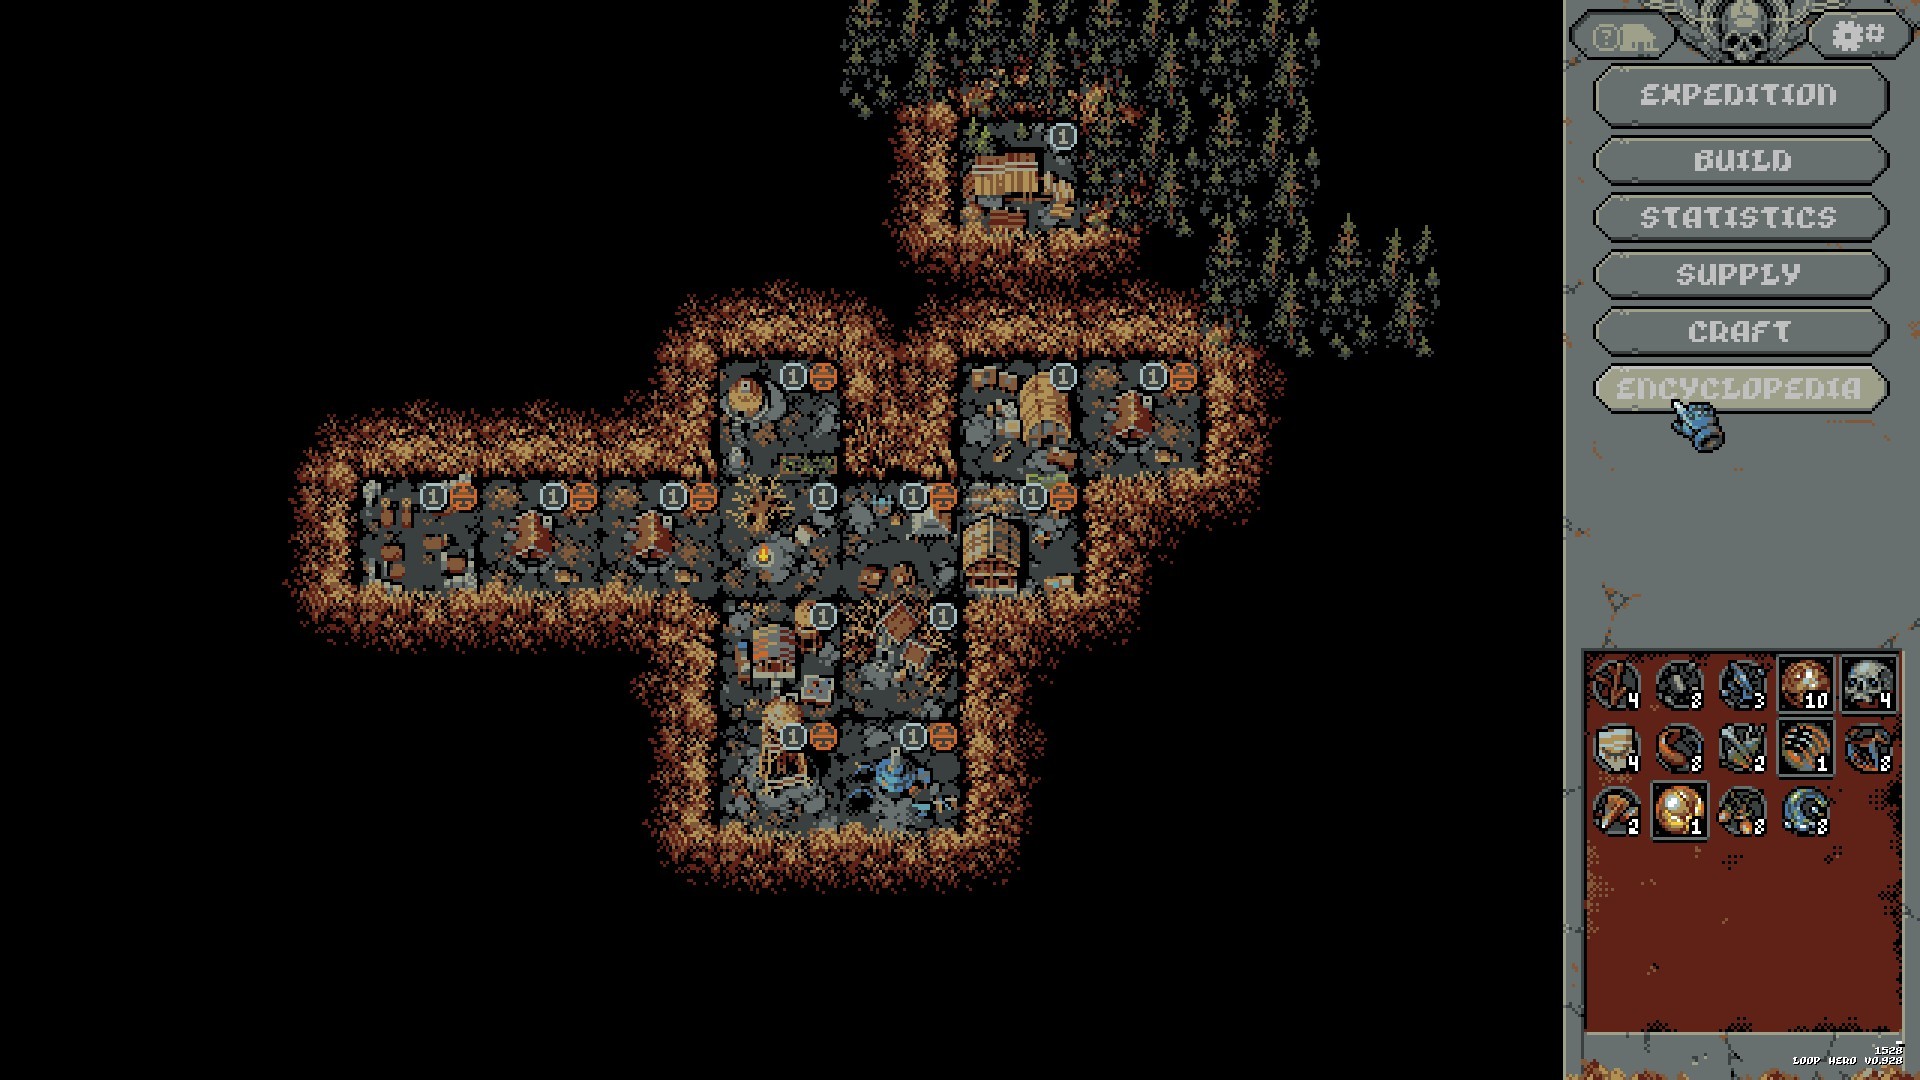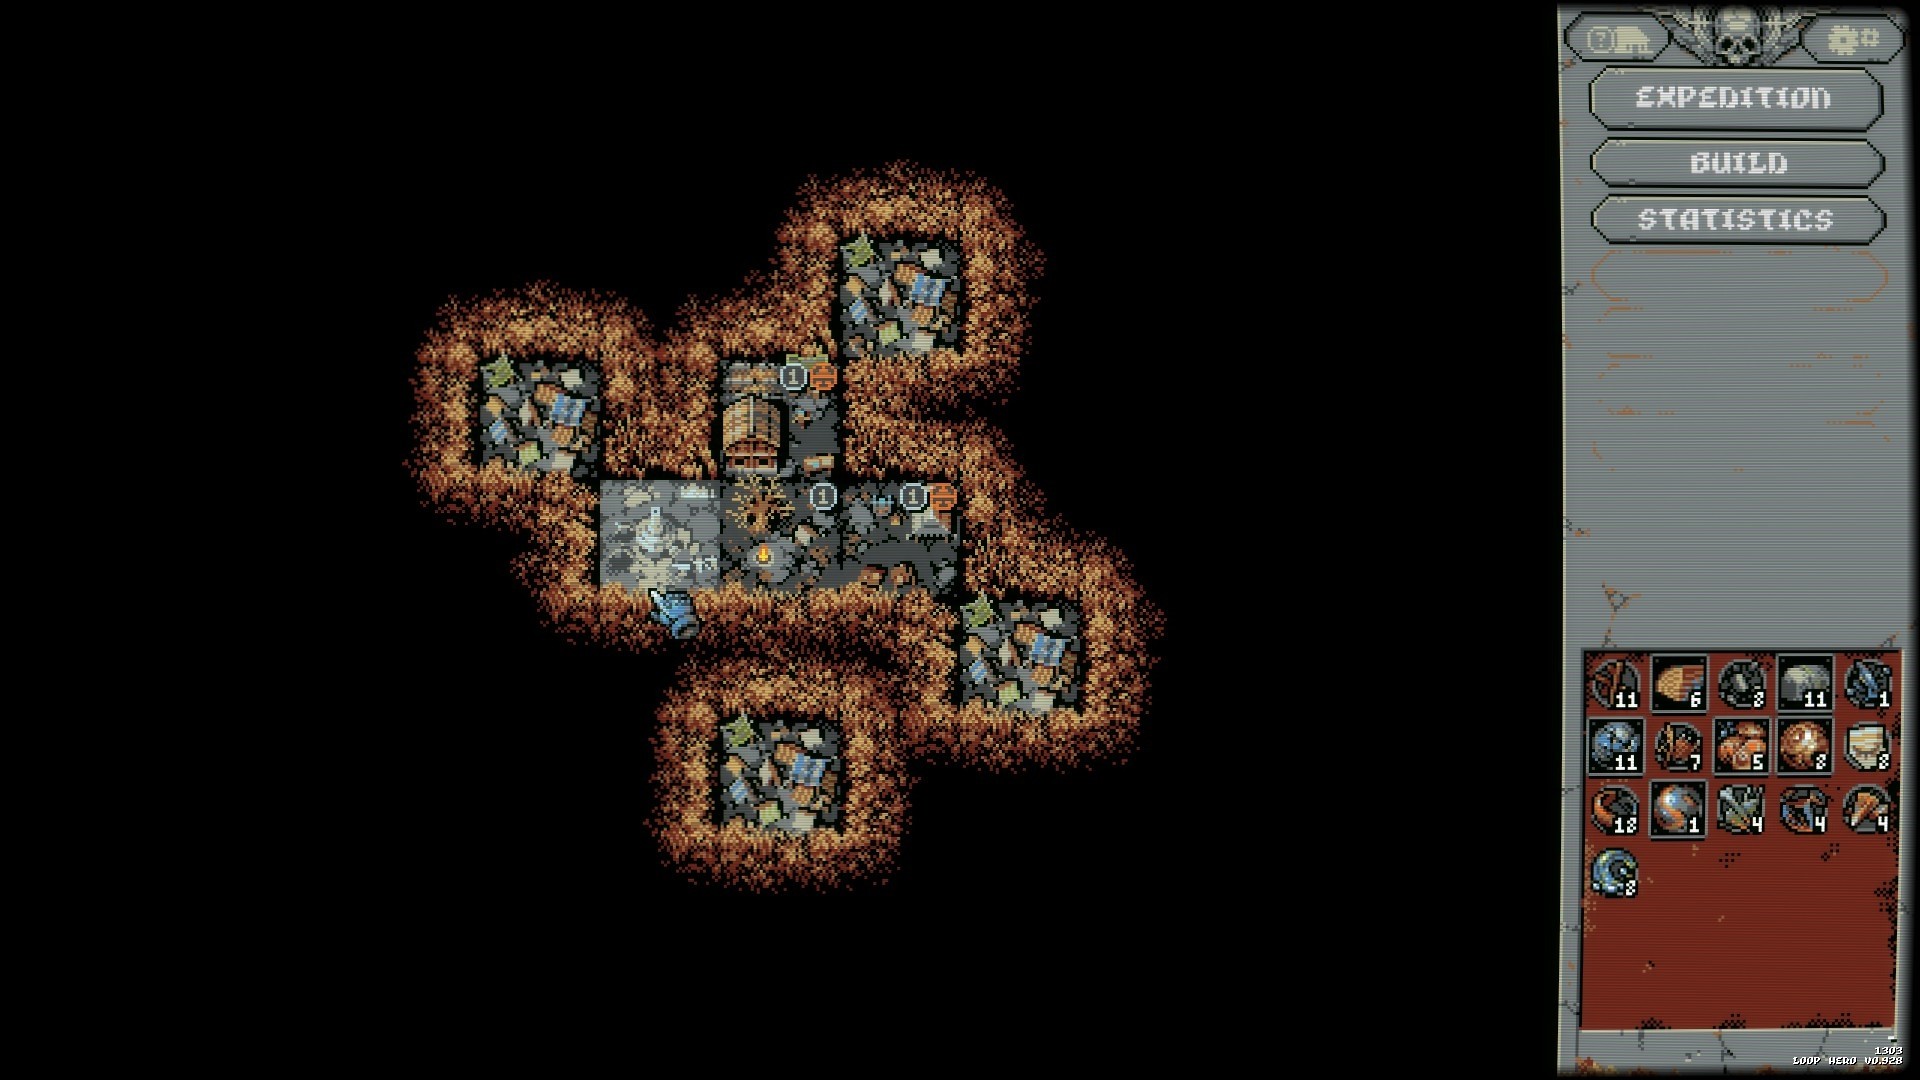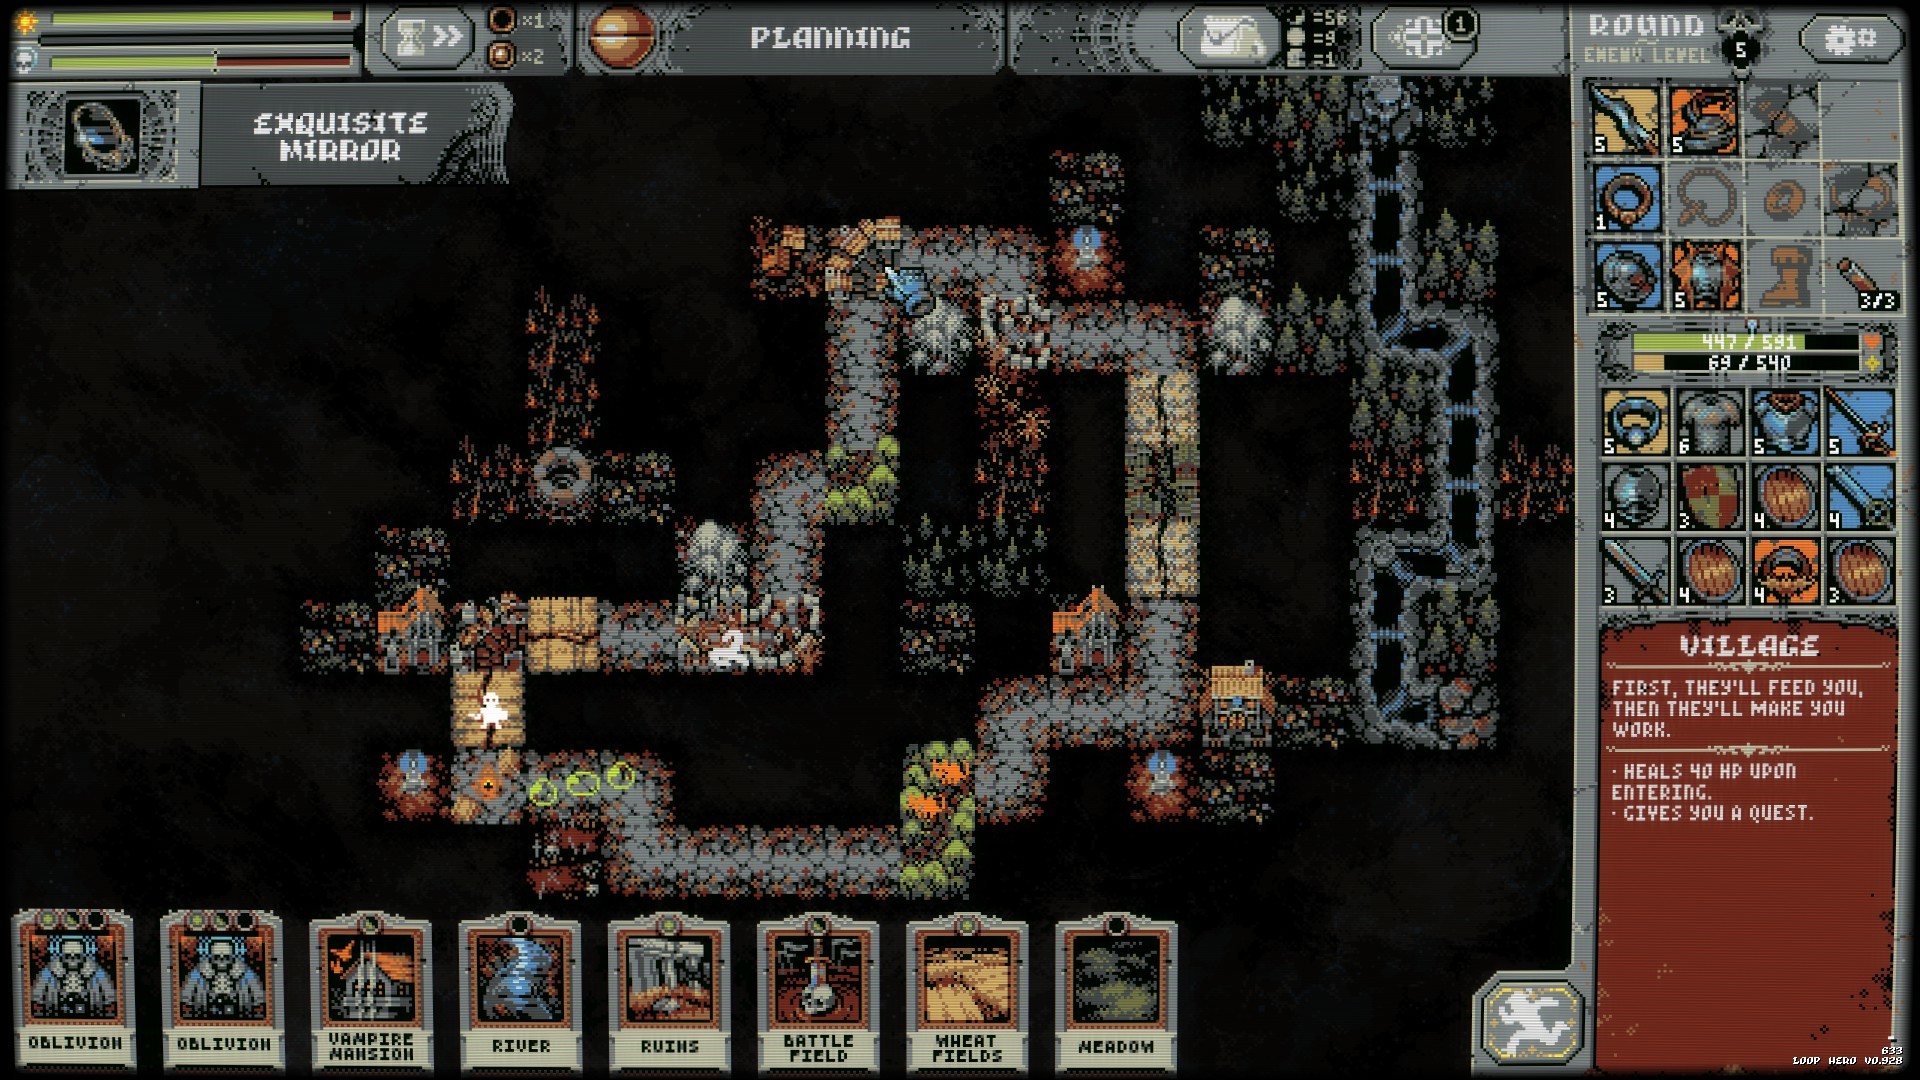
Most Loop Hero class comparisons are about stats. The stat lines matter less than one fact that is easy to miss: the three classes want different landscape cards, and two of those wants are direct opposites.
Rock and Mountain raise your maximum HP. That is the Warrior's entire identity and close to worthless for a Necromancer, whose survival runs on Magic HP instead. Desert and Sand Dunes cut maximum HP, which is fine for a Necromancer and ruinous for a Warrior. So the deck that carried one class is not neutral for another — it is actively working against it.
Rank the classes on that basis and the order stops being about power.
The three classes, ranked
| Rank | Class | What it wants in the deck | Why it ranks here | The catch |
|---|---|---|---|---|
| 1 | Necromancer | Forest and Thicket, Desert and Sand Dunes, River, Suburbs. **Never Rock or Mountain** | Damage comes from skeletons, which scale on Skeleton Level, Max Skeletons and Summon Quality rather than on your own gear. A full skeleton line clears fights the other two classes have to survive. Desert cutting your maximum HP does not touch Magic HP, so its usual drawback simply does not apply. | Gated behind the Crypt, and genuinely weak until the Intel Center unlocks Desert — its first two landscape cards do almost nothing for it. Also **never place an Outpost**, because the guards refuse to fight alongside it and shell both sides. |
| 2 | Rogue | Forest and Thicket for attack speed, Desert and Sand Dunes to shrink enemy HP, plus an Arsenal | It is the class that funds everything else. It collects trophies rather than equipment drops and cashes them at the campfire, and **surplus trophies past its inventory become resources**. Its 10 percent bonus per duplicated effect rewards deliberate gear stacking, and Arsenal plus high attack speed ends most fights before Magic HP is even touched. | Its power arrives at the campfire, not during the loop. A run that dies mid-loop has banked much less than it looks, and you feel that most on a chapter you have not cleared before. |
| 3 | Warrior | Rock and Mountain above all. **Avoid Desert and Sand Dunes** | The highest durability of the three, plus 2 percent extra damage for every second a fight lasts, so it wins long fights outright rather than by racing. Most importantly it asks the least of your deck, which makes it the class to bring into an unfamiliar chapter. | The lowest ceiling once you know what you are doing. Nothing it does scales the way skeletons or stacked trophies do, so on a chapter you have already solved it is the slowest of the three. |
If you are not sure: play the Warrior until you have built the Crypt and the Intel Center, then switch to the Necromancer. The Rogue belongs in between, whenever the camp needs resources more than the story needs progress. Everything below is the reasoning — what each class actually does, and the card deck each one needs.
What each class actually does
| Class | Damage comes from | Survival comes from | Unlocked by |
|---|---|---|---|
| Warrior | Its own weapon, plus 2% damage for every second of the fight | Raw maximum HP, defense and regeneration. Arsenal adds a helmet slot for retaliation damage | Available from the start |
| Rogue | Its own weapon, with crit chance and crit damage in its stat pool | Evasion, defense and 5% vampirism from the first run. Arsenal adds an amulet slot, which is enormous for short fights | A camp building |
| Necromancer | Summoned skeletons — Friendly, Guard, Warrior, Archer and Mage variants | Magic HP, a depletable shield that absorbs damage before health, plus the skeletons soaking attacks | The Crypt, which must be built next to the Cemetery |
Necromancer gear does not read like other classes' gear. Virtually every stat from equipment except the ones with "Skeleton" in the name does nothing for your minions. A grimoire with excellent attack speed is raising your summoning speed, not your skeletons' attack speed. If a piece does not touch Skeleton Level, Max Skeletons or Summon Quality, it is helping only the small part of the fight you personally do.
The deck each class needs
This is the part that decides your run, so it is worth being blunt about it.
- Warrior — Rock and Mountain. Nine of them in a 3×3 shape becomes a Mountain Peak, which grants a large HP bonus on top of what the individual tiles give. Skip Desert and Sand Dunes entirely; cutting your own maximum HP removes the thing the class is built on.
- Rogue — Forest and Thicket, plus Desert. Attack speed shortens fights, and Desert shrinking enemy maximum HP shortens them further. With an Arsenal for the amulet slot, most encounters end inside a few seconds.
- Necromancer — Forest and Thicket first, then Desert and Sand Dunes. Forest raises attack speed, which for this class means summoning speed, so your skeleton line fills faster. Desert's HP penalty does not apply to Magic HP. Leave Rock and Mountain out of the deck.
Keep the deck small. Only the cards you actually want should be in it, because a smaller deck means you draw the cards that matter more often. Ten or so useful cards will beat fifteen with padding, and this matters most for the Necromancer, whose good cards are a narrow set.
Unlock order that actually helps
-
1
Gymnasium, so levelling up gives traits
Without it there is no experience bar and no traits at all during a run. Everything downstream — class traits, boss traits, trait decks — depends on this existing first.
-
2
Cemetery, then the Crypt next to it
The Crypt unlocks the Necromancer and must be adjacent to the Cemetery. Adjacency requirements can be satisfied temporarily, so you may dismantle the Cemetery afterwards without penalty if you want the space back.
-
3
Intel Center, before you actually play the Necromancer
It unlocks Desert, and Desert is what makes the Necromancer good. Unlocking the class and playing it before this step is the most common reason people conclude the Necromancer is weak.
-
4
Arsenal as your golden card, once you have a class plan
Arsenal grants an extra equipment slot, and which slot depends on the class — helmets for the Warrior, amulets for the Rogue, a shield for the Necromancer. It is a different card for each of them.
Reading a bad run honestly
| What happened | The likely cause | The fix |
|---|---|---|
| Your Necromancer felt weak and fragile | Skeleton Level below the current loop number, or Rock and Mountain in the deck raising an HP pool the class does not use | Keep Skeleton Level at or above the loop count, and cut Rock and Mountain entirely |
| Your Warrior melted in later loops | Desert or Sand Dunes in the deck cutting the maximum HP the class depends on | Remove them. Build toward a 3x3 Mountain Peak instead |
| Fights take forever on the Rogue | Not enough attack speed, so Magic HP and evasion run out before the fight ends | Forest and Thicket in the deck, plus an Arsenal for the amulet slot |
| Everything died at once on a boss | Too few skeletons, or the trait deck is diluted with traits you do not want | Aim for 4 Max Skeletons at bosses, and trim trait decks so the traits you want appear more often |
For which cards to run and how they combine, see the cards guide — the combination tiles are where most of the power is. For the order to build the camp in, see the camp guide. New players should start with the beginner guide, and the honest review covers whether the loop holds up.