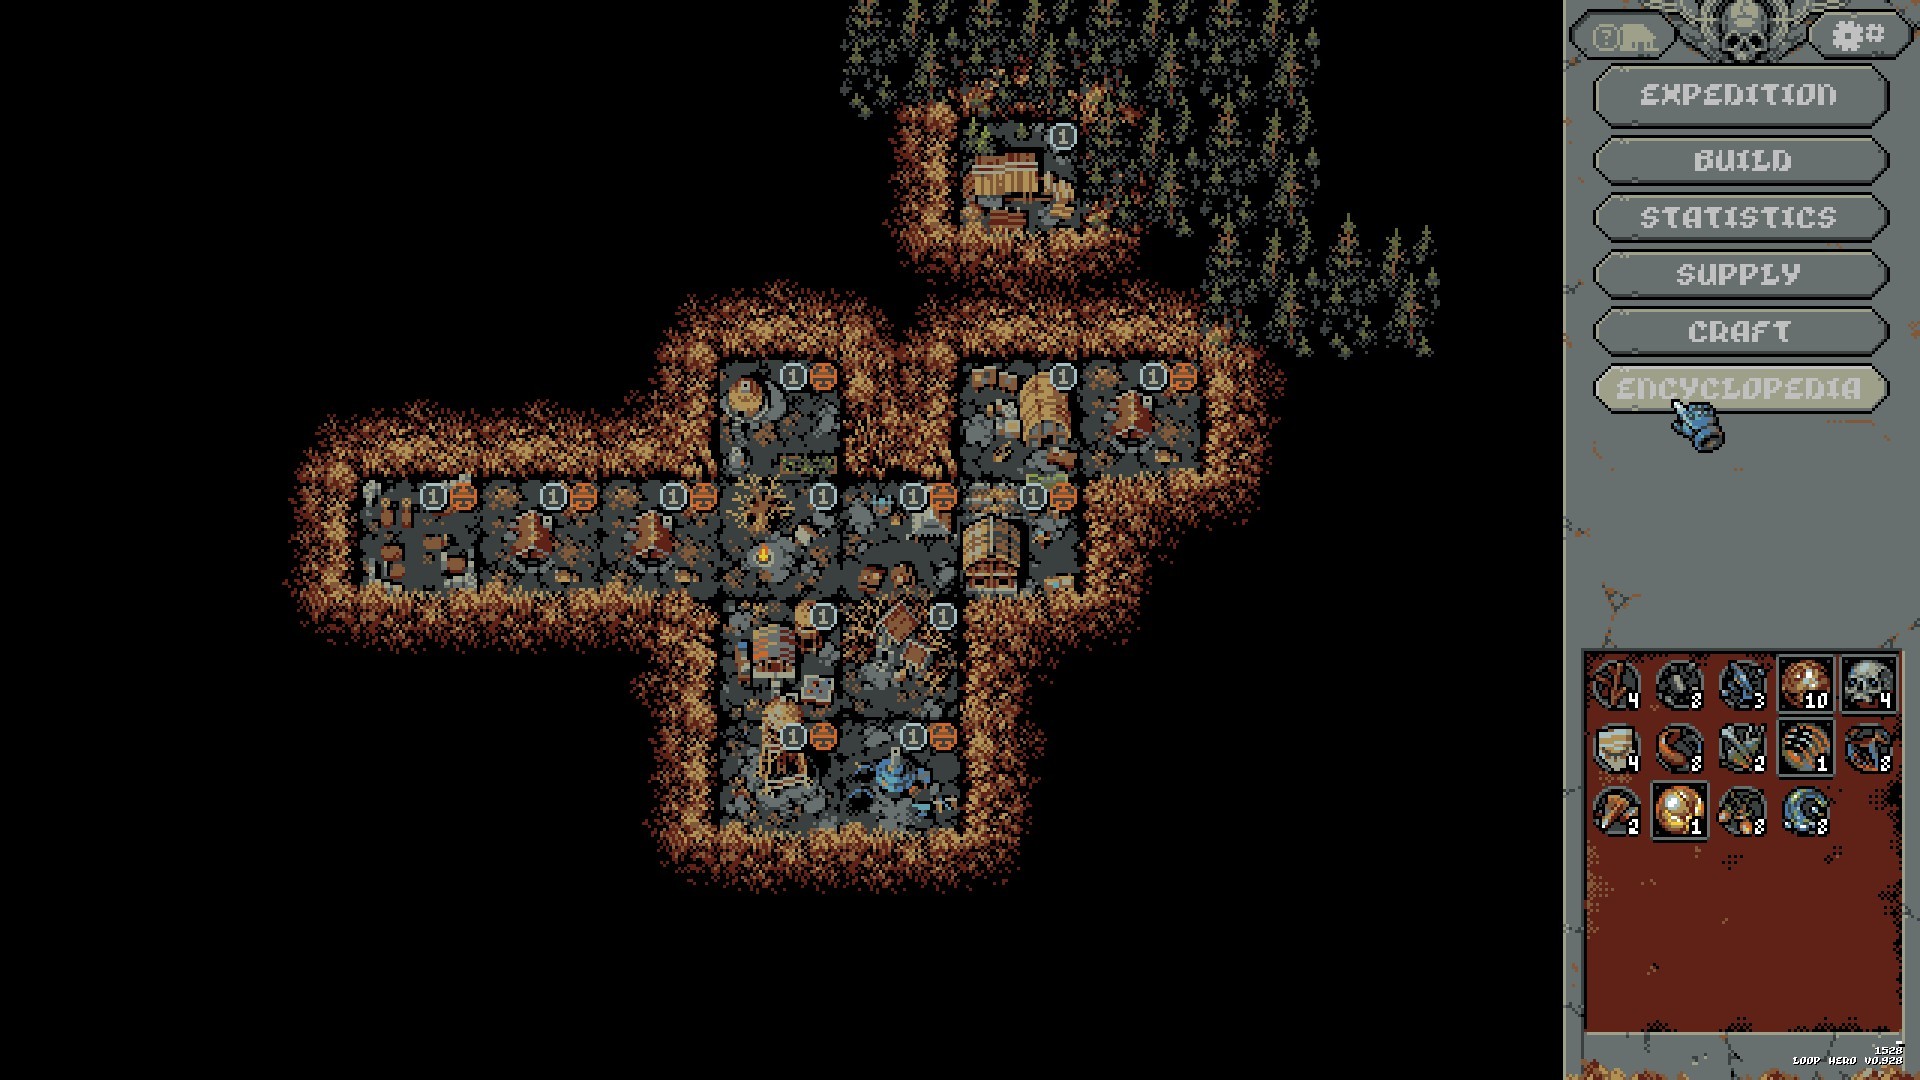
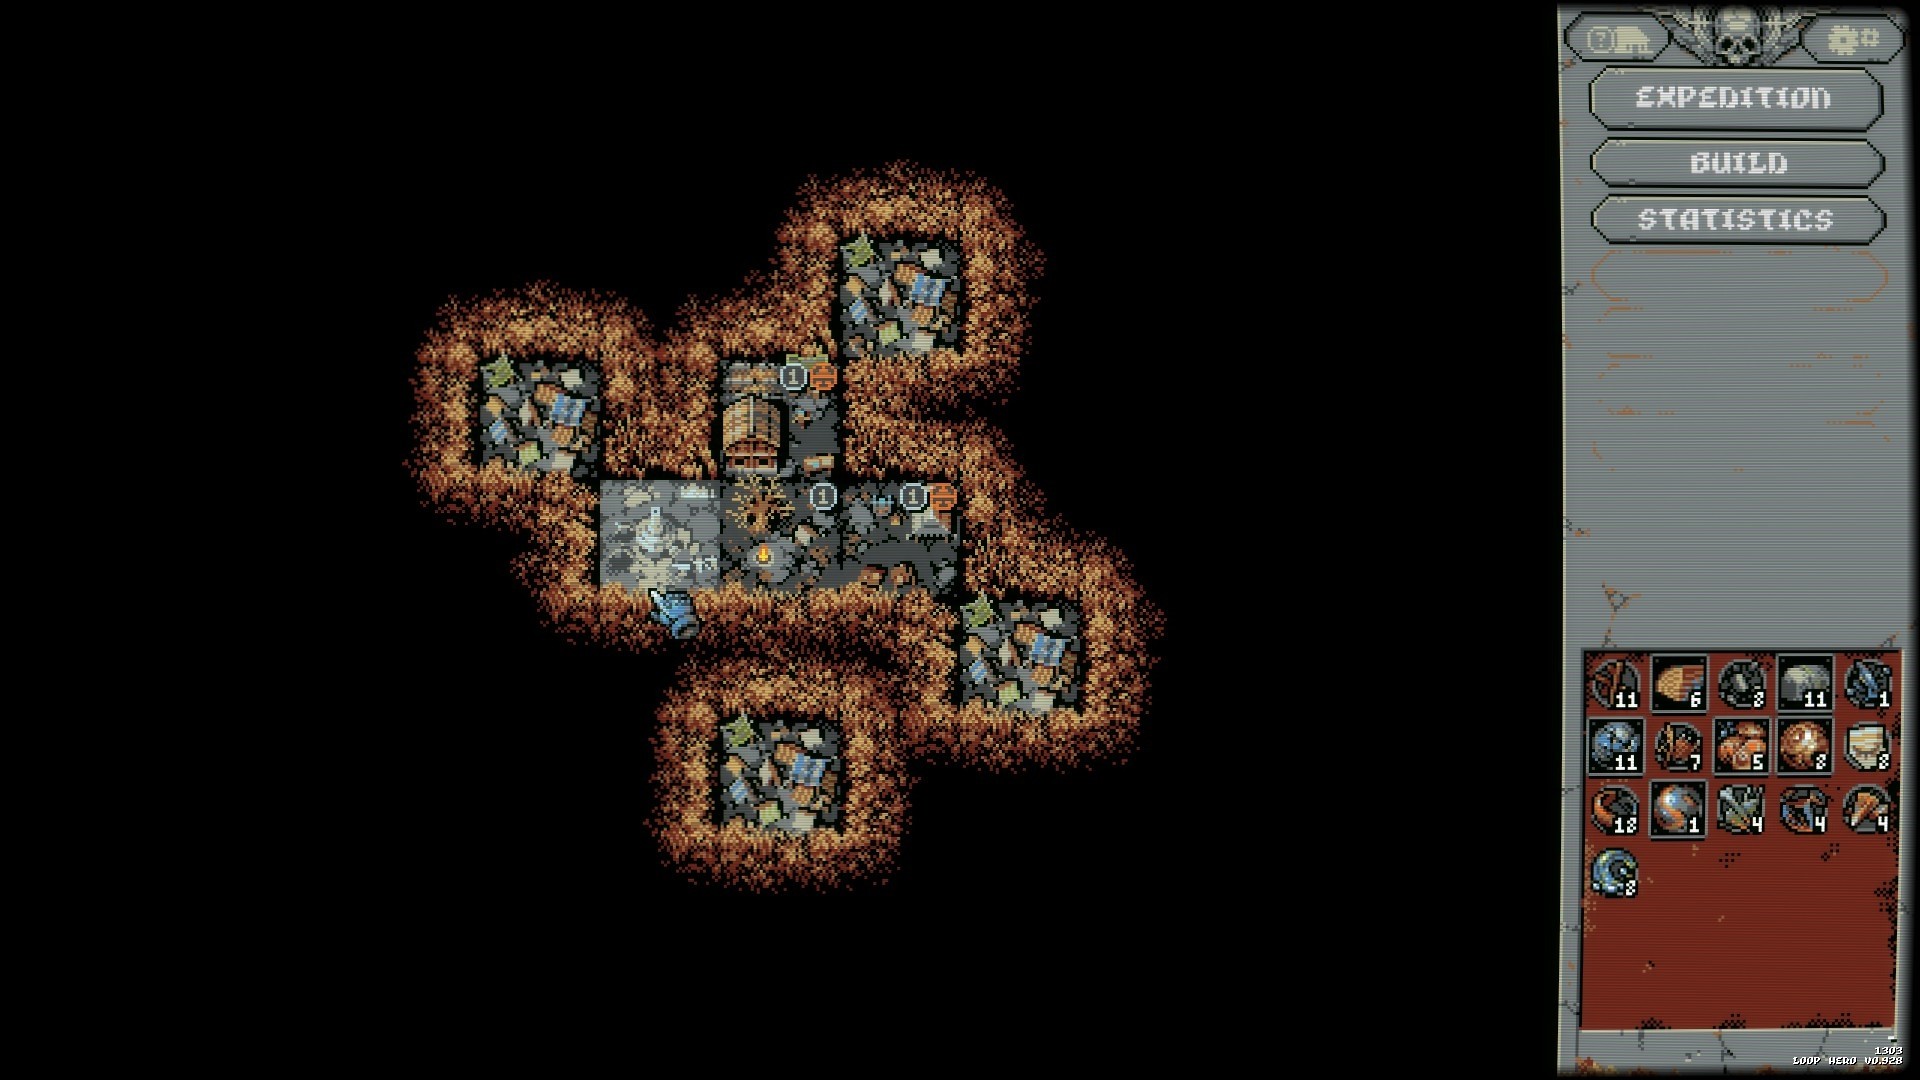
There are 23 buildings in the camp and they are nowhere near equal. Four of them gate almost everything else you will ever unlock, and the remaining nineteen are improvements you can take in whatever order suits the run you just had.
Build those four in sequence and the game opens up. Build around them and you will spend hours wondering why your hero never levels up.
The build order — ranked by what it unlocks
| Order | Building | What it unlocks | Why it sits here | Requires |
|---|---|---|---|---|
| 1 | Herbalist's Hut | Healing potions and the Swamp card | It is the root of the tree — both the Farm and the Gymnasium need it. And potions are your only in-run healing that does not depend on tiles. Level 1 gives 4% heal and 3 potions; level 5 gives 10% and 6. | Nothing |
| 2 | Gymnasium | **Traits**, and the Village card | Without it there is no experience bar during an expedition and no traits at all. Every class trait, boss trait and trait deck in the game hangs off this one building. Its level 2 upgrade, the Academy, adds the Suburbs card. | Field Kitchen or Herbalist's Hut |
| 3 | Supply Depot | The Supply feature, crafting, and the Ruins card | Turns found artifacts into something you keep, and is the gate in front of the Intel Center. Also opens the Mud Hut and the Warehouse. | Gymnasium or Smithy |
| 4 | Intel Center | **Desert and Sand Dunes**, golden cards in your deck, the Encyclopedia | The single biggest step in the camp. Desert is what makes the Necromancer work, and golden cards are what let you start a run with an Arsenal. Also opens River, Library, Forest and Watchtower. | Supply Depot |
| 5 | Cemetery, then Crypt | The Necromancer | The Crypt must touch the Cemetery. Worth doing after the Intel Center, not before — the Necromancer is genuinely weak without Desert. | Gymnasium, then Cemetery |
| 6 | Everything else | Incremental improvements | Farm, Smithy, Smelter, Library, Watchtower, War Camp, Refuge and the rest are worth having and none of them gate anything you are waiting for. | Various |
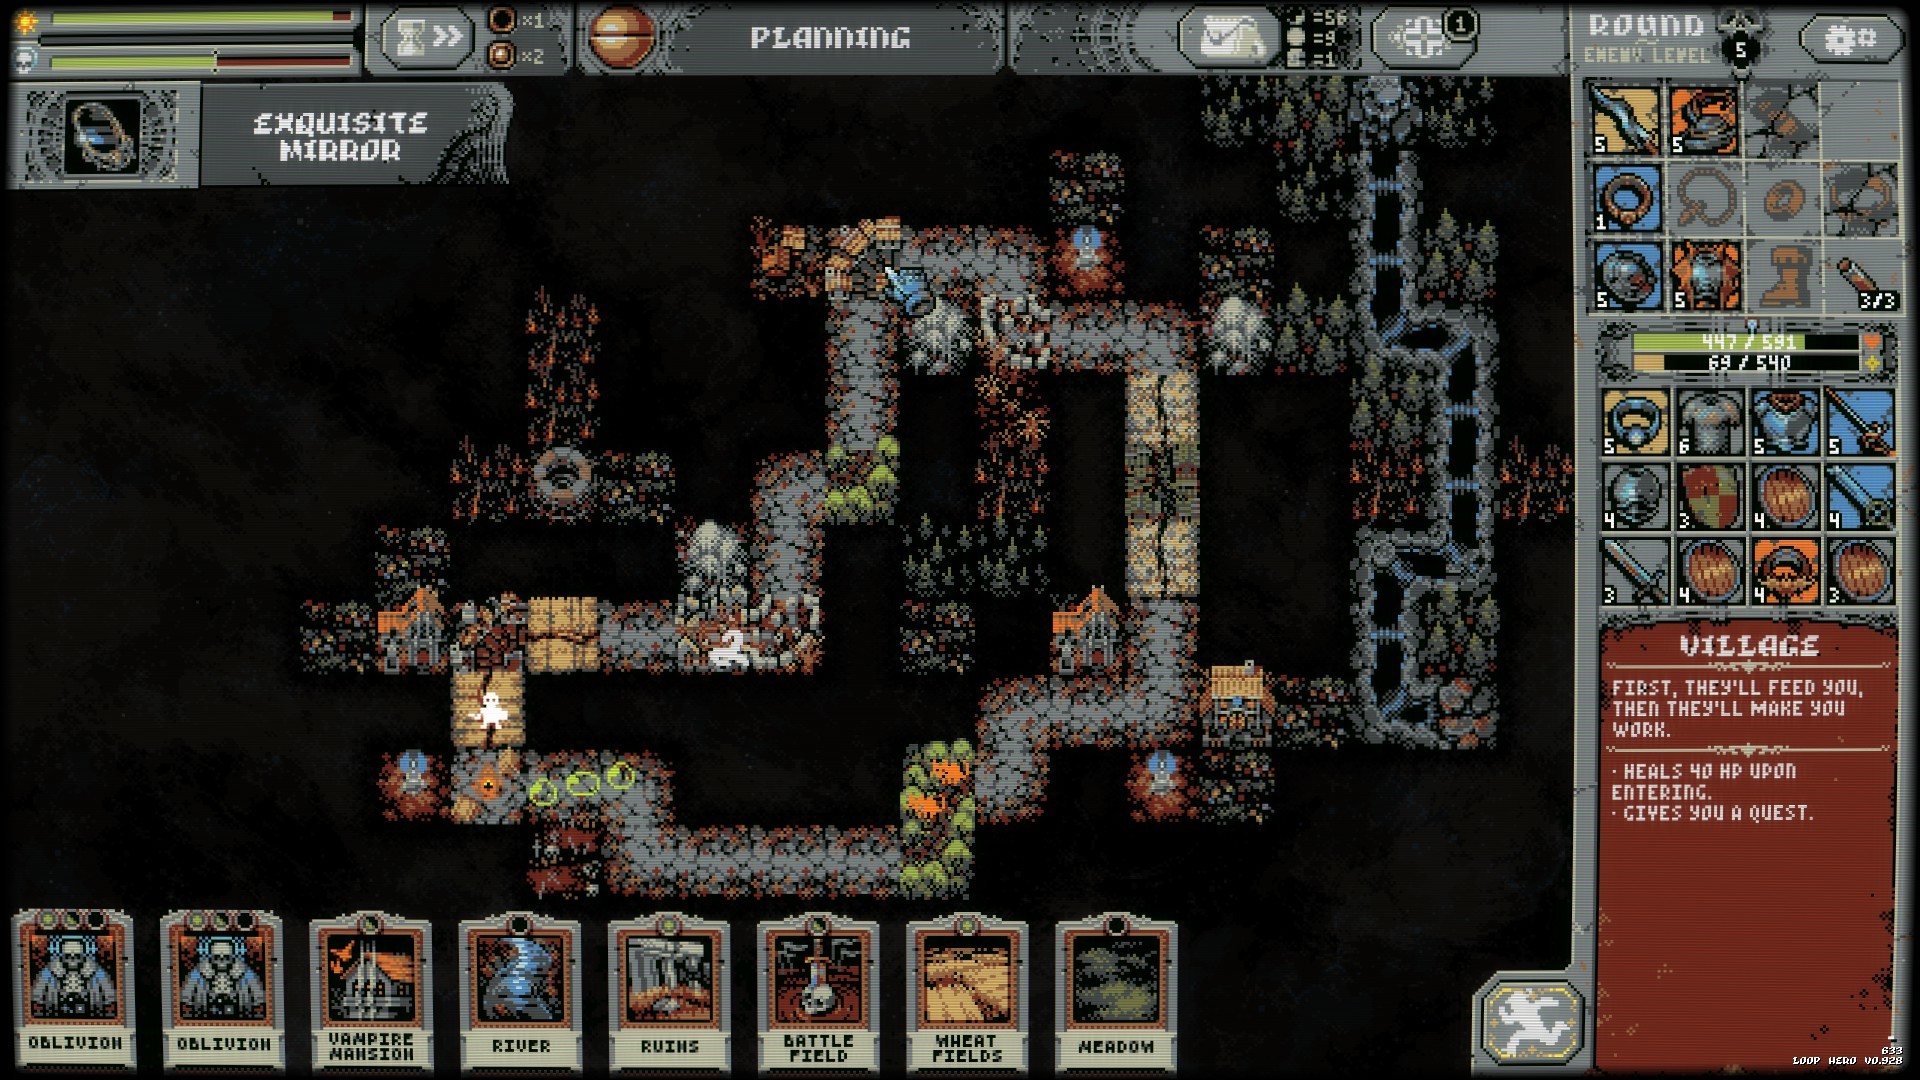
If you build one thing tonight, build the Gymnasium. A run without traits is a run where levelling up does nothing, and most people who bounce off Loop Hero early are playing that version of the game without realising there is another one.
The adjacency rules, and the trick that makes them painless
Several buildings can only be placed beside a specific other building:
| Building | Must be next to |
|---|---|
| Lumberjack | Forest |
| Forest | The top border of the camp, or another Forest |
| Library | Intel Center |
| Warehouse | Supply Depot |
| Crypt | Cemetery |
| Refuge | Field Kitchen, Canteen, Diner or Tavern |
| Smelter | Smithy or Decent Forge |
Everything else — War Camp, Alchemist's Tent, Intel Center, Supply Depot, Cemetery, Gymnasium, Smithy, Farm, Herbalist's Hut, Mud Hut, Field Kitchen — has no specific neighbour requirement. All of them except Forest must still touch some existing building. Bridge and River have fixed locations that nothing else can occupy.
The requirement only has to be true at the moment you build. Place a Supply Depot, build the Warehouse next to it, then demolish the Supply Depot and rebuild it somewhere better — the Warehouse stays. This turns every adjacency rule into a temporary scaffold rather than a permanent constraint on your layout, and it is the difference between a cramped camp and a tidy one.
The one placement worth planning ahead: keep a free tile beside the Intel Center, because the Library has nowhere else it can go.
What the four gatekeepers change about a run
-
1
After the Herbalist's Hut — you can heal on demand
Potions are the only healing that does not depend on which tiles you placed. Upgrading the hut raises the heal from 4% to 10% of maximum HP, the carry limit from 3 to 6, and the campfire refill from 2 to 4.
-
2
After the Gymnasium — levelling up means something
An experience bar appears under your health bar, and each level offers three traits to choose one from. Traits last the run. This is the point at which builds start to exist.
-
3
After the Supply Depot — findings become permanent
Artifacts you pick up start feeding the camp, and crafting becomes possible if you have the supporting buildings. The Ruins card joins your pool.
-
4
After the Intel Center — the deck doubles in size
Desert and Sand Dunes arrive, golden cards can enter your deck, and the Encyclopedia opens. This is also the moment the Necromancer becomes worth playing.
Common ways to waste camp resources
- Unlocking the Necromancer before the Intel Center. The Crypt is cheap to reach and the class is bad without Desert, so people unlock it, try it, and conclude it is weak. It is not — it is unfinished until Desert exists.
- Upgrading the Herbalist's Hut past level 3 early. The first three levels carry the meaningful jumps, including the Witch Hut card at level 3. Levels 4 and 5 are small increments best paid for later.
- Filling the camp before you know your layout. Because adjacency is only checked at build time, a tightly packed camp is not a problem — but a Library with no free tile beside the Intel Center is.
- Treating the Academy as optional. It is the Gymnasium's second level and adds the Suburbs card, which is what eventually produces Towns and their better experience gain.
For what to do with the cards these buildings unlock, see the cards guide. For which class to spend those cards on, see the class tier list. If you are still in your first chapter, the beginner guide covers the loop itself, and the honest review covers whether the campaign sustains all this.