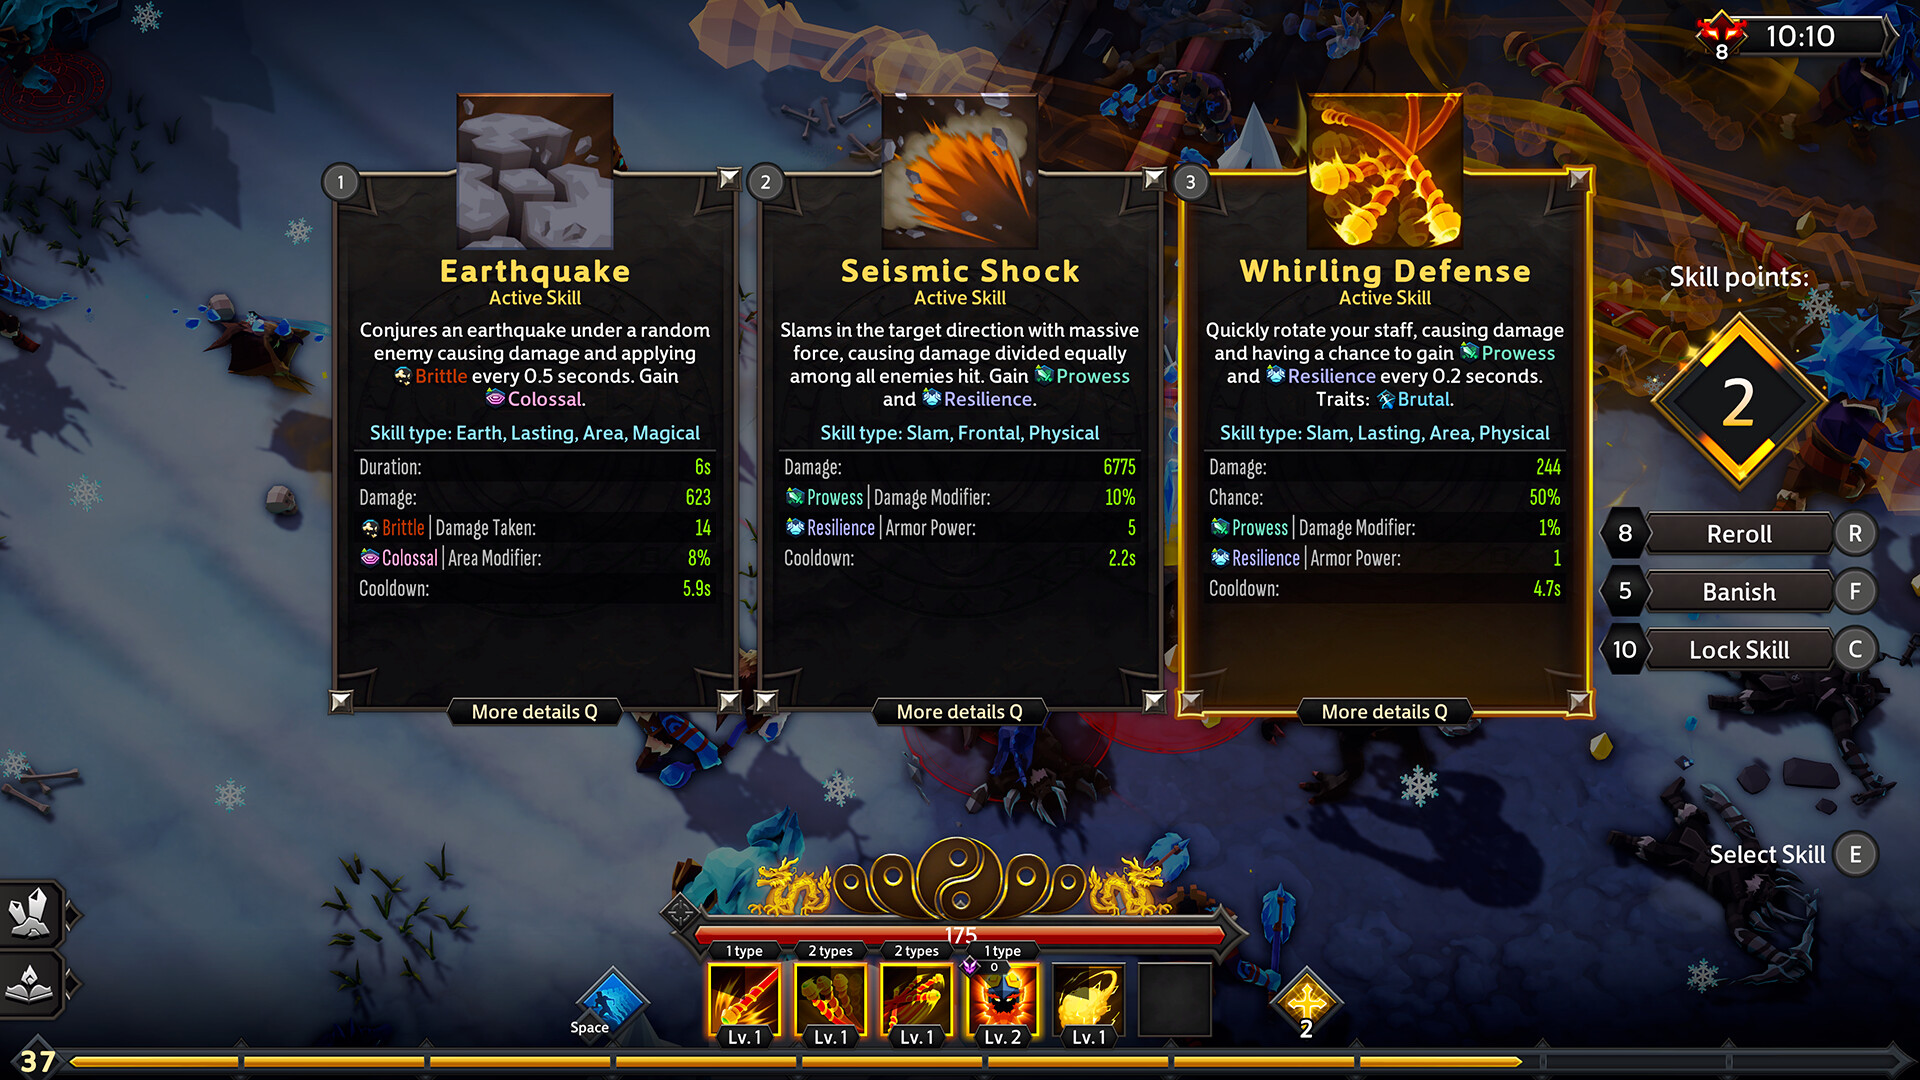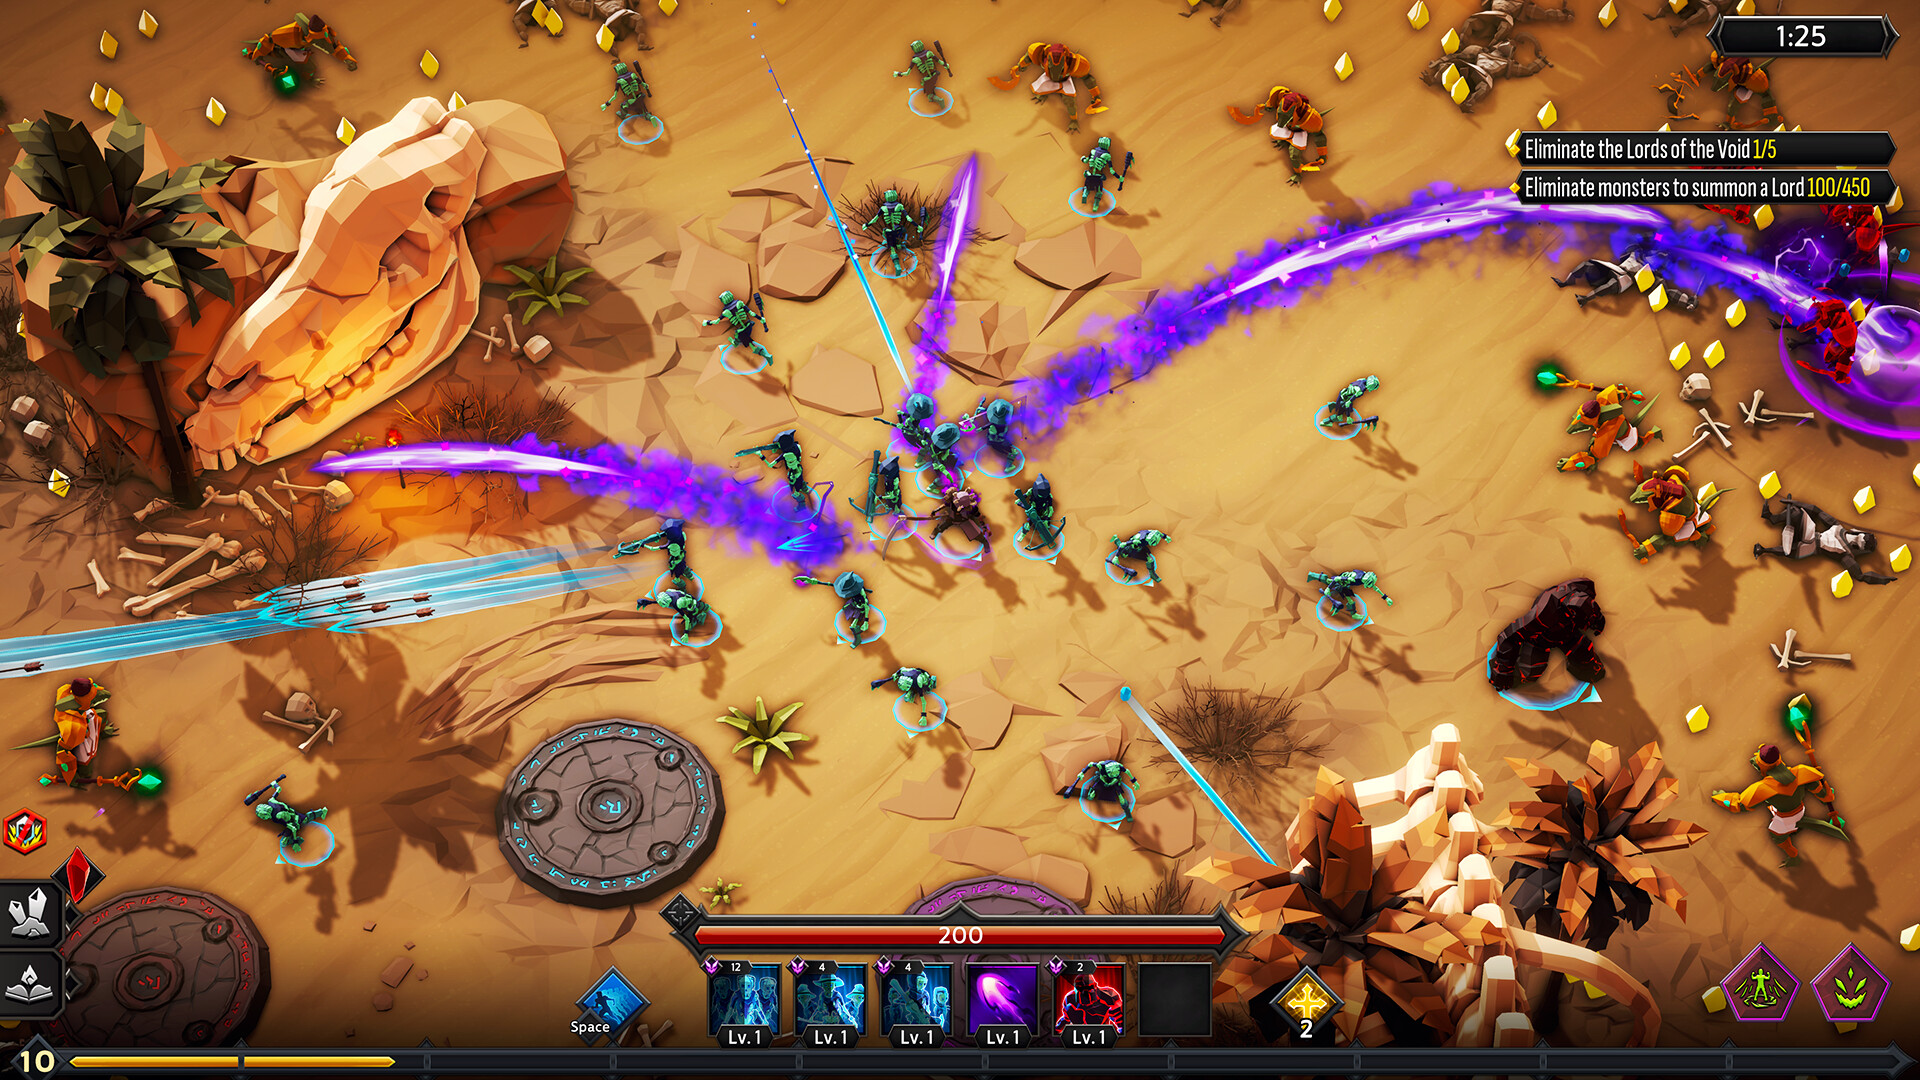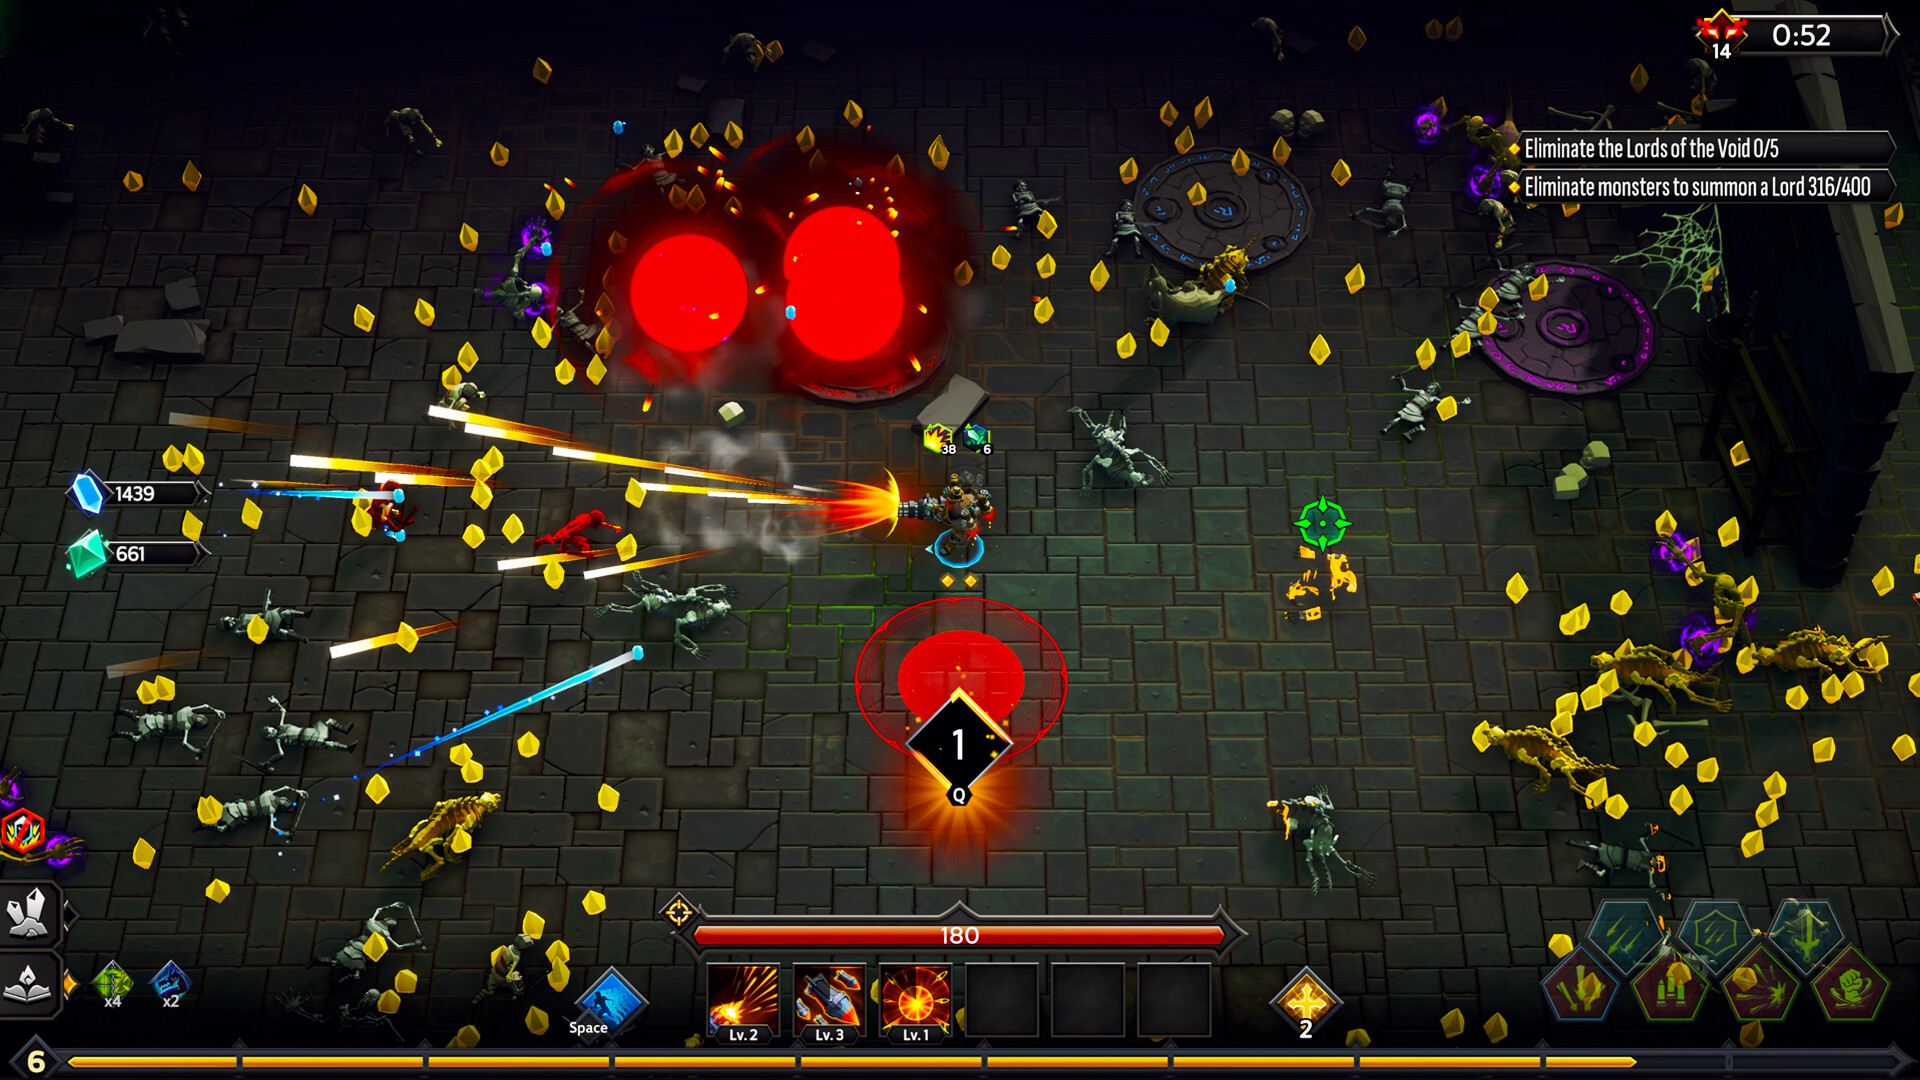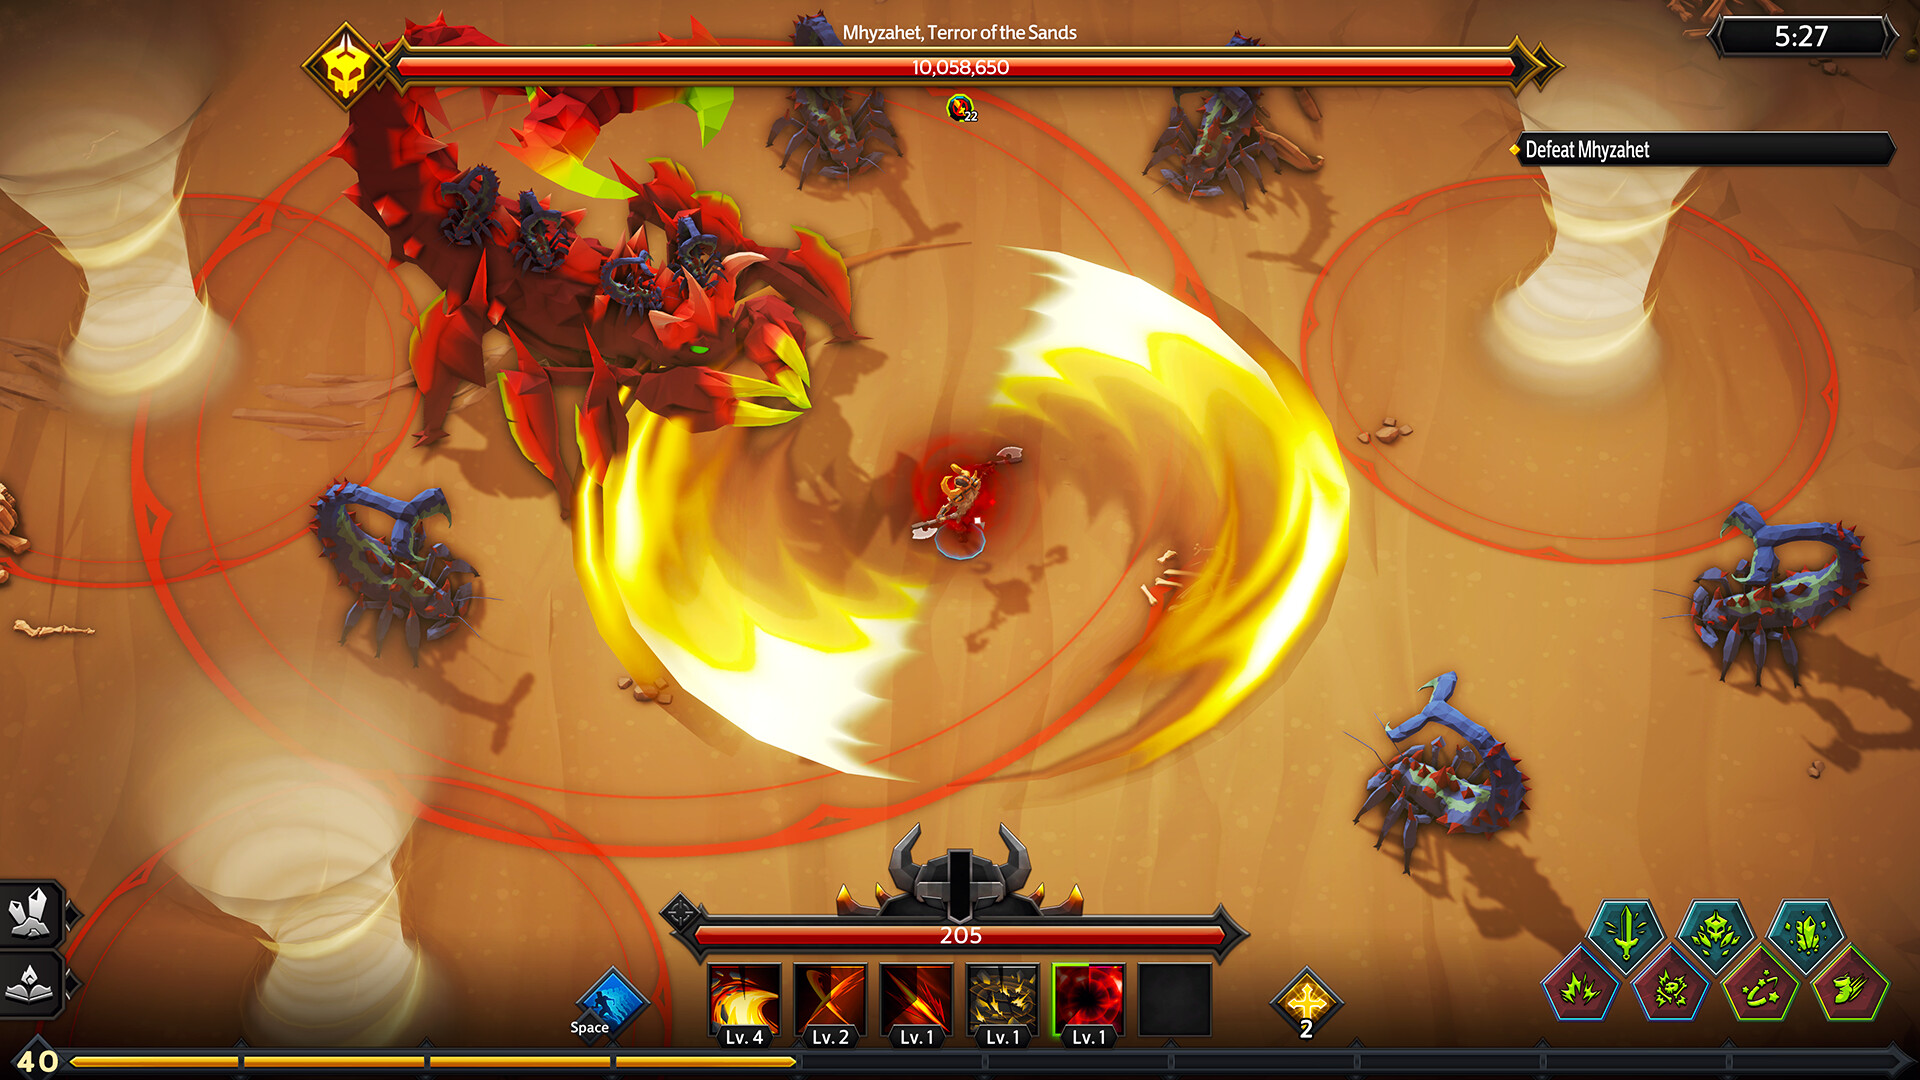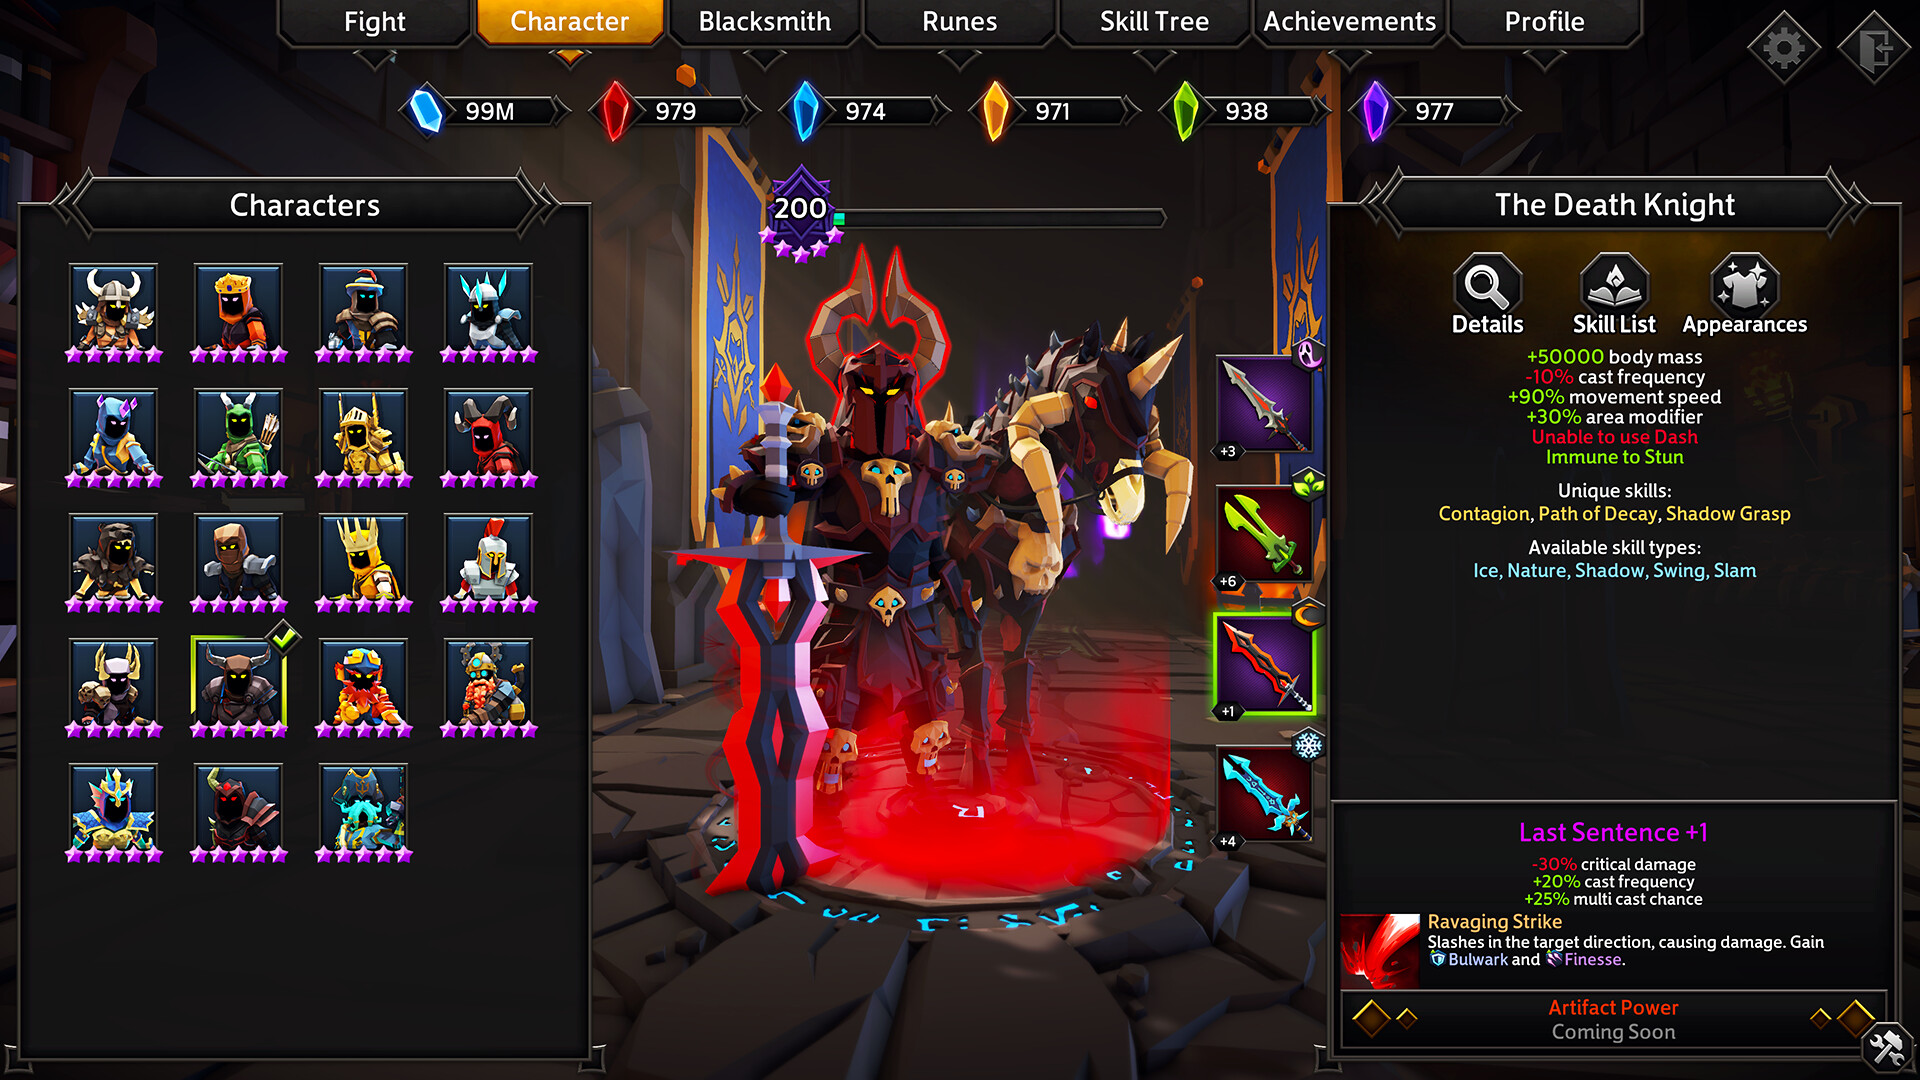
Soulstone Survivors looks like a Vampire Survivors variant and is structured nothing like one. There is no survival timer to outlast. A match is a fixed sequence of tasks, and finishing it quickly is worth more than finishing it safely — the two extra game modes both unlock from clear times, not from survival.
That single misunderstanding is responsible for most bad first evenings. Here is the order that actually works.
What to do first — in priority order
| Priority | What to do | Why it ranks here | Common mistake |
|---|---|---|---|
| 1 | Put every Soulstone into the global Skill Tree | It applies to every character forever, and it is the only source of runes, Ascension and the reroll, banish and lock charges that let you steer a run. A full tree gives +10 of each charge and +50% bonus Minor Soulstones | Saving Soulstones for a character-specific tree. Those do not even open until prestige level 20 |
| 2 | Stay on The Scorching Valley | Danger rating 0, and one Lord of the Void kill there unlocks the Pyromancer — the earliest strong second character in the game | Moving to a harder map as soon as you survive one run. Danger climbs 0, 2, 4, 8, 14 across the five maps, which is much steeper than the numbers suggest |
| 3 | Learn to finish under 13 minutes | The red portal to Overlord opens below 13 minutes and the yellow portal to Endless below 15. Both modes are where the rewards are | Treating the match as an endurance test. It ends after five sequences whether you are comfortable or not |
| 4 | Take one character past prestige 20 | Character skill trees unlock there, and reveal in groups of 20 purchased skills up to 60. This is the largest single power step available to a new account | Unlocking many characters and levelling none of them |
| 5 | Only then enable curses | Curses raise rewards but each point adds 5% enemy health and 20% extra Lord health, which lengthens runs — and long runs are what break the 13-minute portal | Turning on curses to speed up progression, which usually slows it down |
If you do one thing: put everything into the global Skill Tree and stay on The Scorching Valley. Everything below explains why each of those beats the alternatives.
How a match is actually structured
A Void Fields match repeats one loop five times:
-
1
Clear the kill quota
Usually several hundred enemies. This is the part that looks like the rest of the genre, and it is where your build assembles.
-
2
Kill the Lords of the Void that spawn
Between 1 and 4 of them per sequence, more with curses enabled — up to 20 across a whole match. These are the real difficulty check.
-
3
Collect the sequence's soulstone tier
Each of the five sequences pays a different tier, from Corrupted through Vile, Wicked and Hateful to Rogue. Later sequences are worth materially more, which is the reason to finish rather than restart a run that started badly.
-
4
Repeat, then take a portal
After the fifth sequence the match ends and portals open. Which ones open depends on your clear time.
A run that started badly is still worth finishing. The soulstone tier rises with each sequence, so the last two sequences pay far better than the first two. Restarting because your build looks weak at sequence two throws away most of the run's income.
The five maps, and why the order matters
| Map | Danger | What it is like | When to move there |
|---|---|---|---|
| The Scorching Valley | 0 | Canyon terrain with narrow paths. The default starting map | From the beginning, and stay until you clear under 13 minutes |
| The Caves of Dhal Zhog | 2 | Underground, uneven ground and tight spaces | Once the Scorching Valley is routine. The tight spaces punish slow clear speed |
| The Whispering Grove | 4 | Forest of corridors and glades. Holds several character unlocks | When your build reliably reaches its three-source threshold by mid-run |
| The Frozen Wastelands | 8 | Wide open space with slippery ice | When you are comfortable kiting. The openness helps ranged builds and hurts static ones |
| The Dungeon of Despair | 14 | Cramped rooms and dark corners. Far harder than the rest | Only when chasing the Necromancer unlock, which needs curses to tier III here |
The danger numbers are not evenly spaced, and that trips people up. The gap from the Whispering Grove to the Dungeon of Despair is larger than the gap from the first map to the fourth.
The Skill Tree is the real progression
There are two trees and they are not interchangeable.
The global Skill Tree applies to every character and is where new accounts should spend everything. Fully purchased, it grants +10% Damage Modifier, +5% Area, +5% Cast Frequency, +5% Critical Chance, +20% Critical Damage, +200% Pickup Range, +50% Bonus Minor Soulstones, +2 Death Protections and +10 each of reroll, banish and lock charges. It also unlocks runes and Ascension abilities, which are gated behind it rather than behind playtime.
The character-specific trees open at prestige level 20 for that character and reveal in groups — each 20 skills you purchase opens the next group, up to 60. They are strong, but they are a second-stage investment and they only help the one character.
The reroll, banish and lock charges are easy to skip because they are not damage. They are the most valuable nodes in the tree. Banish permanently removes an option from your level-up pool for the rest of the run, which is the only way to raise your odds of being offered the power your build actually needs.
The habit that makes everything easier
Pick one status effect in the first five levels and keep taking sources of it.
Soulstone Survivors only offers you powers you qualify for. One source of an effect makes "chance to apply on hit" eligible, two makes "apply on critical hit" and the next link in the debuff chain eligible, and three unlocks the powers that increase the effect's damage and make it tick faster. A run that spreads across six effects sits at one source of each and never sees any of them.
This is why two players with the same character and the same playtime can have wildly different results, and why "just take the highest damage card" is bad advice in this game specifically. The build guide covers the thresholds and both synergy chains in full.
Five things that waste your first evening
- Saving Soulstones. There is nothing to save for. The global tree is always the best purchase available.
- Chasing character unlocks before prestige 20. A new character at prestige 1 is weaker than your current one at prestige 20, every time.
- Turning on curses early. They raise rewards and lengthen runs, and the 13-minute portal is worth more than the reward bump at this stage.
- Restarting weak runs. The last two sequences pay the best soulstone tiers. Finish.
- Playing for survival time. There is no survival timer. The match ends when the fifth sequence does.
Once the Skill Tree is moving, the character tier list covers who to invest prestige levels in, and the curse guide explains which tiers to enable in what order. If you have not bought the game yet, the honest review is the place to start.