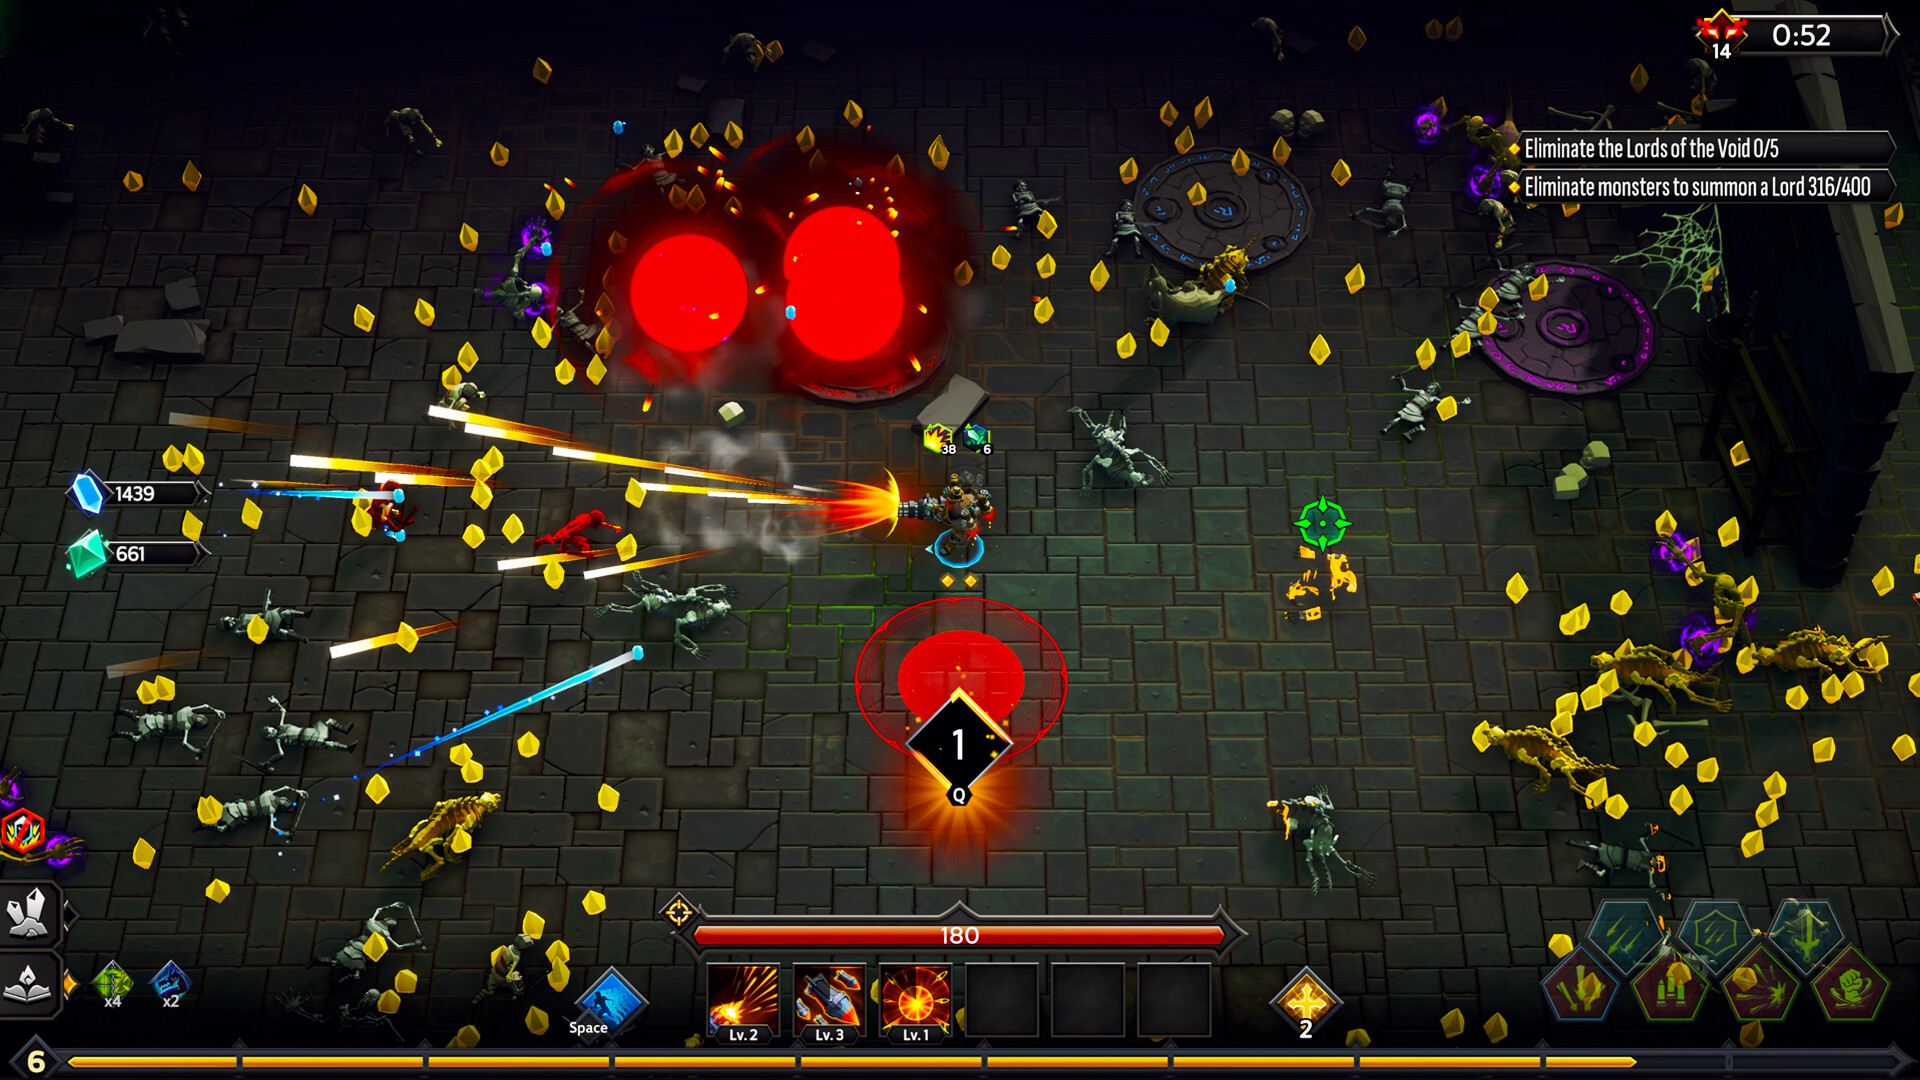
Curses are presented as seven numbered tiers, which invites you to read them as a difficulty slider. They are not one. Each tier is a named package of individual curses, the packages overlap heavily, and the tier that ends the most runs is the fifth, not the seventh.
That matters because most of the interesting unlocks in the game sit behind a specific tier on a specific map, so you will be turning these on deliberately rather than gradually.
The seven tiers, ranked by what they actually cost you
| Difficulty rank | Tier | The curse that defines it | Why it sits here | Points |
|---|---|---|---|---|
| 1 (hardest) | V | Pillars of Protection | Enemies take 20% less damage for **each** pillar currently active. Every other curse in the game makes enemies stronger; this one makes your build worse, and it compounds if you cannot clear pillars quickly. A build that is 20% short of comfortable becomes unplayable. | 5 |
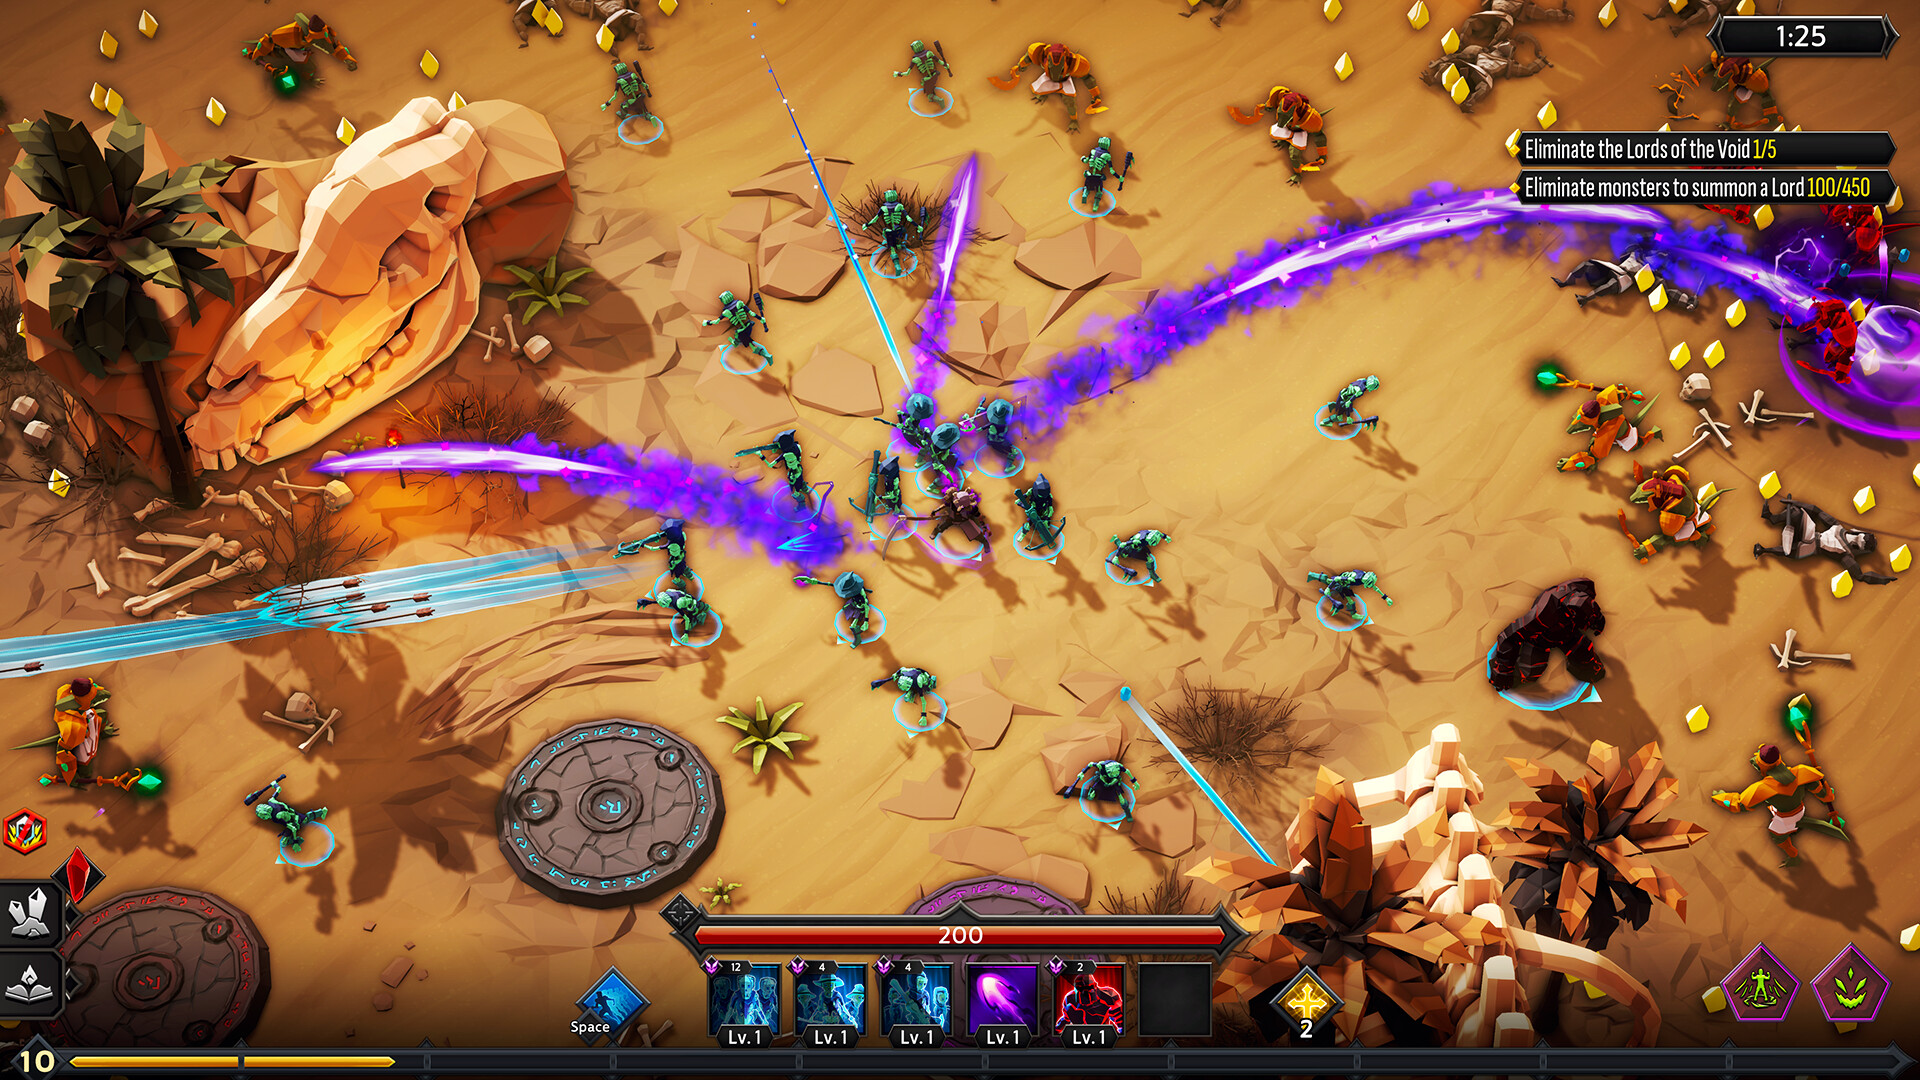
| 2 | VII | Ethereal Lords | Defeated Lords of the Void return in an invulnerable ethereal form and keep helping until the whole group is dead. Combined with the automatic House of Lords, every Lord phase runs far longer with more pressure. Hard, but nothing about it is a surprise. | 6 |
| 3 | VI | Void Presence | An invincible presence follows you and deals fatal damage if it reaches you, so standing still stops being an option. Overwhelming Corruption adds Corrupted Void Hunters that steal your soulstones. Punishing for static builds, fine for mobile ones. | 6 |
| 4 | IV | Pillars of Despair | Pillars spawn and cast powerful spells at you until destroyed. This is the first tier where the difficulty genuinely changes rather than scaling — you now have a second job during every wave. Also carries both Lord-multiplying curses. | 5 |
| 5 | III | Council of Lords | Raises how many Lords of the Void spawn and how many are active at once. The fight structure changes from one big target to several, which most builds handle, but it is the first tier that asks whether your damage is spread or focused. | 4 |
| 6 | II | Clone Army | An extra elite spawns at a time, with more health, damage and cast frequency, and elites spawn 10% more often. A real increase in incoming pressure, still comfortably survivable on a working build. | 4 |
| 7 (easiest) | I | Captains of the Void | Small flat increases to elites and Lords, a 12% healing reduction, earlier explosive goblins and an occasional meteor. Close to free on any build past the first few hours. | 4 |
If you are chasing unlocks, the order to enable is I, II, III, IV, VII, VI, V. Tier V last, because Pillars of Protection is a damage check rather than a skill check, and there is nothing you can do about it in the moment if your build is short.
What a curse point actually adds
Independent of the named effects, every point of curse applies a flat scaling to the whole match:
| Stat | Per curse point | What it means in practice |
|---|---|---|
| Enemy health | +5.0% | The largest term. At 20 points that is doubled enemy health before any named curse is considered |
| Lords of the Void extra health | +20.0% | Four times the rate of ordinary enemies, which is why Lord phases get disproportionately longer as you climb |
| Enemy damage | +1.0% | Modest. Curses kill you by taking longer, not by hitting harder |
| Enemy attack speed | +0.4% | Almost negligible on its own |
| Enemy movement speed | +1.0% | Compounds with the named curses that reduce your space, such as Void Presence |
The asymmetry here is the whole story. Enemy health rises at 5% per point and Lord health at 20% per point, while enemy damage rises at 1%. Curses do not make the game more dangerous nearly as fast as they make it longer, and a longer run is a run with more chances to make one mistake. Builds that scale with time do well; builds that rely on bursting a Lord down do not.
The individual curses worth knowing by name
Some curses are ordinary tax. A few change how a run is played.
- Pillars of Protection (3 points, tier V). Enemies take 20% less damage for each active pillar. The hardest single curse in the game.
- Pillars of Despair (3 points, tier IV). Pillars cast powerful spells until destroyed. Dangerous, but at least it dies to damage.
- Void Presence (3 points, tier VI). An invincible pursuer that kills on contact. Turret and static-summon builds suffer badly.
- Ethereal Lords (3 points, tier VII). Killed Lords return invulnerable and keep fighting until the group is cleared. Automatically enables House of Lords.
- Council of Lords (2 points). Raises the number of simultaneously active Lords, and automatically enables House of Lords at match start. Its real cost is 4 points, not 2, which is easy to miss when budgeting.
- Overwhelming Corruption (2 points, tier VI). Corrupted Void Hunters chase your dropped soulstones, which directly cuts your reward rate as well as adding pressure.
- Clone Army (2 points). An extra simultaneous elite with more health, damage and cast frequency. The most common cause of an early death on tiers II to V.
- Lifeless Void (1 point). Healing reduced by 12%. Irrelevant on most builds, painful on the Paladin-style healing builds where it undercuts the whole plan.
Turning curses on for the unlocks you actually want
-
1
Tier III on The Dungeon of Despair, for the Necromancer
The Dungeon of Despair is the highest-danger map in Void Fields, so this is two difficulty steps at once. Bring the sturdiest character you have levelled rather than the highest-damage one.
-
2
Tier III on The Frozen Wasteland, for the Death Knight
Mechanically the same requirement on an easier map. If you are doing both, do this one first — the Frozen Wasteland is wide and open, which suits a build still learning to handle extra Lords.
-
3
All curses on The Whispering Grove, for the Beastmaster
Note the wording is all curses, not a tier number. The Whispering Grove is mid-danger with tight corridors, which makes Void Presence and Pillars harder to avoid than the danger rating suggests.
-
4
Tier VI on The Whispering Grove and The Frozen Wastelands, for the Monkey King and the Myrmidon
These are late-account goals. Tier VI brings Void Presence, so bring a mobile character and a build that does not rely on standing in one place.
-
5
Tier VI on The Scorching Valley, for Runic Power
Worth doing before the character unlocks above. The Scorching Valley is the lowest-danger map, and the reward is a permanent Runic Power point that improves every later run.
Reading a failed curse run honestly
If a run ends badly with curses on, the cause is almost always one of three things, and they need different fixes:
| What happened | The real cause | The fix |
|---|---|---|
| You died during an ordinary wave | Incoming pressure from Clone Army and extra elites outpaced your clear | More area and cast frequency, or a sturdier character. Damage does not fix this |
| Lords took forever and then killed you | Lord health rises 20% per curse point and your damage is spread across targets | One dedicated burst skill in the core. Damage-over-time builds need this specifically |
| You cleared everything but slowly, then ran out of room | Pillars, Void Presence or Corrupted Hunters shrank the usable space | This is a positioning problem, not a build problem. Lower the tier one step and practise the map |
For the builds that carry these tiers, see the build guide — the three-source threshold is what separates a build that scales with curse from one that does not. For who to bring, see the character tier list. If you have not finished the Skill Tree, the beginner guide covers why that matters more than curses do, and the honest review gives the wider verdict.