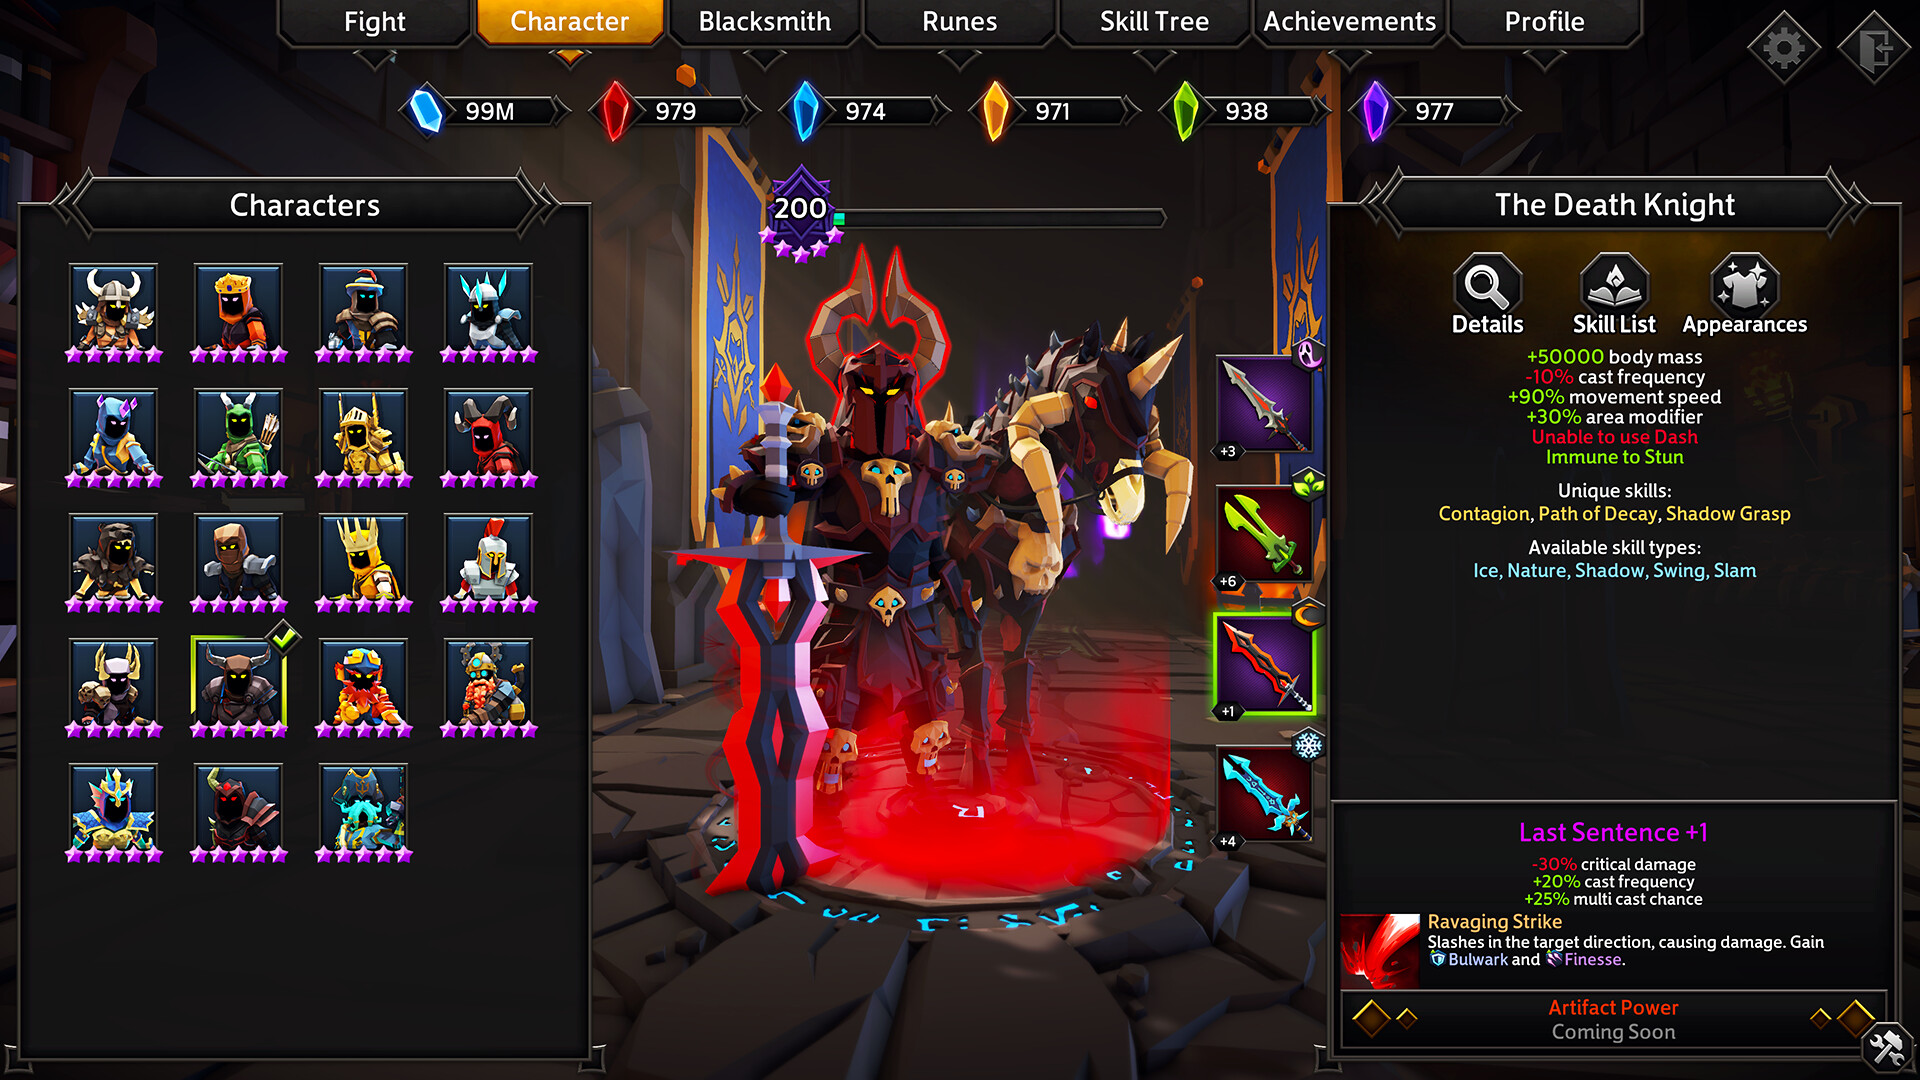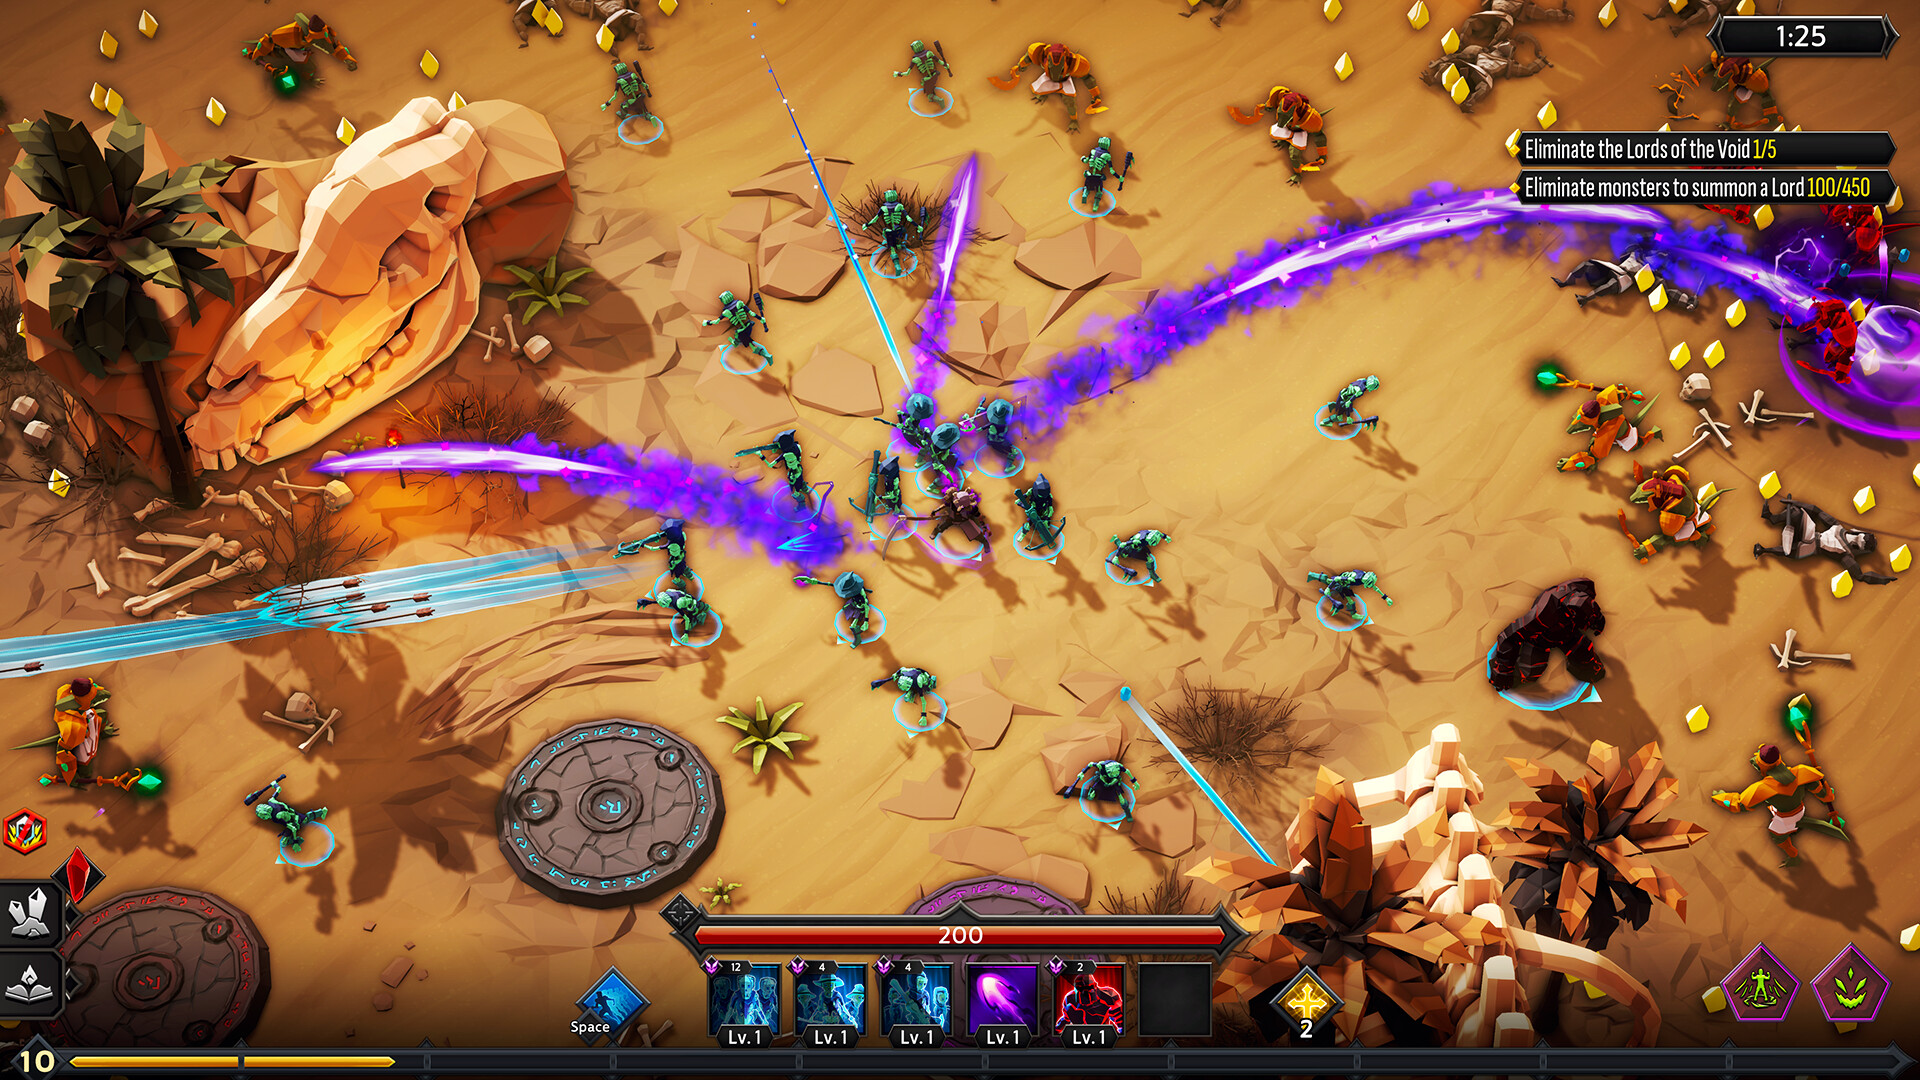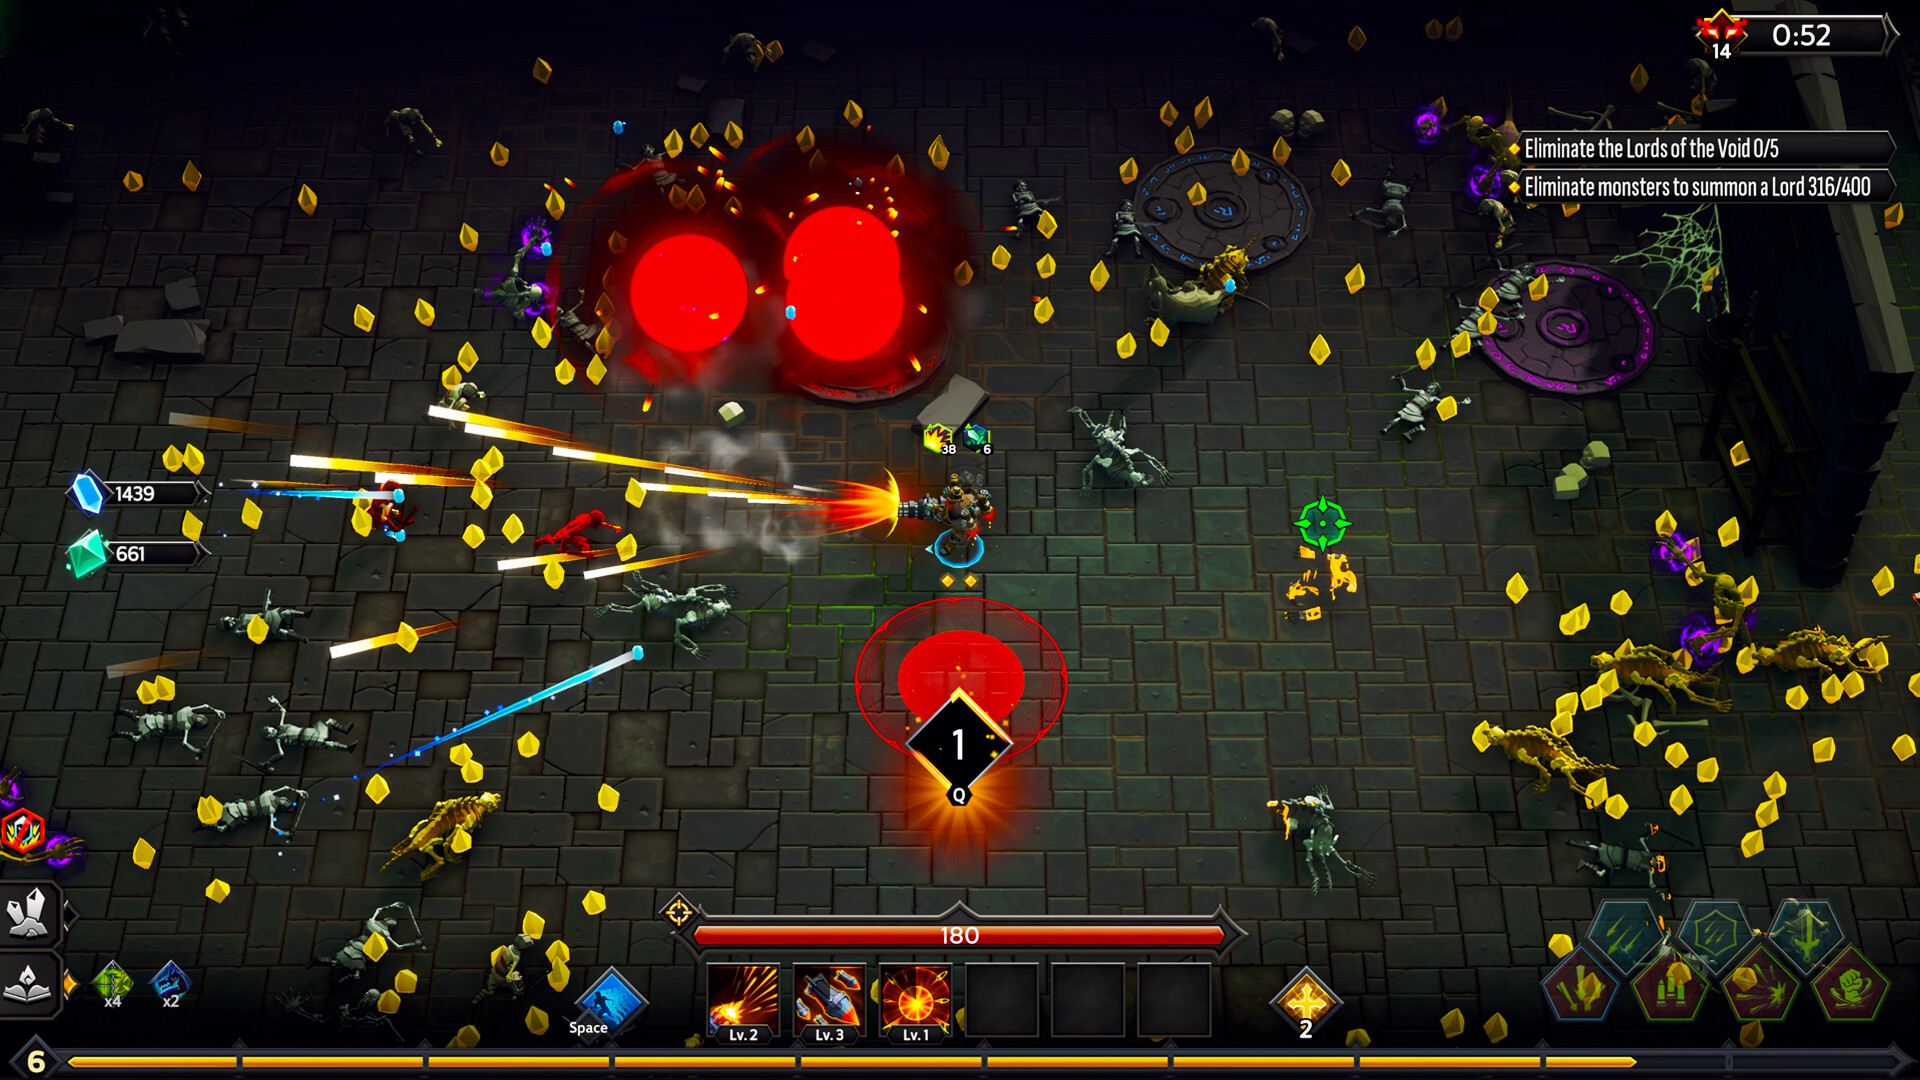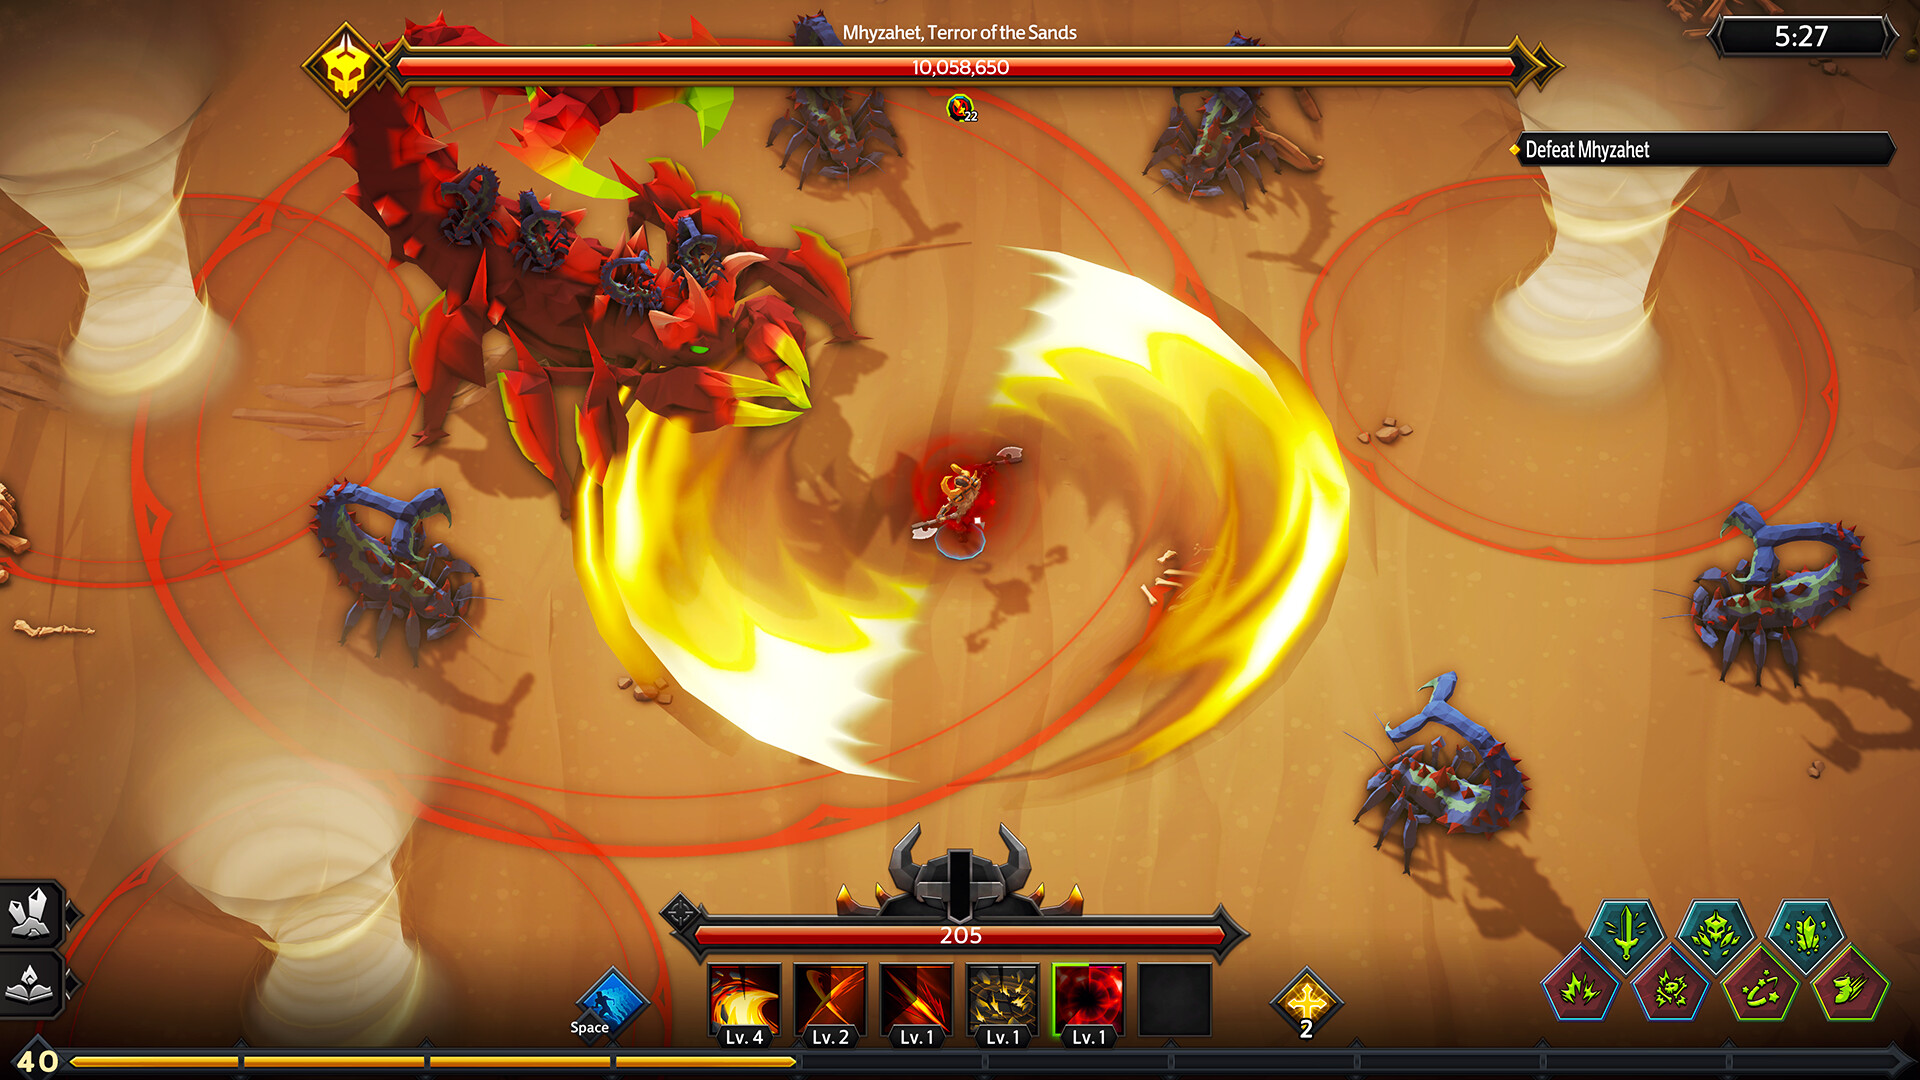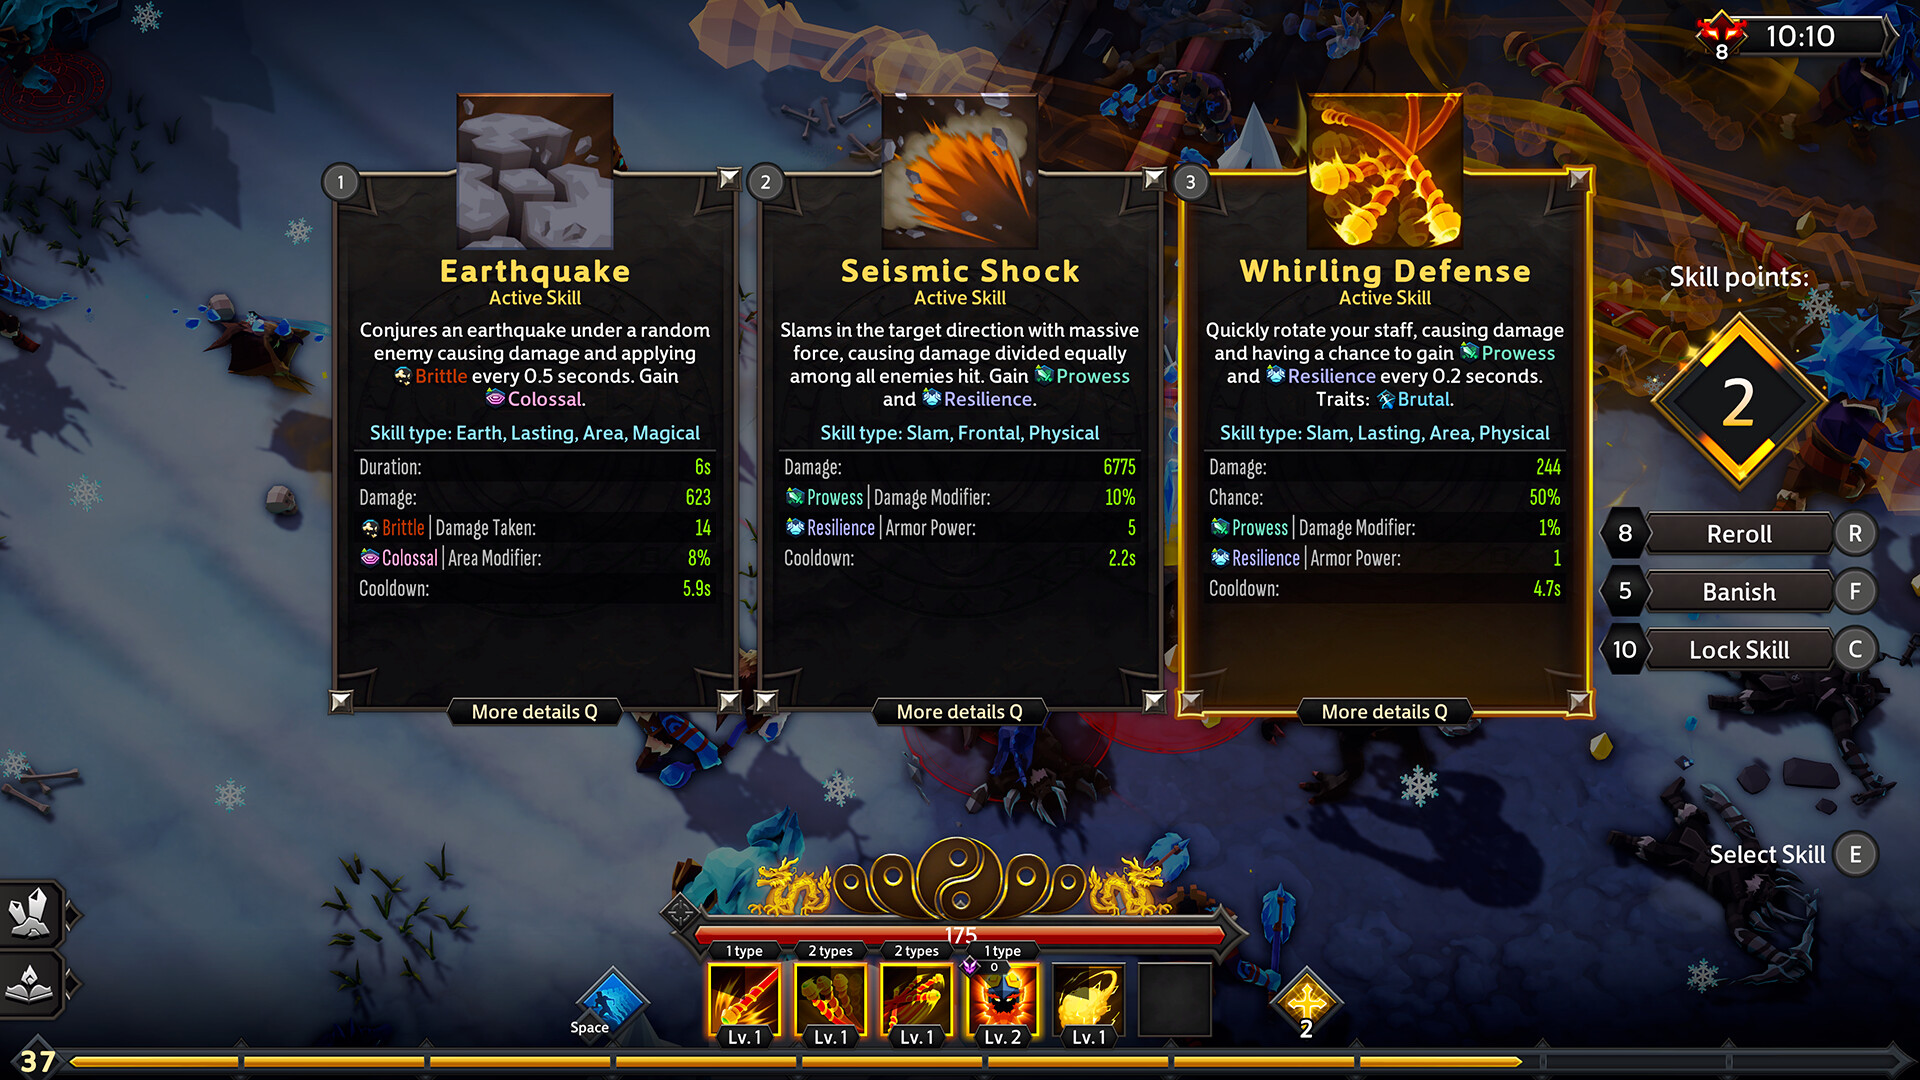
There is one rule in Soulstone Survivors that the game never states, and almost everything else follows from it.
The powers you are offered depend on what you already have. A power that gives your skills a chance to apply Burn on hit requires one source of Burn. The version that applies it on critical hits requires two. The powers that increase Burn's damage, or make it tick faster, require three. The same gate exists on Poison, Bleed and Doom, and on the buff side too.
This means a run that takes the best-looking card every level ends up worse than a run that takes the third-best card three times. Not because focus is a virtue, but because the game is checking your build before it decides what to show you.
The three builds that carry high curse — ranked
| Rank | Build | Who it works on | Why it ranks here | The catch |
|---|---|---|---|---|
| 1 | Burn stack | Any Fire-led character, the Pyromancer above all | Burn sits at the head of the debuff chain, and Fire skills are common enough that three sources arrive early. Once there, you unlock increased Burn damage, a faster tick rate and instant damage on application at the same time — three multipliers on the same number. | Burn is a damage-over-time effect, so it kills crowds beautifully and single Lords of the Void slowly. You need one burst skill in the core or boss phases drag. |
| 2 | Summon count | The Necromancer, or the Beastmaster far earlier | Multi Cast Chance and Cast Frequency raise the number of units on screen directly rather than raising a damage number, which means they compound with everything else. The Necromancer's +20% Multi Cast and +15% Cast Frequency are the whole reason it tops most lists. | Your damage is wherever your summons are, not where you are aiming. Against a Lord of the Void that moves, output drops sharply and there is not much you can do about it in the moment. |
| 3 | Physical chain (Swing into Thrust) | The Barbarian, the Assassin, the Samurai | Skill chains trigger from two skills of the same primary type, and physical melee characters are offered almost nothing but those types. It is the easiest build in the game to assemble accidentally, and it scales through Bleed on the Assassin. | It has the lowest ceiling of the three. Physical damage runs into Armor Power, and each curse point adds 10 armor power to elite enemies on several tiers. |
If you are stalling and want one answer: take a Fire character and stack Burn. It reaches its thresholds earliest, the powers that unlock are multiplicative rather than additive, and it does not depend on a late unlock. Everything below is the machinery — what the thresholds actually are, how the two chains loop, and how to force the cards you want.
The thresholds, exactly
This is the table worth memorising. "Sources" means separate skills or powers that apply the effect.
| Sources of the effect | What it unlocks | Why it matters |
|---|---|---|
| 1 | Chance to apply the effect on hit | Free extra applications from skills that were not applying it before. Cheap, and it is how you get from one source to effectively more |
| 2 | Chance to apply it on critical hits, and the next debuff in the chain | The chain link is the real prize — two sources of Burn is what makes Slow powers eligible, and Slow is a damage multiplier through skills that scale on Slow stacks |
| 3 | Instant damage on application, increased effect damage, increased tick rate | This is the cliff. Three separate multipliers on the same damage-over-time effect, all gated behind the same number |
Note the exclusion that catches people out: skills with a base cooldown greater than 8 seconds do not count toward skill chains. A powerful 20-second summon feels like a build piece and contributes nothing to your chain. Check the cooldown before you count a skill as a source.
The two chains
Both chains are loops, which means there is no wrong entry point — only a wrong number of sources.
The debuff chain: Burn to Slow to Disarray to Bleed to Poison to Doom, and back to Burn. Two sources of any link makes the next link's powers eligible. So a Burn build naturally acquires Slow, a Slow build acquires Disarray, and a full lap is possible on a long run.
The buff chain: Finesse to Bulwark to Aptitude to Prowess to Resilience to Form to Haste, and back to Finesse. Same rule, two sources each. These are self-buffs rather than enemy debuffs, and they are what keeps you alive while the debuff chain does the killing.
| Chain | Sequence | What each source looks like | How to start it |
|---|---|---|---|
| Debuff | Burn, Slow, Disarray, Bleed, Poison, Doom | A skill that applies the effect, or a power that gives a chance to apply it | Pick your character's element and take the first two skills that apply its native effect, before anything else |
| Buff | Finesse, Bulwark, Aptitude, Prowess, Resilience, Form, Haste | Skills with "Gain X" in the description, plus powers that grant it on cast or on crit | Almost every physical skill grants something. Read the Gain line rather than the damage number when choosing between two similar skills |
There is also a third conditional, easy to miss: a Type A to non-Type A power requires two skills with a type and two skills without it. So a completely mono-type build actually locks itself out of a category of powers. The practical shape is four or five skills that share your core type, plus one or two that deliberately do not.
Building a run, in order
-
1
Before the match, equip runes
Versatility runes cost 0 Runic Power, so there is no reason to run without them. Runes are multiplicative where in-run stat powers are additive, which makes the pre-match screen worth more attention than any single level-up.
-
2
Levels 1 to 5, pick your effect and take sources
Decide which debuff you are stacking from your starting skill, then take the next two skills or powers that apply the same one. Ignore raw damage cards here. You are buying eligibility, not damage.
-
3
Around level 6 to 10, confirm three sources
Check the effect is actually landing before you spend anything else. Three sources is the cliff where increased damage, faster ticks and instant application damage all become eligible at once. Take all three as they appear.
-
4
Banish everything off-plan
A banish removes an option from the pool permanently. Spend them on skills that apply a fourth effect you do not want — those are the cards that dilute the rest of your run.
-
5
After the core is set, buy multipliers
Now the additive damage cards are worth taking, because there is something to multiply. Area Modifier and Cast Frequency are usually better than flat damage, because both increase how often and how widely the effect is applied.
-
6
Keep one burst skill for Lords of the Void
A Void Fields match runs five sequences, each ending with a group of Lords. Damage-over-time builds clear waves effortlessly and can stall completely on a single tough target, so leave one slot for direct damage.
The utilities are a build decision, not a convenience
| Utility | What it does | Honest value |
|---|---|---|
| Banish | Permanently removes an option from the pool for the rest of the run | The strongest of the three. Every banish makes every later card draw from a smaller, better pool — it compounds |
| Lock | Preserves a chosen power for the next level-up | Useful when you are one source short and the card you need is on the table but you cannot take it yet |
| Reroll | Gives a fresh set of three cards from the same pool | The weakest, because the pool has not changed. Good for escaping a bad hand, useless for shaping the run |
The Skill Tree grants up to +10 reroll, +10 banish and +10 lock charges when fully purchased, along with +50% Bonus Minor Soulstones. If your runs feel like they never come together, the answer is often the Skill Tree rather than your play — more charges means more control over which powers you are offered.
What rarity actually means for your odds
Power rarity is rolled before the specific power is chosen, and within a rarity every option is equally likely. The weights are Common 50, Uncommon 25, Rare 12, Epic 4, Legendary 1 — so on a default account, a single card is Common about 54% of the time and Legendary about 1% of the time.
Two things follow from that. First, the best rarity among your three cards is Uncommon or Rare roughly 73% of the time, so most of your build is made of unremarkable cards chosen well rather than rare cards chosen luckily. Second, because every power within a rarity is equally weighted, reducing the pool with banishes is mathematically the only way to raise the chance of seeing a specific power.
The mistakes that cost the most
- Taking a new skill because it does more damage than one you have. A seventh skill applying a seventh effect actively lowers your damage by keeping every effect below its threshold.
- Counting a long-cooldown skill as a chain source. Above 8 seconds base cooldown, it does not count. This is the single most common miscount.
- Saving banishes. They do not carry over, and their value is highest early because they shape every draw that follows.
- Building mono-type. You need two skills outside your core type to make an entire category of powers eligible.
- Ignoring the pre-match screen. Runes are multiplicative. Skipping the free Versatility slots is giving up a permanent multiplier for nothing.
For who to build on, see the character tier list. For the difficulty that makes all of this necessary, see the curse guide. New players should start with the beginner guide, and the honest review covers what this depth costs in readability.