Combat is a puzzle, not a brawl
Urtuk: The Desolation's combat is its best feature, and it rewards players who treat each battle as a spatial puzzle rather than a damage race. Fights play out on grids littered with hazards, where positioning, turn order and the environment decide outcomes far more than raw stats. Because healing is scarce and permadeath is real, your aim is always to win cleanly — ending the fight with your band intact — and that means controlling the battlefield instead of simply trading hits. The four pillars below — terrain, turn order, flanking and the armour system — are the tools you use to do exactly that.
Master them and Urtuk transforms from a frustrating wall into one of the most satisfying tactical combat systems in the genre.
Every battle is self-contained and fully visible: you can see hazards, enemy positions and the turn order before you commit. Urtuk is a game of information and planning, so take the time to read the board before acting.
Pillar 1 — terrain and displacement
The environment is your single strongest weapon. Spiked pits kill instantly, ledges let you hurl enemies off the map, and hazardous tiles damage anything standing on them, while holding high ground improves your attacks. Crucially, many classes carry abilities that move enemies around — the Guardian's Bash pushes a foe two hexes, and other units pull, throw or charge — so the game actively encourages you to use these to force enemies into danger. A single shove into a pit removes a threat that direct damage might take several turns and several risks to handle.
So plan turns around the map. Scan for hazards, identify which units can displace, and look for setups where you push an enemy into doom or pull it out of formation. Just as important, position your own fragile units away from ledges and hazards, because the enemy can play the same game against you. Terrain mastery is the skill that most separates struggling players from dominant ones.
Before each turn, ask "can I solve a threat with terrain?" A push into a spiked pit, a throw off a ledge, or baiting a foe onto hazardous ground is almost always better than a normal attack — it removes the enemy and costs you nothing.
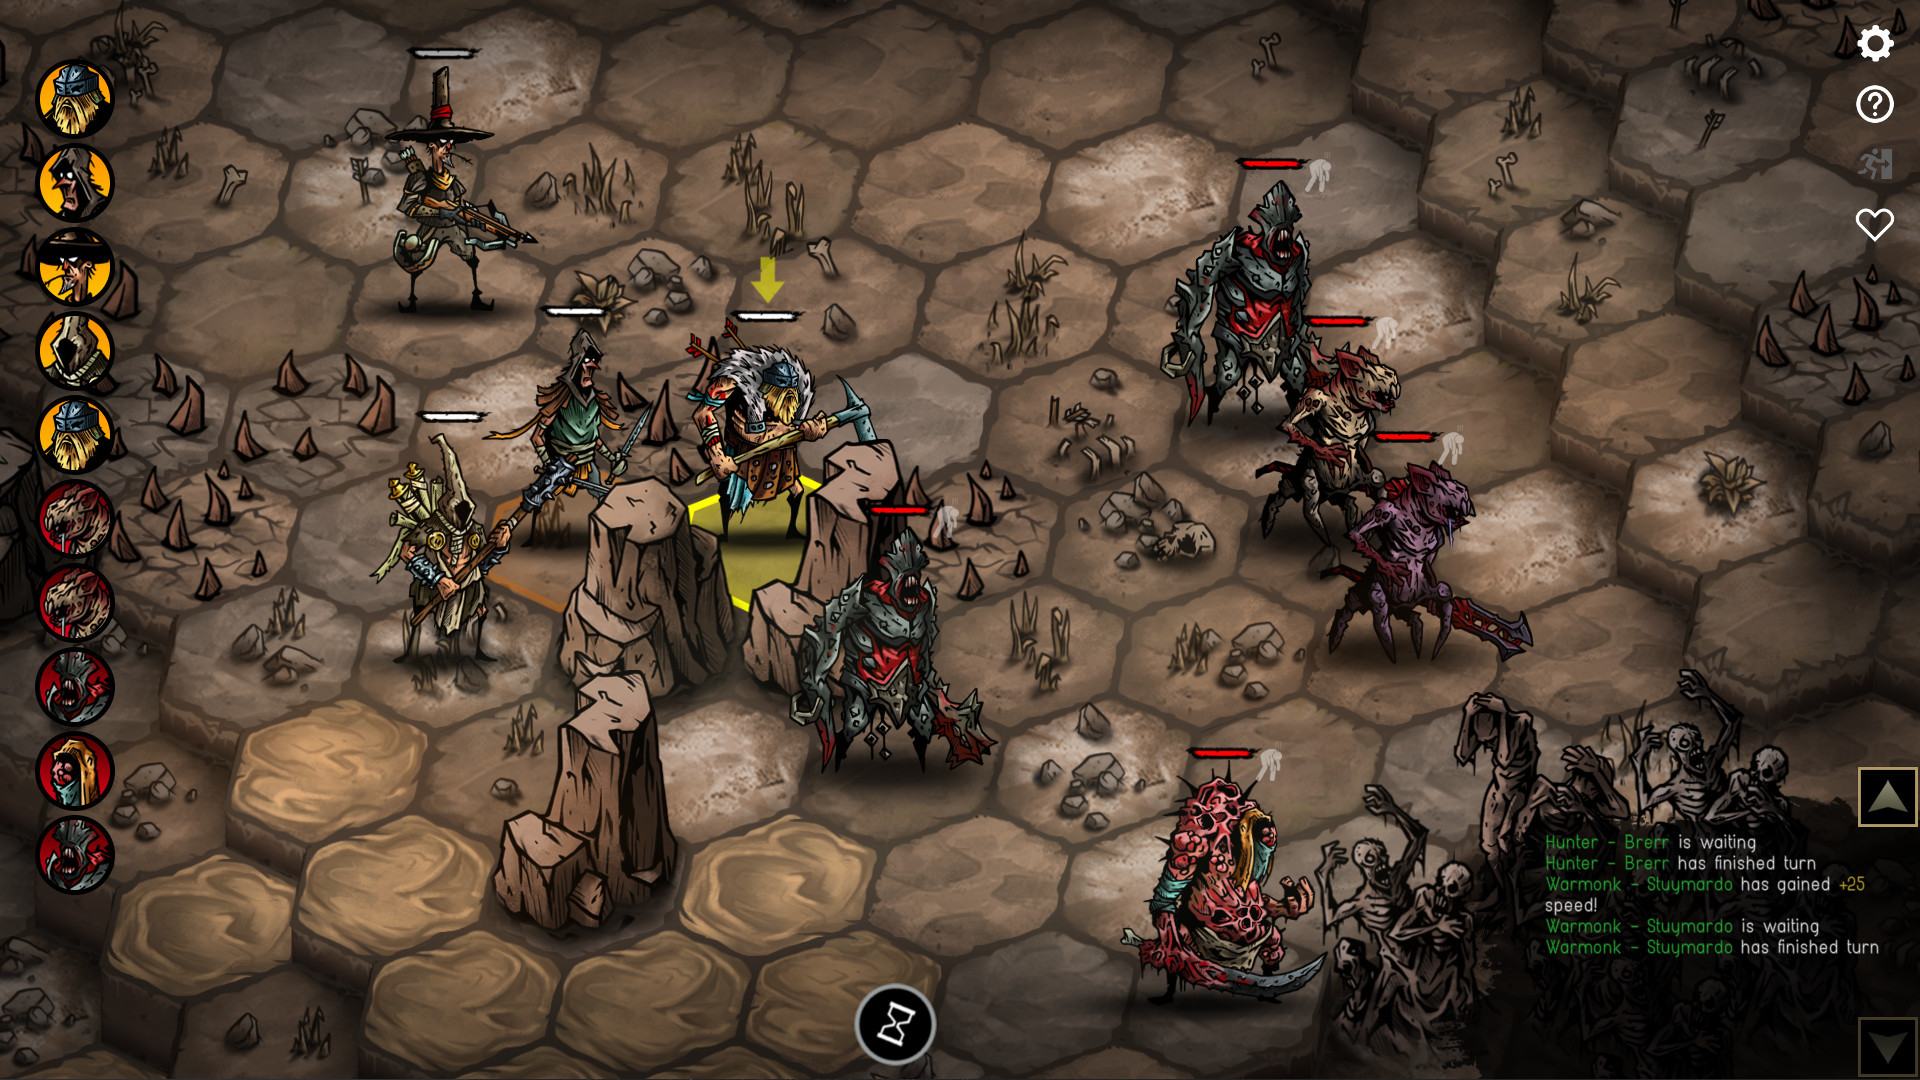
Pillar 2 — turn order and interrupts
Characters act in an order set by their speed, and reading that order is a core part of every fight. If you know an enemy is about to act, you can often pre-empt it — displacing, stunning or killing it before it ever moves. Fast units like the Assassin can strike early and reposition; control units can shove a dangerous foe into a hazard before it gets its turn. Conversely, you must respect the enemy's place in the order: do not leave a fragile unit exposed right before a hard-hitting foe acts.
Thinking in terms of "who acts next, and what can I do about it" turns turn order from a passive sequence into an active resource. The best Urtuk players sequence their actions to neutralise the most dangerous enemy before it can do anything, then mop up the rest in safety.
Pillar 3 — flanking for critical hits
Positioning pays off most directly through flanking: attacking an enemy from an angle supported by another of your units triggers automatic critical hits. This makes coordinated movement enormously powerful. Rather than walking up and swinging, you maneuver one unit to establish the flank, then strike with a second for guaranteed critical damage — often enough to break armour and kill in a single coordinated sequence. Mobile units like the Assassin excel here, setting up or exploiting flanks and then retreating to safety.
Build your turns to create these angles. A tank that holds an enemy in place, a control unit that nudges it into position, and a damage dealer that flanks for the crit is the kind of three-part combo that wins fights cleanly.
| Tactic | How to use it | Payoff |
|---|---|---|
| Displacement | Push/throw enemies into pits and hazards | Instant or massive damage, no risk |
| Turn-order control | Act or interrupt before an enemy moves | Neutralise threats before they hit you |
| Flanking | Attack with support from another unit | Automatic critical hits |
| Focus fire | Concentrate on one target | Break armour and actually kill |
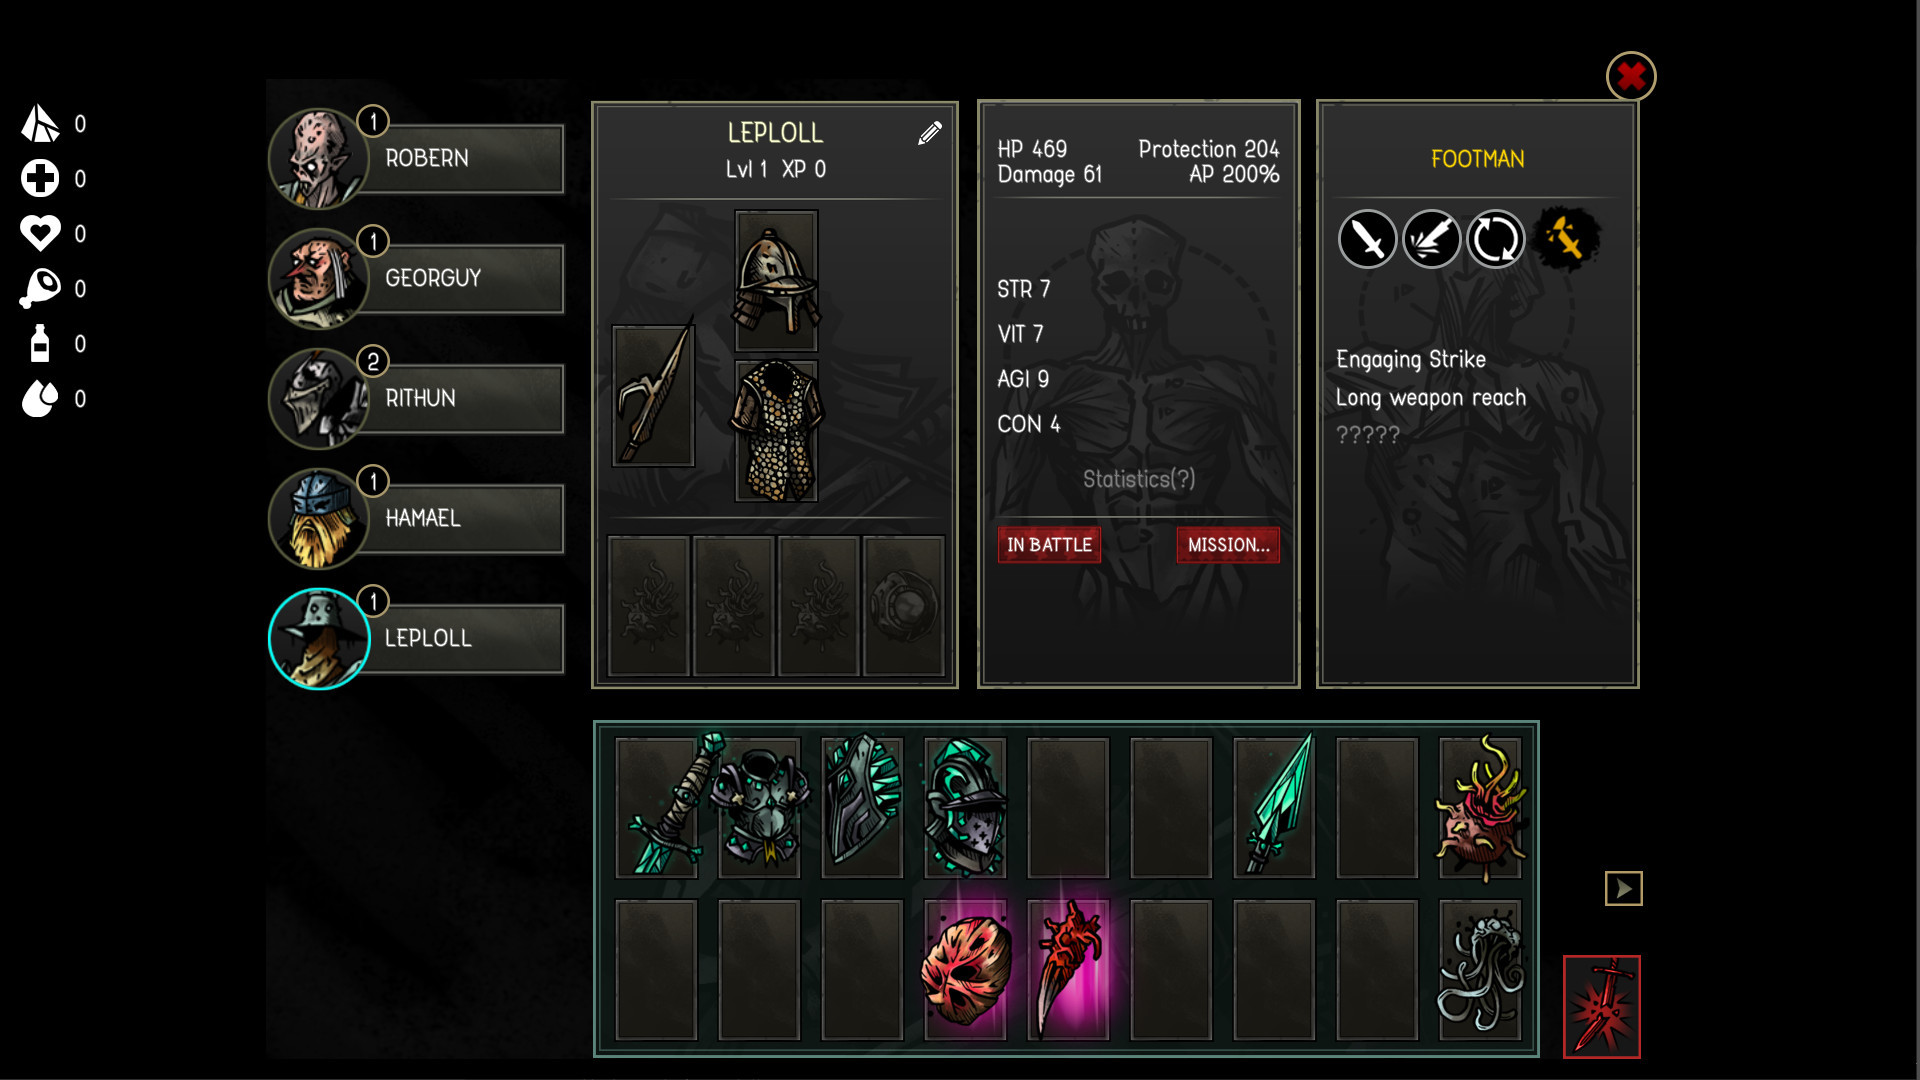
Pillar 4 — armour, health and focus fire
Urtuk separates armour from health: most attacks must wear down a target's armour before they damage its health. The mistake new players make is spreading attacks across many enemies, stripping armour off all of them but killing none — leaving a full board of live threats. The fix is focus fire. Concentrate your damage on one target, break its armour, and finish it the same turn or next, so the enemy count drops and fewer foes are left to hurt you. Combine this with flanking crits, which help punch through armour quickly, and with displacement, which can bypass the problem entirely by simply removing the enemy.
Defensively, the same system protects you: keep armour on your front line and fragile units behind it, since enemies must break defences before reaching health. Managing armour-then-health on both sides is the quiet fundamental beneath every clean victory.
Putting it all together
A model Urtuk turn reads the board, neutralises the most dangerous enemy with displacement or a turn-order play, sets up flanks for guaranteed crits, and focus-fires one target to death while keeping fragile units protected and away from hazards. Win the positioning battle and the damage takes care of itself. Pair these tactics with a balanced band — see the classes tier list — and strong mutator choices from our mutators guide. If the early game is still punishing you, the beginner guide covers the survival fundamentals that make all of this possible.
Never commit a fragile unit before checking the turn order and the terrain around it. Most permadeaths in Urtuk come from a single exposed fighter getting flanked or shoved into a hazard — exactly the tactics you should be using on the enemy instead.