Start with the right mindset
The single biggest reason new players bounce off Urtuk: The Desolation is that they play it like a brawler — line up, swing, repeat — and the game is built to punish exactly that. Urtuk is a game of attrition and positioning. Healing is scarce, injuries stick around, and a survivor you have invested hours into can die permanently from two bad turns. So before any specific tip, internalise the mindset: your goal in every battle is not to deal the most damage, it is to end the fight with your band intact. Patience, positioning and using the battlefield itself will carry you far further than aggression.
Once you stop trying to win fights the obvious way and start treating each one as a puzzle to be solved with the least risk, the brutal early game becomes fair. The systems below all support that single idea.
Urtuk is a single-player tactical RPG with permadeath. Lost survivors do not come back, so the early game is about learning to win battles cheaply — preserving health, armour and fighters — rather than winning them spectacularly.
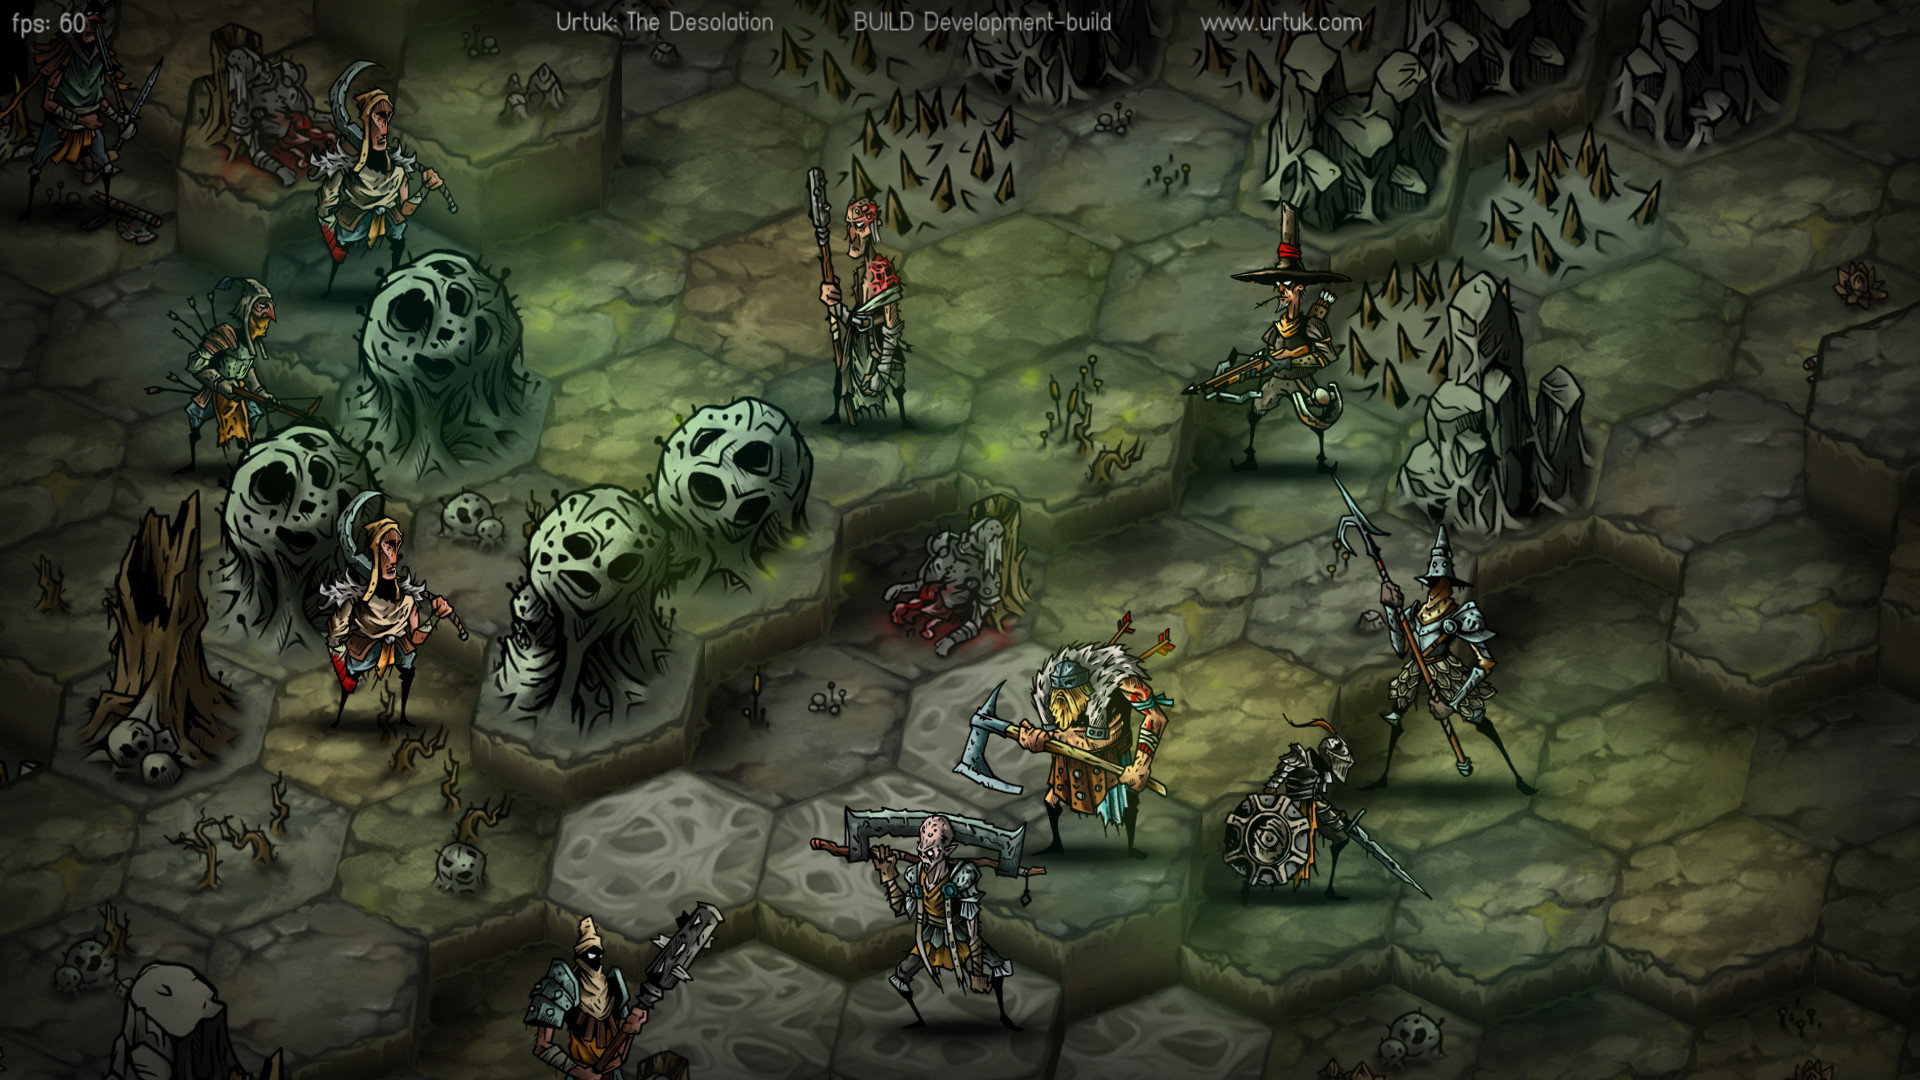
Make terrain your main weapon
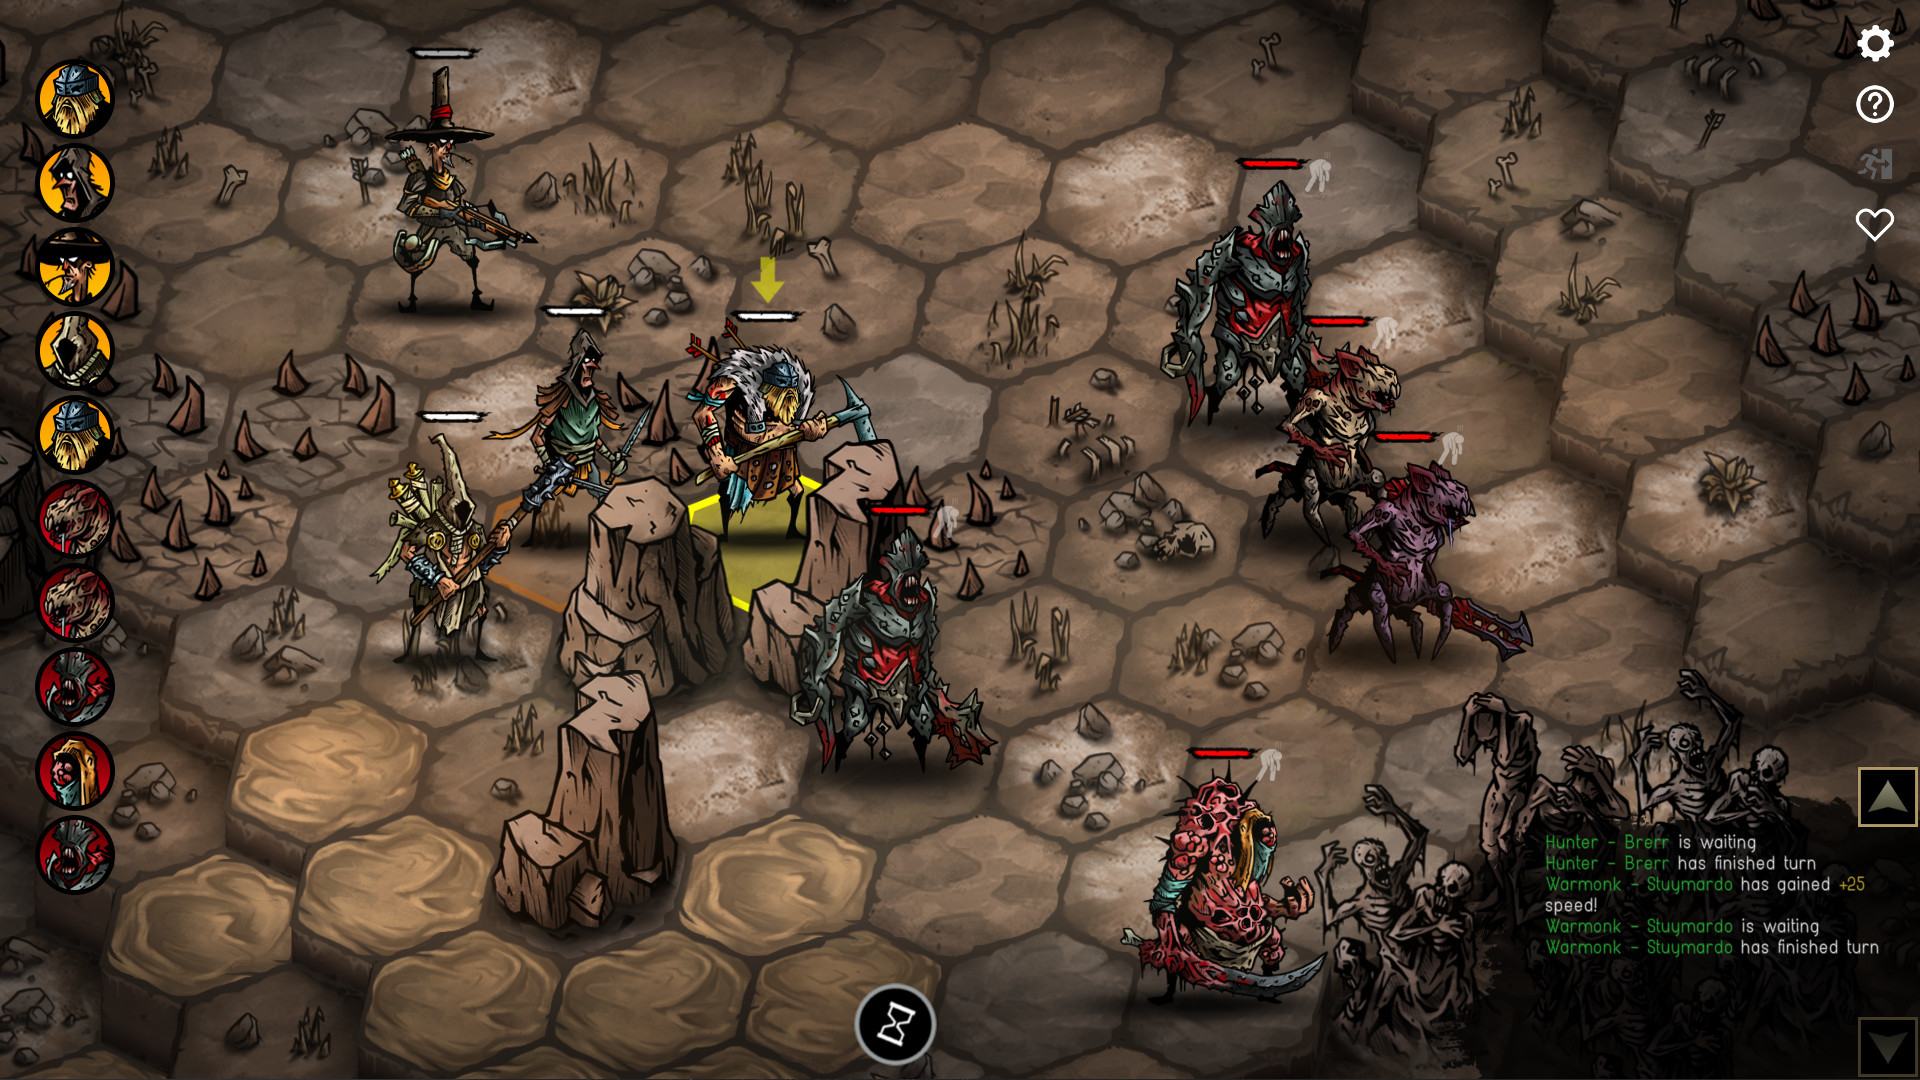
If you take one thing from this guide, make it this: the map kills better than your sword. Spiked pits cause instant death, ledges let you throw enemies to their doom, and hazardous tiles damage anything standing on them. Many of your characters have abilities that push, pull, throw or charge enemies around the field, and using them to force foes into hazards is the most efficient way to fight in the entire game. A single shove into a pit removes a threat that might otherwise survive several turns of direct attacks.
So scan every battlefield before you commit. Where are the pits and hazards? Which of your units can move enemies? Can you bait a dangerous foe into stepping onto bad ground, or hold a chokepoint near a ledge? Building your turns around the environment, rather than around raw damage, is the core skill of Urtuk.
Look for displacement abilities (push, pull, throw, charge) on your roster and pair them with the nearest hazard. Setting up a "shove into the pit" combo each turn is usually stronger than any amount of direct damage, and it saves your fighters from taking hits.
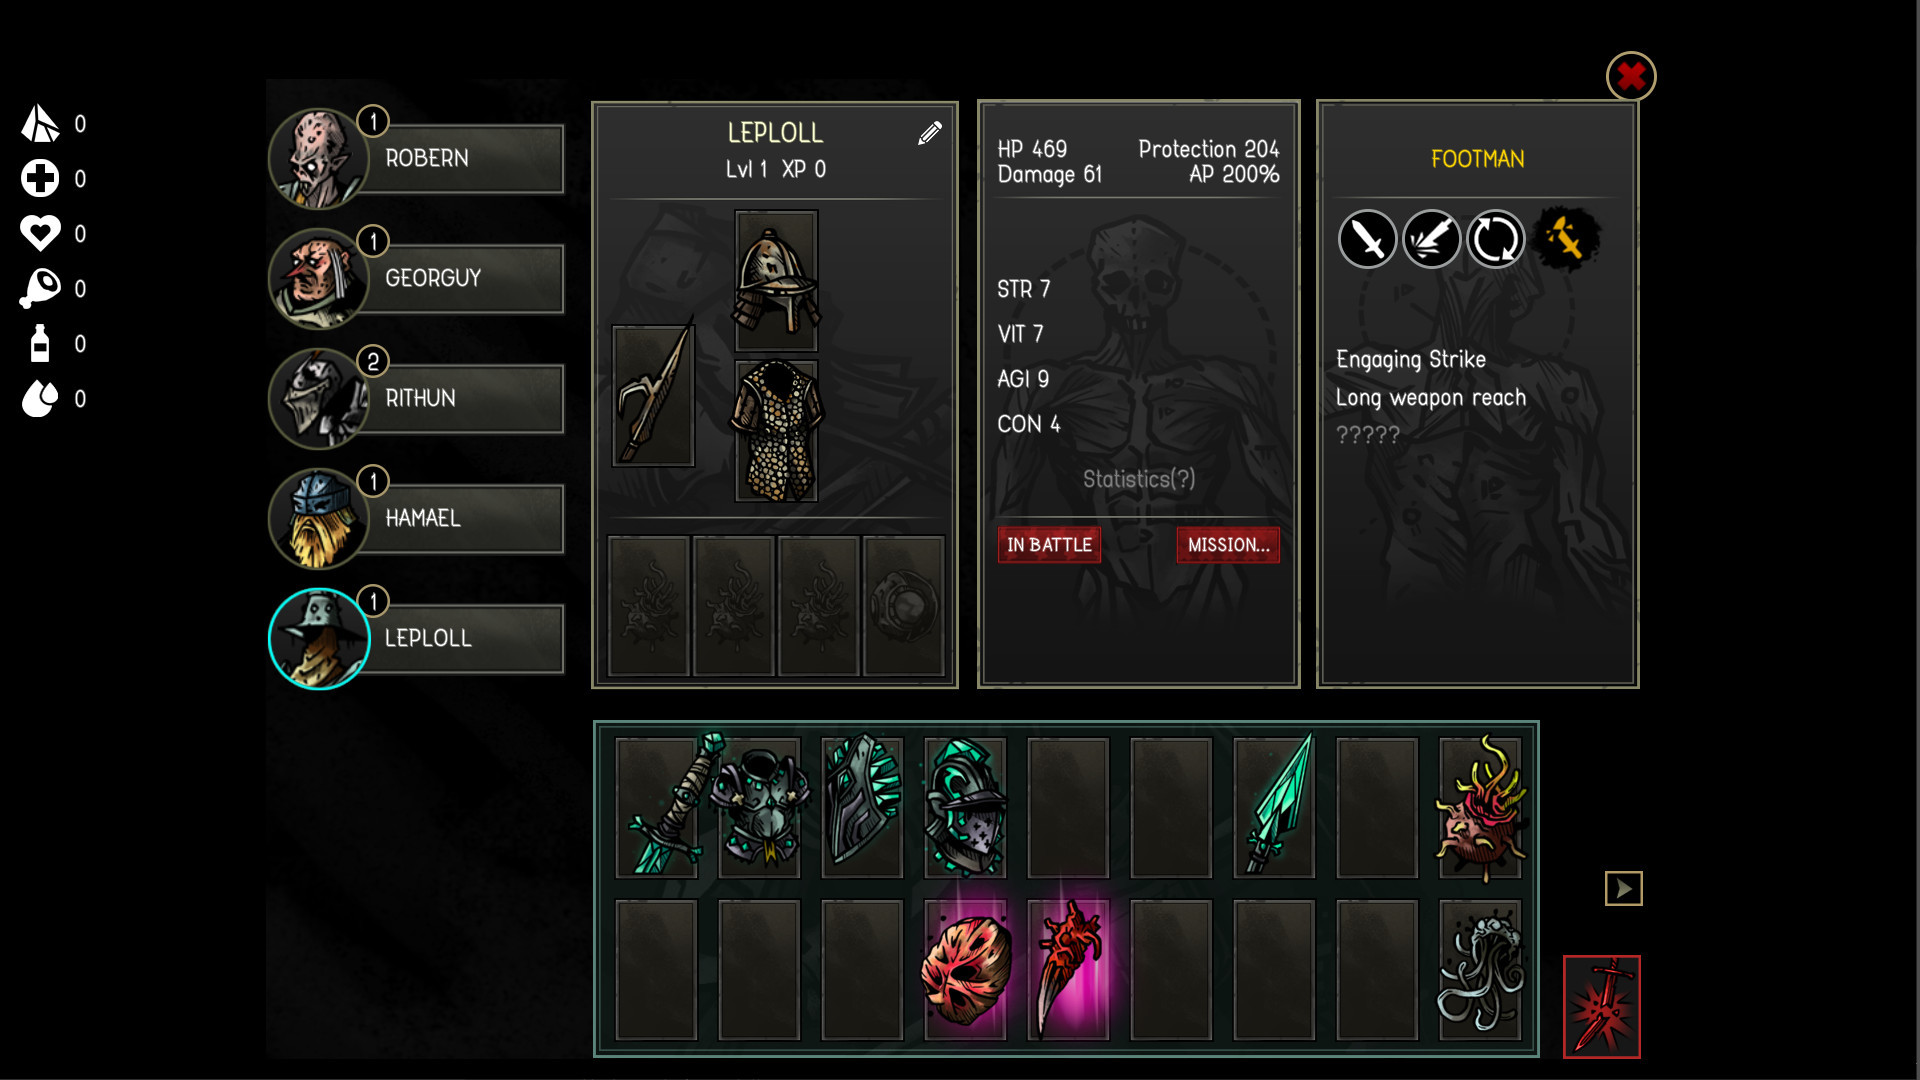
Understand armour, health and focus fire
Urtuk separates armour from health. Most attacks must wear down a target's armour before they damage its actual health, and the same is true for your own survivors. The practical consequence is that spreading your attacks thinly is a trap: you can chip armour off five enemies and kill none of them, leaving five live threats on the board. Instead, concentrate your damage. Pick a target, strip its armour, and finish it the same turn or the next, so the enemy count actually drops and fewer foes are left to hit you back.
Defensively, the same logic protects you. Keep your squishier fighters behind armour and positioning, and remember that an enemy must break their defences before reaching their health. Managing the armour-then-health flow on both sides is one of the fundamentals that separates surviving runs from dead ones.
| Priority | Do this | Why it matters |
|---|---|---|
| 1. Terrain | Push/throw enemies into pits and hazards | Instant or huge damage with no risk to you |
| 2. Focus fire | Break one target's armour, then kill it | Reduces the number of enemies acting against you |
| 3. Protect the hurt | Pull injured survivors to safety | A second knockdown is permanent death |
| 4. Positioning | Hold high ground and flank for crits | Better odds, criticals and fewer hits taken |
Respect injuries and permadeath
When a survivor's health is depleted they are knocked out, not immediately killed. You can usually save them once — by winning the battle, by healing, or with medicine — but if a downed survivor takes another hit or goes down a second time without being healed, they die for good. This is the rule that should govern your caution. The moment a fighter is hurt or downed, your priority shifts to getting them out of danger: reposition them, body-block for them, or pull them back. Losing a developed survivor, with all the mutators and levels you poured into them, is the most painful setback in the game, and it is almost always avoidable with a defensive turn or two.
This is also why you should not push a winning battle greedily. If the fight is decided, mop up safely rather than exposing a wounded fighter for one more kill.
Pick your battles and build steadily
Not every fight is worth taking. Because your band is fragile and your resources are limited, preserving healthy fighters often matters more than clearing every encounter on the map. Favour battles that offer good rewards — loot, mutators, recruits — and that you can win cleanly, and route around or flee the ones that would obviously cost you survivors. On the overworld, recruit new fighters to deepen your bench so a single loss does not cripple you, and upgrade gear when you can.
For growth, level your characters for stat gains and harvest mutators from defeated enemies to add powers — but remember mutators usually cost maximum health, so do not overload a fighter into fragility. Our mutators guide covers how to build safely, the classes tier list helps you pick a strong starting roster, and the combat guide goes deeper on turn order and terrain combos. Master the fundamentals here first, and Urtuk's punishing opening turns into a fair, rewarding climb.