Battles are won by maneuver
Once you understand how combat resolves, the next step is learning to fight the battle rather than just the clashes — and in Field of Glory II, that means maneuver. The combat system rewards advantages: a flank, better terrain, a fresh supporting unit, a steadying general. Tactics is the art of arranging the battlefield so those advantages fall to you again and again, until the enemy's line cracks. The best players win many of their fights before contact, through deployment and movement that put their strengths against enemy weaknesses, and they treat the actual clashes as the payoff of good positioning rather than the whole game. This guide takes the rules from our combat guide and turns them into a battle plan: how to deploy, how to win the flanks, how to use terrain, support and reserves, how to wield your generals, and how to choose an army that fits your style.
The thread running through all of it is intention. Every unit should have a job, every move should set up an advantage, and the whole army should be working toward breaking the enemy's morale on your terms.
Think in terms of the whole battlefield, not unit by unit. Where is the flank battle going to be won? Which terrain helps you? Where will you concentrate and where will you simply hold? A plan that answers those questions beats reacting clash by clash.
Deployment and the flank battle
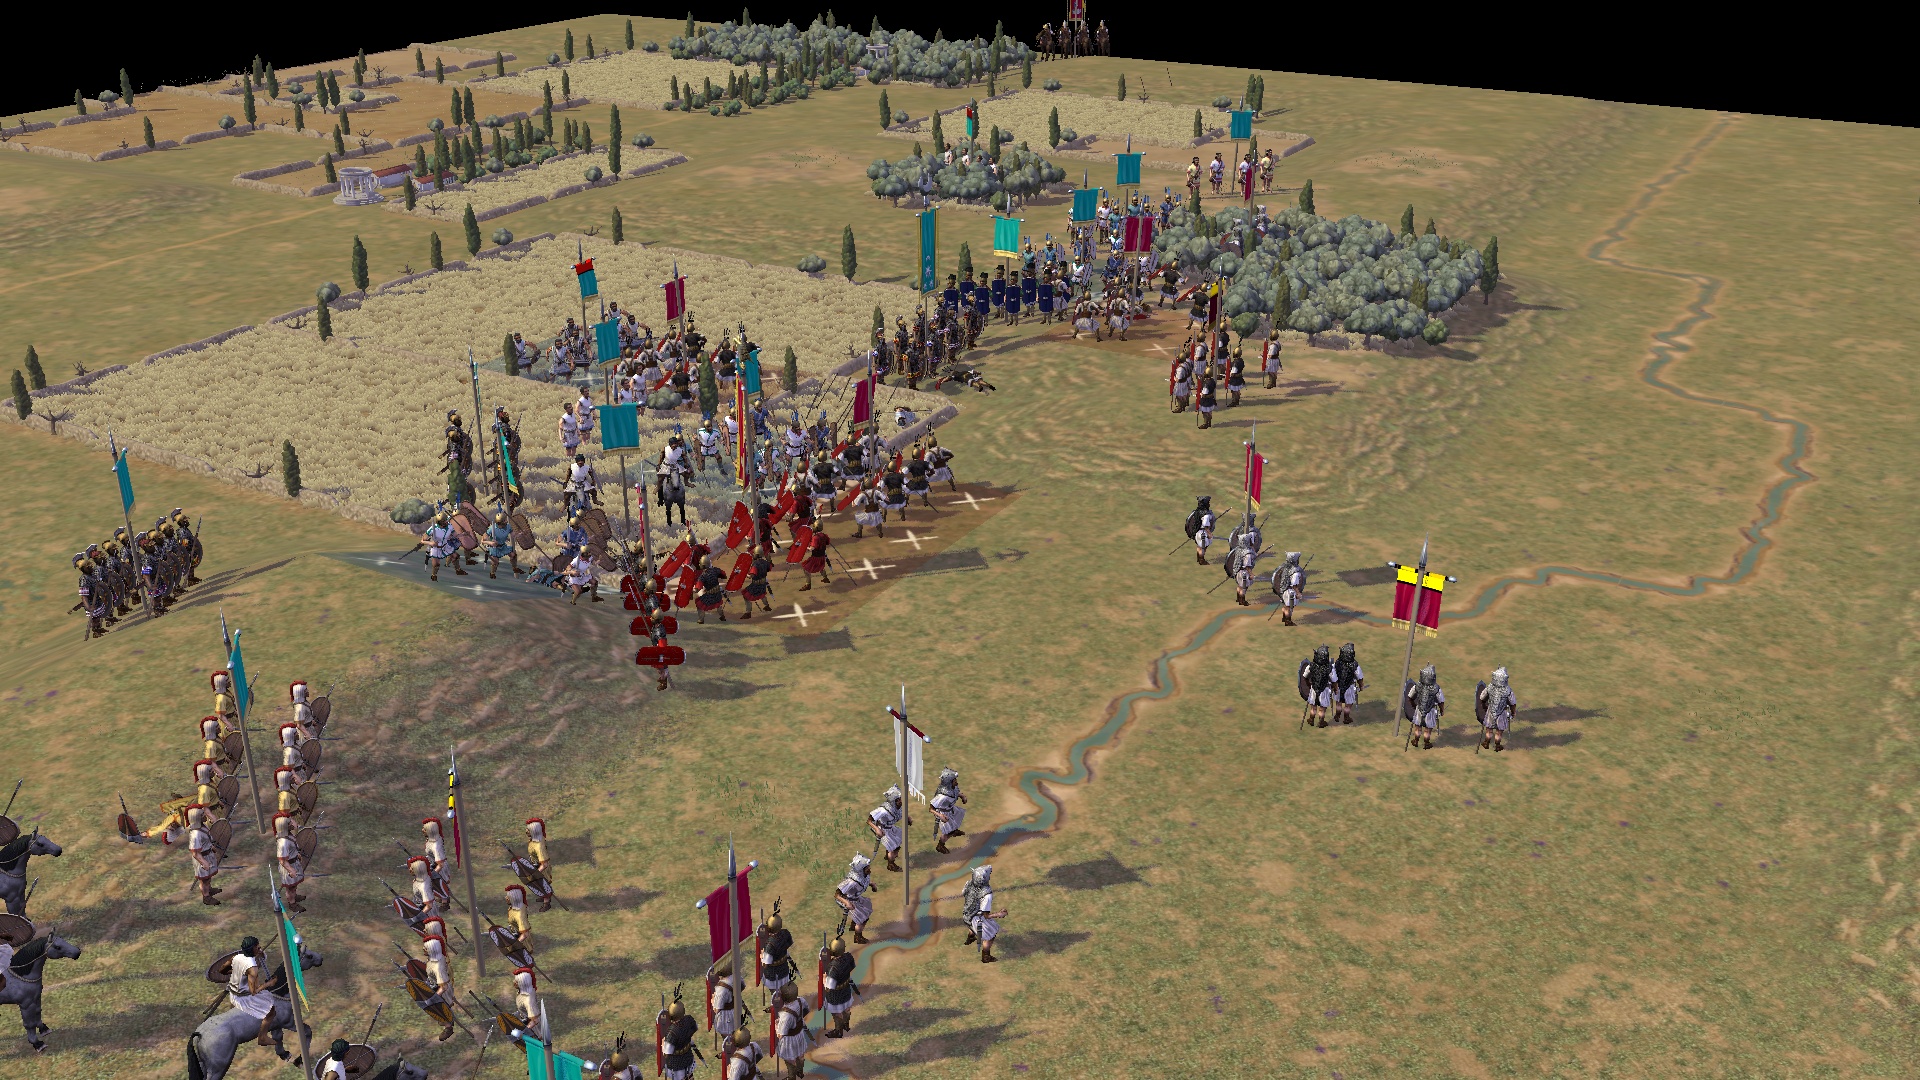
Good tactics begin before the first move, with deployment. Form your main infantry into a continuous line with no gaps for the enemy to exploit, and anchor its flanks wherever the terrain allows — a wood, a hill or a marsh on your flank means the enemy cannot easily turn it. Screen the front with skirmishers to harass and absorb missiles, place your cavalry and light horse on the wings where the flank battle will be fought, and hold a reserve behind the line to react to whatever develops. Deploy your strengths opposite the enemy's weaknesses where you can, and on ground that suits your troops.
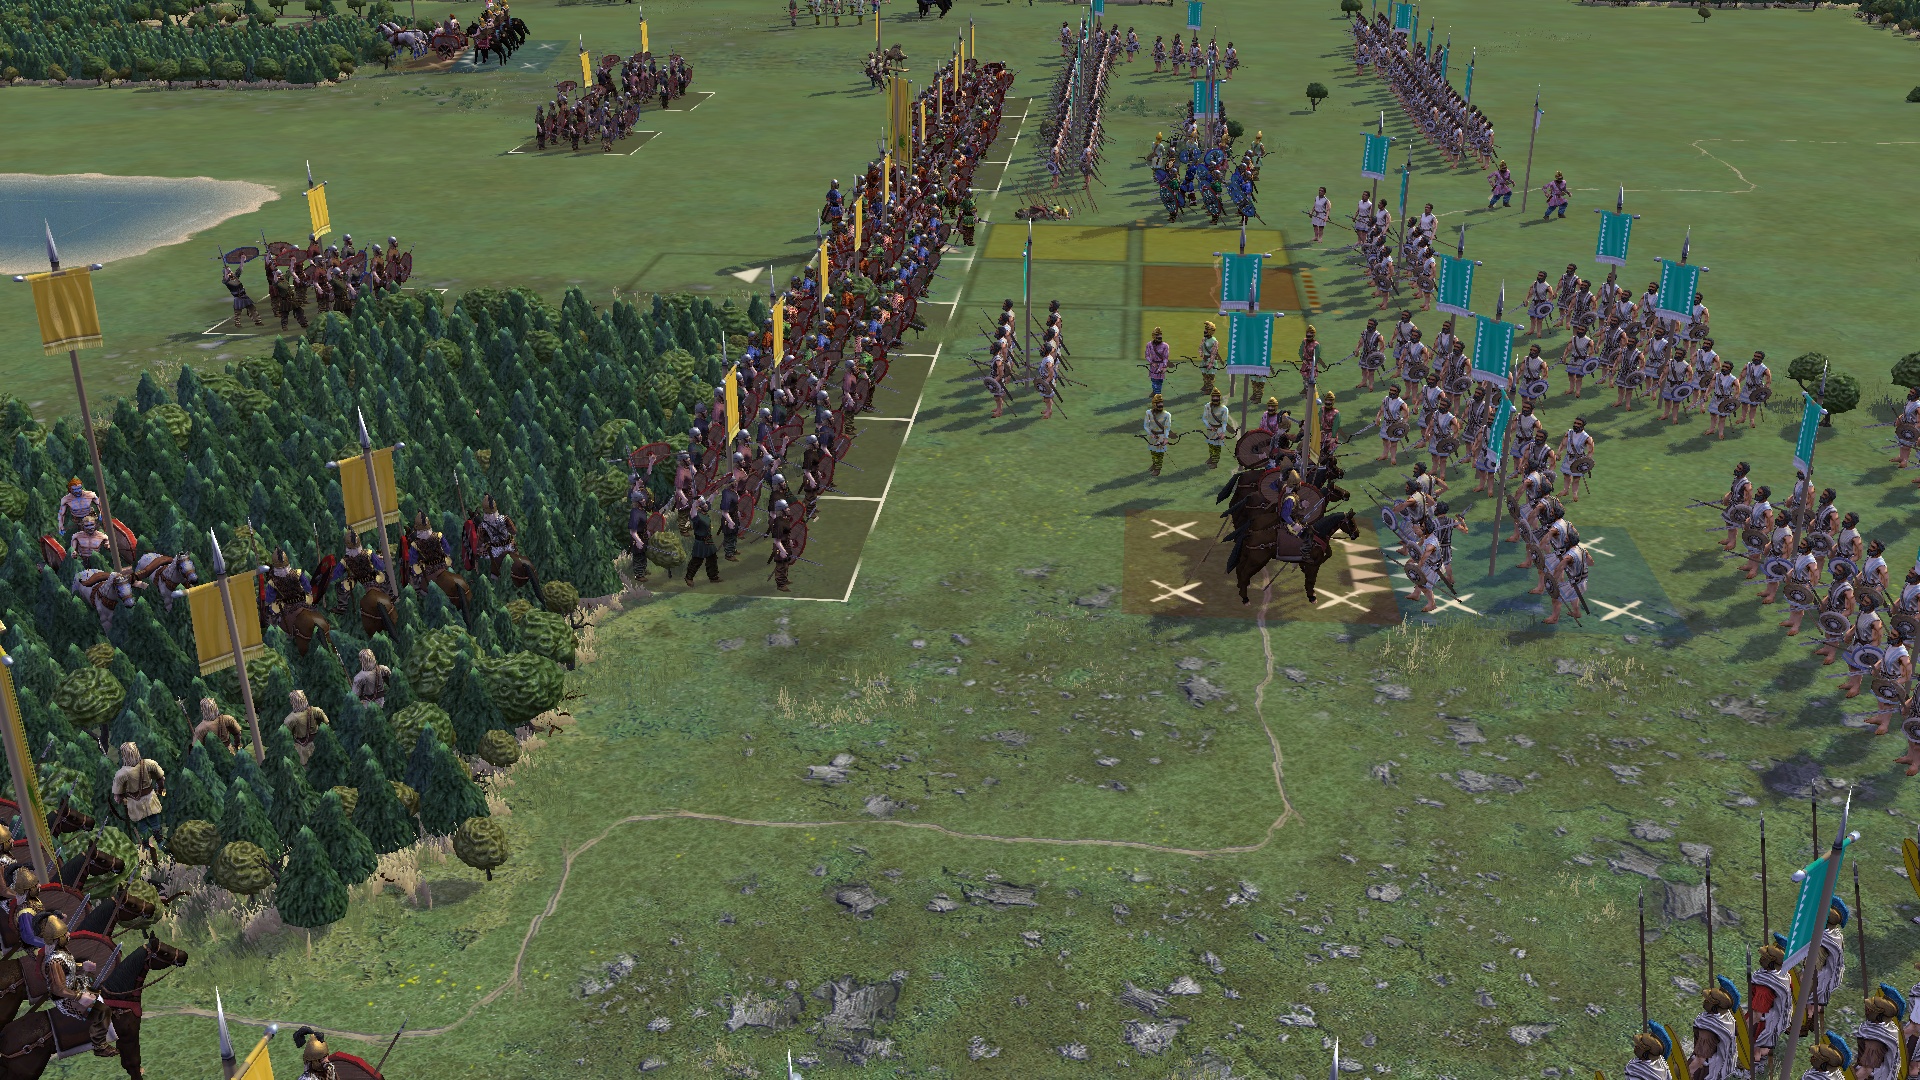
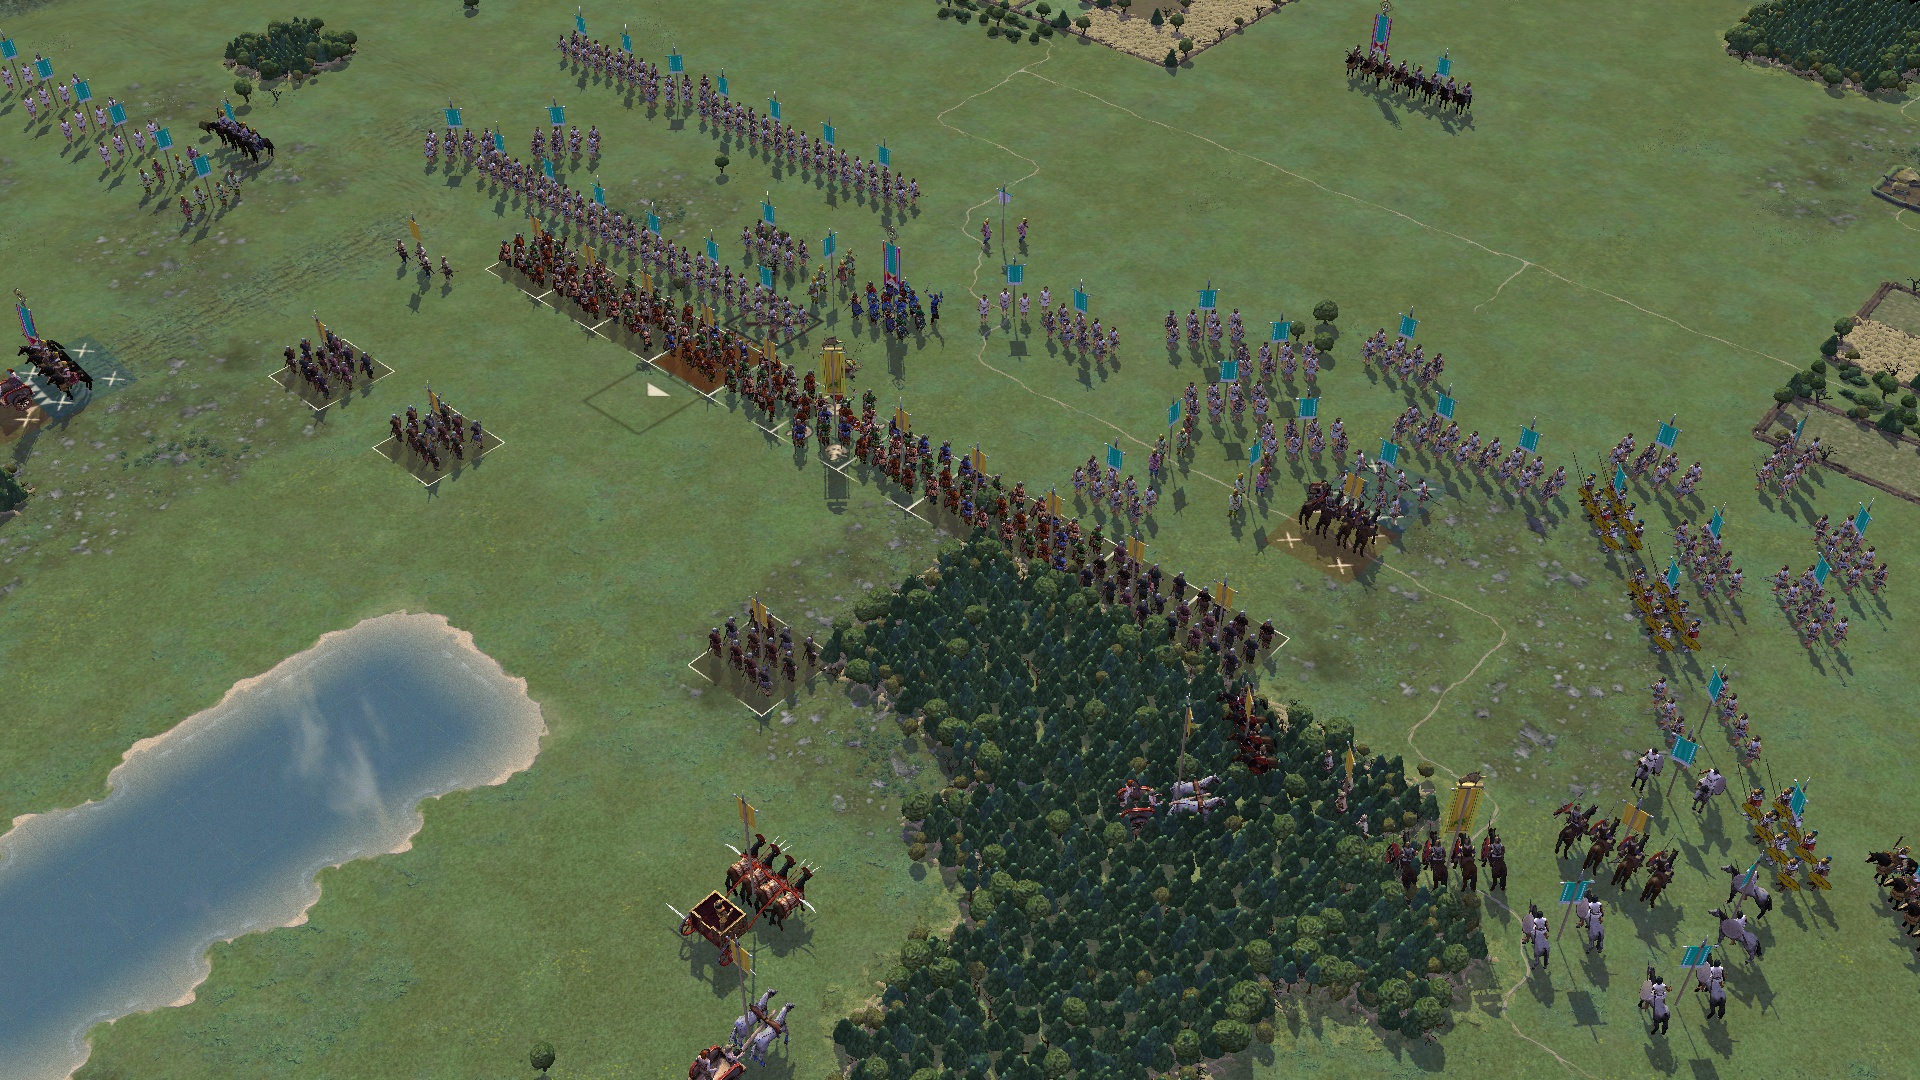
From there, the flank battle usually decides everything. The wings are where cavalry and light troops contest open space, and the side that wins them gains the ability to swing inward and charge the enemy's main line in the flank and rear — the most devastating attack in the game. So fight hard for the flanks: concentrate your mounted and light troops to beat the enemy's, then turn their line before they can turn yours. Equally, defend your own flanks with the same seriousness, refusing a flank if outnumbered, anchoring it on terrain, and keeping light troops or a reserve ready to blunt an enemy who breaks through. A solid line that wins one flank and holds the other will roll up almost any opponent.
Anchor a flank you cannot otherwise protect by resting it on impassable or rough terrain, and refuse a flank you are losing by angling those units back. Forcing the enemy to come at you frontally, where your line is strongest, neutralises their attempt to outmaneuver you.
Terrain, support and reserves
Three tools turn a good deployment into a winning fight. The first is terrain, which you should treat as a weapon. Open ground favours heavy infantry and cavalry; woods, hills and rough terrain favour light and medium foot and disorder heavy troops that enter them. So fight each part of your army on the ground that helps it — keep your heavy line in the open, push your light and medium foot into the rough, and try to lure enemy heavy troops onto terrain that wrecks their cohesion. The second tool is support: placing a second unit directly behind one in combat lends rear support that bolsters the front unit's cohesion and gives you a fresh body to step in if it breaks. A two-deep line in your critical sectors is far steadier than a single thin one, and it denies the enemy any breakthrough. The third is the reserve — a force held back from the initial clash, ready to exploit a success, plug a gap, or counter an enemy flanking move. Committing a fresh reserve at the decisive moment often wins the battle.
Used together, these let you control the shape of the fight. You decide where the hard fighting happens, you stack depth and support where it matters, and you keep a hand in reserve to react when the enemy shows their plan.
| Tactic | How to use it | Why it works |
|---|---|---|
| Anchored line | Continuous front, flanks on terrain | Denies the enemy gaps and flanks |
| Win the flanks | Mass cavalry and light troops on the wings | Lets you charge the enemy's flank and rear |
| Terrain | Fight each troop type on suitable ground | Disorders the enemy, protects your strengths |
| Second lines / reserve | Support key units, hold a force back | Adds staying power and a decisive punch |
Generals, army choice and bringing it together
Two final pieces complete your tactics. Generals are command units that strengthen the troops around them, improving combat and — most importantly — helping nearby units pass the cohesion tests that decide whether a hard-pressed unit holds or routs. Positioning a general with a crucial unit or a wavering sector can hold a line that would otherwise break, so use them to reinforce your decisive fights. But generals can be killed if exposed, which is a heavy loss, so strengthen key clashes with them without throwing them into danger. Army choice is the other strategic decision: there is no single best army, only armies that suit a plan. A heavy infantry force like the Romans is forgiving and strong in the open; a pike army is a frontal hammer that lives and dies by its flank protection; a cavalry army is fast and aggressive but must avoid grinding into steady spearmen. Choose an army whose strengths match how you like to fight, learn its weaknesses, and build your tactics around covering them.
Bring it all together and a Field of Glory II battle becomes a plan executed: deploy an anchored line, win the flank battle, fight on terrain that helps you, support your key clashes and hold a reserve, steady your line with your generals, and lean into what your army does best. Do that, and you will break the enemy's morale before they break yours. To deepen the underlying combat, revisit the combat guide and troop types tier list; if you are still learning the basics, the beginner guide is the place to start.
Do not let your line lose its shape in the excitement of attacking. Units that charge off individually leave their neighbours' flanks open, and a ragged line is exactly what a good opponent wants to exploit. Advance together, keep your flanks covered, and commit your reserve and generals deliberately — discipline beats enthusiasm.