How to read this tier list
Before any ranking, one warning that matters more here than in most games: Field of Glory II is a game of matchups, and no troop type is simply "the best." The whole system is rock-paper-scissors — pikemen crush spearmen head-on, light troops harass and unravel pikemen, cavalry rides down light troops in the open, and steady foot weather cavalry charges. So this tier list does not claim some units always beat others. Instead, it ranks the major troop types by their overall reliability and value as the core of a strong army: how dependably they win the fights you put them in, how central they are to a winning plan, and how forgiving they are to use. A troop type lower down is not weak; it is more specialised, and it shines in the right role.
Read the tiers, then, as a guide to what to build your army around and what to use as support, not as a promise that an S-tier unit beats a B-tier one. In a good matchup with good handling, almost anything can win — and that is exactly what makes the game so deep.
Every troop type in Field of Glory II has a counter. The skill is not fielding "the best" units but matching your troops to the enemy and the terrain — and forcing fights where your strengths meet their weaknesses.
The troop types tier list
This ranking weighs reliability, frontline value and how central each type is to a strong, balanced army, assuming you protect its weaknesses and use combined arms.
S tier — the army-defining cores
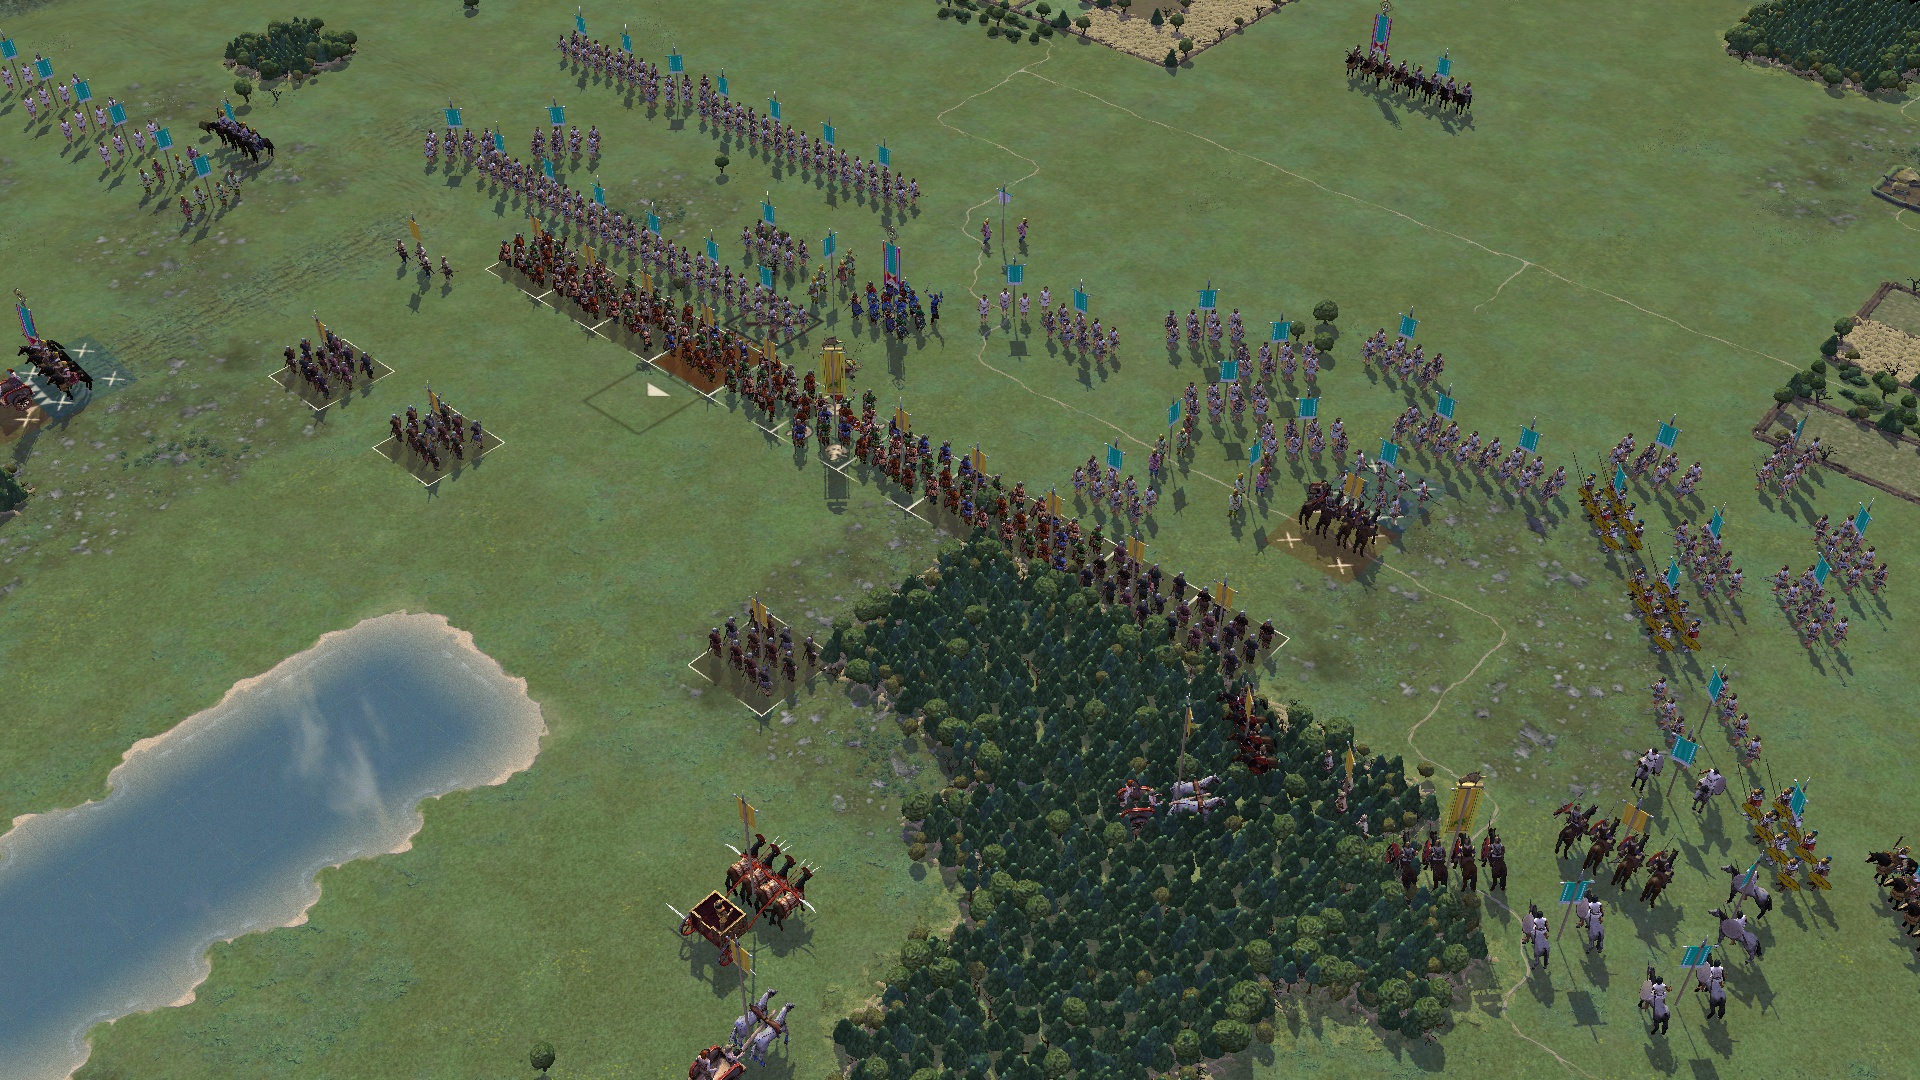
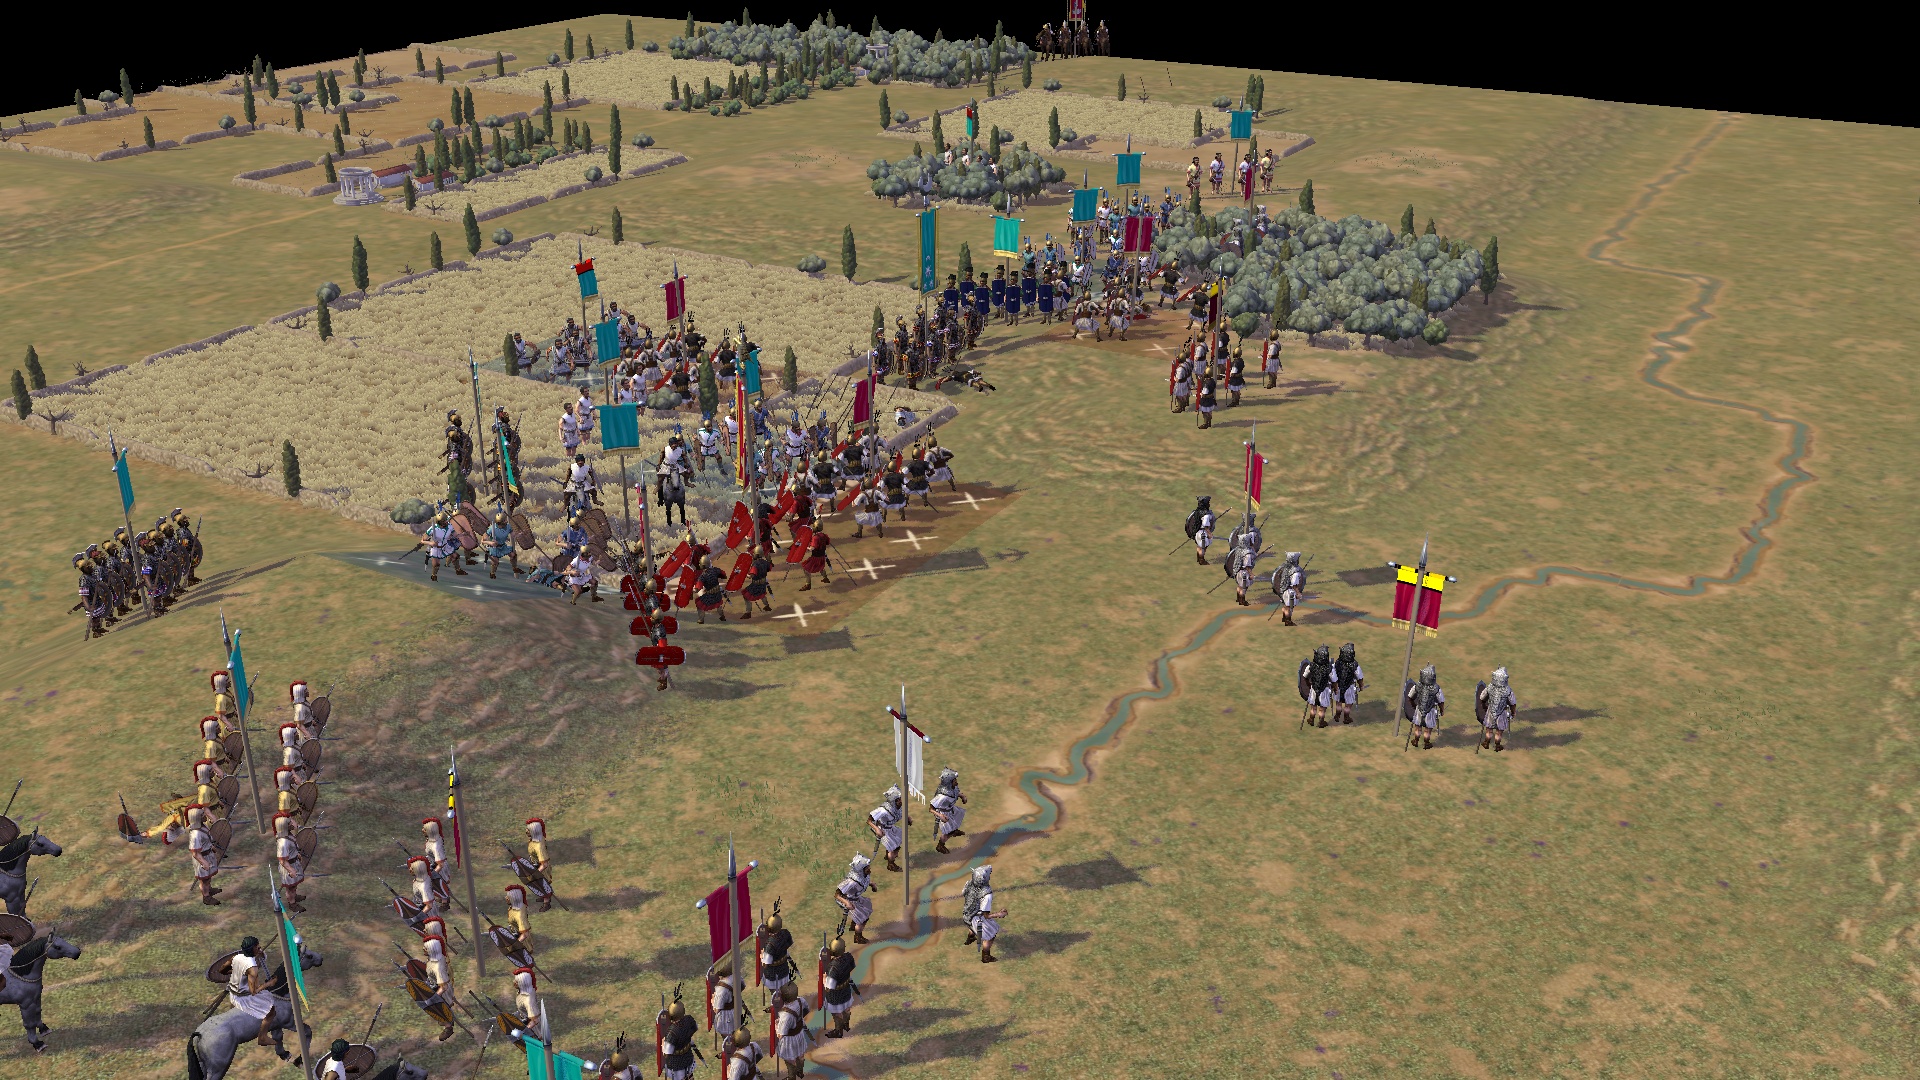
These are the troops you build a strong army around. Heavy foot — armoured legionaries, well-equipped spearmen and the like — are the dependable backbone: resilient in the open, slow to lose cohesion, and able to anchor a line while the rest of your army maneuvers. Their one real weakness is rough terrain, where they become disordered, so keep them in the open where they are strongest. Pikemen are the head-on kings, a massed pike phalanx grinding down almost any infantry that meets it frontally; the price is severe fragility on the flanks and in broken ground, which means they must be protected and never caught out of position. Cataphracts round out the tier as the heavy shock-cavalry sledgehammer, crushing most things on the charge and largely ignoring missile fire — expensive and less nimble than lighter horse, but a battle-winner when their charge lands. Build around these, cover their weaknesses, and you have a solid plan.
A and B tiers — strong cores and vital roles
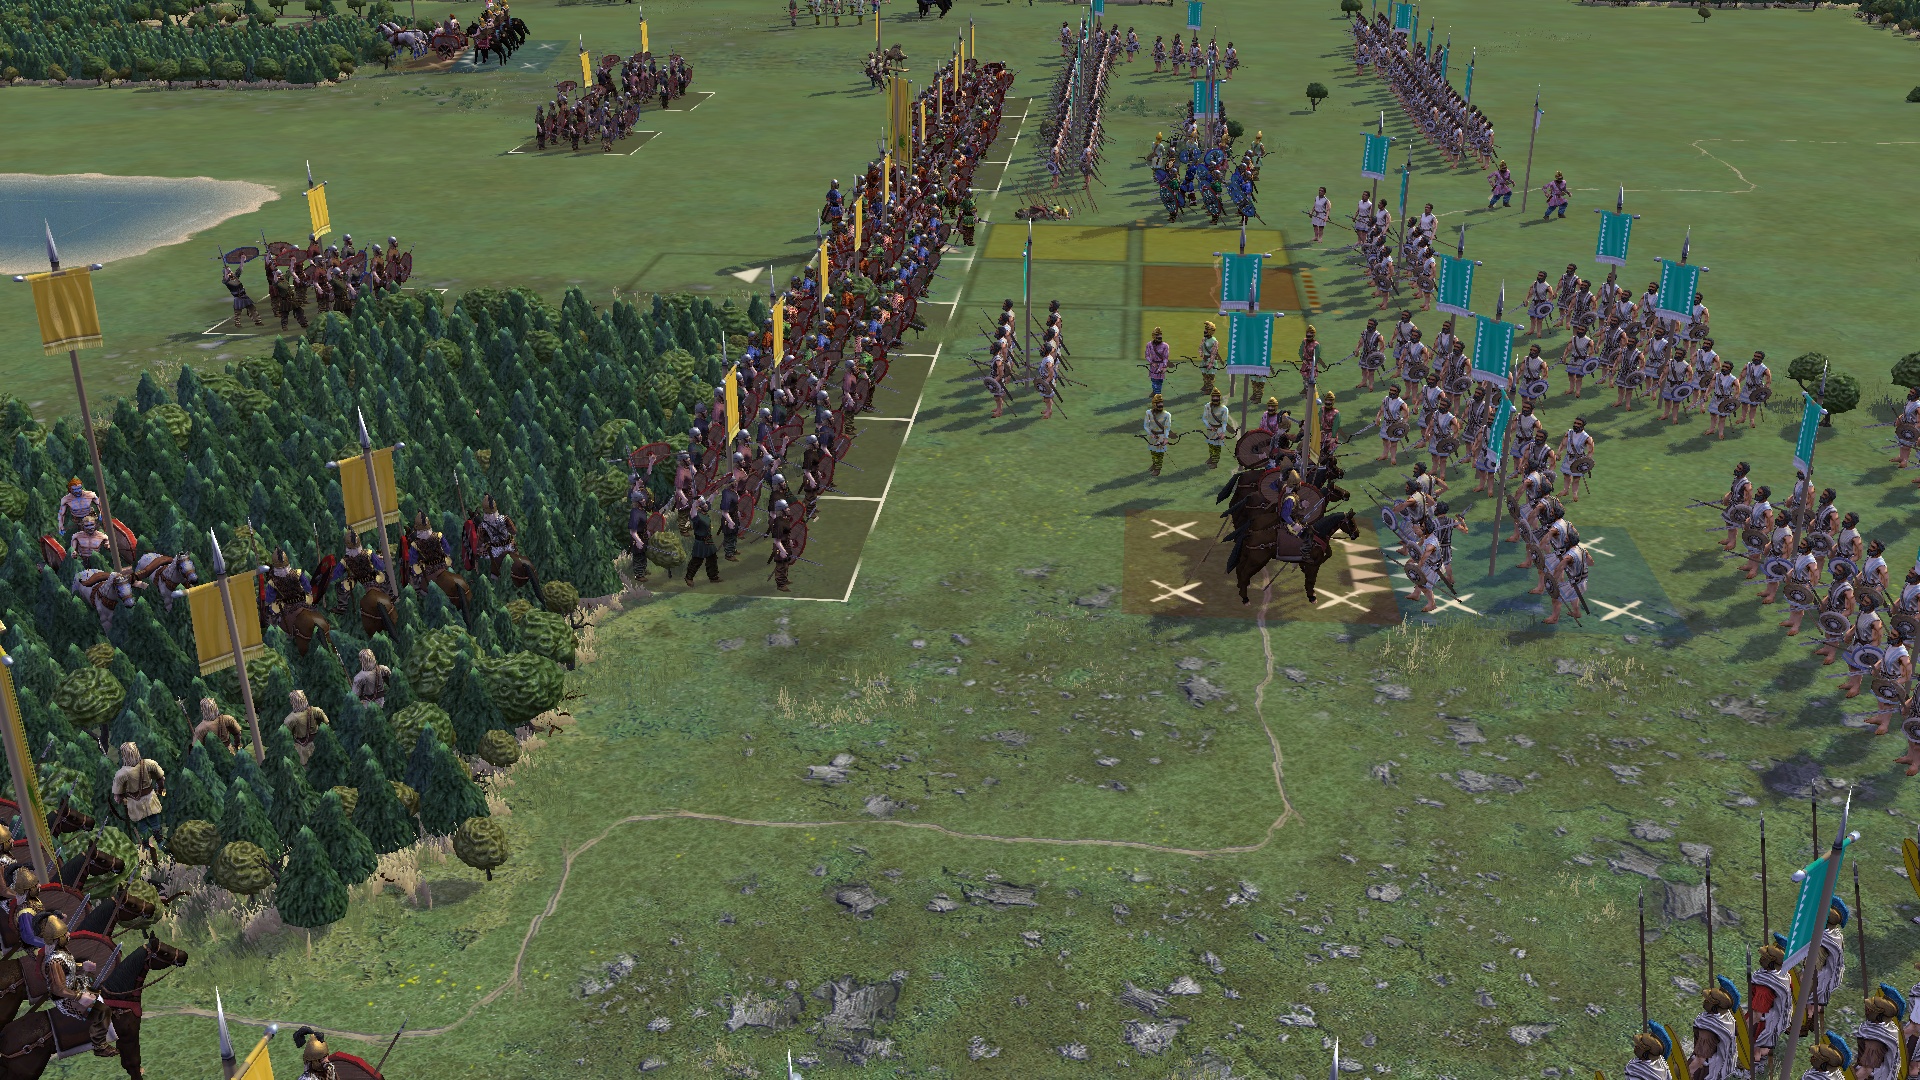
The A tier holds powerful, central troops with clear weaknesses to manage. Shock cavalry and lancers are your decisive flanking arm: win the wings and then smash exposed flanks or chase down broken units, but never waste them charging steady infantry head-on. Offensive spearmen such as hoplites are reliable line infantry, strong and steady in the open though beaten frontally by pikes. Impact foot — Gallic warbands, pilum-armed legionaries — hit ferociously in the first round of impact and rely on that shock, so they want to win fast rather than grind. The B tier covers the units that fill essential roles without anchoring the army: medium foot, the flexible all-rounders that own rough terrain; light horse and horse archers, the mobile harassers that wear down cohesion and threaten flanks but cannot hold; and light foot, the nimble flankers and anti-skirmishers that thrive in the rough but melt against cavalry in the open. None of these win battles alone, but a good army cannot do without them.
| Troop type | Strength | Weakness | Best role |
|---|---|---|---|
| Heavy Foot | Resilient line in the open | Disordered in rough terrain | Anchor the battle line |
| Pikemen | Crushing head-on | Fragile flanks and rough ground | Frontal hammer, protected |
| Cataphracts | Devastating armoured charge | Costly, less nimble | Shock and breakthrough |
| Light Horse | Mobility, missiles, evasion | Cannot hold ground | Harass, flank, disrupt |
| Skirmishers | Screen and soften the enemy | Fragile in melee | Support and screening |
C tier — powerful but situational specialists
The bottom tier is not for weak troops but for situational ones that support rather than anchor. Skirmishers — slingers, archers and javelinmen — are genuinely essential despite their ranking: they screen your line, blunt enemy missile fire, and erode enemy cohesion before the clash, then evade to safety. They simply cannot win fights on their own and die fast in melee or to open-ground cavalry, so they enable your army rather than carry it. War elephants are the high-risk, high-reward pick: terrifying and able to shatter a line, but liable to panic and rampage back through your own ranks, and light troops can shoot and evade them all day. Chariots, similarly, hit hard on the charge but are fragile and easily disrupted once stopped. Used carefully and supported, all three can swing a battle; leaned on as a backbone, they will betray you.
Building a balanced army
The lesson of the tiers is combined arms. Build your core from S- and A-tier troops suited to your army — a heavy foot or pike line, with cavalry or cataphracts to strike the flanks — then fill the vital roles with B-tier medium foot and light horse, and add C-tier skirmishers to screen and soften. Cover each unit's weakness with another's strength: protect pike flanks with cavalry and light foot, hold rough ground with medium foot, and use skirmishers to wear down anything you cannot beat head-on. Because every troop type has a counter, the winning army is not the one with the "best" units but the one that combines its troops and matches them to the enemy and the ground. To put these troops to work, see our combat guide and tactics guide; if you are just starting out, the beginner guide covers the fundamentals.
When you pick an army, note what it lacks. A pike army needs light troops and cavalry to guard its flanks; a cavalry army needs a way to deal with steady spearmen; a foot army needs an answer to being outflanked. Covering your gaps matters more than maximising your strengths.