Start with the right goal in mind
The single most important thing for a new Field of Glory II player to understand is what you are actually trying to do. You are not trying to kill every enemy soldier; you are trying to break the enemy army's will to fight. Each unit has a level of cohesion — think of it as morale and order combined — and that cohesion drops in steps as the unit takes casualties, gets charged, fights in punishing terrain, or is struck in the flank or rear. When a unit's cohesion finally breaks, it routs and flees, and once enough of an army's units have routed, the whole army collapses and you win. Hold this idea front and centre, because it changes how you fight: a clever flank charge that shatters a unit's nerve is worth far more than a slow, bloody slugging match that kills a few more men.
With that mindset, the game stops being an intimidating mass of rules and becomes a clear contest of maneuver and morale. Everything below is in service of that one goal — creating fights you will win and avoiding the ones you won't.
Field of Glory II always shows you the odds of a combat before you commit to it. Get into the habit of checking those odds for every attack — they tell you whether a fight favours you, and learning to read them is how beginners quickly start making good decisions.
Deploy and hold a solid line
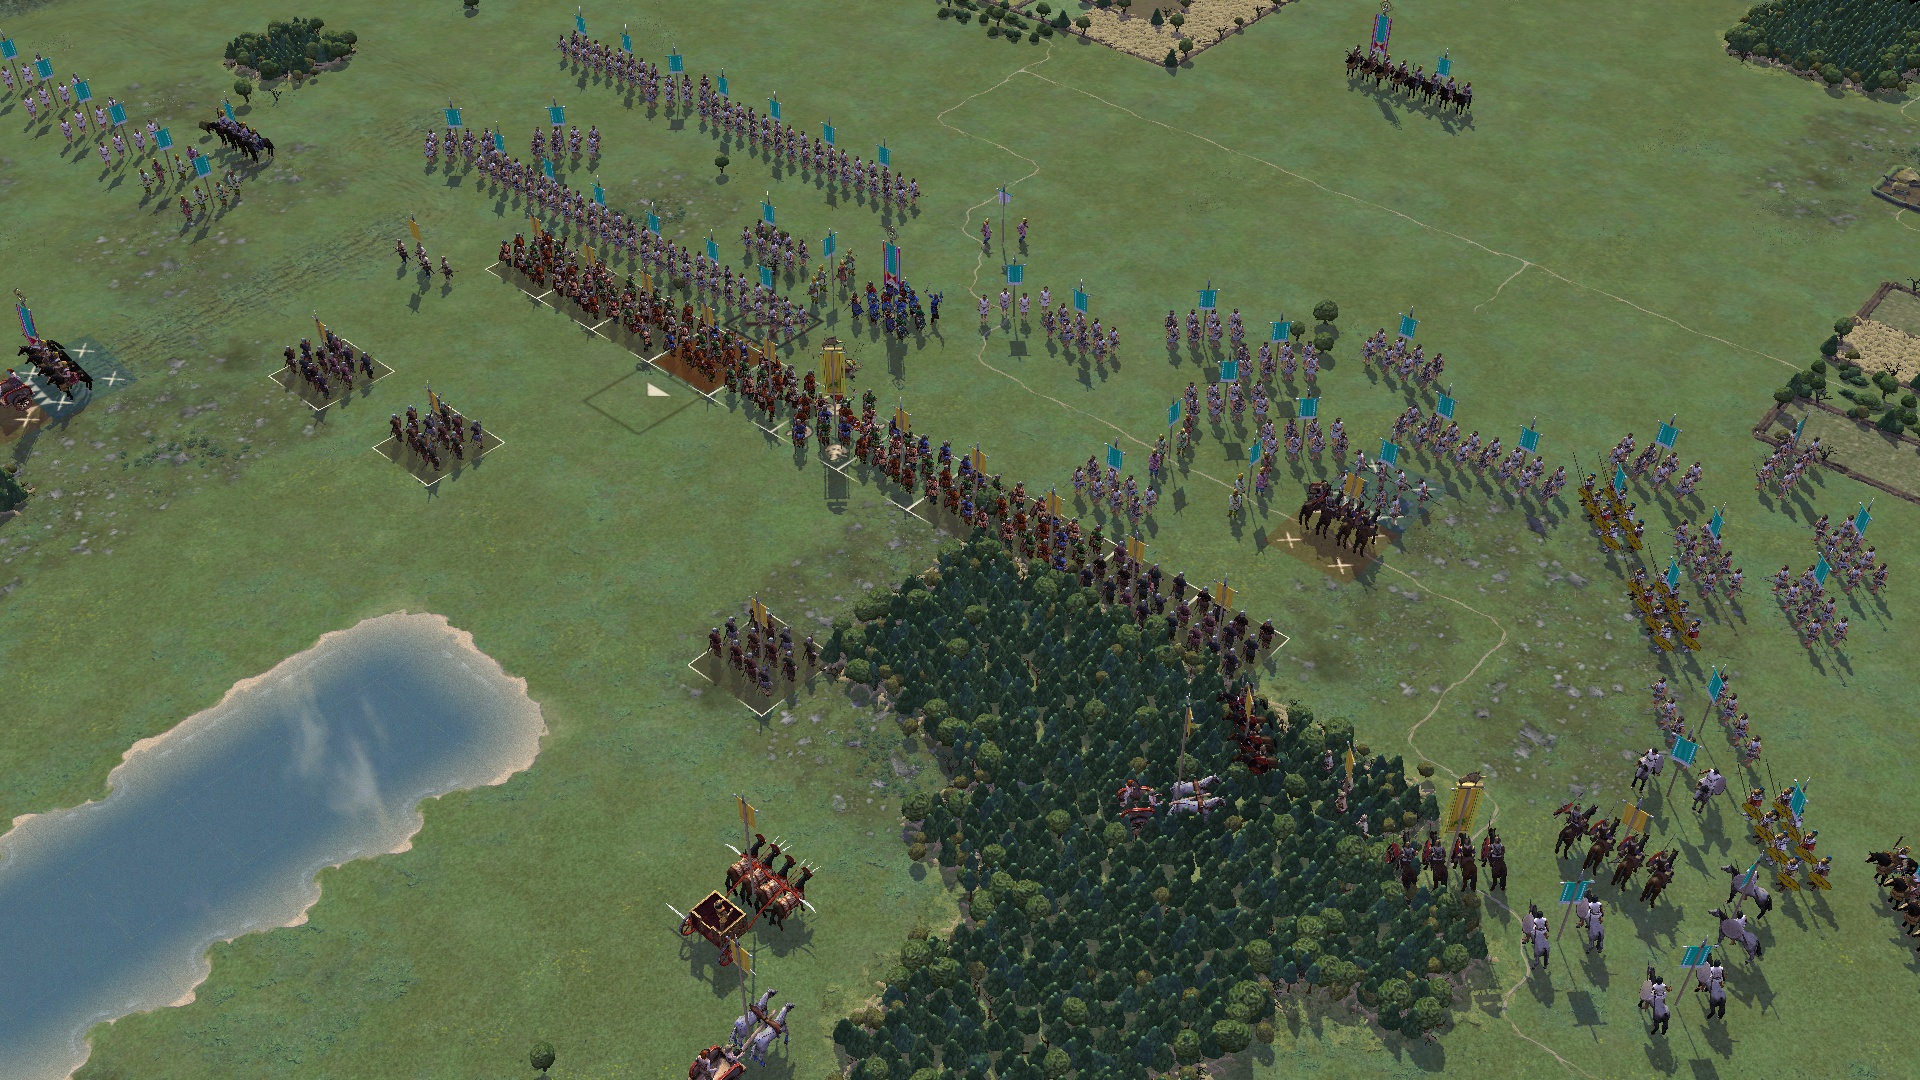
Battles are usually decided by your main line of heavy infantry, so deploying it well is your first priority. Form a continuous line — units side by side with no gaps — because gaps are invitations for the enemy to push through and hit your units in the flank, where cohesion crumbles fast. Anchor the line on terrain where you can, such as resting a flank against woods or a hill so it cannot be turned. In front of the line, place your skirmishers — slingers, javelinmen and archers — to harass the enemy and blunt their missiles before the main clash, then pull them back through the gaps as the lines close. Keep your heavier, steadier troops where the hardest fighting will be, and try to hold a small reserve to plug holes or exploit success.
The recurring beginner mistake is letting the line fragment — units charging off individually, leaving neighbours with open flanks. Resist that. A disciplined, mutually supporting line that advances together is far stronger than the same units scattered piecemeal, because in this game an exposed flank is often a death sentence.
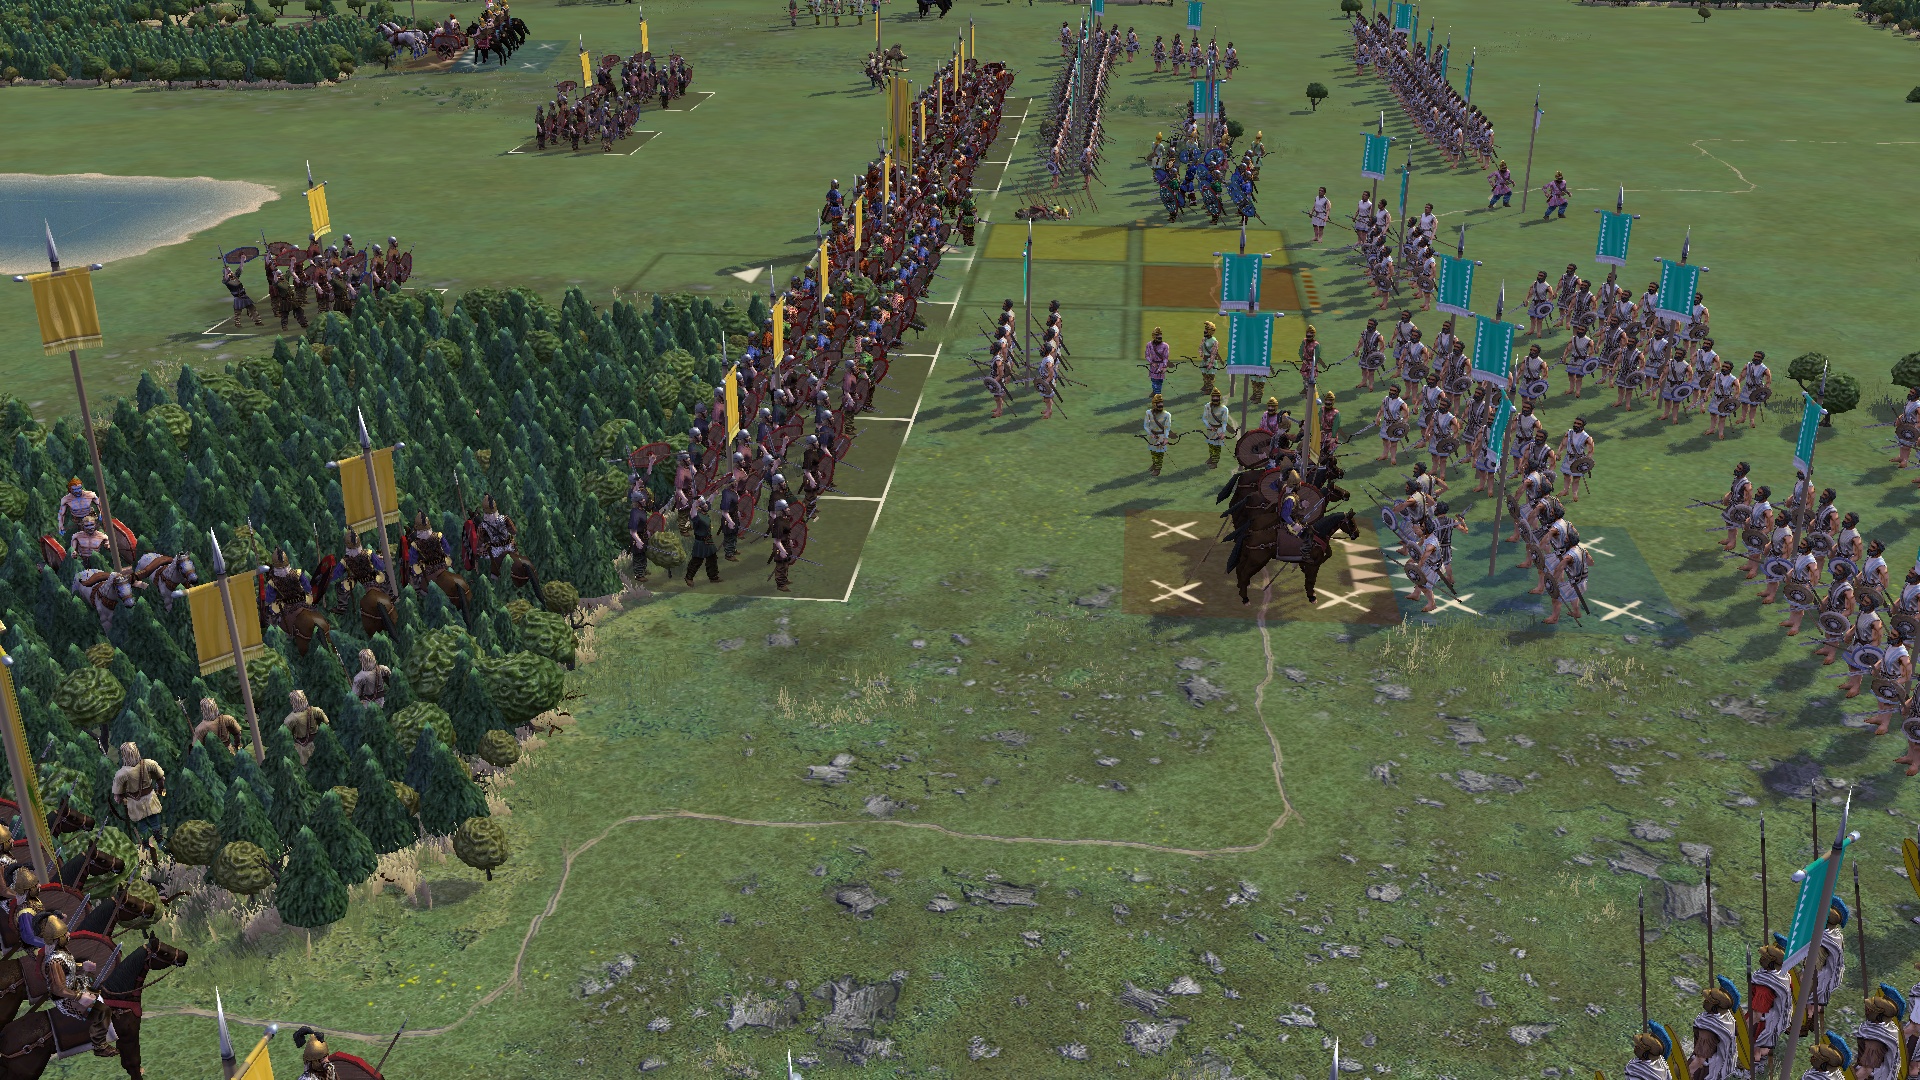
Match your troops to the ground. Heavy infantry are strongest in the open but get disordered in woods and rough terrain, while light and medium foot fight well there. Before you advance, look at the battlefield and steer each fight onto terrain that helps you and hurts the enemy.
Cavalry, skirmishers and terrain
Your cavalry and light troops win battles when used at the right moment, and waste themselves when used wrongly. Cavalry is a decisive weapon, but not a battering ram against formed infantry: its job is to win the flanks, beat the enemy's horse, and then swing in to charge exposed flanks and rear or to ride down units that have already broken. Hold it, maneuver it on the wings, and commit it when a charge will actually land where the enemy is weak. Throw it blindly into steady spearmen and you will simply lose it. Skirmishers, likewise, are for harassing and screening, not holding ground — they soften the enemy line and disrupt cohesion, then evade to safety, because they are fragile in melee and easy prey for cavalry in the open.
Terrain ties it all together. Open ground favours heavy infantry and cavalry; woods, hills and rough ground favour light and medium foot and can wreck the cohesion of heavy troops that blunder into them. So read the map before you commit: fight your heavy line in the open where it is strongest, push your light troops into the rough where they shine, and try to force the enemy to fight on ground that suits you rather than them.
| Troop role | Use them to | Keep them away from |
|---|---|---|
| Heavy infantry | Anchor the line, win in the open | Woods and rough terrain |
| Skirmishers | Harass and screen, then evade | Melee and open-ground cavalry |
| Cavalry | Hit flanks, run down routers | Frontal charges into steady infantry |
| Light/medium foot | Fight and flank in rough terrain | Open ground against cavalry |
Pick a simple army and learn by playing
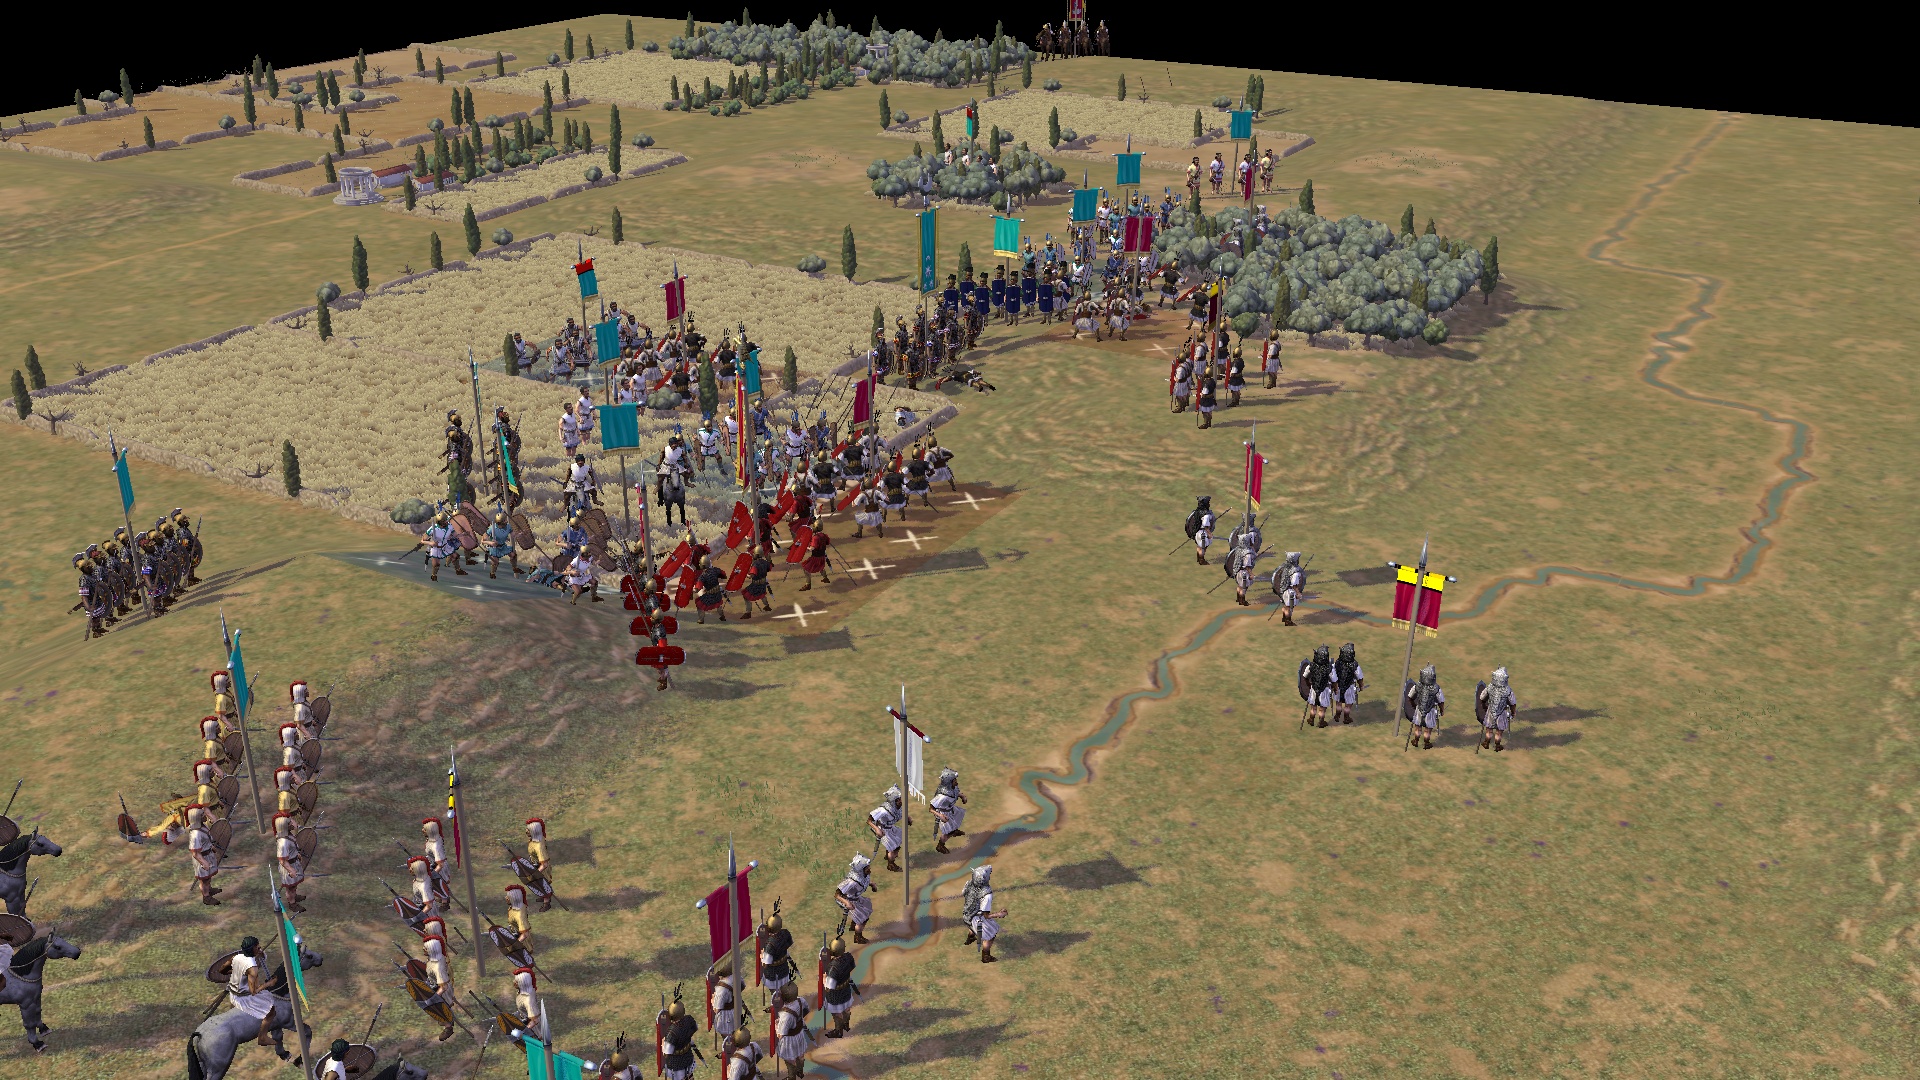
Finally, give yourself an easy start by choosing the right army and easing in. Begin with a straightforward, well-rounded force — the early or mid Republican Romans are ideal, with flexible, forgiving legionaries that are strong in many situations and do not punish small mistakes. Steer clear, for now, of armies that demand precise handling: massed Macedonian-style pike phalanxes are devastating head-on but disintegrate if caught on the flank or in rough ground, and cavalry-heavy armies reward good positioning but brutally punish bad. Run the in-game tutorials, then play out a few custom battles against the AI on lower difficulty, checking the on-screen odds before every clash and noticing why fights go the way they do.
Do that and the fundamentals click quickly: keep a solid line, screen with skirmishers, use cavalry and terrain at the right moment, and always fight to break the enemy's morale. From there you can grow into the game's depth at your own pace. When you are ready for more, our combat guide explains the impact and melee system in detail, the troop types tier list ranks every kind of unit, and the tactics guide covers flanking, formations and choosing an army.
Do not chase casualties. Beginners often try to kill every enemy unit and get drawn into grinding, even fights that wear down their own army. Instead, hunt for advantage — flank attacks, good matchups, fresh units against shaken ones — and let broken enemy morale, not body count, win you the battle.