Start with the right mindset
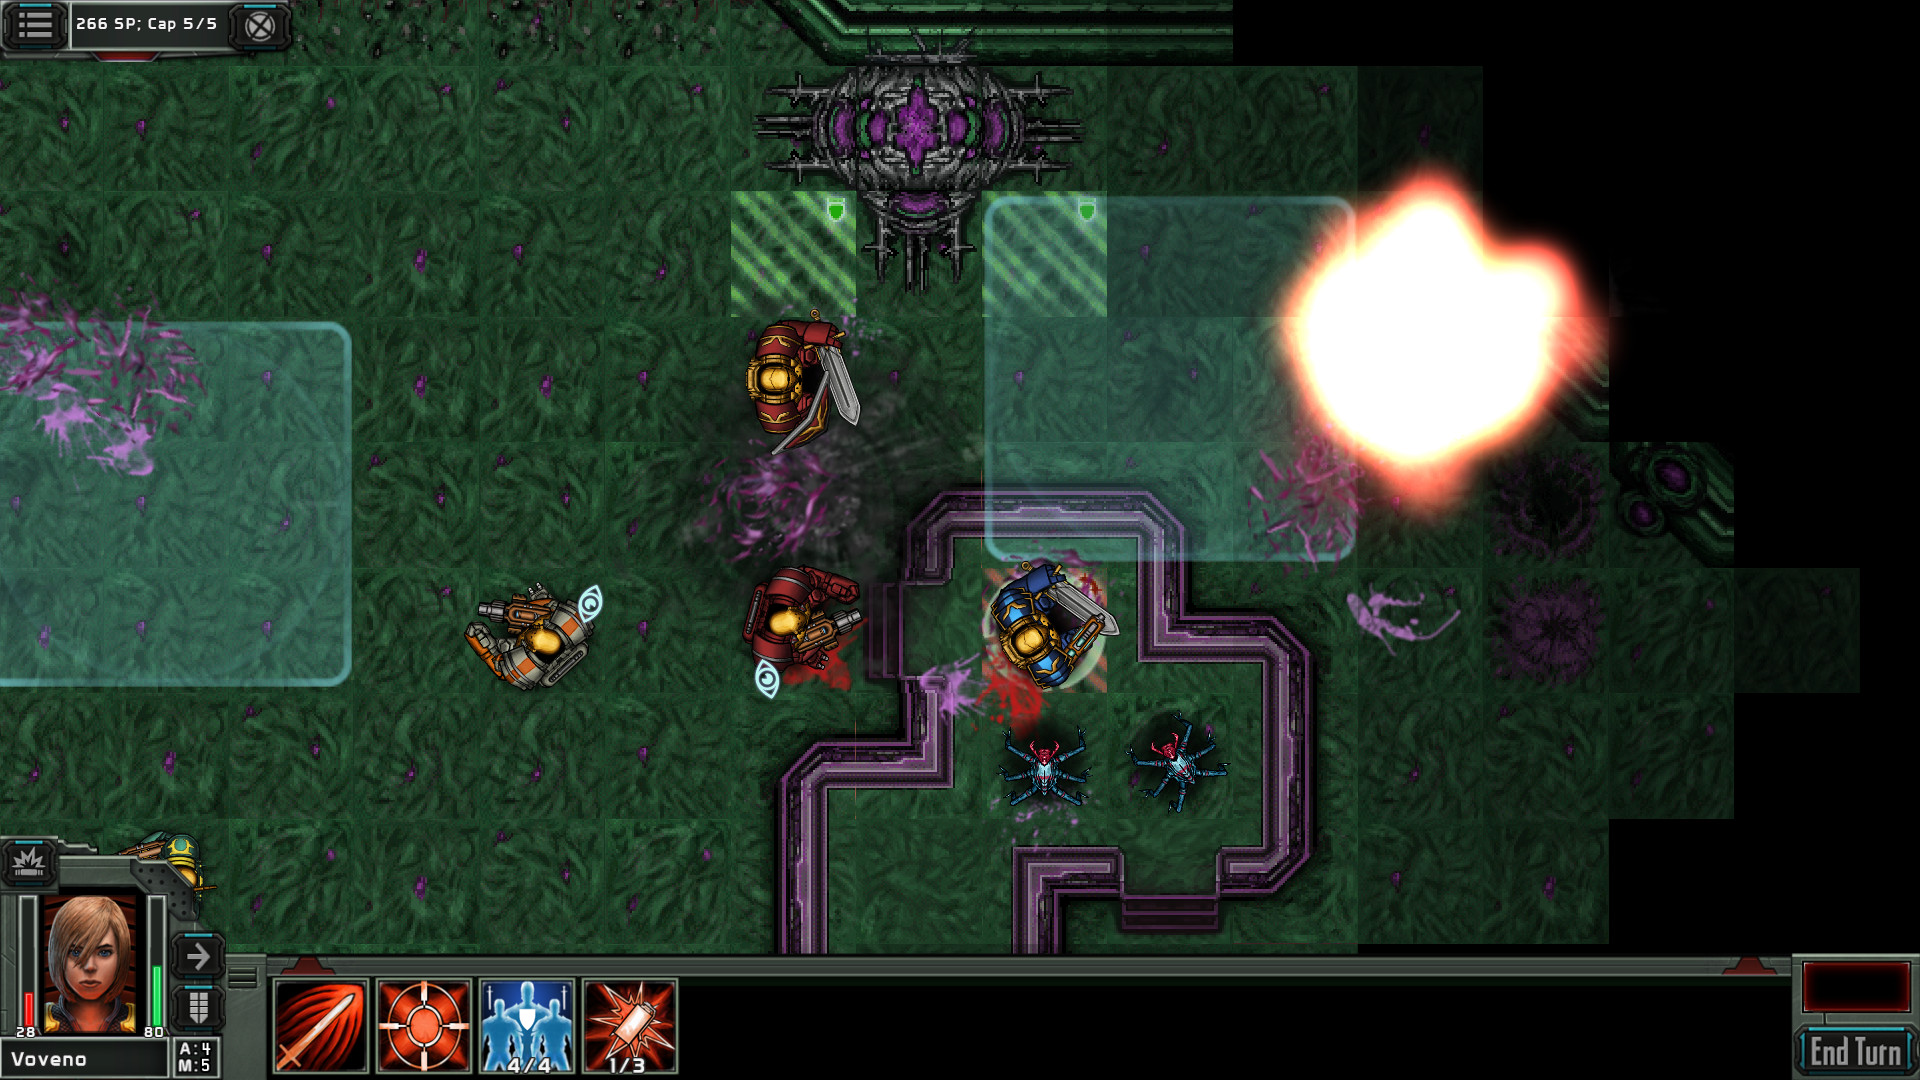
The biggest reason new commanders struggle in Templar Battleforce is that they play it aggressively, rushing their squad forward and trading blows, when the game is built to reward patience and position. This is a tactics game first: you win by holding strong ground, controlling where the enemy can go, and making them come to you on your terms. Before any specific tip, internalise that goal — end each mission with your squad intact by out-positioning the enemy, not out-rushing them. Overextend, and even a strong squad gets picked apart; hold a disciplined line, and even hard missions become manageable.
Once you stop charging and start setting up battlefields — overwatch on the choke, fragile units protected, objectives secured deliberately — the early campaign clicks into place. Everything below serves that single idea.
Templar Battleforce is a deliberate, methodical tactics game. Missions reward planning your deployment, holding cover and overwatch, and reacting to enemy movement — not speed. Take your time each turn and think about position before action.
Build a balanced squad
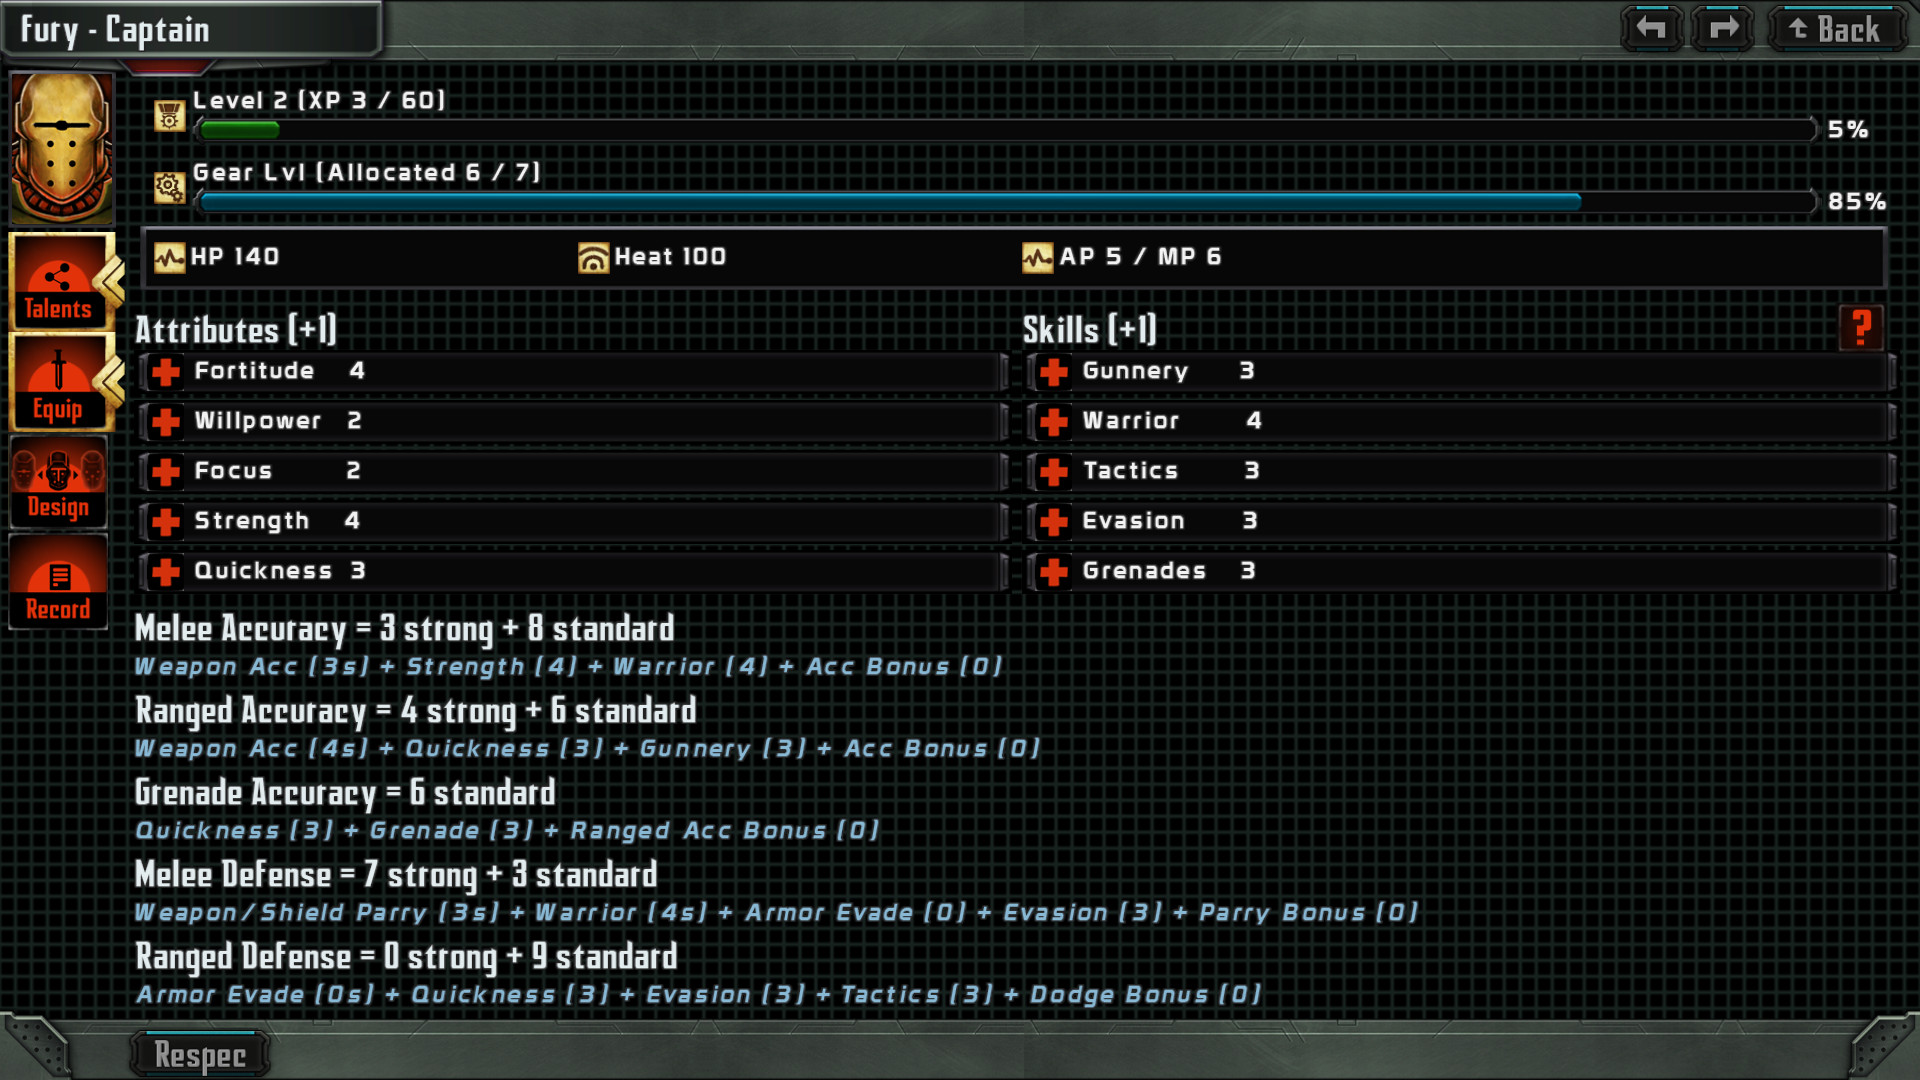
Your squad composition decides how hard the early game is, because the eight classes are built to complement each other. A reliable starting core is a couple of resilient Soldiers to anchor your line and run overwatch, a Scout for high single-target damage, an Engineer for buffs, turrets and heat removal, and a sturdy Captain to lead and absorb hits. That covers your essentials: a tough front line, ranged punch, support, and leadership. Add a Hydra when a mission needs Tact Points captured, since it is the only class that can do so. Avoid leaning entirely on fragile specialists early; a squad with no durable front line collapses the moment the enemy reaches it.
As you learn the classes, you can experiment with bolder compositions — turret-heavy Engineer fortresses, Scout strike teams, Berserker melee pushes — but a balanced core is the safest way to learn the systems without constant restarts.
Cover the four bases first: durability (Soldier/Captain), damage (Scout), support (Engineer), and objectives (Hydra when needed). A squad that can tank, deal damage, support and capture handles almost any early mission.
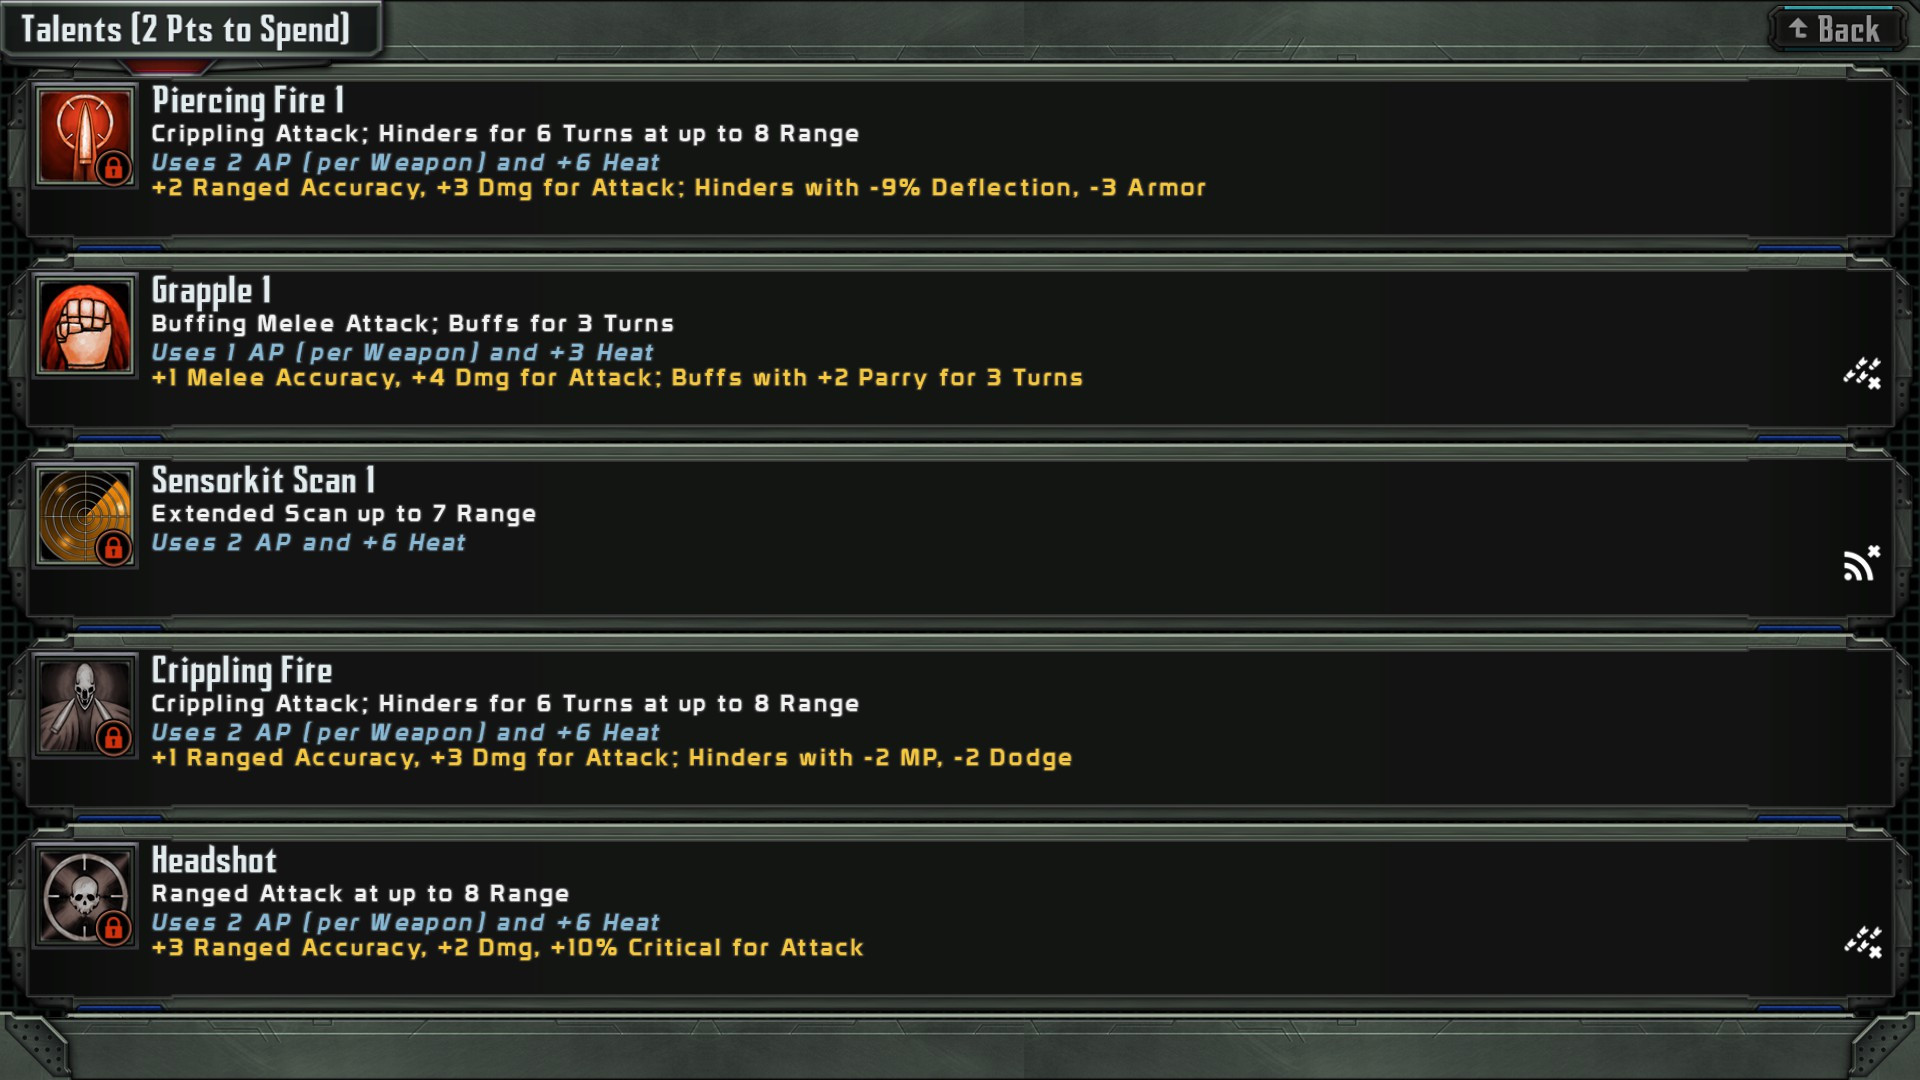
Master overwatch, cover and heat
Three systems decide most early fights, and learning them early pays off enormously. Overwatch lets a Templar fire on enemies that move into its sight during the enemy turn — set Soldiers to overwatch a choke point and you punish every foe that advances, effectively turning a corridor into a kill zone. Cover and line of sight protect your Templars and shape where fights happen; hold strong positions and force the enemy to expose themselves to reach you. Heat is the resource that keeps aggression in check: powerful talents build heat on the Templar using them, and an Engineer's ability to strip heat lets your squad keep using its best abilities without overheating. Together, these turn a static defensive line into an efficient machine.
The practical pattern is to anchor a line in cover, set overwatch on the routes the enemy must use, and let them break themselves against you while your Scout picks off priority targets and your Engineer keeps everyone cool.
| Priority | Do this | Why it matters |
|---|---|---|
| 1. Hold the line | Anchor Soldiers in cover at choke points | A cohesive line is far harder to break |
| 2. Set overwatch | Cover enemy approaches before they move | Punishes advancing foes for free |
| 3. Manage heat | Bring an Engineer, do not overuse talents | Keeps your key Templars able to act |
| 4. Protect specialists | Keep Scouts and Engineers behind cover | Losing one can lose the mission |
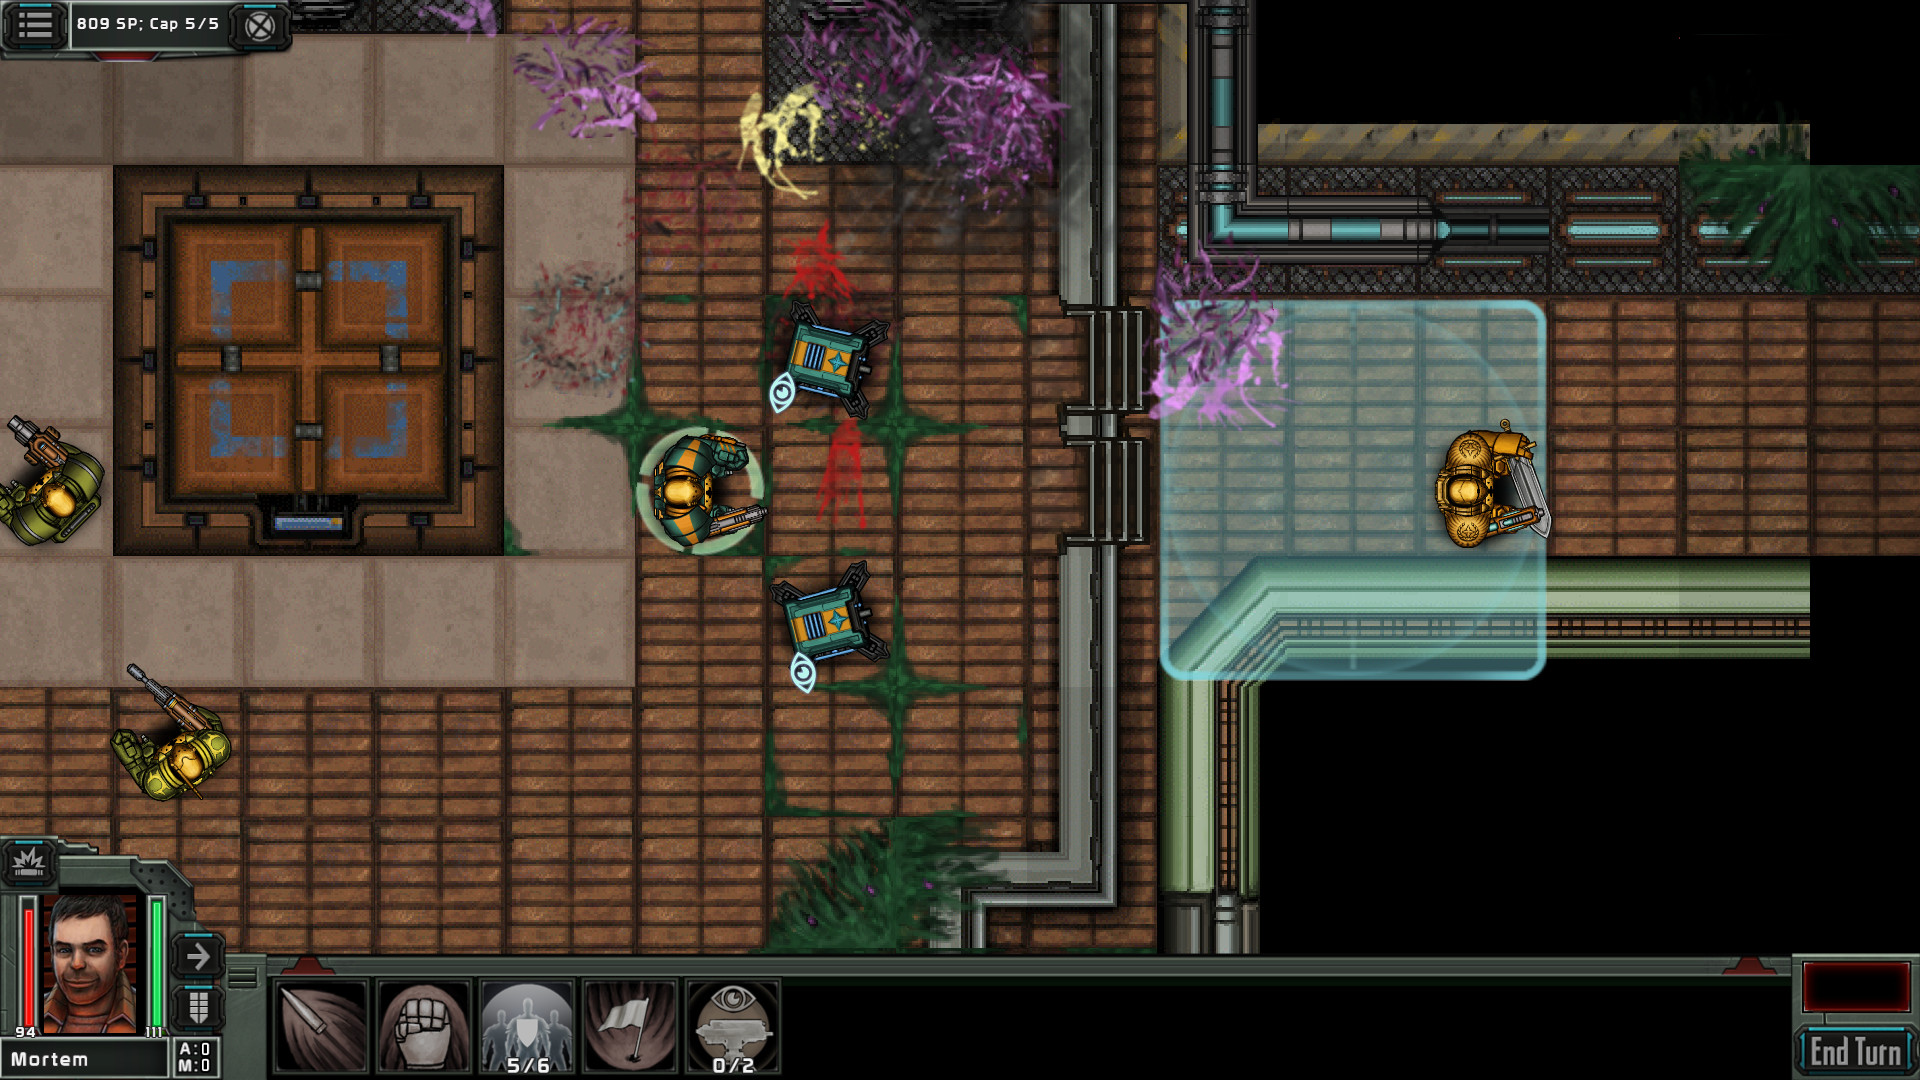
Protect your fragile classes and secure objectives
Some of your most valuable Templars are also your most fragile. Scouts deal the highest single-target damage in the game but die quickly if attacked, and Engineers are weak in a straight fight despite being force multipliers. Keep both behind your front line, in cover and out of enemy reach, letting your Soldiers and Captain soak the danger while your specialists do their work from safety. Losing a Scout or Engineer early in a mission often cripples your ability to win it, so a turn spent repositioning a vulnerable unit is rarely wasted.
Many missions also hinge on objectives rather than kills. When a mission needs Tact Points captured, your Hydra is the one that does it, so escort it to the objective under the cover of your overwatch line and protect it while it secures the point. Learning to prioritise objectives — and to hold rather than chase — is what turns close, messy fights into clean wins. From here, our classes tier list helps you pick a strong roster, the combat guide goes deeper on overwatch and heat, and the squad guide covers levelling and talents.