Combat is a puzzle of position
Templar Battleforce's combat is its best feature, and it rewards players who treat each mission as a positioning puzzle rather than a damage race. Battles are won by controlling ground, locking down where the enemy can move, and making them break against a prepared line — not by rushing forward and trading blows. The four systems below — overwatch, heat, cover and objectives — are the tools you use to do exactly that. Master them and the game's hardest missions become solvable; ignore them and even a strong squad gets dismantled. The mindset that matters most is simple: set up the battlefield, then let the enemy come to you.
Every turn is a question of where to stand and what to threaten, not just who to shoot. Once that clicks, Templar Battleforce becomes one of the most satisfying tactics systems around.
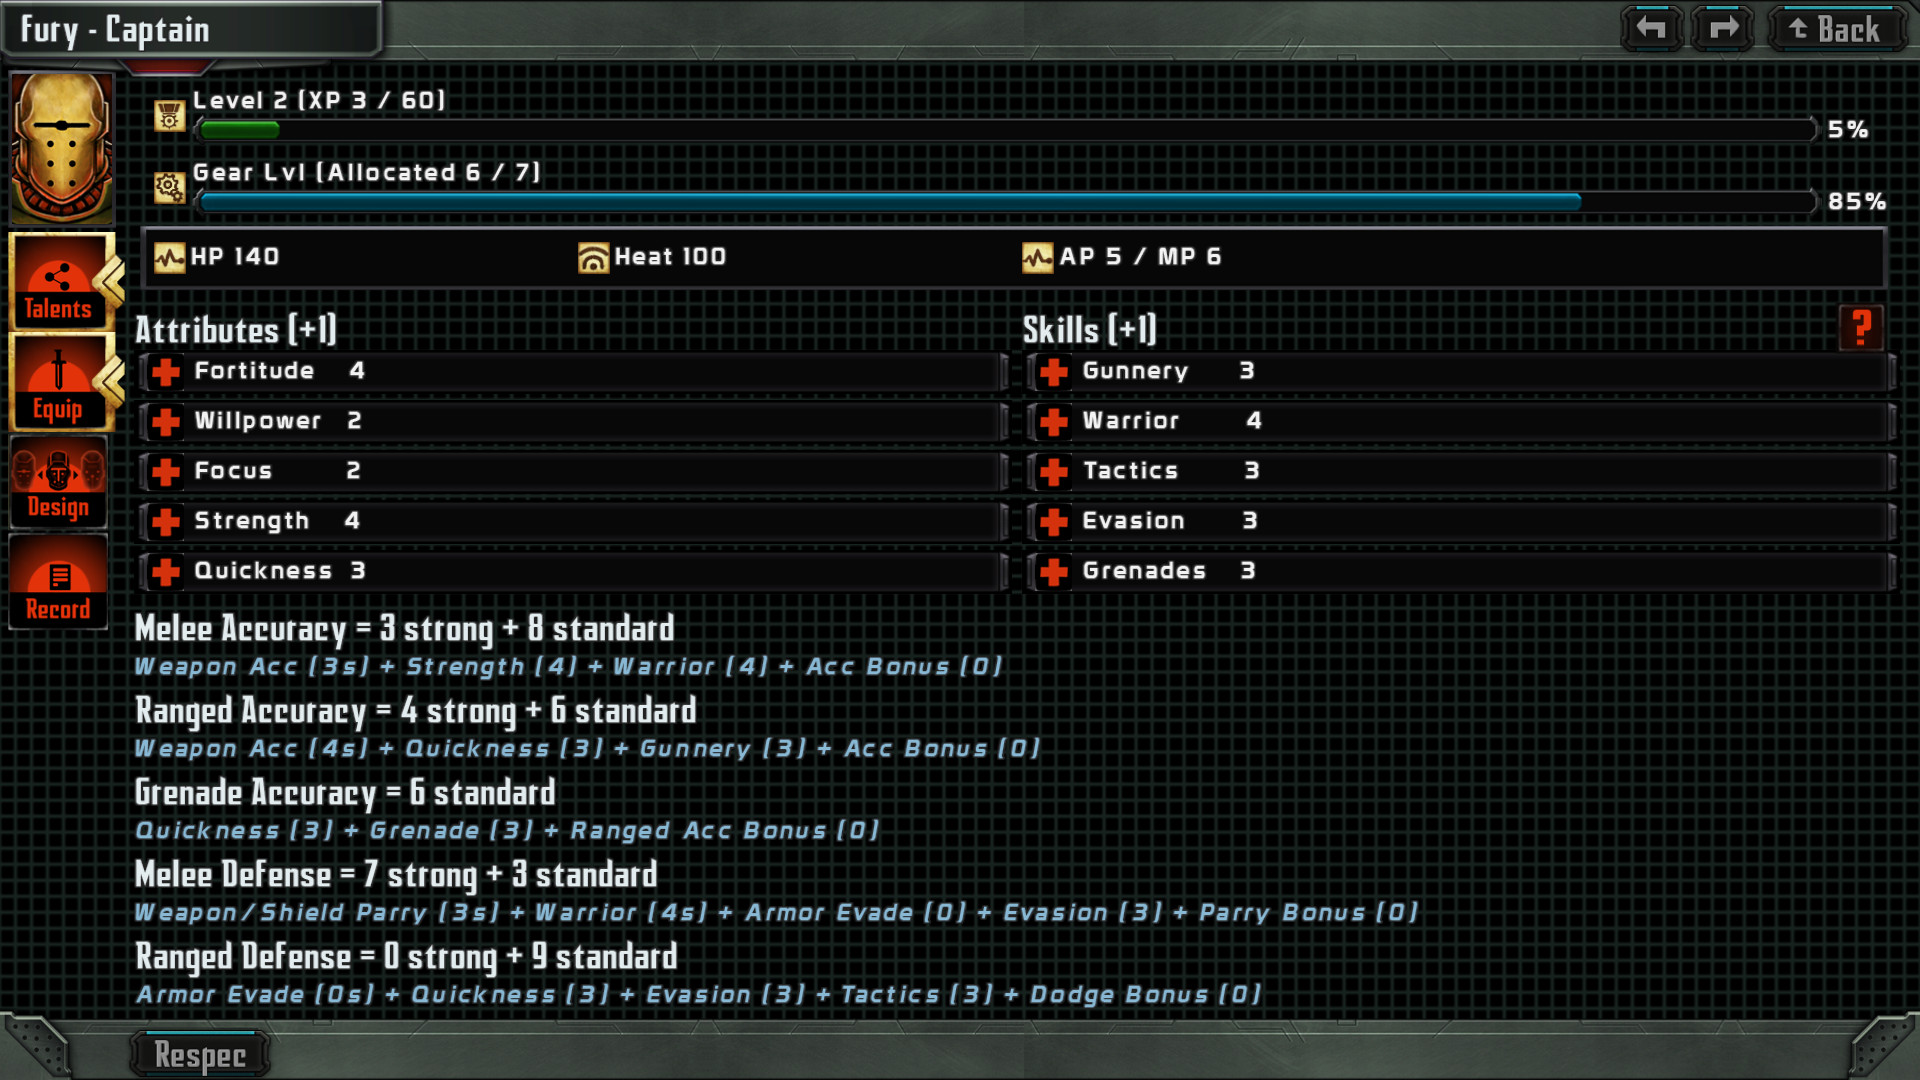
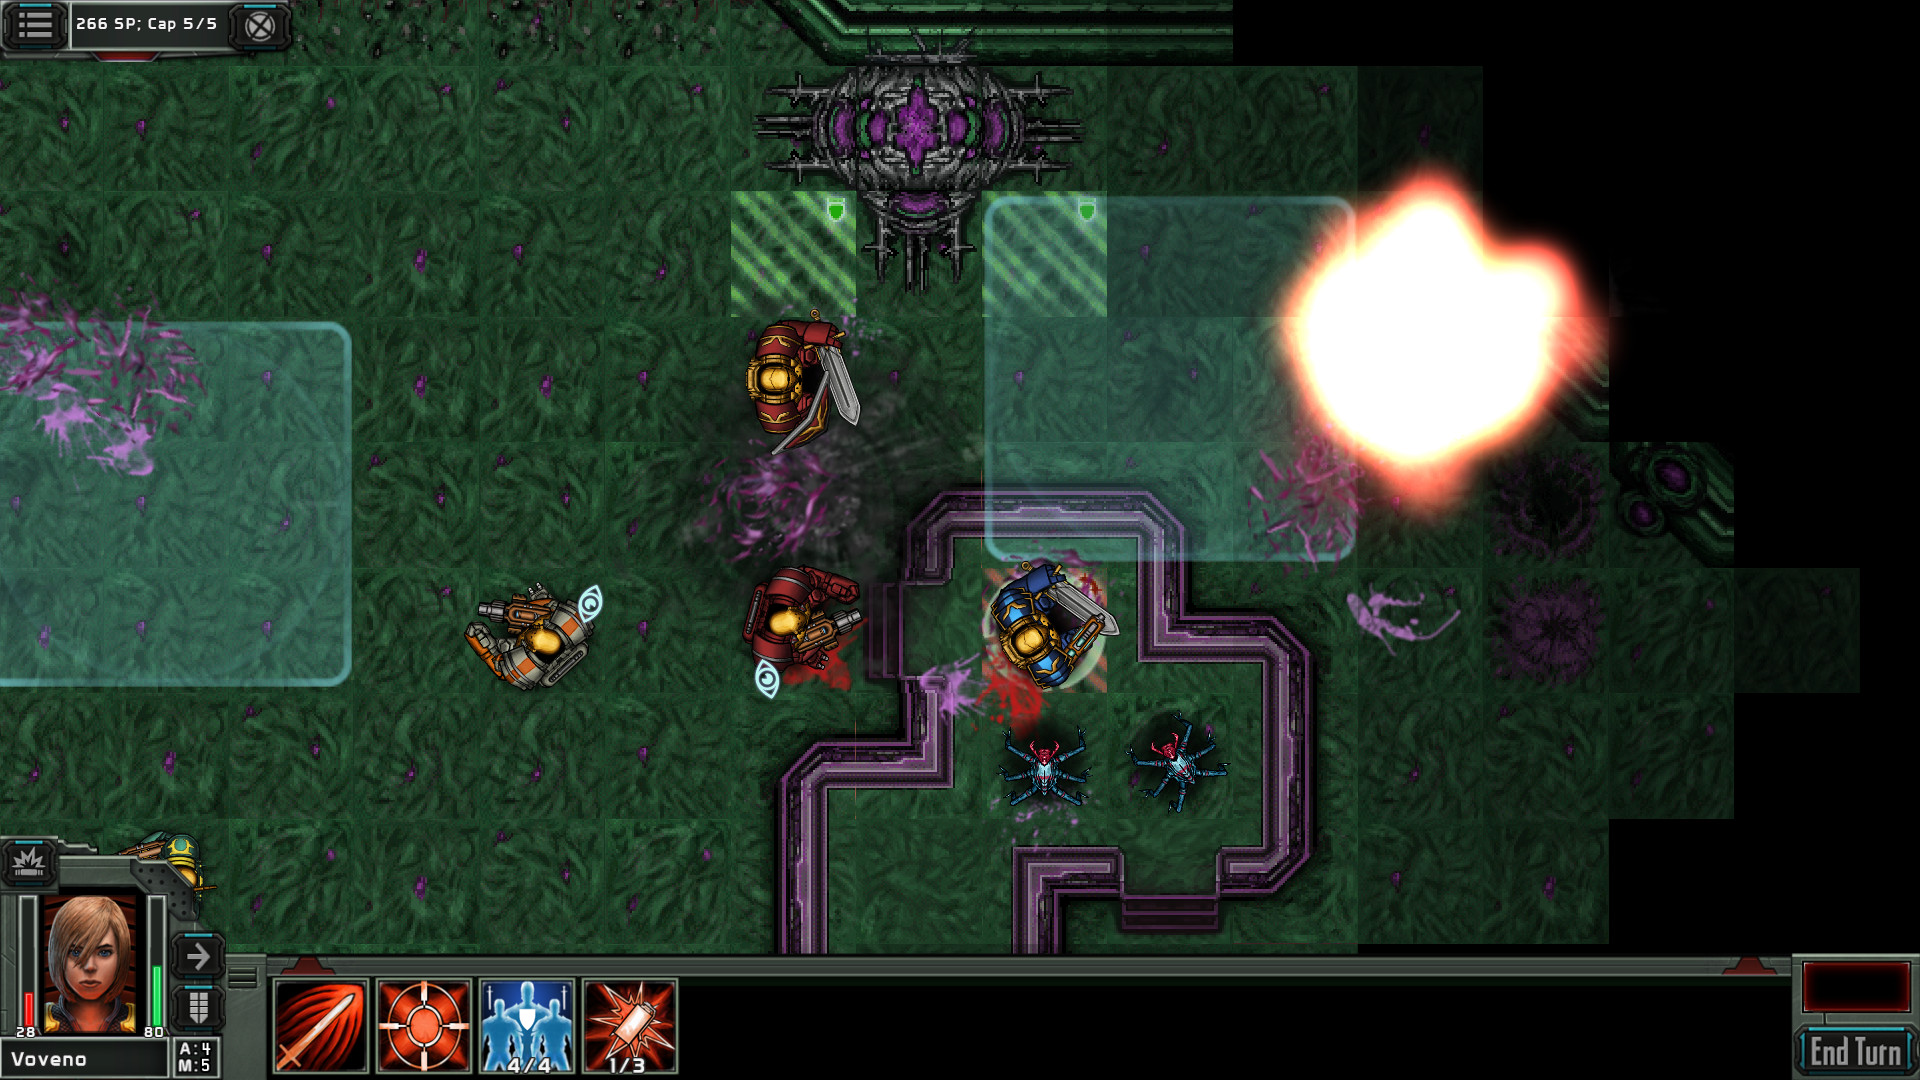
You can see the map, enemy positions and your overwatch coverage before committing each turn. Templar Battleforce is a game of information and planning — take your time to read the board and set up your line before you act.
Pillar 1 — overwatch and choke points
Overwatch is the strongest tactic in the game. A Templar on overwatch holds its fire to shoot any enemy that moves into its line of sight during the enemy turn, and Soldiers are its masters. Position a Soldier so its overwatch covers a choke point — a corridor, a doorway, the one route the enemy must take — and you have effectively built a kill zone: every foe that advances gets punished before it can act. Stacking overwatch from multiple Templars on the same approach can shred entire enemy waves as they funnel through. This is why holding ground beats rushing: when the enemy has to come to you through your overwatch, you fight on your terms.
The practical habit is to identify the chokes on each map and anchor your overwatch there, then let the enemy throw themselves at it while your damage dealers clean up. A well-set overwatch line is often the difference between a clean win and a desperate scramble.
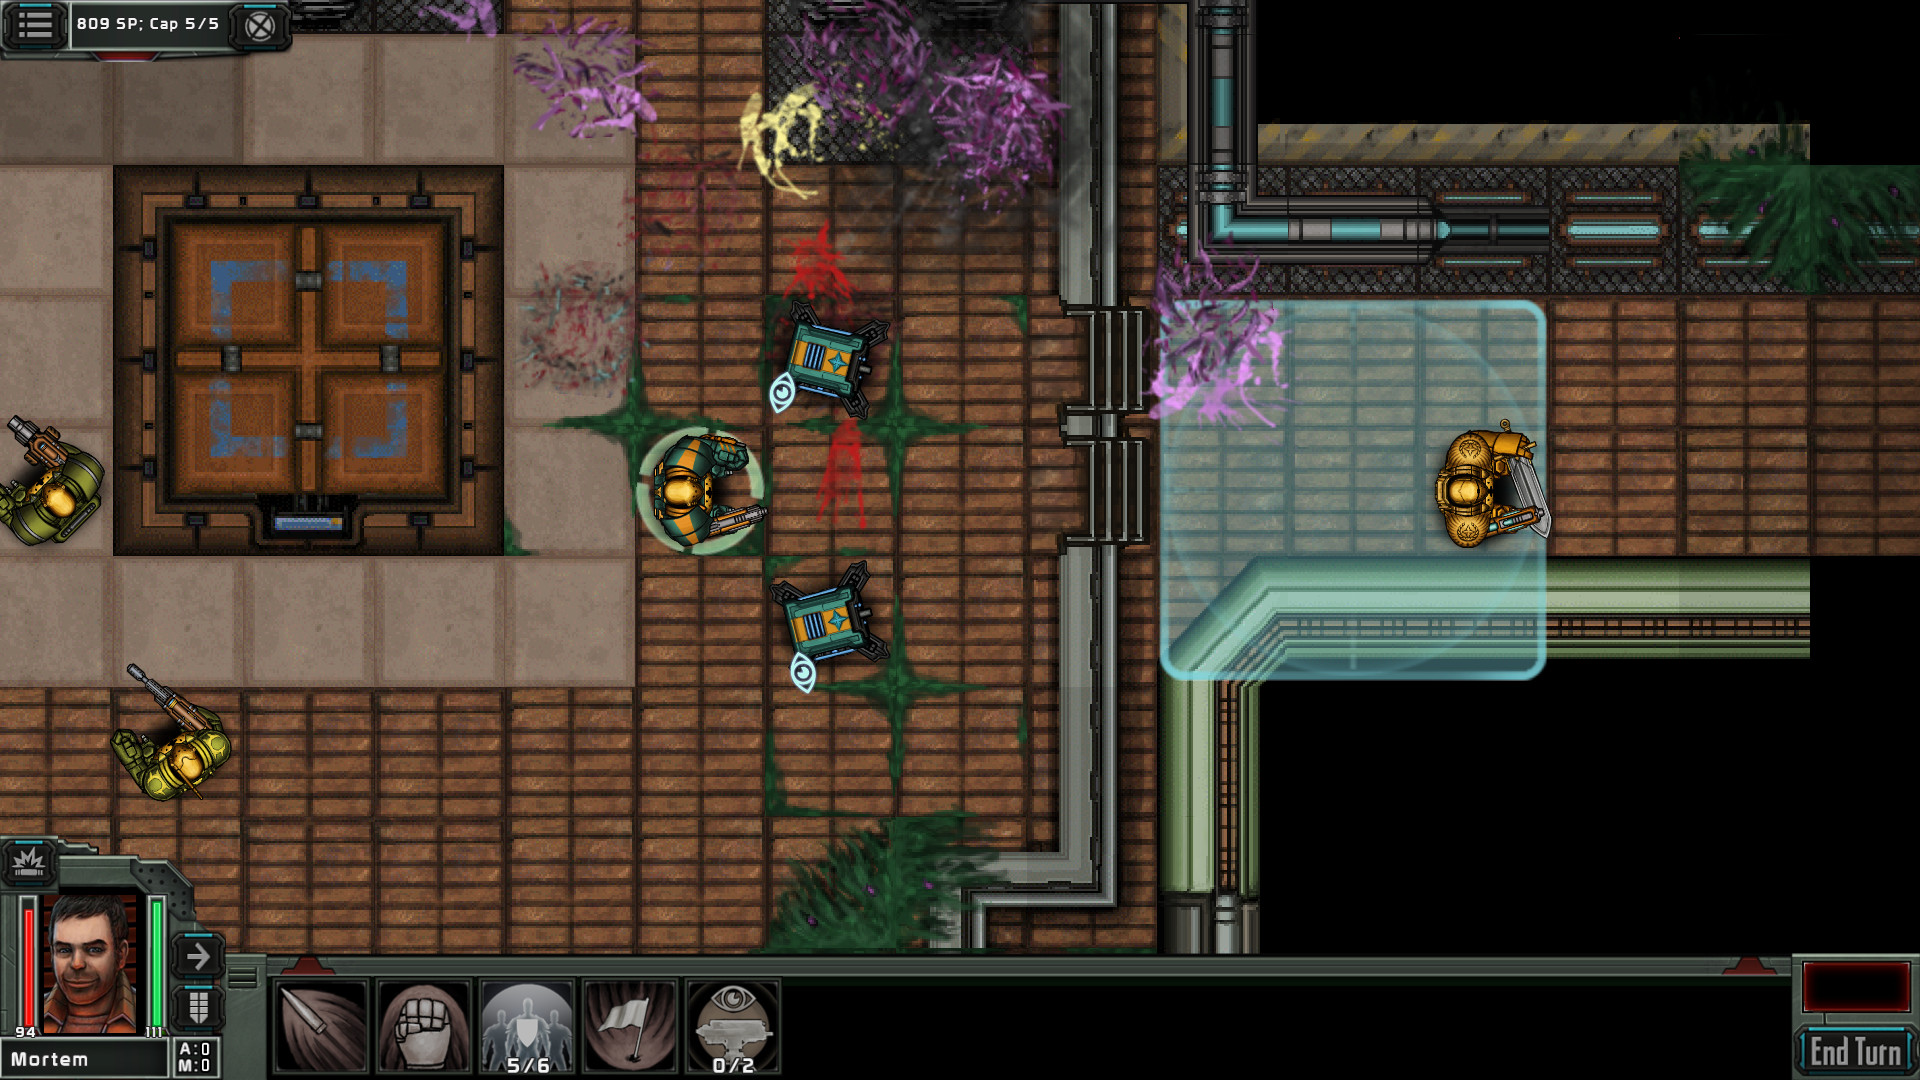
End your turn with overwatch set on the routes the enemy must use, not with your squad caught mid-advance in the open. A line that is "ready and waiting" wins far more often than one caught moving.
Pillar 2 — heat management
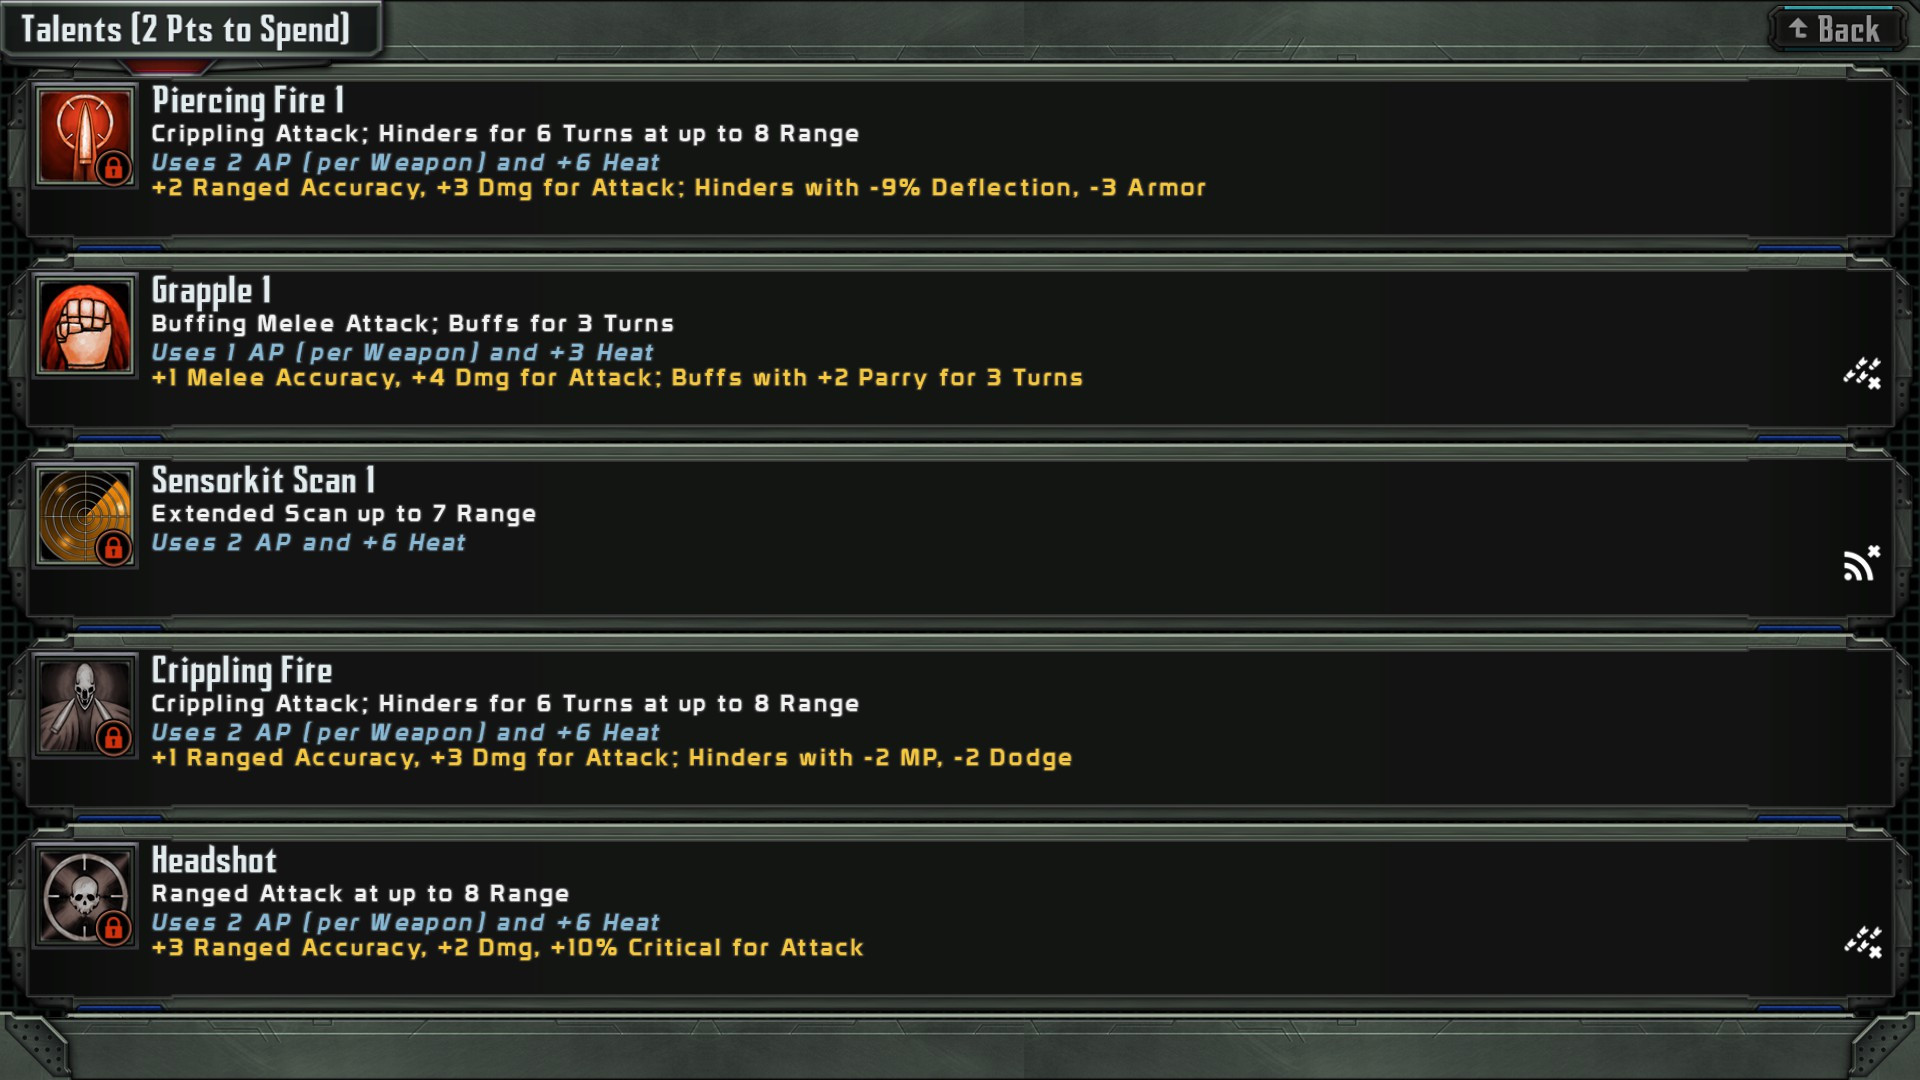
Heat is the resource that keeps your aggression honest. Many of the most powerful talents generate heat on the Templar that uses them, and as heat climbs, that Templar's options shrink — overuse your best abilities and you will overheat a key unit at the worst moment. Managing heat means pacing your heavy talents rather than firing them every turn, and, above all, fielding an Engineer, whose ability to strip heat from allies lets your squad keep using its strongest abilities far longer. An aggressive squad without heat control burns out; one with an Engineer cycling heat can sustain pressure mission after mission.
Think of heat as the throttle on your firepower. The teams that hit hardest are not the ones that ignore heat but the ones that manage it, so they can keep hitting hard when it counts.
Pillar 3 — cover, line of sight and the line
Cover and line of sight are the quiet fundamentals beneath every fight. Holding cover protects your Templars and reduces the damage they take, while line of sight decides who can shoot whom — and forcing the enemy to expose themselves to reach you is how you win exchanges. The core idea is the line: a cohesive formation where your durable Soldiers and Captain hold the front in cover, your fragile Scouts and Engineers work from safety behind them, and the whole thing controls a strong position. Overextending a single Templar out of the line is the most common way to lose one, so move as a unit and never leave a vulnerable class exposed.
| Tactic | How to use it | Payoff |
|---|---|---|
| Overwatch | Cover choke points with Soldiers | Free damage on advancing enemies |
| Heat control | Bring an Engineer, pace heavy talents | Sustained use of your best abilities |
| Cover and line | Hold strong ground, protect specialists | Win exchanges, keep your squad intact |
| Area denial | Turrets, landmines, Hydra flames | Control approaches and funnel foes |
Pillar 4 — objectives and area denial
Many missions are not about killing everything but about objectives, and playing them correctly wins battles the brute-force approach loses. When a mission requires capturing Tact Points, only the Hydra can capture them, so escort it to the objective under the protection of your overwatch line and hold the point while the rest of the squad walls off the approaches. Area denial is your other map-control tool: Engineers build Sentry and Pyro Turrets and place Landmines to add firepower and block routes, and can repair damaged turrets and Tact Points, while Hydras lay down residual flames that make terrain hazardous to cross. Combined with overwatch, these let you dictate where the enemy can go, funnelling them into ground you control.
Put together, a model mission looks like this: anchor a line in cover, set overwatch on the chokes, manage heat with your Engineer, deny the flanks with turrets and flames, and push your Hydra onto the objective while the enemy breaks against your prepared position. Pair these tactics with a balanced squad from our classes tier list and the roster-building in our squad guide. If the early missions are still tough, the beginner guide covers the fundamentals.
Do not chase kills at the expense of position. The fastest way to lose a winnable mission is to break your line to finish one enemy, exposing a Templar to the rest. Hold the line, secure the objective, and let the enemy come apart on your overwatch.