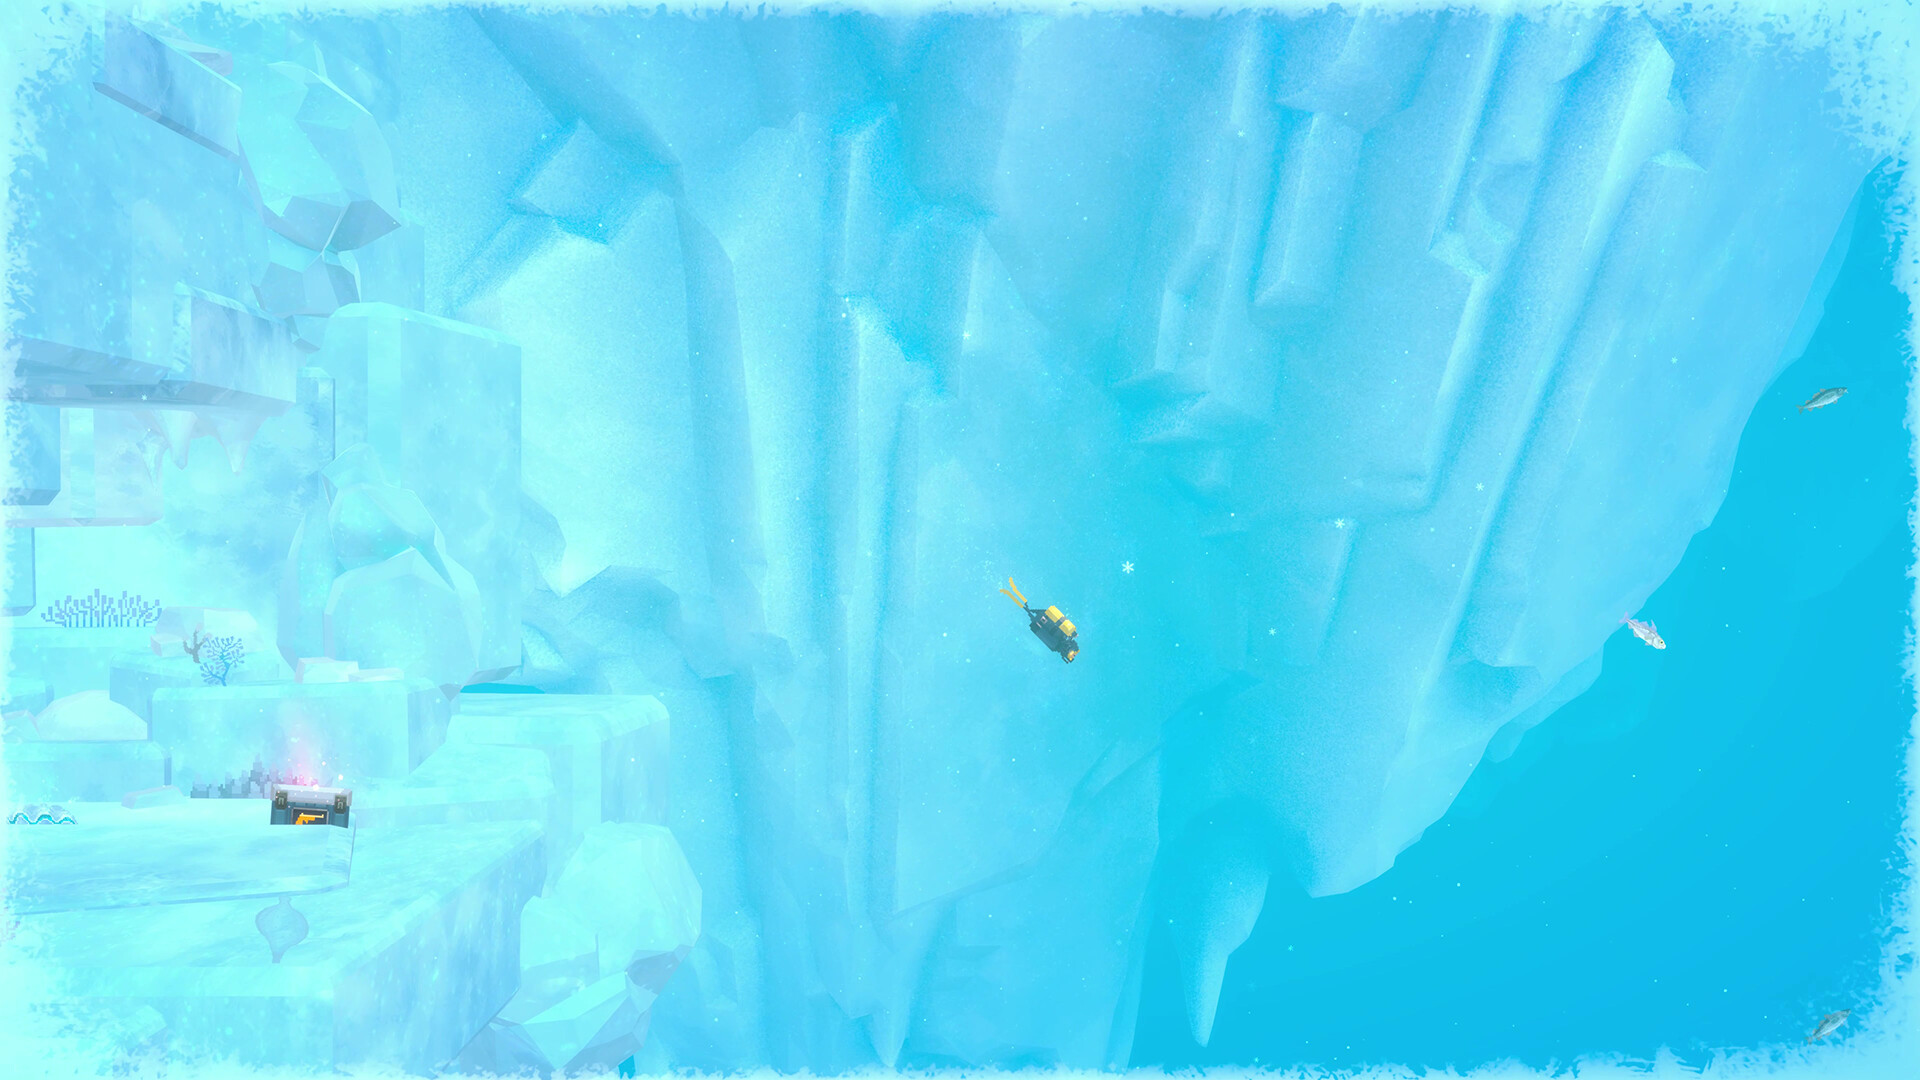
Bosses in Dave the Diver are rarely damage races. Most have one rule that decides the fight: shoot a specific weak spot, use something in the arena, or survive until something else happens. Learn the rule and the fight takes a minute; ignore it and you can empty every magazine without progress.
All bosses in story order
Main-story fights cannot be skipped. Side fights come from sub missions, and the storm bosses only appear through a vortex on a stormy night, so their place in the order depends on the weather.
| # | Boss | When and where | What helps | Key mechanic |
|---|---|---|---|---|
| 1 | Giant Squid | Ch.1 main, The Leahs-chan Rescue. Cavern under the delivery shipwreck | Red Sniper Rifle or another long-range gun | Shoot the eye. After two hits it covers it until you come close |
| 2 | John Watson (1st) | Ch.2 main, Going Deeper. On the way into the Depths | Crate guns or the harpoon | 120 HP. Enrages at 60 and fires grenades in bursts |
| 3 | Clione Queen | Ch.2 side, Catch Clione. The fifth clione starts it | Tranquilizer Triple Axel. Not poison, not steel nets | Clear the swallow prompt and the grab does no damage |
| 4 | Truck Hermit Crab | Ch.2 side, Stormy Night. Vortex near the surface | No weapon needed | Drop five explosive barrels on its truck shell |
| 5 | Giant Wolf Eel | Ch.2 main finale, Destroy the Entryway. Cave before the Sea People Village | Any gun | Only the tail is a weak spot. Hold an anchor against the suction |
| 6 | Great White Shark Klaus | Revenge Time! from Clara, after Ch.2. Shallows vortex, stormy night | Flame Sniper Rifle I, Octopus Weapon Charm, spare oxygen | About 650 damage, enrages near 400. Dodge the whirlpools |
| 7 | Mantis Shrimp | Stormy Night 2, after Klaus. Stormy-night vortex | A gun you can aim precisely | Only the eyes take damage. Block the charged punch with the bell |
| 8 | Goblin Shark | Ch.3 side, Curious Child. Underwater Lake in the east Depths | Tranquilizer harpoon tip or Tranquilizer Triple Axel | Put it to sleep, then shoot |
| 9 | John Watson (2nd) | Ch.4 main finale, Deliver Key to Tenzhin. Access Road | Baseball Bat from a crate | Only his own missiles hurt him |
| 10 | Giant Gadon | Ch.5 main, Find the Glacial Passage Exit | Nothing | A chase. You cannot damage it |
| 11 | Phantom Jellyfish | Ch.6 main, Check the Control Room Entrance (second device) | Nothing. You ride the Beluga | Ram the red eye. Three hit points, refilled by shrimp |
| 12 | Helicoprion | Ch.6 main, Ancient Control Room | Your strongest gun | Fill the room with water first, then fight |
| 13 | John Watson (3rd) and Kronosaurus | Ch.6 main, Check the Control Room Entrance (last device) | Your strongest gun, full oxygen | Survive Watson until the Kronosaurus arrives, then defeat it |
| 14 | Yawie | Ch.7 final mission, Cause of the earthquake. Divine Tree control room | Duff's drone, given in the fight | Immune to normal weapons. Three phases, then a chase |
| 15 | Lusca (hidden) | After the Marinca collection. Far-right vortex at about 90 m, stormy night | Your strongest gun, a scooter | Dodge prompts on tentacle swipes; watch for ranged barrages |
The Clione Queen, Truck Hermit Crab, Klaus, Mantis Shrimp, Goblin Shark and Lusca are optional, but each drops a part for a top weapon upgrade or a one-time dish, and Klaus gives one of the best charms in the game.
Before any boss fight
- Oxygen is your health. Running out ends the dive and costs the haul. Upgrade the Air Tank, and collect the oxygen and supply boxes in each arena before engaging. Prices are in the Beginner Guide.
- Bring a permanent gun. Crate weapons break when you surface; Duff's crafted guns stay. See the Diving and Weapons Guide.
- Pick two charms. The Octopus Weapon Charm adds 15% of a gun's base damage, the Shark Teeth Necklace adds 15% to the harpoon, the Eco Health Bracelet cuts damage taken by 10%, and the Sea People Bracelet keeps you alive for about 10 seconds after the oxygen runs out.
Main story bosses
Giant Squid (Chapter 1)
Duff gives you the Gas Cutter to cut into the shipwreck where the squid took his Pink Delivery Box. It wakes and blows you away with a harmless burst of ink. As you swim back, tentacles burst out of the cavern walls in fixed directions, so learn the spots. The weak spot is the giant eye: after two hits the squid covers it with a tentacle and only exposes it when you come close, then tries to smack you. Get in, shoot, get out. A sniper rifle shortens the fight a lot.
You can leave and retry later, but most oxygen and ammo boxes will be gone. The reward is 500 gold, 5 Black Vinegar, 5 Salt, the Deep Sea Headlamp you need for the Depths, and the Giant Squid Tooth.
John Watson (Chapters 2, 4 and 6)
The leader of Sea Blue fights you three times, each time differently.
-
1
First fight: Going Deeper (Chapter 2)
He fires a grenade launcher whose arc is shown, charges after winding up his fist, and clubs you if you get close. He has 120 HP; at 60 he enrages, fires several grenades in the same direction and charges more often. Stay at mid range and shoot.
-
2
Second fight: Deliver Key to Tenzhin (Chapter 4)
His armor only takes damage from his own homing missiles. Loop around so a missile hits him, or hit a fizzling missile with a Baseball Bat so it arcs down onto him. While he steers a missile you can swim past him safely. He leaves Sea Blue Armor Debris, which Dr. Bacon later turns into the Cold-resistant Diving Suit.
-
3
Third fight: Check the Control Room Entrance (Chapter 6)
He fires missiles from his submersible. You do not need to beat him: survive until a Kronosaurus wrecks the submersible. Then the Kronosaurus is the next boss.
Giant Wolf Eel (Chapter 2 finale)
It waits in the cave just before the Sea People Village, and its pattern repeats in a fixed order:
- It appears on the right and tries to suck you in. Hold an anchor at the top, or stay far to the left.
- Its eyes glow in the background where it is about to lunge. Move away from that spot.
- It sweeps across the area, going up and down. Stay near the bottom, away from where its head hits.
- It turns and shows its tail, the only weak spot. Shoot now.
Giant Gadon (Chapter 5)
A chase, not a fight. Swim through the cave while dodging stalactites, falling ice and its grabs, with short cutscenes and quick-time events between sections. If it catches you, you restart that section, not the whole chase.
Phantom Jellyfish (Chapter 6)
The Beluga carries you through a current cave past smaller jellyfish, poison projectiles and freezing icicles. Oxygen does not matter: you have three hit points, and shrimp in the tunnel restore them. At the end, ram the mother jellyfish's red eye.
Helicoprion and Kronosaurus (Chapter 6)
The wiki has little detail on these two fights, so this guide does not invent patterns. The Helicoprion mission first asks you to fill the room with water, then to defeat it. The next mission has two bosses back to back, Watson and then the Kronosaurus, so if you just beat the Helicoprion, end the dive and restock first.
Yawie (Chapter 7, final boss)
First you kill eight ancient creature hatchlings on the Divine Tree's core, then Yawie rises from the magma. Dr. Bacon and Duff's drone switch to battle mode, and you fight from the drone through three phases. Yawie is immune to normal weapons, so your loadout does not matter. It fires exploding energy orbs from its tail, a plasma breath that takes a second to charge, energy balls that split into smaller ones, and waves of hatchlings and plasma fish. Then you chase it until a Divine Tree fruit device finishes it.
Yawie can only be looted after the credits. Back on the boat, return to the Divine Tree control room and the room where it died to collect Yawie's Inner Flesh.
Optional bosses
Clione Queen (Chapter 2)
Catching the fifth clione for Maki triggers it. It ignores steel nets and poison; a Tranquilizer Triple Axel makes it very easy.
- Swallow: clear the button prompt and it deals no damage. You can hug a wall, let it keep trying, and hit it each time you break free.
- Tentacle spears, poison bolts and body slams: the bolts burst into poison, and the slams hit hardest when you are on the cave floor.
- Phase two: faster attacks and poison bolts in bursts.
Afterwards Maki joins Bancho Sushi as staff.
Truck Hermit Crab (stormy night)
After you get the Diving Gloves, Sato visits on a stormy evening and tells you about the vortex near the surface. No weapon is needed: pick up explosive barrels from the seafloor and drop them on the truck shell from above. Five hits defeat it. It flings debris upward, which also sets off a barrel you are carrying, or pounds the ground so debris falls from the jagged spots in the ceiling. Stay near the floor to make it pound and reveal more barrels. Shooting its eyestalks only makes it hide for a few seconds.
Great White Shark Klaus (Revenge Time!, stormy night)
Any time after Chapter 2, Clara arrives on a stormy day looking for the shark that killed her husband. On a stormy night, enter the vortex in the Shallows. Klaus snaps and rams up close like a faster Tiger Shark, charges from range, and sometimes swims to the edge of the cave to send whirlpools across it. At about 400 damage it enrages; the fight ends at about 650.
Bring the Flame Sniper Rifle I and the Octopus Weapon Charm, grab the oxygen first, and break the wreckage on the floor for extra ammo boxes. When Klaus tries to swallow Dave, Clara punches it and gives you the Shark Teeth Necklace.
Mantis Shrimp (Stormy Night 2)
Opens after Klaus. If you skip that stormy night the mission "fails", but it returns on the next one.
- Jab: right, then left, then a pause. This pause is your window.
- Slam: a current pushes you, then it charges a punch.
- Charged punch: an ultrasonic punch. Pull the glowing chain at the top left of the start position to block it with the bell.
- Back slam: swim directly above it and it slams you into the ceiling.
Only the eyes take damage, and it covers them with its gloves, so aim for them in the pause after the jab.
Goblin Shark (Chapter 3)
In Curious Child, a village child goes missing in the Underwater Lake. Follow the signs in the Depths, clear the rocks at the east entrance with a Pickaxe and take the photo the mission asks for. The shark is vulnerable to sleep: the Tranquilizer harpoon tip works, and a Tranquilizer Triple Axel makes it very simple.
Lusca (hidden boss)
Complete the Marinca collection (Aberrations are not required) and Sato mentions a secret card. Lusca appears on the next stormy night through a vortex on the far right, about 90 m down. Since the Marinca list includes boss cards up to Yawie, this is effectively post-story content. The arena is deeper than the others and Lusca catches up quickly. Tentacle hits come with a dodge prompt when you are in range; the harder attacks are a barrage of elemental projectiles and a Klaus-style whirlwind aimed at you. A scooter helps you stay out of reach.
What each boss gives you
Most bosses drop one dish ingredient and one weapon part, and those parts gate some of the strongest guns.
| Boss | Dish ingredient | Weapon part and what it makes | Other rewards |
|---|---|---|---|
| Giant Squid | Tentacle (party dish, not for customers) | Giant Squid Tooth: Quattro Axel I | 500 gold, Deep Sea Headlamp |
| Clione Queen | Tentacle: Clione Queen Soup | Poison Sack: Poison Launcher | Maki joins as staff |
| Truck Hermit Crab | Legs: Stir-Fried Hermit Crab and Seaweed | Pincer Piece: Grenade Launcher II | Boss card |
| Giant Wolf Eel | Tail Meat: Steamed Wolf Eel | Gill: Gravity Launcher | Way into the Sea People Village |
| Klaus | Fin: White Shark Omelet | None | Shark Teeth Necklace |
| Mantis Shrimp | Meat: Boiled Mantis Shrimp with Soy Paste | Tail: Death Rifle | Boss card |
| Goblin Shark | Fatty Meat: Goblin Shark Belly Roast | Nasal Bone: Shock Sniper Rifle II | 50 Bey, 25 Credit |
| Phantom Jellyfish | Meat: Phantom Jellyfish Jelly | Poison Sack: Hell Poison Rifle | Story progress |
| Helicoprion | Tail: Roasted Helicoprion Tail | Sawblade: Death Sniper Rifle | Story progress |
| Kronosaurus | Tongue: Steamed Kronosaurus Tongue | Thyroid Gland: Explosive Rifle | Story progress |
| Yawie | Inner Flesh: Yawie Steamed Meat | None | Loot after the credits |
| Lusca | Tentacle and Neck Meat: two dishes | None | Sato's Hat, boat skin |
Boss dishes can only be served once, so plan that night's menu around them; the Sushi Restaurant Guide explains how.
Dangerous regular creatures
Bosses happen once. These creatures are in the water every day.
Sharks
Most sharks attack on sight and share one pattern: they build up and charge in a straight line. Move off the line and shoot or harpoon them as they pass. Point-blank fighting is what gets you hurt.
Sleeping sharks cannot be picked up by hand; the Salvage Drone collects them. Steel nets do not work on the largest, including the Copper, Tiger and Thresher Shark.
Jellyfish
- Barrel Jellyfish (Shallows): drift in groups and do not chase you, but contact hurts.
- Box Jellyfish (Shallows, night): move toward you when you get close and deal medium damage plus 5 poison damage per second for 7 seconds. Poison weapons do nothing to them.
- Blood-belly Comb Jellyfish (Depths): chase you, pulse and explode a few seconds later. Kill it from range and it explodes harmlessly; a Tennis Racket knocks it away. Catch it alive with a net gun or by putting it to sleep.
- Comb Jelly (Depths): immune to lightning weapons.
Other creatures that hurt
- Moray Eel (Shallows, mostly at night): lunges and, unlike sharks, can change direction. The Hush Dart or a net gun catches it easily.
- Great Barracuda (Medium Depth): attacks when you approach, moderate damage.
- Humboldt Squid (Medium Depth, night): grabs Dave, then retreats behind a poison cloud. A steel net can catch it.
- Marbled Electric Ray (Shallows, from Chapter 3): hides in the sand and outswims you without a scooter, but backs off once you leave its area. The harpoon hooks it, and two Hush Dart shots put it to sleep.
Common mistakes in boss fights
- Shooting the body. The Giant Squid, Wolf Eel and Mantis Shrimp only take damage on a weak spot.
- Shooting the Truck Hermit Crab. It only hides. Use the barrels.
- Pouring bullets into Watson's armor. In the second fight only his own missiles hurt him.
- Going straight from the Helicoprion into the next mission. It has two bosses in a row.
- Ignoring stormy nights. Four bosses need one. When a storm comes, check for a vortex.
- Forgetting Yawie's loot after the credits.
DLC bosses
- Ebirah (Godzilla content pack): in Godzilla In Crisis! you pilot Miki's submarine with a machine gun and torpedoes. Ebirah guards its eyes, but its claws still take damage. Then you control Godzilla in a slower fighting-game duel.
- Torben (Ichiban's Holiday content pack): an arcade beat-'em-up in three phases (shotgun, claw shields, laser charge), each stage on a 300-second timer.
- Dave the Diver: In the Jungle is a separate expansion with its own bosses, not covered here.
Related guides
For early upgrades and the daily loop, start with the Beginner Guide. The guns mentioned above are covered in the Diving and Weapons Guide, boss ingredients turn into money in the Sushi Restaurant Guide, and the Honest Review helps if you are still deciding.
★Honest Take: great variety, uneven challenge
Dave the Diver's bosses are memorable because almost every one asks for something different: barrels, a bell, a baseball bat, a chase, a ride on a beluga, a fighting drone. That variety is the strength. The weakness is that difficulty swings a lot. Klaus is a real gear check on a stormy night you cannot schedule, while several story bosses are set pieces you cannot fail for long, and the storm bosses are easy to miss if you never notice the vortex. My advice: treat the optional bosses as a reason to build one strong permanent gun and the Octopus Weapon Charm, because their parts unlock the best weapons in the game.