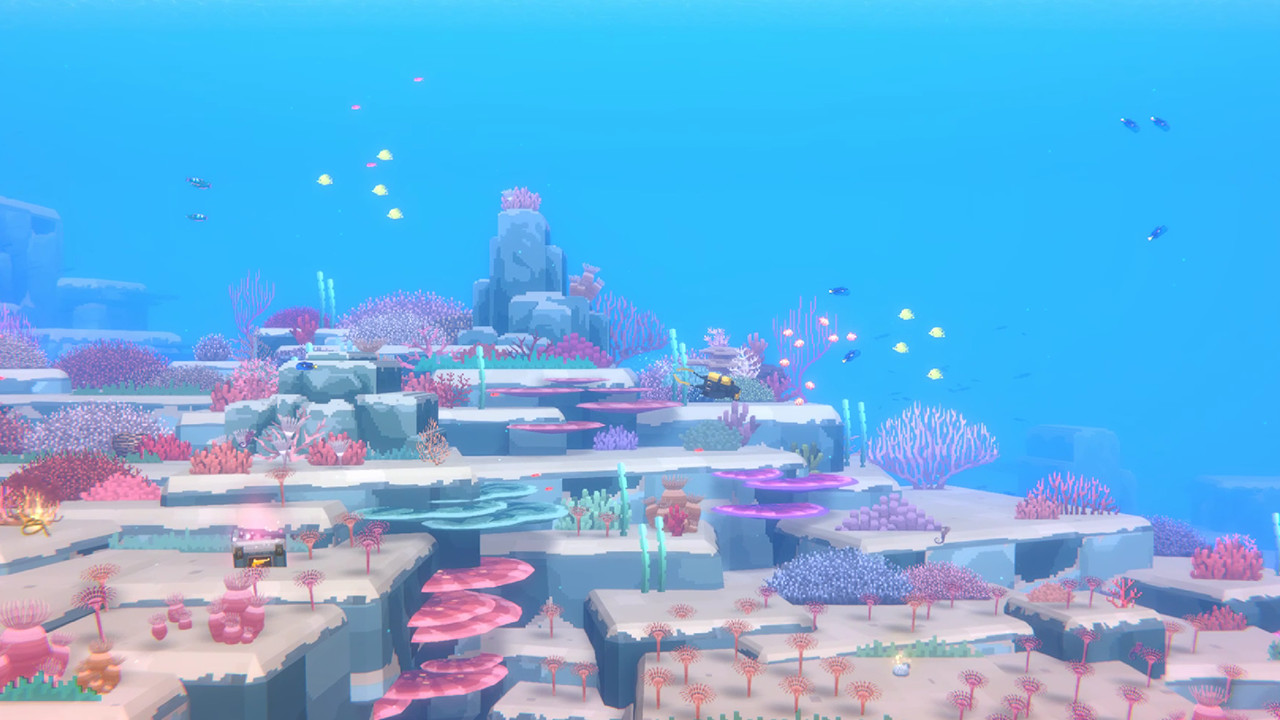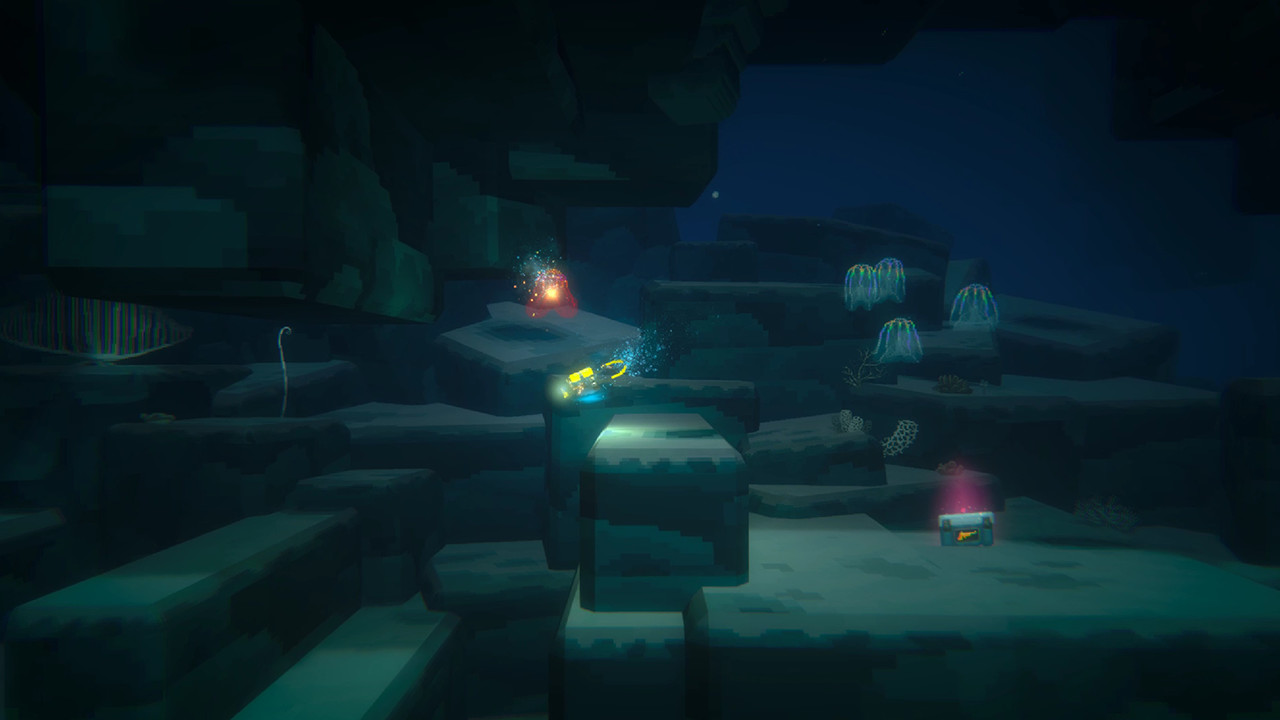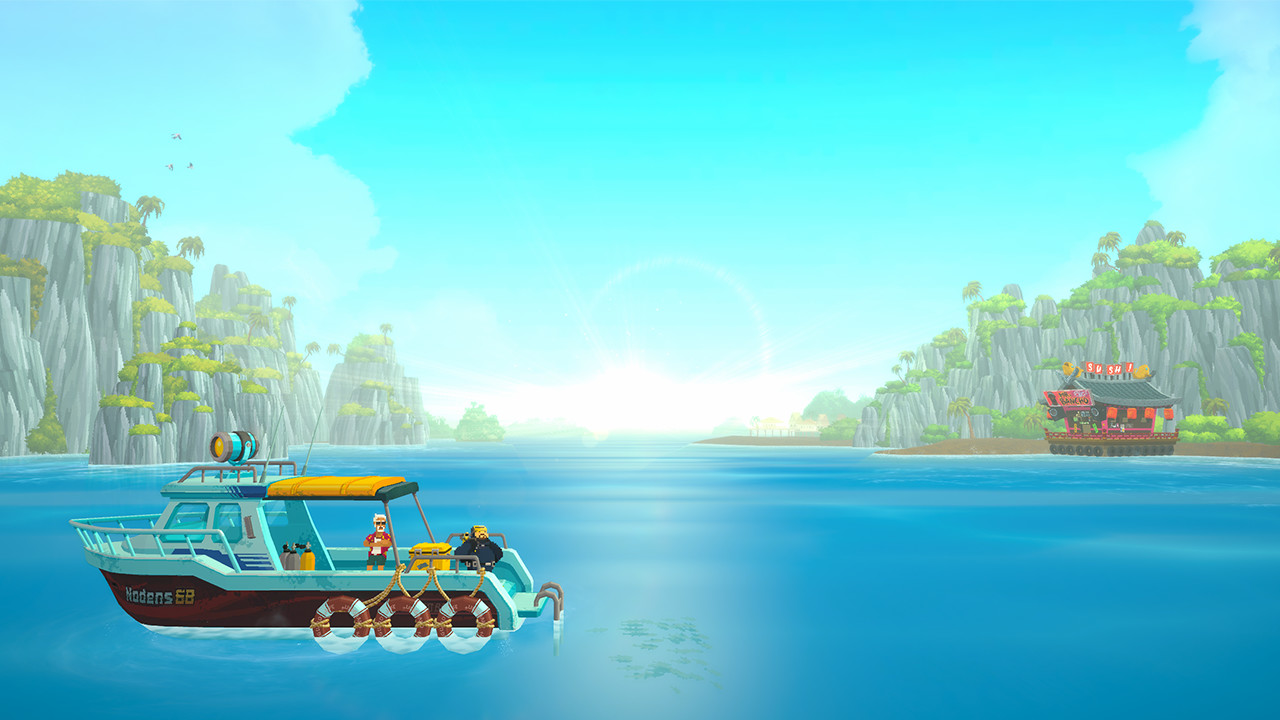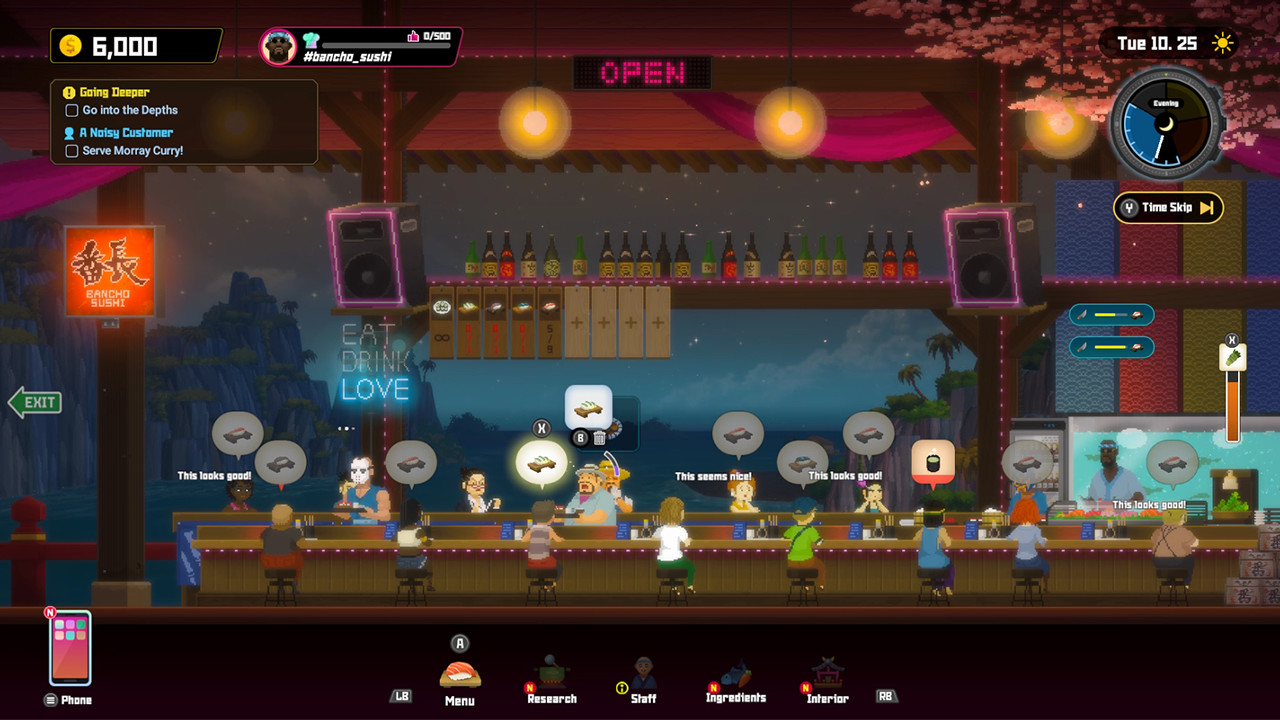
Dave the Diver throws a lot at you in its first days: a harpoon, a phone full of apps, a restaurant, weapon crafting, a farm and a story about Sea People. Most of it can wait. What decides how smoothly the early game goes is simple: how much you bring up per dive, and how much each fish earns at night.
This guide answers that in order: how the day works, what to buy first (with the actual iDiver prices), where early money comes from, when to hire staff, which story beats to expect, and the mistakes that cost new players the most.
The short answer: what to do in your first days
| Priority | What to do | Why |
|---|---|---|
| 1 | Buy Air Tank Lv2–3 and Cargo Box Lv2–3 | 65 + 135 and 55 + 110 gold. More air and carrying room means more fish on every dive |
| 2 | Craft the Basic Underwater Rifle from Duff | Needs only Rope and Scrap Iron. Unlike crate guns, it is permanent |
| 3 | Buy the Steel Harpoon Gun (300 gold) | Harpoon damage goes to 10, so bigger fish stop being a chore |
| 4 | Serve Yoshie the Whole-Roasted Shark Head | Unlocks hiring. You will want staff before the restaurant gets busy |
| 5 | Enhance two or three recipes from plentiful fish | Each level adds 30% of the base price. This is the main money lever |
| 6 | Buy suit depth when a mission needs it | Depth beyond the mission is wasted gold early on |
The older advice that "wasabi and soy sauce double your sushi price" is not how the game works. Wasabi is a kitchen stock that runs out during service, and soy sauce is a recipe ingredient. Prices rise through recipe enhancement, a good green tea pour and higher-value recipes.
How a day works
A day has two dives and a restaurant shift. Cobra's shop is only open in the morning and afternoon, and an item bought for the morning dive cannot be carried over to the afternoon one, which tells you how the game counts dives.
-
1
Morning dive
Dive into the Blue Hole. Story missions usually point you somewhere specific, so this is a good dive for the objective plus whatever is on the way.
-
2
Afternoon dive
A second dive. Use it to stock up on the fish you plan to serve and enhance tonight. New calls and missions often arrive in the afternoon.
-
3
Evening — Bancho Sushi
Set the menu, then run service. You carry dishes, pour drinks, clean tables and refill wasabi until your staff can take those jobs over.
-
4
Night (sometimes)
Night dives exist, with species that only appear after dark. They are worth it when you need a night fish or a mission sends you there.
Balancing diving and the sushi bar
The two halves feed each other, but they are not equal early on. The restaurant is where the money comes from. Diving matters because it decides what the restaurant can sell. So the useful question on every dive is not "what can I catch?" but "what will I serve tonight, and what am I enhancing?"
A practical split for the first chapter:
- Morning: push the current story objective. Missions open new areas, shops and recipes, and several pay gold directly.
- Afternoon: farm. Fill the Cargo Box with the fish behind the recipes you are building up.
- Evening: serve only what will sell tonight, and keep the kitchen running (wasabi, dirty tables, drinks).
Skipping service is possible, but you earn nothing that night, and the nightly score that turns into Artisan's Flame (the points used to research recipes) is lost too.
What to upgrade first
Diving gear is upgraded with gold in the iDiver app, which Dr. Bacon gives you at the start of Chapter 1 together with a free suit upgrade to 80 m. Here are the early levels and their prices.
| Gear | Level 2 | Level 3 | Level 4 | Level 5 |
|---|---|---|---|---|
| Air Tank (air) | 115 bar — 65 gold | 145 bar — 135 | 180 bar — 400 | 220 bar — 750 |
| Cargo Box (normal / max weight) | 13 / 19 kg — 55 | 19 / 28 kg — 110 | 28 / 41 kg — 325 | 42 / 56 kg — 675 |
| Diving Suit (depth limit) | 80 m — free (Dr. Bacon) | 150 m — 225 | 230 m — 1,000 | 375 m — 2,000 |
| Harpoon Gun (damage) | Steel — 10 dmg, 300 | Pump — 17 dmg, 700 | Shark — 24 dmg, 1,500 | Dragonbite — 32 dmg, 4,500 |
Level 1 is 90 bar of air and a 9 kg / 13 kg Cargo Box, so the first upgrades are large jumps for very little gold.
The first 1,615 gold
If you want a concrete shopping list: Air Tank to level 4 (600), Cargo Box to level 4 (490), the Steel Harpoon Gun (300) and Diving Suit level 3 (225) add up to 1,615 gold. That is everything you need for the shallows and the Medium Depth, and the early missions pay a good part of it: Tracking the Sea People gives 300 gold, Where the Currents Flow 500 and The Leahs-chan Rescue 500.
Weapons: crates break, Duff's guns stay
Guns and melee weapons found in crates in the Blue Hole break when you take them out of the water. On the second day's afternoon, Duff asks for Rope and Scrap Iron; bring them back and you unlock his Weapon Shop app and can craft a permanent Basic Underwater Rifle.
Other guns need a blueprint first: pick up the same gun type from crates enough times (two or three times, depending on the gun) and Duff can make it. The one worth chasing early is the Hush Dart, a tranquilizer that puts fish to sleep so you can simply pick them up. It is the tool for higher-grade catches; large sharks and rays cannot be picked up while asleep, though.
The Dive Knife stays at 3 damage until much later. Its upgrades only open in Chapter 6.
How to make money early
Enhance recipes instead of serving everything
Every basic fish recipe unlocks as soon as you bring that fish to the surface, so your menu fills up quickly. The temptation is to serve a bit of everything at level 1. Enhancing a few recipes pays far more.
How enhancement works:
- Price per level: base price × (1 + 0.3 × (level − 1)). Level 5 sells for 2.2× the base price.
- Cost: you spend that recipe's ingredients. For a recipe that uses one piece of fish, levels 2, 3, 4 and 5 cost 3, 4, 6 and 10 pieces, 23 in total to reach level 5.
- Servings also grow slightly with level, and enhancement raises the Taste score that Cooksta's higher ranks require.
So pick fish that are plentiful and that you can catch every day, and pour them into one recipe. On day 1, Blue Tang and Redtoothed Triggerfish (which is blue, despite the name) are common in the shallows. As your Cargo Box grows, heavier fish that are easy to kill are better value, because price tends to follow weight and grade.
Other early income
- Missions. Several story missions pay 300 to 500 gold plus seasonings.
- Cobra's shop. From the mission Beyond the Rock Pile, Cobra buys most non-fish items: ore and valuables you bring up become cash.
- Selling ingredients directly. The restaurant's Ingredients screen lets you sell fish you will not serve. It pays less than a dish, but more than letting them sit.
- Green tea. A customer whose tea is poured GOOD or better pays 30% more for the meal.
Running service without losing money
| Problem | What happens | Fix |
|---|---|---|
| Menu empty | Customers order Norimaki for 1 gold and your nightly score drops | Keep at least one recipe on Auto Supply |
| Too many dishes posted | Unsold dishes are thrown away at closing, ingredients included | Post what will sell tonight; save the rest |
| Wasabi runs out | No dish can be prepared until it is refilled | Refill it between deliveries |
| Dirty table | A new customer sits there and leaves if it is not cleaned in time | Clean as you pass, later train a server with Cleaning |
Hiring staff: the basics
Hiring unlocks through A Scolding from Yoshie, which starts on the first evening of Chapter 1. Research the Whole-Roasted Shark Head (a Whitetip Reef Shark head plus Olive Oil) and serve it to Yoshie; she then becomes your recruiter. Her first flyer is free and brings Kyoko as a tutorial hire.
- Ads: Flyer 50 gold (up to 2 applicants), TV 150 (up to 3), Internet 400 (up to 4). Résumés arrive the next day.
- Check "Details" before hiring. It shows each applicant's max-level stats and both special skills, which tell you more than their level-1 numbers.
- Training costs 150 gold for level 2, 215 for level 3, 308 for level 4 and keeps climbing. Special skills unlock at levels 3 and 7.
- Pay: each member's nightly pay grows with level, and expenses start once you reach 10 Cooksta followers. Staff in the waiting room or out on dispatch still count.
- Dispatch: staff not working the floor can be sent for a day to gather a seasoning such as Salt or Olive Oil. Recipes with seasonings sell for more but need a lot of that seasoning to enhance.
How many people the restaurant can use depends on your Cooksta rank: Bronze (10 followers) adds a kitchen slot, Silver (20 followers and 2 researched recipes) adds a serving slot. Early on, one trained cook besides Bancho is enough; servers who can pour drinks and clean save you the most running around.
Early story milestones
The first chapter is also a tour of the game's systems. Knowing what is coming helps you plan gold and dives.
-
1
Prologue — Repair Bancho Sushi and Prepare Sushi Ingredients
Earn 100 gold to fix the restaurant and catch seven fish. On day 2's afternoon, Weaponsmith Duff (Rope and Scrap Iron) unlocks his Weapon Shop.
-
2
Tracking the Sea People
Dr. Bacon arrives, upgrades your suit for free and gives you iDiver. Find the artifact at 70 m. Reward: 300 gold.
-
3
A Scolding from Yoshie (side)
Serve the Whole-Roasted Shark Head to unlock hiring. Do it early.
-
4
Signal from the Sea People and Where the Currents Flow
Follow the radar to a blocked doorway, then collect drone parts in the Medium Depth caves. Reward: 500 gold.
-
5
Beyond the Rock Pile
Blow the rocks open and explore the Record Chamber. Cobra's shop opens, you get the Underwater Camera and the Sea People Bracelet charm.
-
6
Gourmet Vincent's Challenge (VIP)
Vincent visits with a TV crew. Bringing what he asks unlocks Seagrapes Jellyfish Sushi, one of the best early recipes to enhance.
-
7
Duff's Pink Delivery and The Leahs-chan Rescue
Cut into a shipwreck and fight the Giant Squid. You get the Deep Sea Headlamp and 500 gold. This ends Chapter 1.
-
8
Chapter 2 — Going Deeper
Head into the Depths with the Headlamp. Dr. Bacon reminds you to upgrade your suit first. John Watson of Sea Blue picks a fight on the way.
Shortly after, the Chapter 2 side mission A Noisy Customer unlocks the Fish Farm, where fish you bring back can breed. It is not available on day one, so do not plan around it yet. For the boss fights along this path, see the Boss and Creature Guide.
Common beginner mistakes
- Running out of oxygen. The dive ends and you lose what you collected. Watch the air bar, pick up Oxygen Capsules (each refills 50% of your tank) and turn back early. The Sea People Bracelet later buys a few seconds after the bar empties, but it is a safety net, not a plan.
- Hauling crate weapons up. They break when you surface. Craft the permanent version from Duff instead.
- Filling the menu with everything. Unsold dishes and their ingredients are thrown out at closing. Post what you expect to sell.
- Serving every recipe at level 1. Concentrate on a few recipes and enhance them; that is where the money is.
- Buying depth too early. The 1,000-gold suit level does nothing for you until a mission goes below 150 m. Air and cargo pay off on every dive.
- Hiring a crowd at once. Every hire adds to nightly pay, even if they only sit in the waiting room. Hire cheaply, use spare staff for dispatch, and train the ones you keep.
- Spending Artisan's Flame on recipes you will not serve. You earn at most 5 per night. Research what fits your fish supply.
Where to go next
For a deeper look at running the restaurant, see the Sushi Restaurant Guide. For gear and dive planning, the Diving and Weapons Guide goes further, and if you are still deciding whether the game is for you, read the Honest Review.
★Honest Take: the early game rewards focus, not effort
Dave the Diver's first hours are generous: upgrades are cheap, missions hand out gold, and almost everything you catch becomes a menu item. That generosity is also the trap. Players who try to catch, serve and research everything at once tend to feel poor and busy at the same time. The game opens up when you narrow down: a couple of plentiful fish, a couple of enhanced recipes, cheap air and cargo upgrades, and the story missions in the morning. The weak spot is the restaurant early on, when Dave does every job himself and one missed table costs you a customer; it gets much better once you have two servers who can pour drinks and clean.