Automation is the game
Most strategy games ask you to do everything; Distant Worlds 2 asks you to decide how much you want to do. Its automation system is the defining feature of the whole game — the thing that lets a galaxy of up to two thousand star systems stay playable — and learning to use it well is, more than any tactic, how you master the game. The core idea is simple: for almost every area of your empire, you can set the level of automation, from doing it entirely yourself to handing it completely to the AI, with partial options between. Get this tuning right and the game becomes a joy, with the busywork handled and your attention free for what matters. Get it wrong — automate the wrong things, or try to do it all by hand — and it becomes either a frustrating mess or an overwhelming grind.
This guide is about getting that tuning right: what to automate, what to keep manual, and how to use your advisors to learn the difference. Think of automation not as a convenience but as the core skill of Distant Worlds 2.
Open the policy and automation settings to see every area you can control or hand off. You do not have to decide everything at once — the point is that you can change any area's automation level at any time as your understanding and your empire grow.
Automation is a dial, not a switch
The most important thing to understand is that automation is not all-or-nothing. Each area of your empire — colonization, ship and base design, fleets, the economy, diplomacy, research and more — has its own level, and you can set each independently anywhere from fully manual to fully automatic. This is what makes the game so flexible: a relaxed player can automate nearly everything and simply guide the broad strokes, while a hands-on player can take direct control of the systems they care about and leave the rest to the AI. Neither is wrong; the game is explicitly built to be played at any point on that spectrum.
The practical upshot is that you should think area by area, not game-wide. For each system, ask whether you want to make its decisions yourself or let the AI handle it, based on how much it matters to you and how well the AI does it. Tuning these dials to your taste is the real configuration of your playthrough, and it is worth revisiting as you learn.
Start more automated than you think you need, then pull back areas one at a time. It is far easier to take over a system you have watched the AI run than to manage everything from the first turn and burn out.
What to automate, and what to keep manual
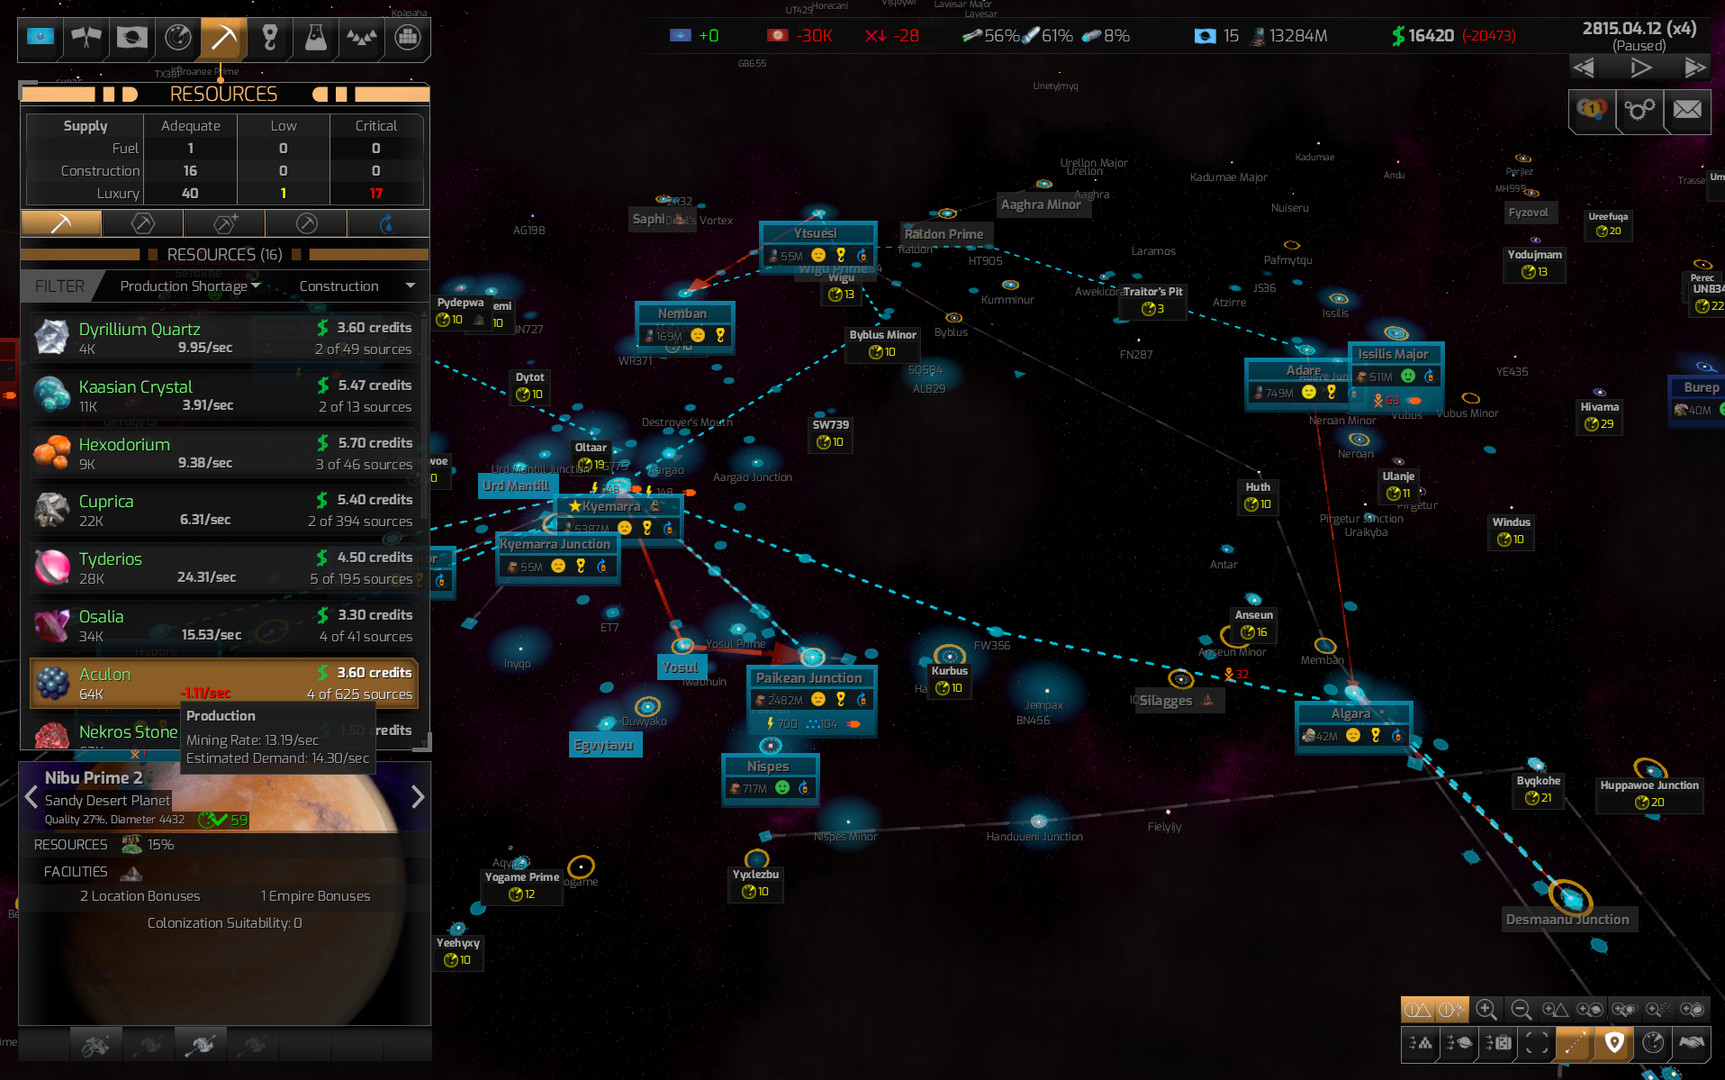
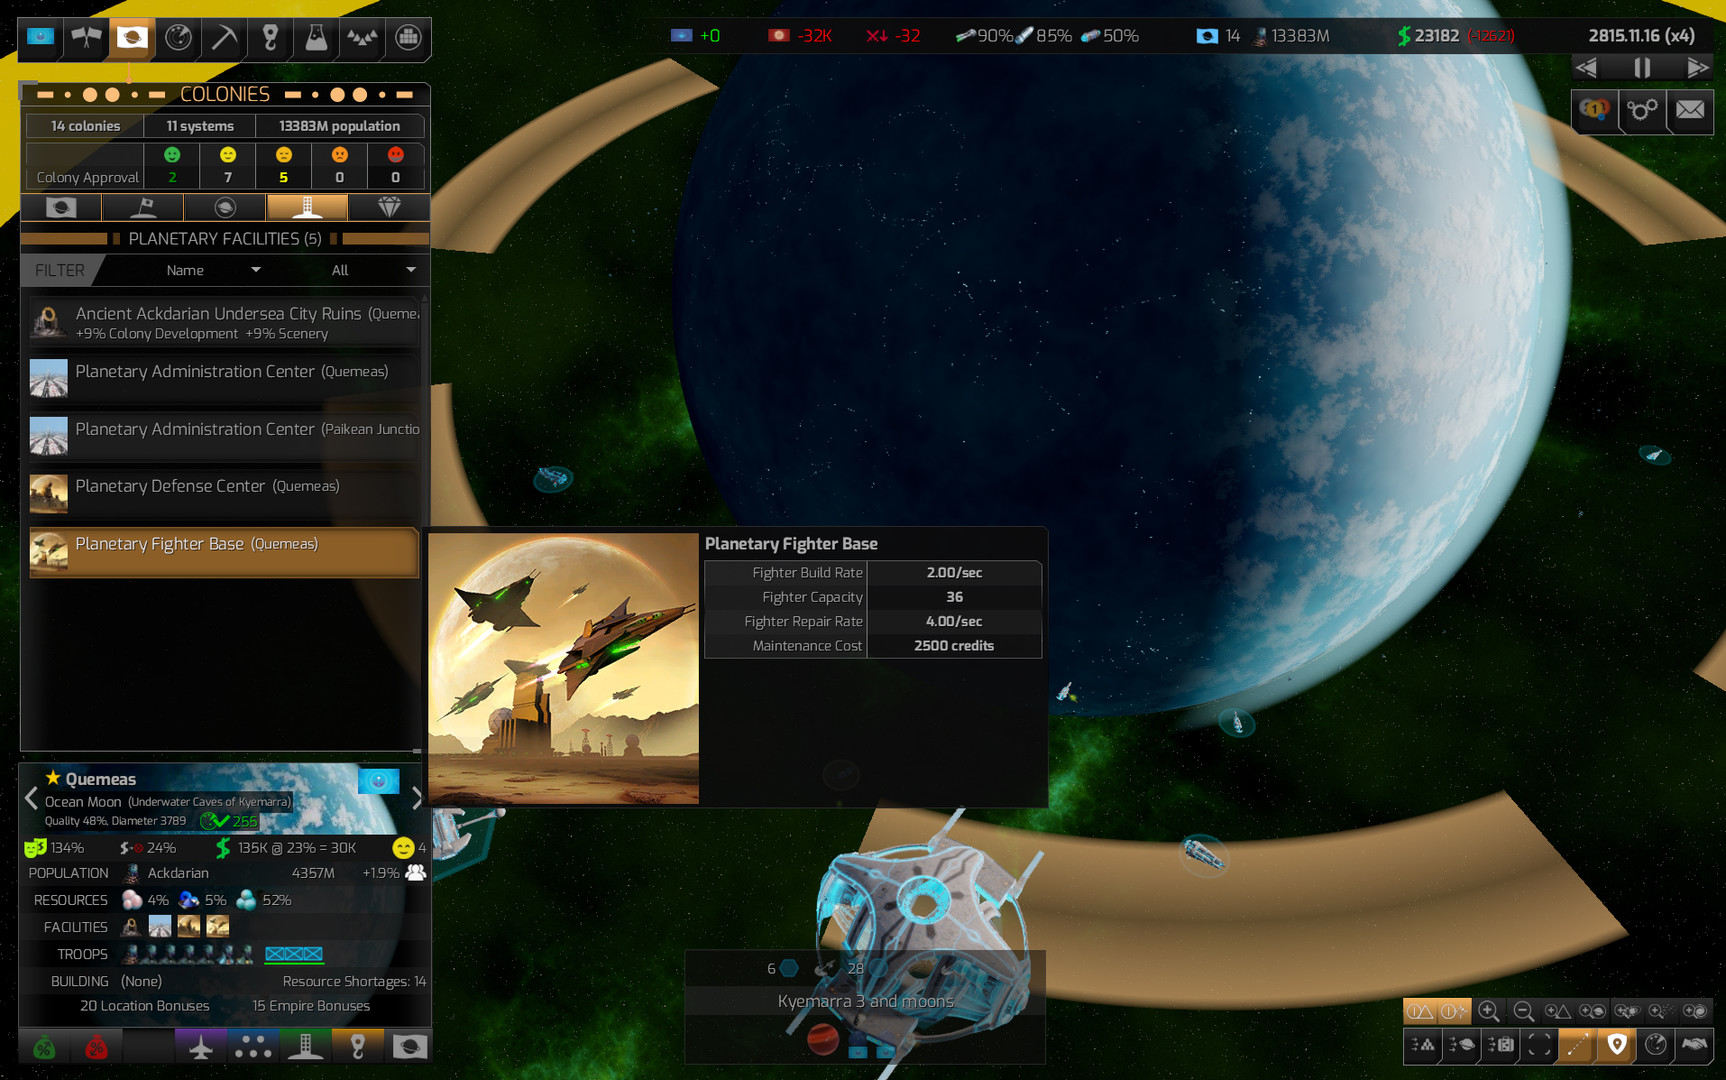
While the right mix is personal, there is a broad consensus on where automation shines and where it stumbles. Automation is excellent for the repetitive, lower-stakes busywork: routine mining, freight and cargo movement, exploration, and basic colonization all run acceptably on automatic and save you enormous time, especially as your empire grows. The private economy in particular is designed to run itself, so leaving the civilian logistics to the AI is usually the right call.
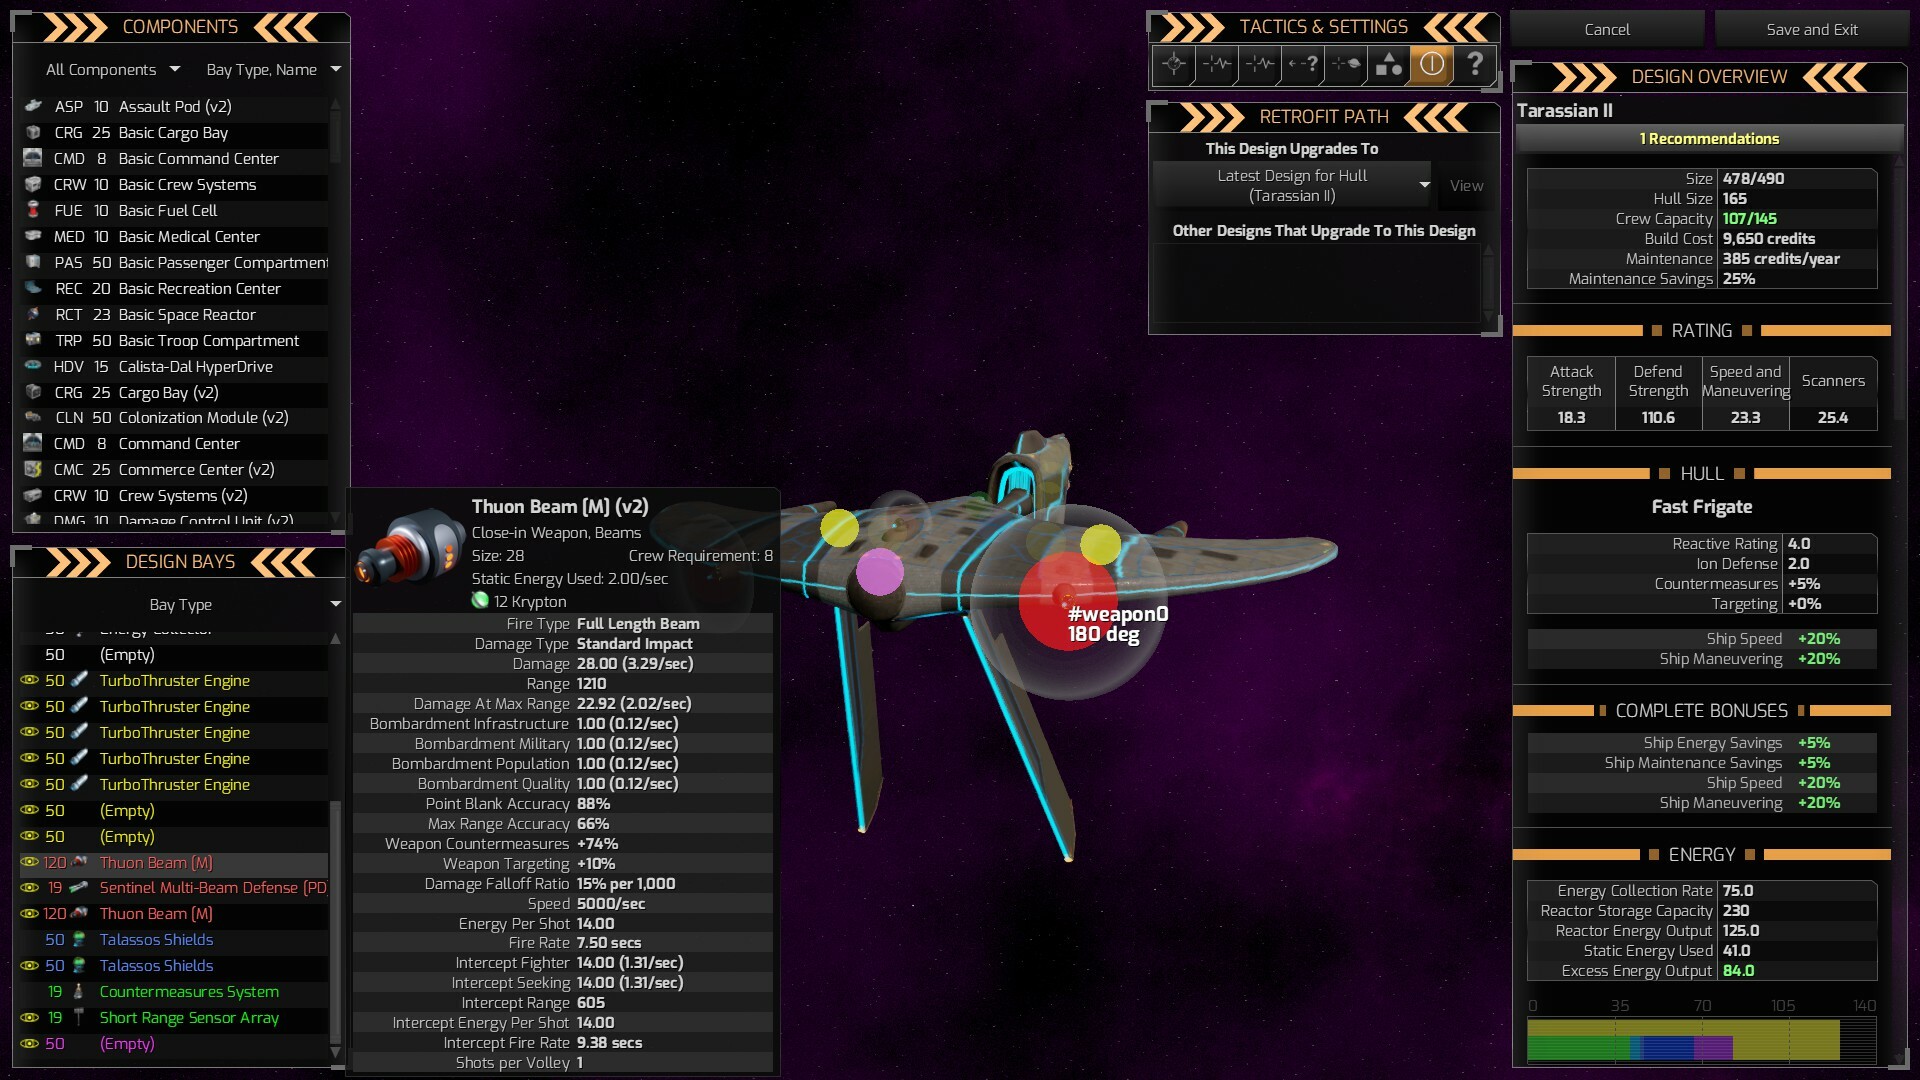
Where automation struggles is in the high-stakes, decision-heavy areas — and here most experienced players take manual control. Fleet management is the big one: automated fleets are known to overspend, wander, or get stuck, and in wartime their poor decisions can cost you dearly, so commanding your fleets yourself is usually far stronger. Troop recruitment and ship design are similar: the AI tends to overspend or build inefficiently, so taking these by hand gives you better, cheaper forces. The rule of thumb is to automate the chores and personally control the things that win or lose games.
| Area | Recommended | Why |
|---|---|---|
| Mining and freight | Automate | Repetitive busywork the private economy handles well |
| Exploration | Automate or manual | Fine automated; manual early helps you learn the map |
| Colonization | Manual or partial | High impact; advisors help you pick good worlds |
| Fleets and ship design | Manual | AI overspends and fleets misbehave; key in war |
Use advisors, and adjust as you grow
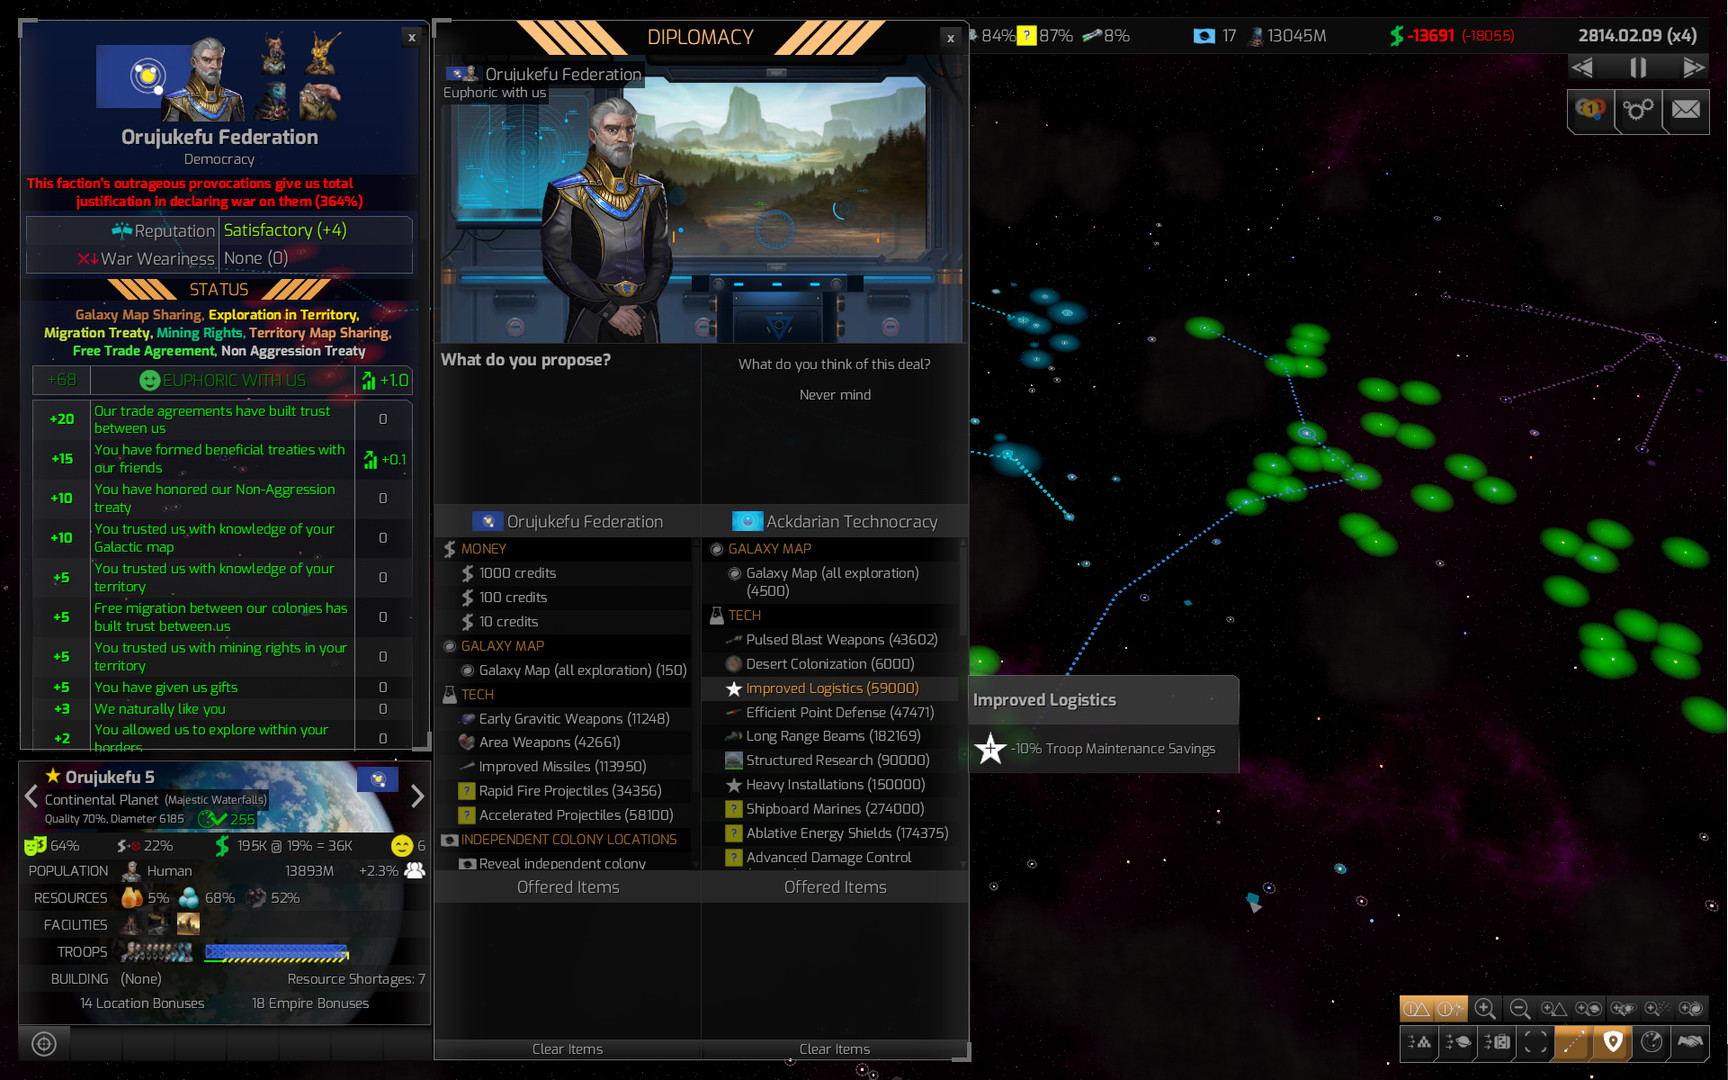
Tying it all together are your advisors, who make the whole system learnable. They offer suggestions and notifications across colonization, defence, diplomacy and more, effectively teaching you each area as you play. The smart approach is to lean on them heavily early — follow their prompts, see what they recommend and why — and use that understanding to decide which areas you are ready to take off automatic. As you learn a system through the advisors, you gain the confidence to run it yourself, and you can pull it back to manual knowing what you are doing.
Over a campaign, your automation settings should evolve: you start mostly automated, learn through your advisors, and gradually take manual control of the areas that matter to you and that the AI handles poorly, while leaving the busywork automated for good. That evolving balance — chores automated, key decisions in your hands — is the configuration most strong players settle into. To put your manual control to work, see our fleets guide for ship design and war, and the economy guide for the private sector you are letting run. If you are still finding your feet, the beginner guide covers the basics.
Do not leave fleets and ship design fully automated if you care about winning wars. The AI overspends and automated fleets can behave erratically, so the areas you most want under your own hand are exactly the military ones. Automate the economy's chores, command the fighting yourself.