Start with the right goal in mind
The most important thing for a new Field of Glory II: Medieval player to understand is what you are actually trying to do. You are not trying to kill every enemy soldier; you are trying to break the enemy army's will to fight. Each unit has a level of cohesion — think of it as morale and order combined — and that cohesion drops in steps as the unit takes casualties, gets charged, fights in punishing terrain, or is struck in the flank or rear. When a unit's cohesion finally breaks, it routs and flees, and once enough of an army's units have routed, the whole army collapses and you win. Hold this idea front and centre, because it changes how you fight: a well-aimed knight charge or a flank attack that shatters a unit's nerve is worth far more than a slow, bloody slugging match.
With that mindset, the game stops being an intimidating mass of rules and becomes a clear contest of maneuver and morale. Everything below is in service of that one goal — creating fights you will win and avoiding the ones you won't.
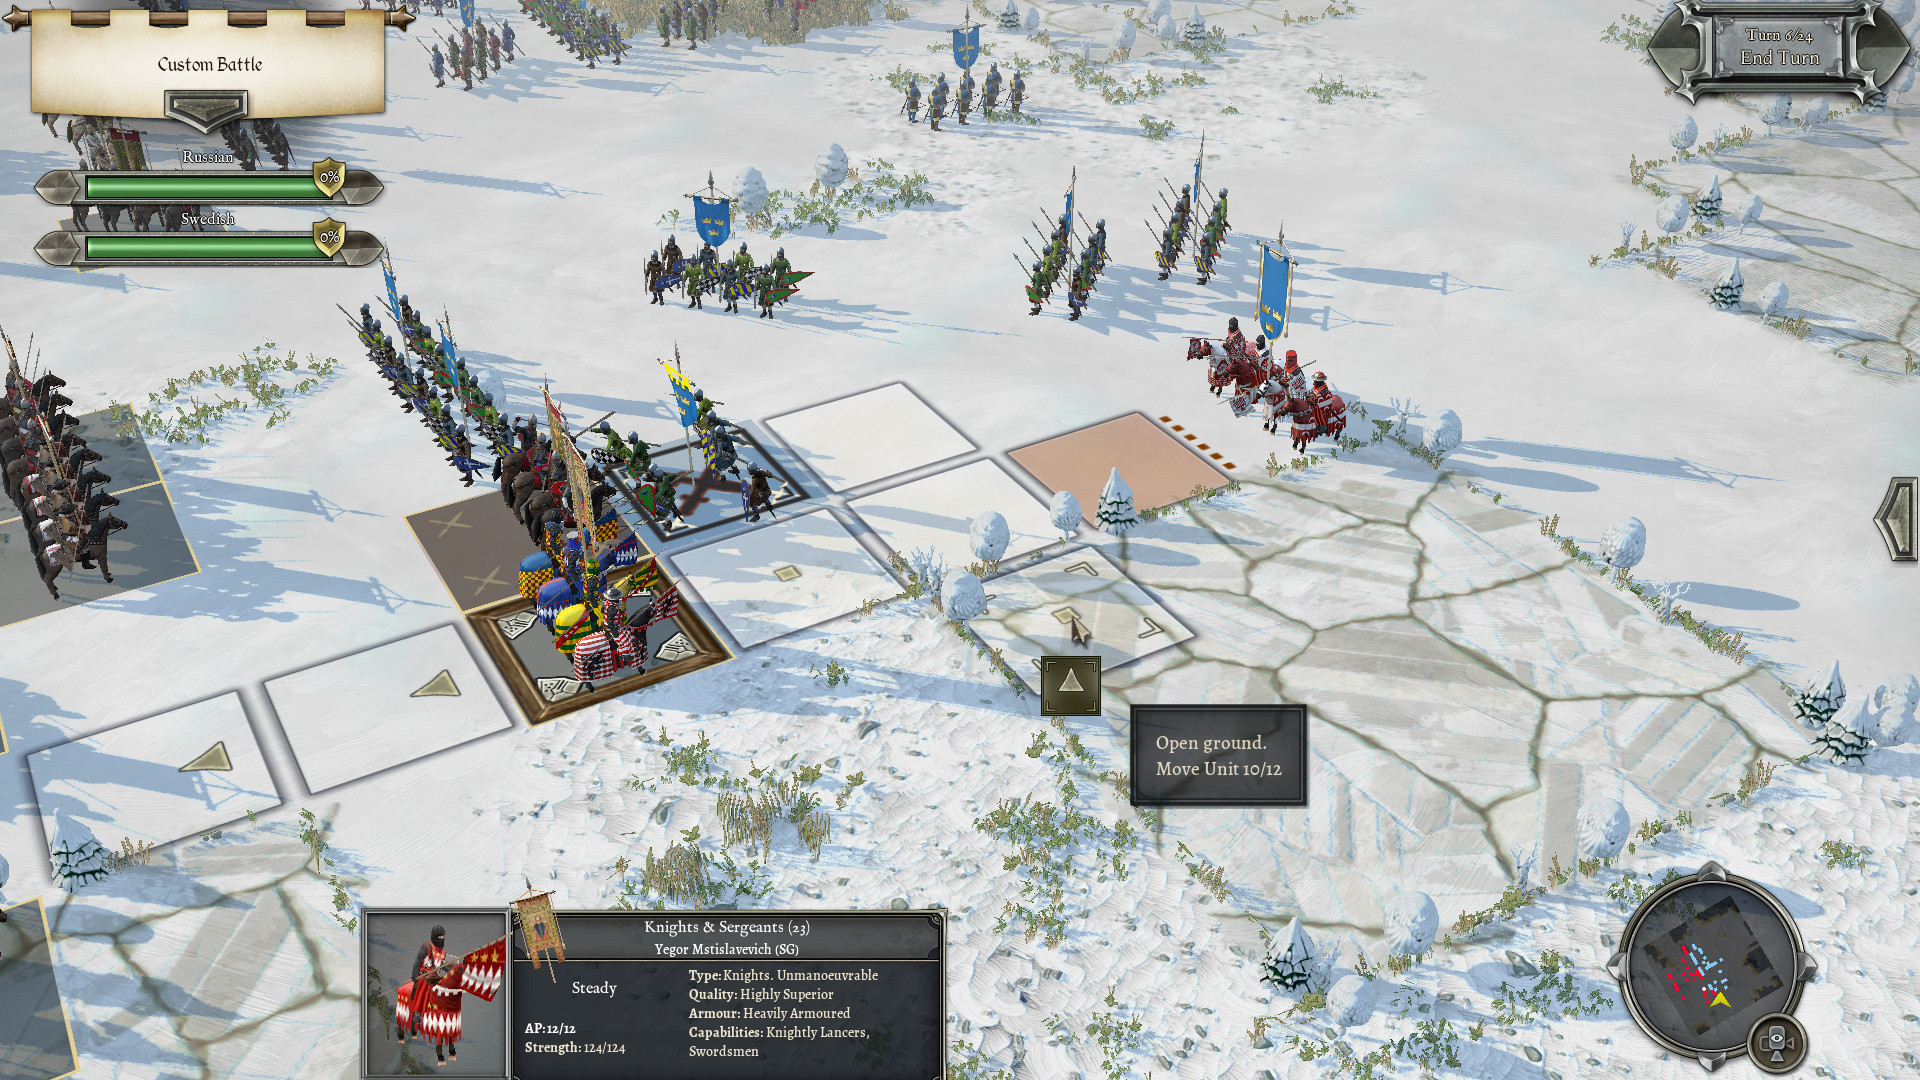
Field of Glory II: Medieval always shows you the odds of a combat before you commit to it. Get into the habit of checking those odds for every attack — they tell you whether a fight favours you, and learning to read them is how beginners quickly start making good decisions.
Deploy a solid line and hold your knights
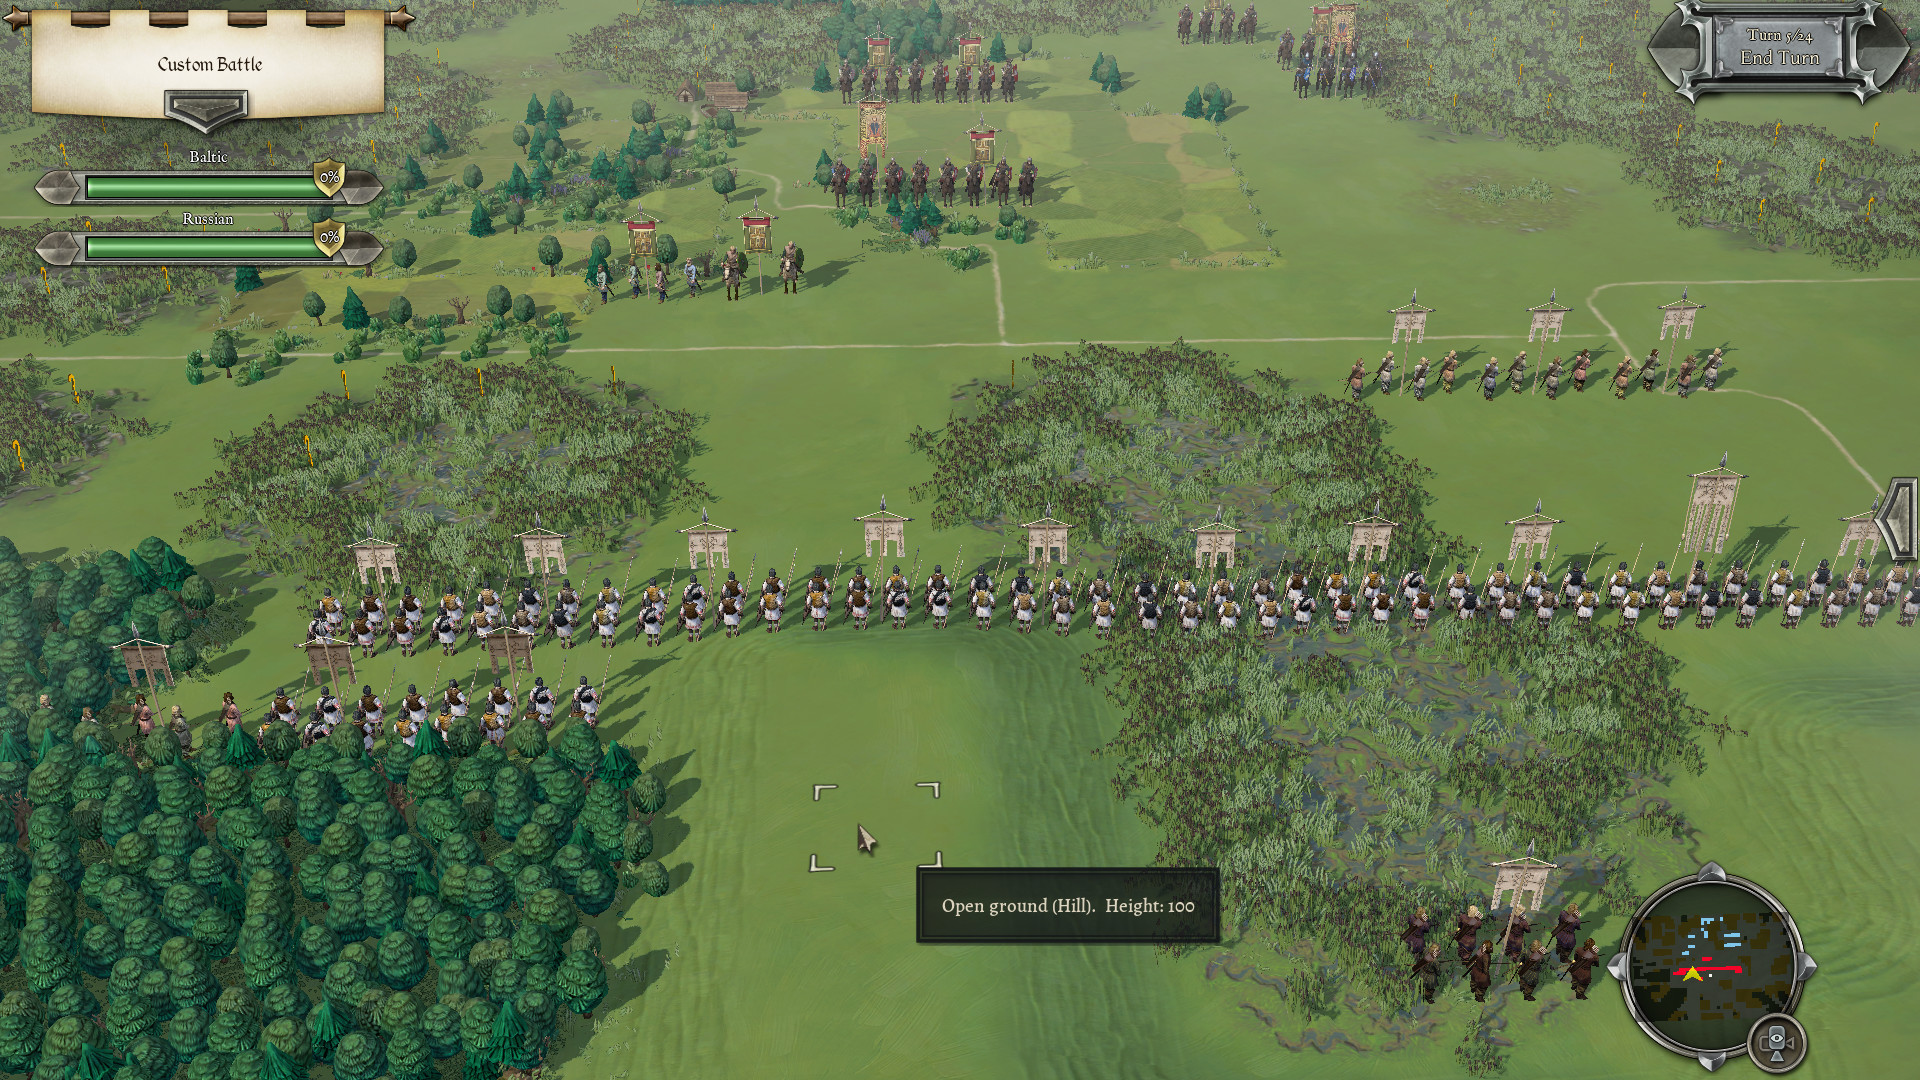
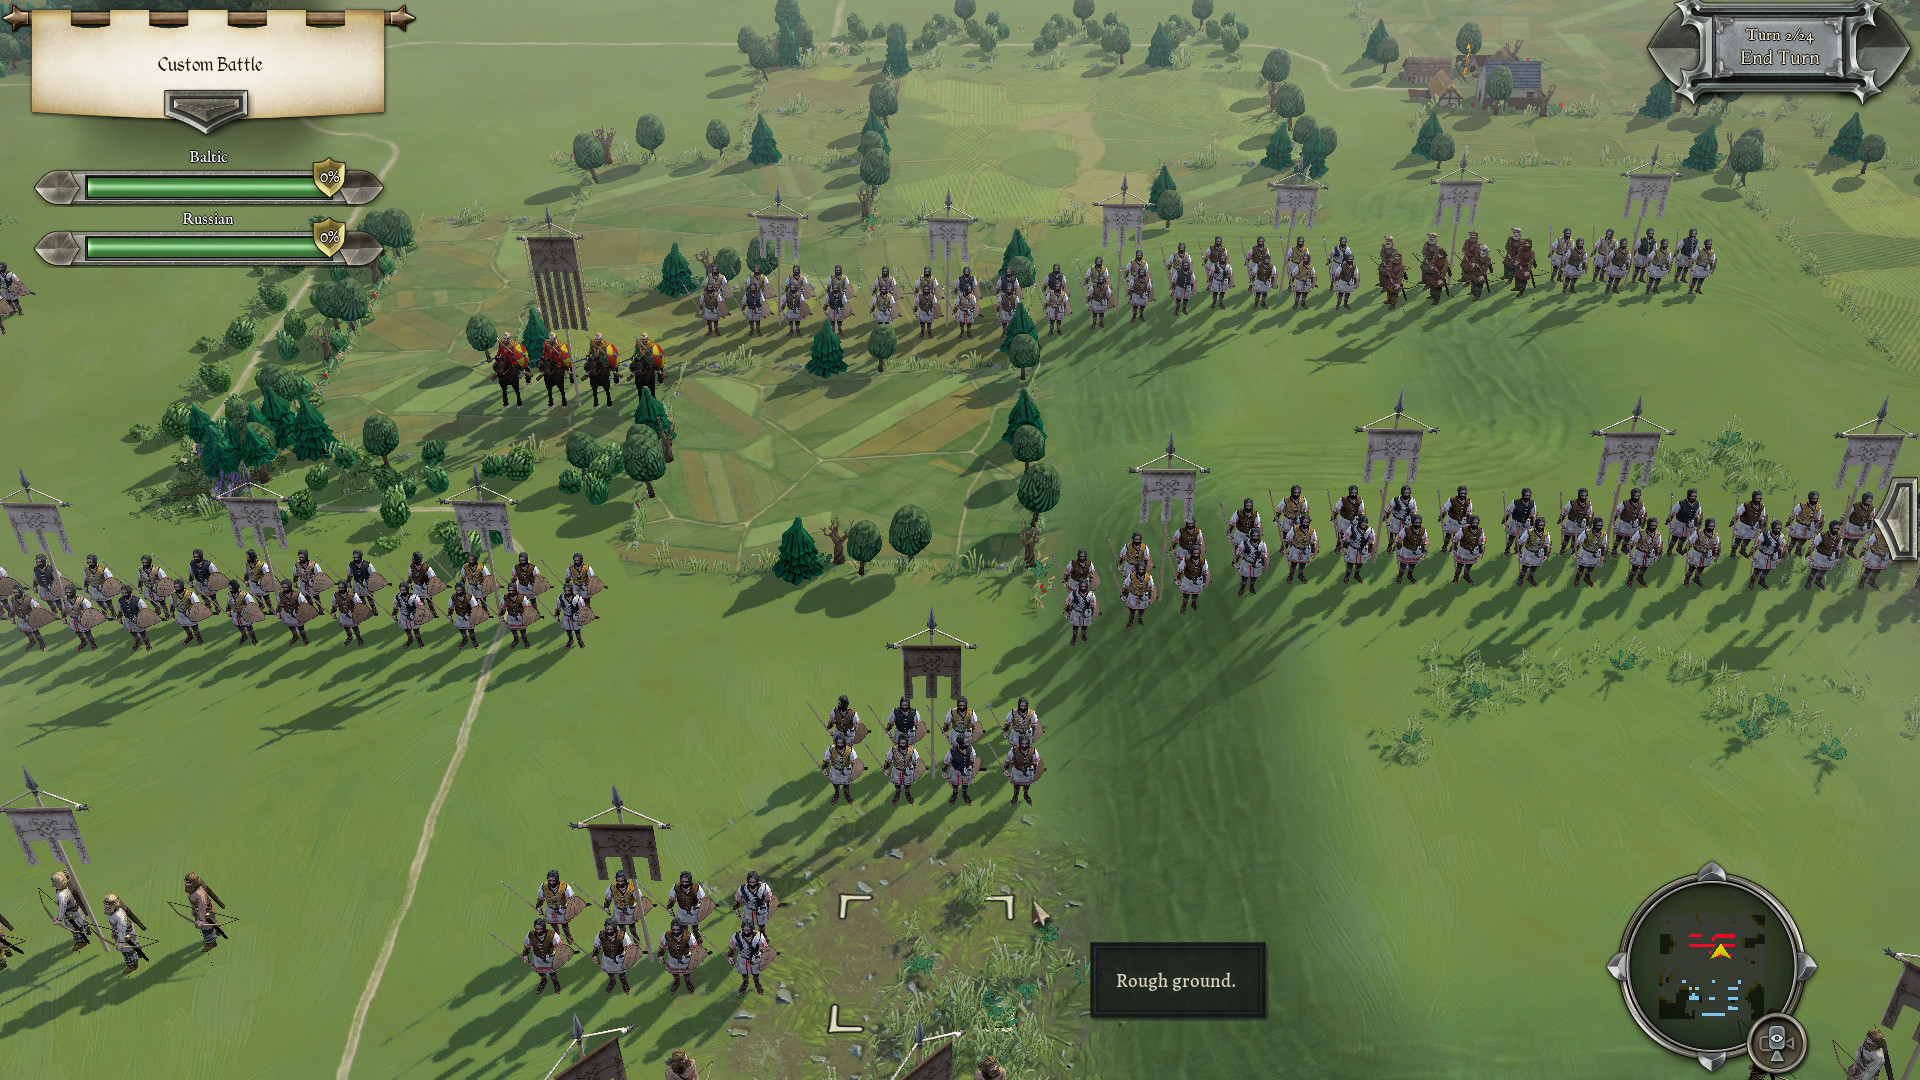
Battles are usually decided by your main line of foot and the timing of your cavalry, so deploying well is your first priority. Form a continuous line of your foot — men-at-arms and spearmen — with no gaps, because gaps are invitations for the enemy to push through and hit your units in the flank, where cohesion crumbles fast. Anchor the line on terrain where you can, such as a wood or a hill, so a flank cannot be turned. Place your archers — longbowmen and crossbowmen — where they can shoot the approaching enemy while staying protected, and put your knights and mounted men-at-arms on the wings, where they can maneuver. Try to keep a small reserve to plug holes or exploit success.
The biggest beginner temptation is to charge your knights immediately, and it is usually a mistake. Knights are devastating, but they are a decisive weapon to be held and aimed, not thrown away at the first enemy. Keep them back until you can charge an exposed flank, a shaken unit, or a target they will crush, rather than hurling them frontally into steady spearmen or letting them be shot to pieces by massed bows. A disciplined line with knights held in hand beats an army that has already blown its charge.
Match your troops to the ground. Knights and mounted men-at-arms are strongest in the open but get disordered in woods and rough terrain, while foot and light troops fight better there. Before you advance, look at the battlefield and steer each fight onto terrain that helps you and hurts the enemy.
Use your archers, knights and terrain together
The medieval battlefield is a conversation between the charge and the bow, and learning to combine your arms is how you win. Your longbowmen and crossbowmen are not just there to chip away; they are your answer to enemy cavalry and a way to soften any target before you commit. Position them to shoot the enemy as they advance, disrupting cohesion before contact, and use their fire to weaken a unit so your own knights or foot finish it cheaply. Above all, remember that massed shooting is how you counter the enemy's knights — bows can wear down armoured cavalry that would otherwise crush your line, so protect your archers and let them do that work. Just keep them safe from being charged, because they are fragile in a melee against heavy troops.
Your knights, meanwhile, are the hammer to the bow's softening blow. Maneuver them on the wings, beat the enemy's cavalry or work around a flank, then charge where it hurts — into a flank, a shaken unit, or a target your bows have already weakened. Terrain ties it all together: fight your knights and line in the open where they are strongest, push light troops into the rough, and try to force the enemy onto ground that suits you. Combine softened targets, a held-back charge and good ground, and even a strong enemy cracks.
| Your tool | Use it to | Keep it away from |
|---|---|---|
| Foot line | Anchor the battle, hold the centre | Being outflanked or shot up |
| Knights | Charge flanks and weakened units | Frontal charges into spears or bows |
| Longbows / crossbows | Soften the enemy, counter cavalry | Melee against heavy troops |
| Light troops | Skirmish and fight in rough terrain | Open ground against knights |
Pick a simple army and learn by playing
Finally, give yourself an easy start by choosing the right army and easing in. Begin with a balanced feudal force that has a bit of everything — solid foot, some knights, and archers — rather than a one-dimensional army. An English army is an excellent teacher, because its famous longbows backing dismounted men-at-arms show the knight-and-bow dynamic in action, while a typical feudal European army gives you a forgiving, well-rounded force. Steer clear, for now, of extreme builds like all-knight armies that punish a mistimed charge, or all-missile forces that struggle once the enemy closes. Run the in-game tutorials, then play a few custom battles against the AI on lower difficulty, checking the on-screen odds before every clash and noticing why fights go the way they do.
Do that and the fundamentals click quickly: keep a solid line, hold and aim your knights, shoot and counter cavalry with your archers, use terrain, and always fight to break the enemy's morale. From there you can grow into the game's depth at your own pace. When you are ready for more, our combat guide explains the impact and melee system, the troop types tier list ranks every kind of unit, and the tactics guide covers flanking, formations and choosing an army.
Do not blow your knight charge early. Beginners often send their knights crashing in at the first chance and lose their decisive weapon to spears, bows or a counter-charge. Hold your cavalry, soften targets with your archers, and charge only when it will land on a flank or a shaken unit — a well-timed charge wins battles a premature one throws away.