The logic of combat
Field of Glory II: Medieval's combat can look like a wall of numbers, but underneath it runs on a clear and consistent logic, and once you see it the whole game opens up. Three ideas do most of the work. First, every clash resolves in two stages — an impact phase when units charge into contact, then a melee phase that continues for as long as they stay locked together — and different troops excel in different phases, with the knightly charge ruling impact and steady foot the grind. Second, the real target of all this fighting is not the enemy's soldiers but their cohesion: their morale and order, which break long before they run out of men. Third, the odds of any clash are set by points of advantage, a tally of weapons, troop types, terrain and position that the game works out and shows you up front. Grasp these three and you stop guessing and start fighting deliberately.
Layered on that universal logic is the medieval era's defining drama: the duel between the heavy cavalry charge and the massed bow. Everything below expands on the logic and that drama, so that the numbers the interface shows you become decisions you understand.
The game always displays your combat odds before you commit. Treat those odds as the output of everything in this guide — impact versus melee, the charge, shooting, flanking and quality all feed into them. Learning what moves the numbers is how you learn to win.
Impact, melee and the knightly charge
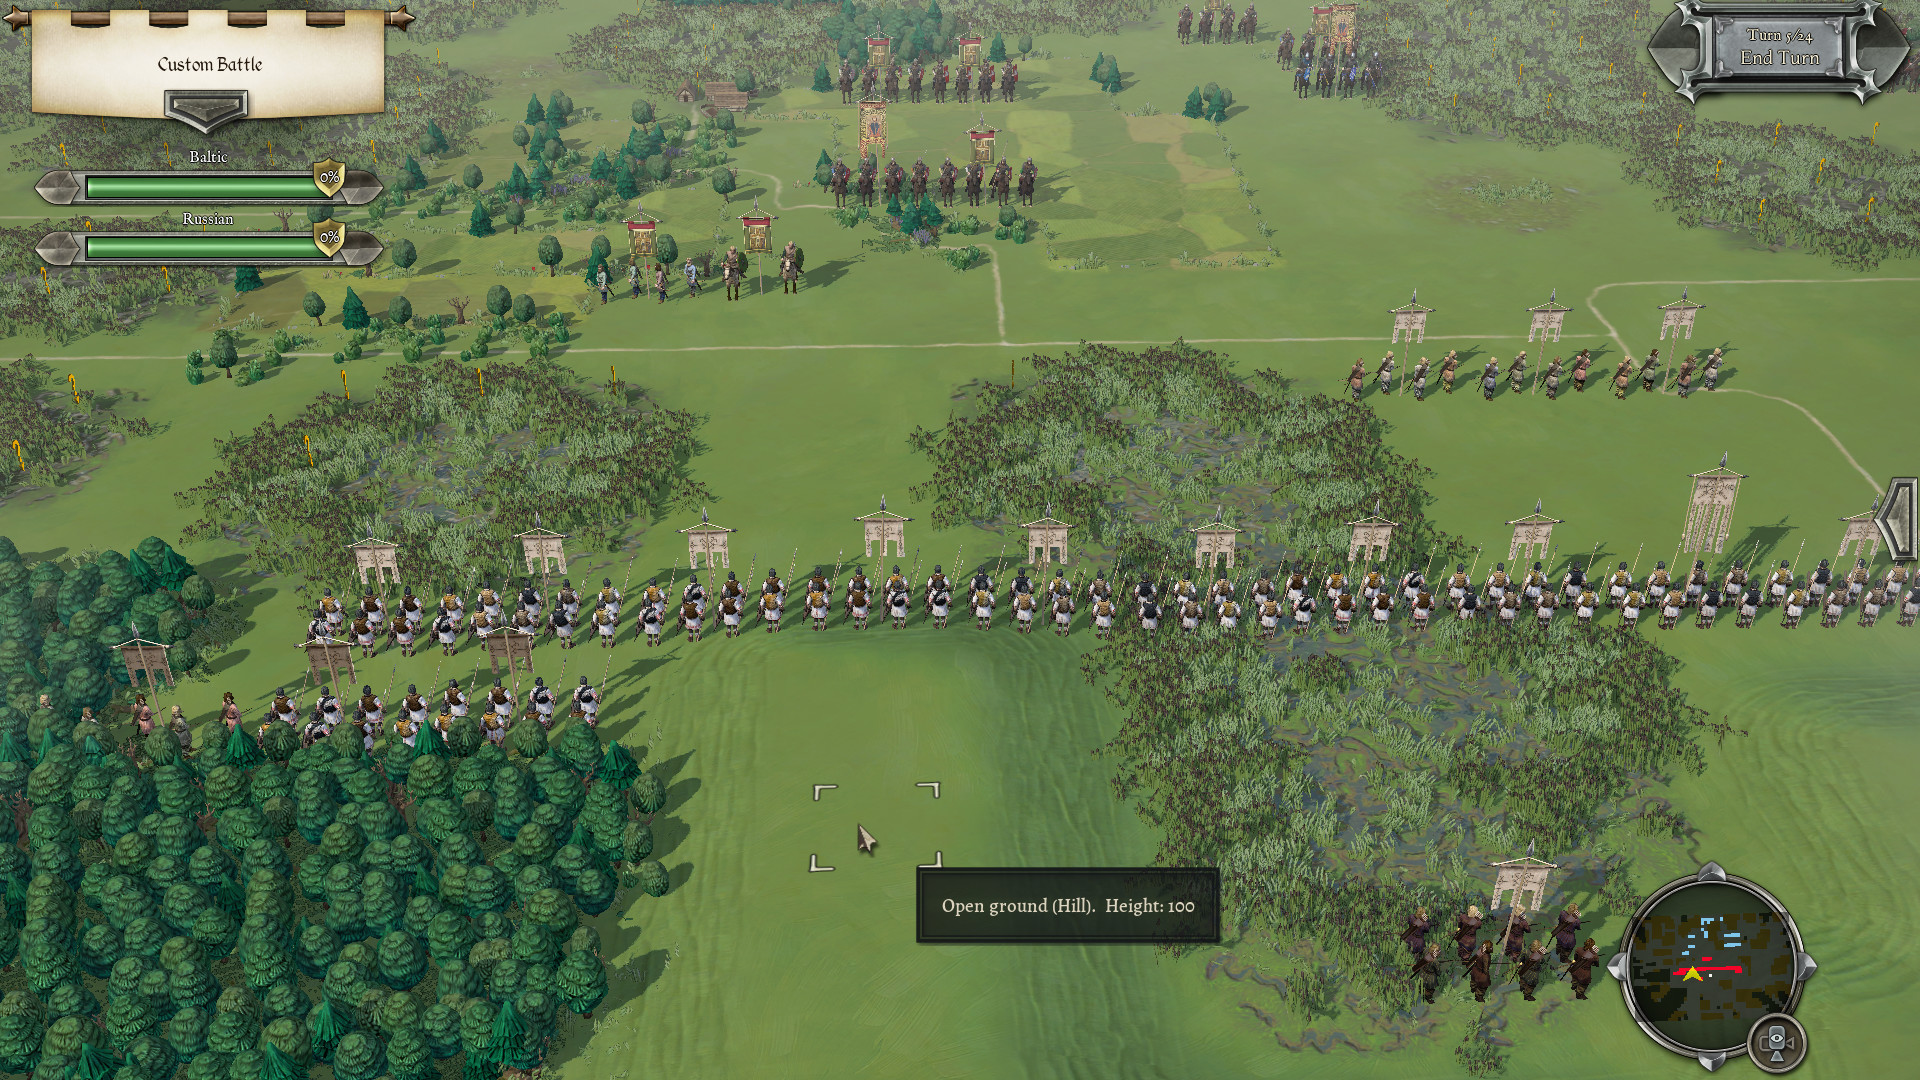
Every time two units fight, combat unfolds in two distinct phases, and knowing which one favours you is half the battle. The impact phase happens first, the moment of the charge and collision, and in the medieval game this is where the knight reigns. A knightly lancer charging an enemy in the open carries the biggest charge bonus in the game, often shattering its target in that first crash — it holds a large advantage at impact over lesser cavalry and crushes most infantry. This is why the heavy cavalry charge dominates the open field. But the impact is a one-time shock: once units stay locked together, every following round is melee, and there the knight is merely good rather than overwhelming, because the charge bonus is spent. Steady, well-drilled foot are built to win that prolonged grind.
The practical lesson is to fight in the phase that suits your troops, and to understand that the charge is a single decisive blow, not a sustained advantage. With knights, you want to land that charge on a target it will break — a flank, a shaken unit, infantry in the open — and you do not want to be drawn into a long melee against troops that can outlast you, or to charge head-on into steady spears or pikes set to receive you, which blunts the impact you rely on. Receiving a charge on good troops, meanwhile, can beat an attacker whose shock you have already weakened.
Do not charge knights into formed spears or pikes head-on. Those troops are built to receive a charge and will blunt the impact your knights depend on. Aim your charge at a flank, a shaken unit, or troops your archers have already disrupted — a charge that lands where the enemy is weak is worth several thrown away frontally.
Cohesion and the answer to the charge
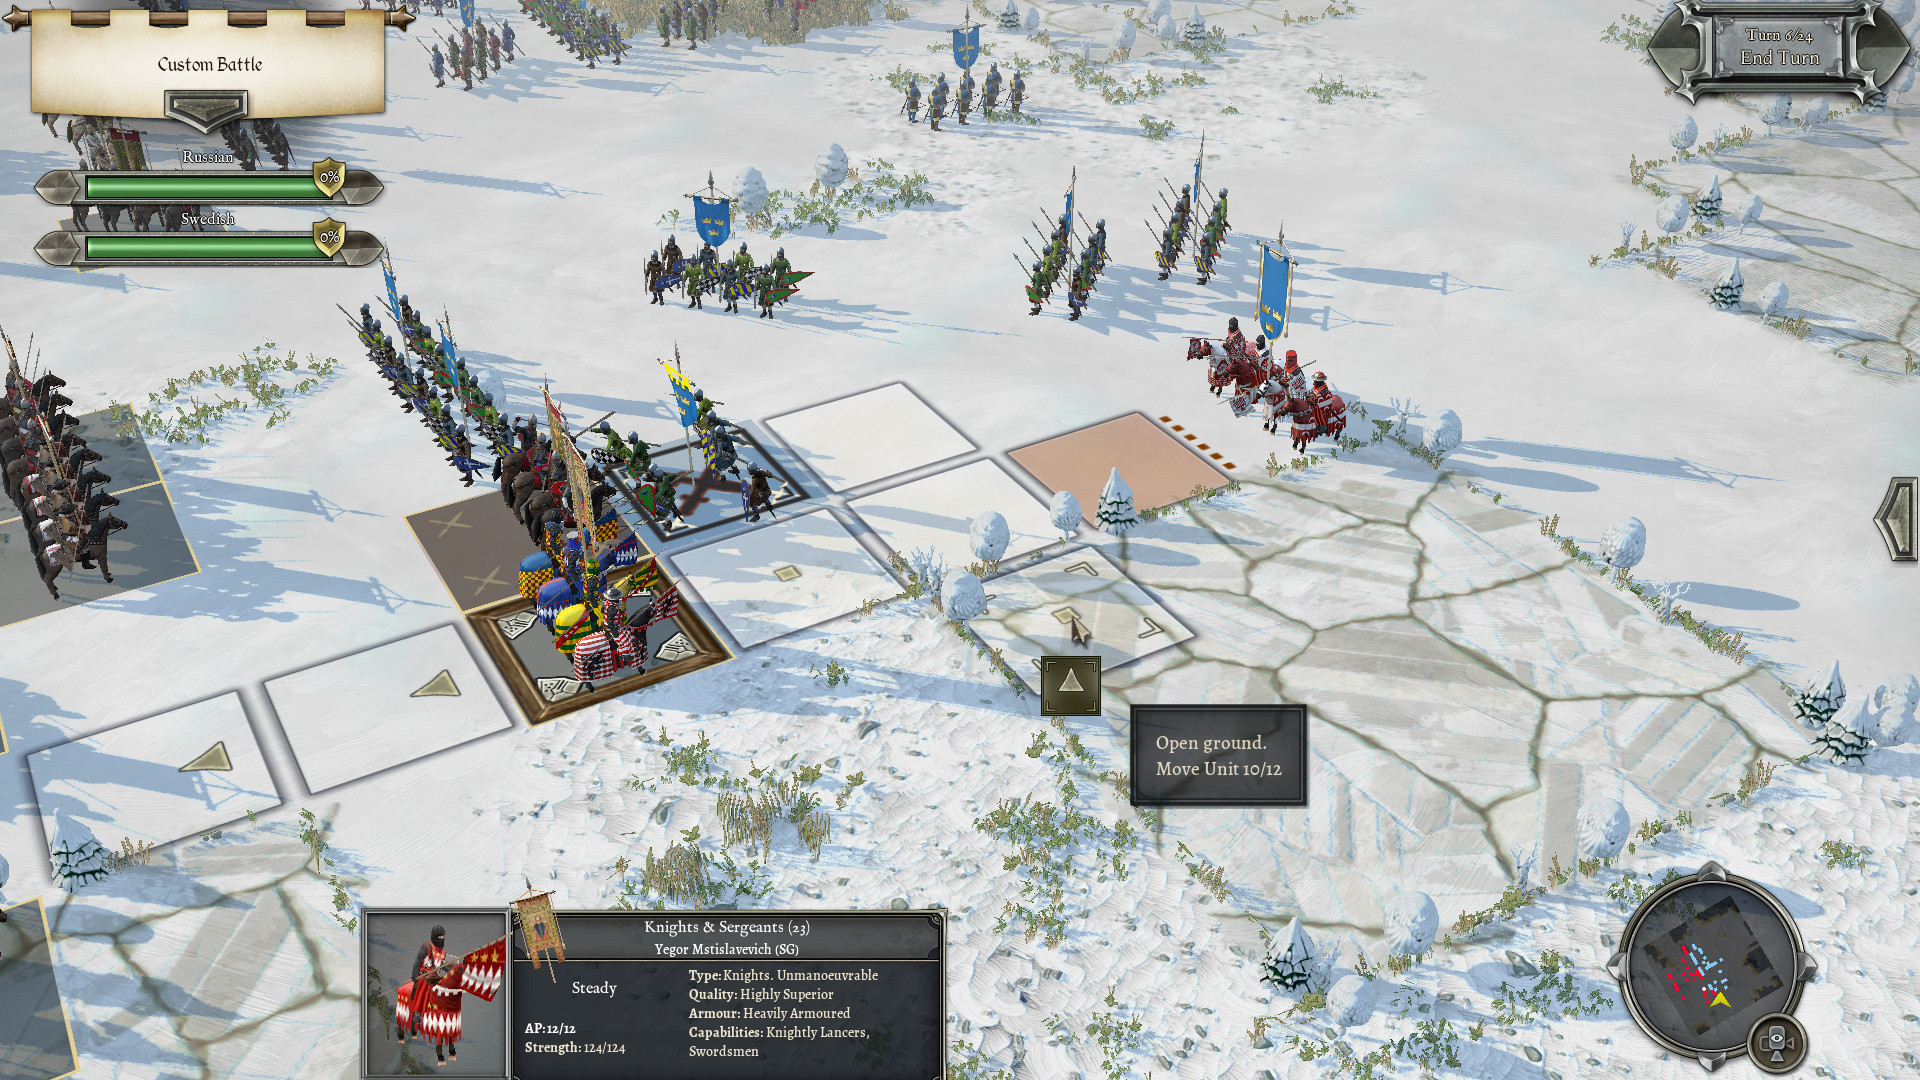
The single most important concept in Field of Glory II: Medieval combat is cohesion, because it, not casualties, decides battles. Cohesion represents a unit's morale and good order, and it exists in steps — commonly steady, then disrupted, then fragmented, then broken. A unit drops a level when it loses a round of combat, takes a damaging volley of missiles, is charged in a bad matchup, enters terrain that disorders it, or is struck in the flank or rear, and it can also waver when friendly units rout nearby. Crucially, each drop also weakens the unit's fighting ability, so cohesion loss snowballs: a disrupted unit fights worse, loses the next round more easily, and drops again. When a unit finally breaks, it routs, and that — not killing every soldier — is how you remove it from the fight.
This cumulative cohesion loss is exactly why massed bows are the era's great answer to the knight. Longbowmen and crossbowmen shoot at advancing cavalry, and enough hits disrupt and wear down even armoured knights before they reach your line, so a charge can be softened or even broken before it lands, and a knight that arrives already disrupted is far less dangerous. This is the central medieval dynamic — the bow rising to counter the charge — and it means thinking in terms of morale rather than body count: you do not need to destroy the enemy's knights, you need to break their cohesion, and shooting them, catching them in rough terrain, and above all hitting them in the flank are far faster than a fair fight.
| Cohesion level | What it means | Effect |
|---|---|---|
| Steady | Full order and morale | Fights at full effectiveness |
| Disrupted | Shaken, losing order | Noticeably weaker in combat |
| Fragmented | Close to breaking | Badly weakened, near rout |
| Broken | Morale gone | Routs and flees the field |
Points of advantage, flanking and quality
The odds of each clash come from points of advantage — POA — which the game tallies from everything relevant: the weapon and troop-type matchup, whether a unit is charging, the terrain each stands in, formation and support, and whether anyone is hitting a flank. A favourable matchup, a knightly charge, higher ground, or a supporting unit behind your line all push the POA your way; standing in rough terrain with heavy troops, or facing a weapon that counters yours, pushes it against you. You do not have to memorise the tables, because the interface converts all of it into clear win, draw and loss percentages before you commit — but knowing what drives POA lets you engineer good odds rather than accept whatever you are given.
Two factors deserve special emphasis. Flanking is the most powerful tool you have: a charge into a unit's flank or rear almost always forces an immediate cohesion drop and a heavy combat penalty, which is why a flank attack can shatter even a knight that would crush you head-on, and why protecting your own flanks is non-negotiable. Unit quality is the other quiet decider — troops rated elite or superior, as your best knights and men-at-arms often are, pass their cohesion tests far more reliably than average or poor units, so they hold firm under pressure that would break lesser troops. Quality is staying power: it is what lets your finest units win the grinding fights and survive the morale tests when they come thick and fast.
Putting it together
Good combat in Field of Glory II: Medieval is the deliberate stacking of advantages toward a single end: breaking the enemy's cohesion faster than they break yours. Before every clash, ask the questions this guide has laid out — does impact or melee favour me, what does the POA say, can I bring a flank to bear, should my archers shoot this target first, whose quality is higher — and let the on-screen odds confirm your read. Fight where you are strong: land your knightly charges on weak or shaken targets, grind with your steady foot, shoot the enemy's cavalry to pieces with your bows, and save your flank charges for the moments they will break a unit outright. Avoid the fights the numbers say you will lose, and look instead for ways to change the terms — better ground, a volley of arrows, a strike to the rear. Do that consistently and your battles become a series of fights you have tilted in your favour before they begin. To turn this into battlefield maneuver, see our tactics guide and troop types tier list; if you are new, start with the beginner guide.
Never commit to a clash without checking the odds and the situation. A knight that looks unstoppable can still lose a fight where rough terrain, a volley of arrows or a flank threat has turned the points of advantage against it. Read the numbers, understand why they are what they are, and only fight when they favour you — or change the terms until they do.