Battles are won by maneuver
Once you understand how combat resolves, the next step is learning to fight the battle rather than just the clashes — and in Field of Glory II: Medieval, that means maneuver. The combat system rewards advantages: a flank, better terrain, a softened target, a well-timed charge, a steadying commander. Tactics is the art of arranging the battlefield so those advantages fall to you again and again, until the enemy's line cracks. The best players win many of their fights before contact, through deployment and movement that put their strengths against enemy weaknesses, and they treat the actual clashes as the payoff of good positioning. This guide takes the rules from our combat guide and turns them into a medieval battle plan: how to deploy, when to charge, how to use bows and terrain, how to win the flanks, and how to choose an army that fits your style.
The thread running through all of it is intention. Every unit should have a job, every move should set up an advantage, and the whole army — line, bows and knights together — should be working toward breaking the enemy's morale on your terms.
Think in terms of the whole battlefield, not unit by unit. Where will the flank battle be won? Which terrain helps you? When will you unleash your knights, and which targets will your archers soften first? A plan that answers those questions beats reacting clash by clash.
Deployment, the charge and the bow
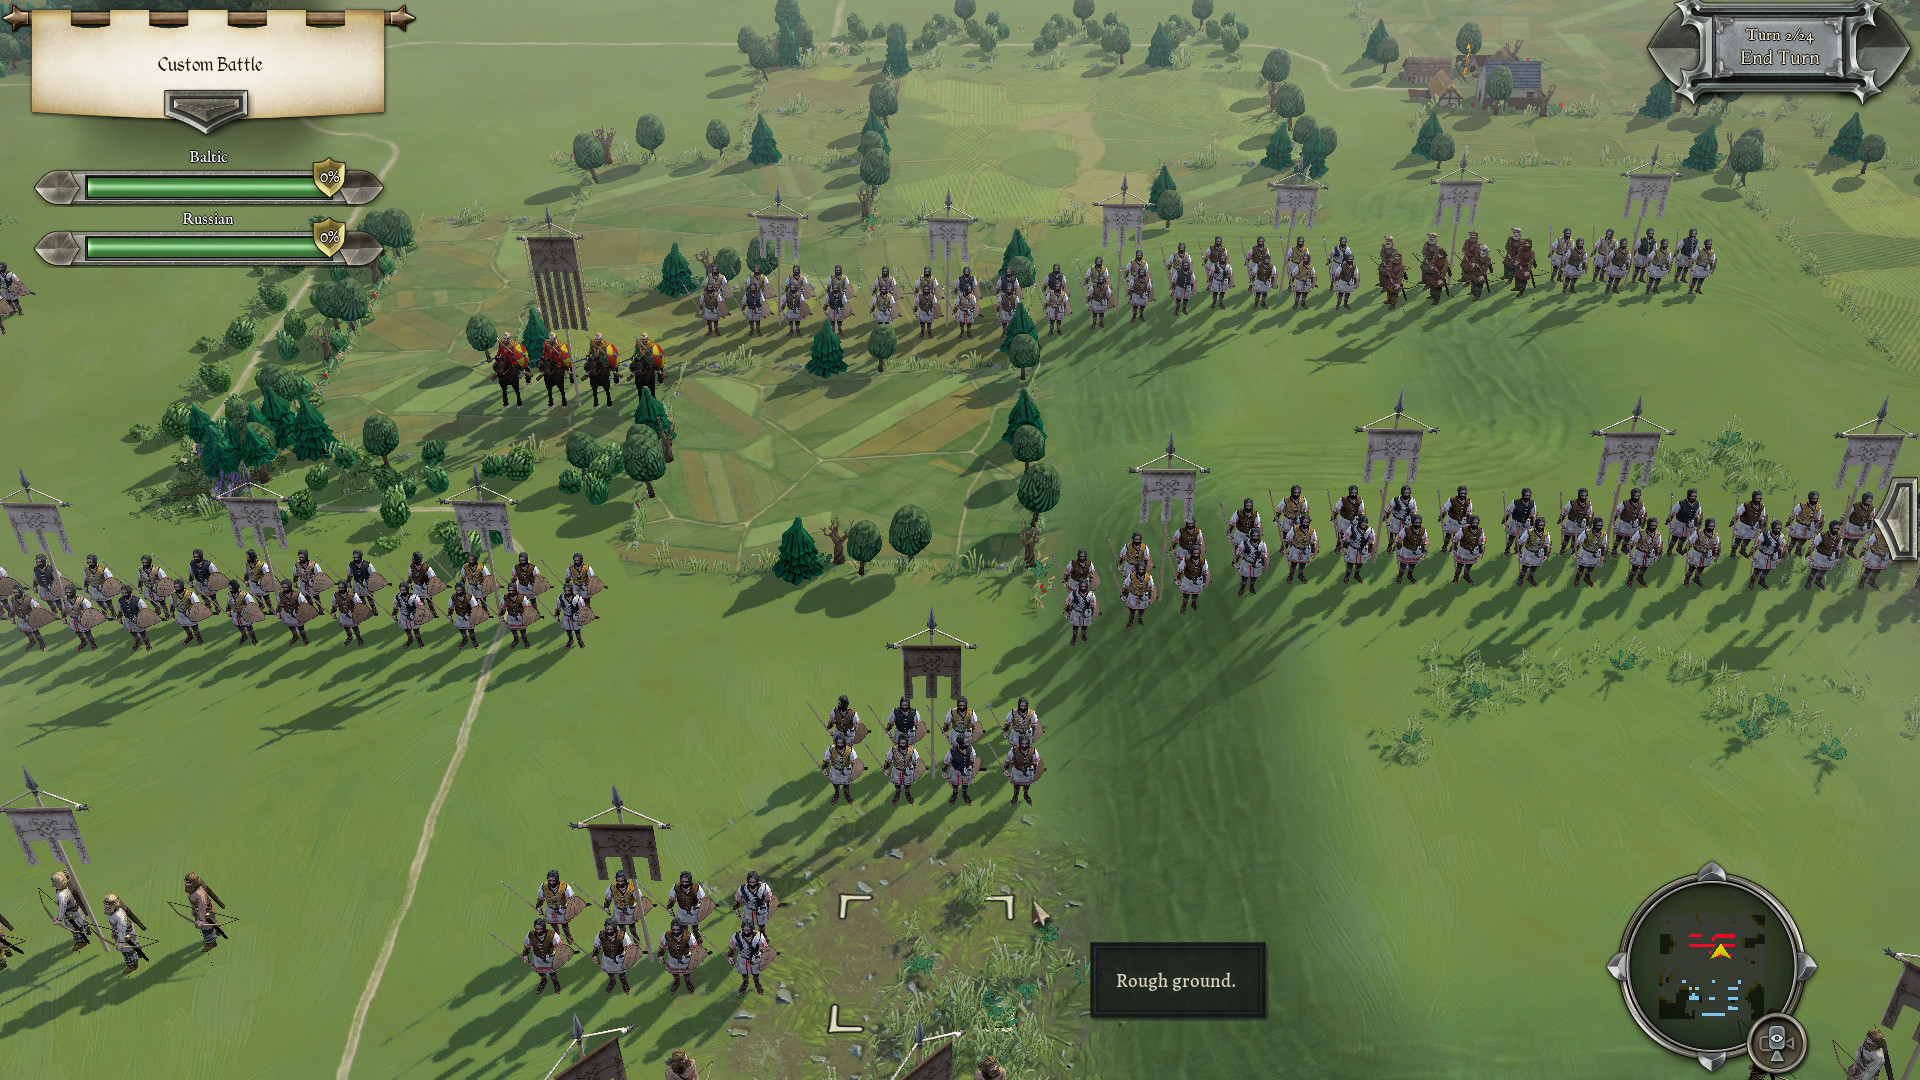
Good tactics begin before the first move, with deployment. Form your foot — men-at-arms and spearmen — into a continuous line with no gaps for the enemy to exploit, and anchor its flanks wherever the terrain allows, so the enemy cannot easily turn them. Position your archers to shoot from safety, ideally behind or alongside your line where they can rake the approaching enemy without being charged, and place your knights and cavalry on the wings where the flank battle will be fought. Hold a reserve behind the line to react. Deploy your strengths opposite the enemy's weaknesses where you can, and on ground that suits your troops.
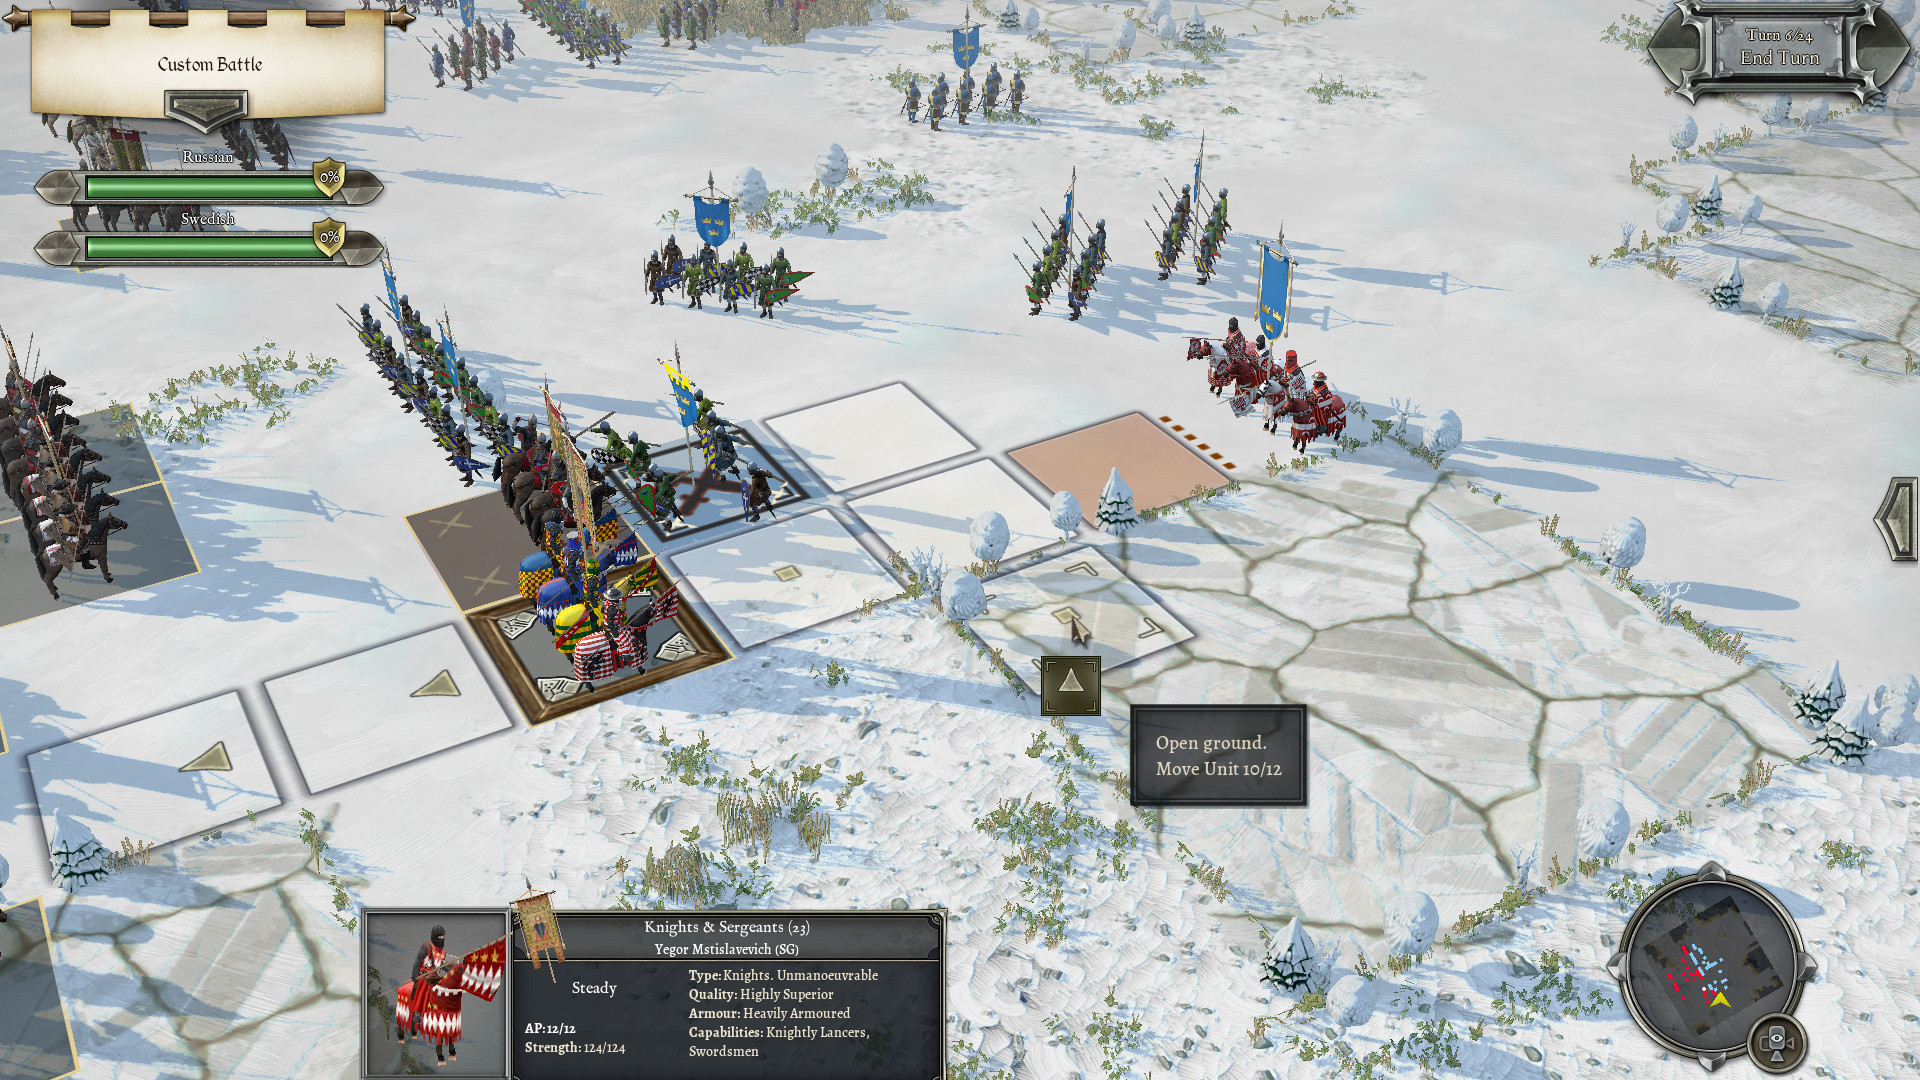
From there, the medieval battle is a dialogue between the bow and the charge, and timing is everything. Open with your archers: shoot the advancing enemy to disrupt their cohesion, and above all pour fire into their knights to wear down the charge before it reaches you. Hold your own knights on the wings, resisting the urge to charge early — their power is a one-time shock, so you want to spend it well. When a target presents itself that your knights will break — an exposed flank, a unit your arrows have shaken, infantry caught in the open — unleash the charge there. Never throw your knights head-on into steady spears or pikes set to receive them, or into massed bows, where the shock is wasted or shot away. Soften, then strike.
Combine your arms in sequence: shoot a target with your bows to disrupt it, then charge it with knights or hit it with your foot while it is shaken. A unit softened by arrows and then charged in the flank will break where the same unit, fresh and frontal, might have held. The order of your blows matters as much as their strength.
Flanks, terrain, commanders and army choice
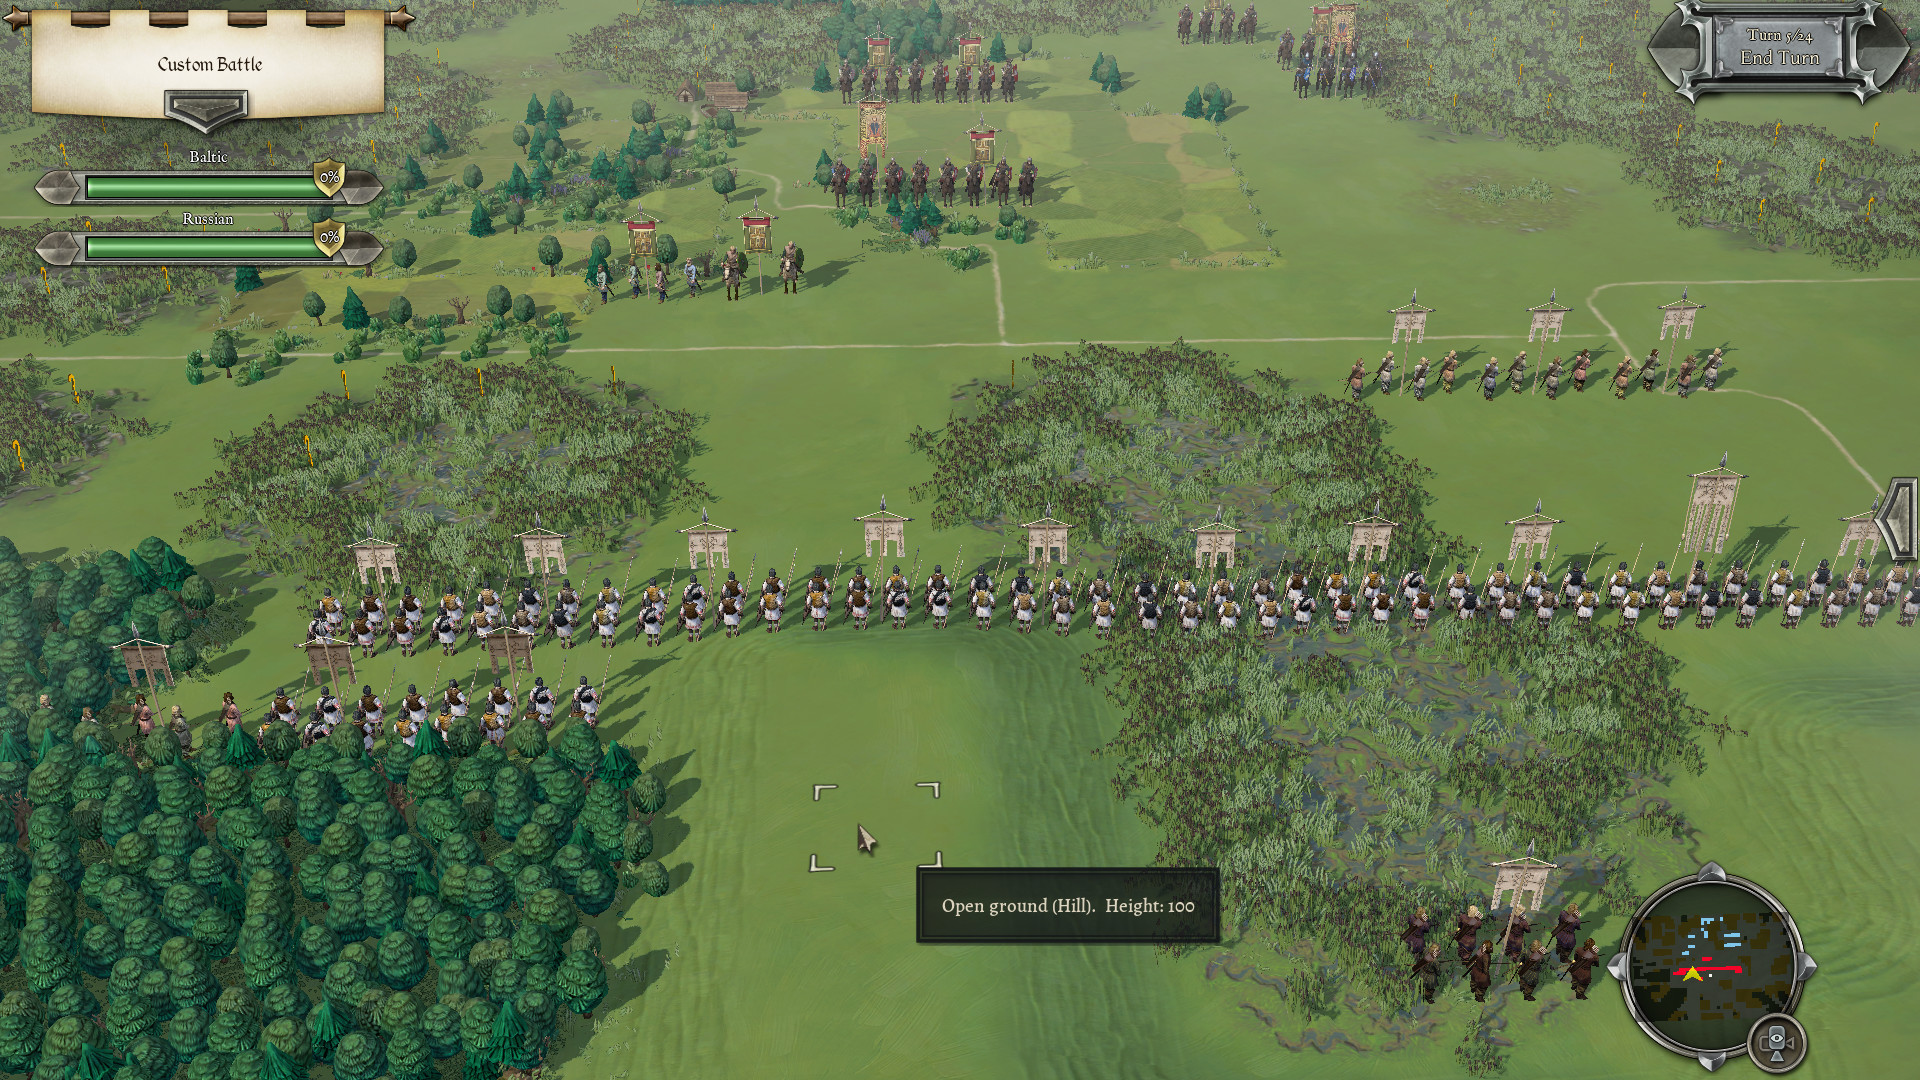
Three things turn a good plan into a won battle. The first is the flank battle, which usually decides everything: the wings are where your knights and cavalry contest open space, and the side that wins them can swing inward to charge the enemy's line in the flank and rear — the most devastating attack in the game. So fight hard for the flanks, beat the enemy's horse, and turn their line before they turn yours, while defending your own flanks with anchored terrain, refused units and a ready reserve. The second is terrain, which you should treat as a weapon: open ground favours your knights and line, while woods, hills and rough terrain disorder heavy cavalry and favour light and medium foot, so fight each part of your army on ground that helps it and try to lure enemy knights onto terrain that wrecks their charge.
The third piece is your commanders. They strengthen the troops around them, improving combat and — most importantly — helping nearby units pass the cohesion tests that decide whether a hard-pressed unit holds or routs, so position them with crucial units or a wavering sector. But commanders can be killed if exposed, a heavy loss, so reinforce key fights with them without throwing them into danger. Army choice ties it together: an English army leans on longbows and dismounted men-at-arms, a French or feudal army on powerful knights hungry for good charges, an eastern army on horse archers and maneuver. Choose an army whose strengths match how you like to fight, learn its weaknesses, and build your tactics around covering them. Do all this — deploy well, soften with bows, time your charges, win the flanks, use terrain and commanders — and you will break the enemy before they break you. To deepen the underlying combat, revisit the combat guide and troop types tier list; if you are still learning the basics, the beginner guide is the place to start.
| Tactic | How to use it | Why it works |
|---|---|---|
| Anchored line | Continuous foot front, flanks on terrain | Denies the enemy gaps and flanks |
| Bow then charge | Soften with arrows, then commit knights | A shaken target breaks where a fresh one holds |
| Win the flanks | Mass cavalry on the wings | Lets you charge the enemy's flank and rear |
| Terrain & commanders | Fight on good ground, steady key units | Disorders the enemy, holds your line |
Bringing it together
Bring it all together and a Field of Glory II: Medieval battle becomes a plan executed: deploy an anchored line with archers protected and knights on the wings, open by shooting the enemy and wearing down their cavalry, time your knight charges onto flanks and softened units, win the flank battle, fight on terrain that helps you, steady your line with your commanders, and lean into what your army does best. Do that, and you will break the enemy's morale before they break yours. The medieval game rewards patience and combined arms above all — the player who shoots before charging, holds the line while the flanks are won, and commits the knights at the decisive moment will beat the one who charges headlong and hopes. Master that rhythm of bow, line and charge, and the battles become a deeply satisfying test of generalship.
Do not let your line lose its shape, or your knights charge off on their own. Units that charge piecemeal leave their neighbours' flanks open, and a knight charge thrown away early cannot be taken back. Advance together, keep your flanks covered, soften targets before you commit, and unleash your knights and commanders deliberately — discipline beats enthusiasm.