Stratagem Basics
You deploy with four stratagem slots per mission. Over 78 stratagems exist, but role-based thinking is what turns a chaotic loadout into a functional one.
| Role | Purpose | Representative Picks |
|---|---|---|
| Anti-armor | Heavy units and armored elites | Recoilless Rifle, Spear |
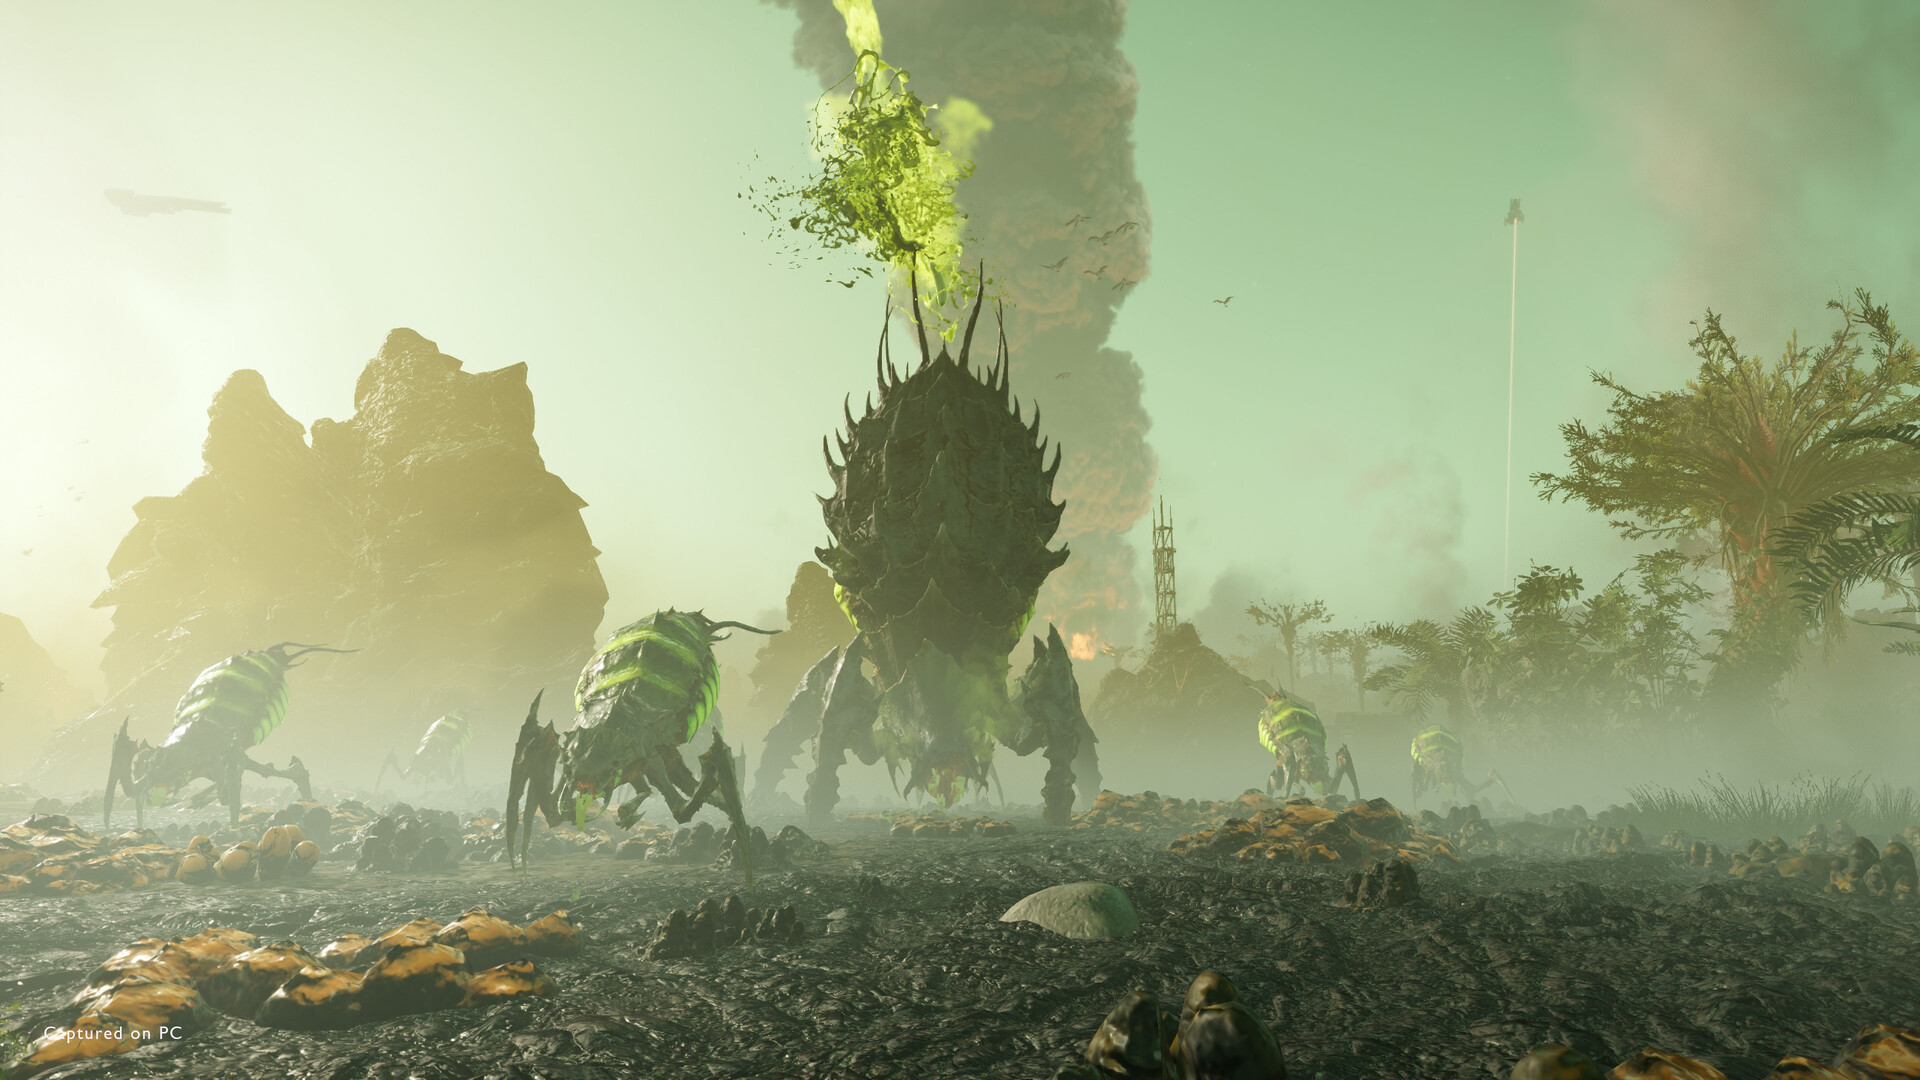
| Crowd control | Clearing large groups | Eagle Strike, Orbital Barrage |
| Defense | Static defense and turrets | HMG Emplacement, Machine Gun Turret |
| Support | Healing, resupply, shields | Supply Pack, Shield Generator |
Recommended Stratagems
Squad Composition
-
1
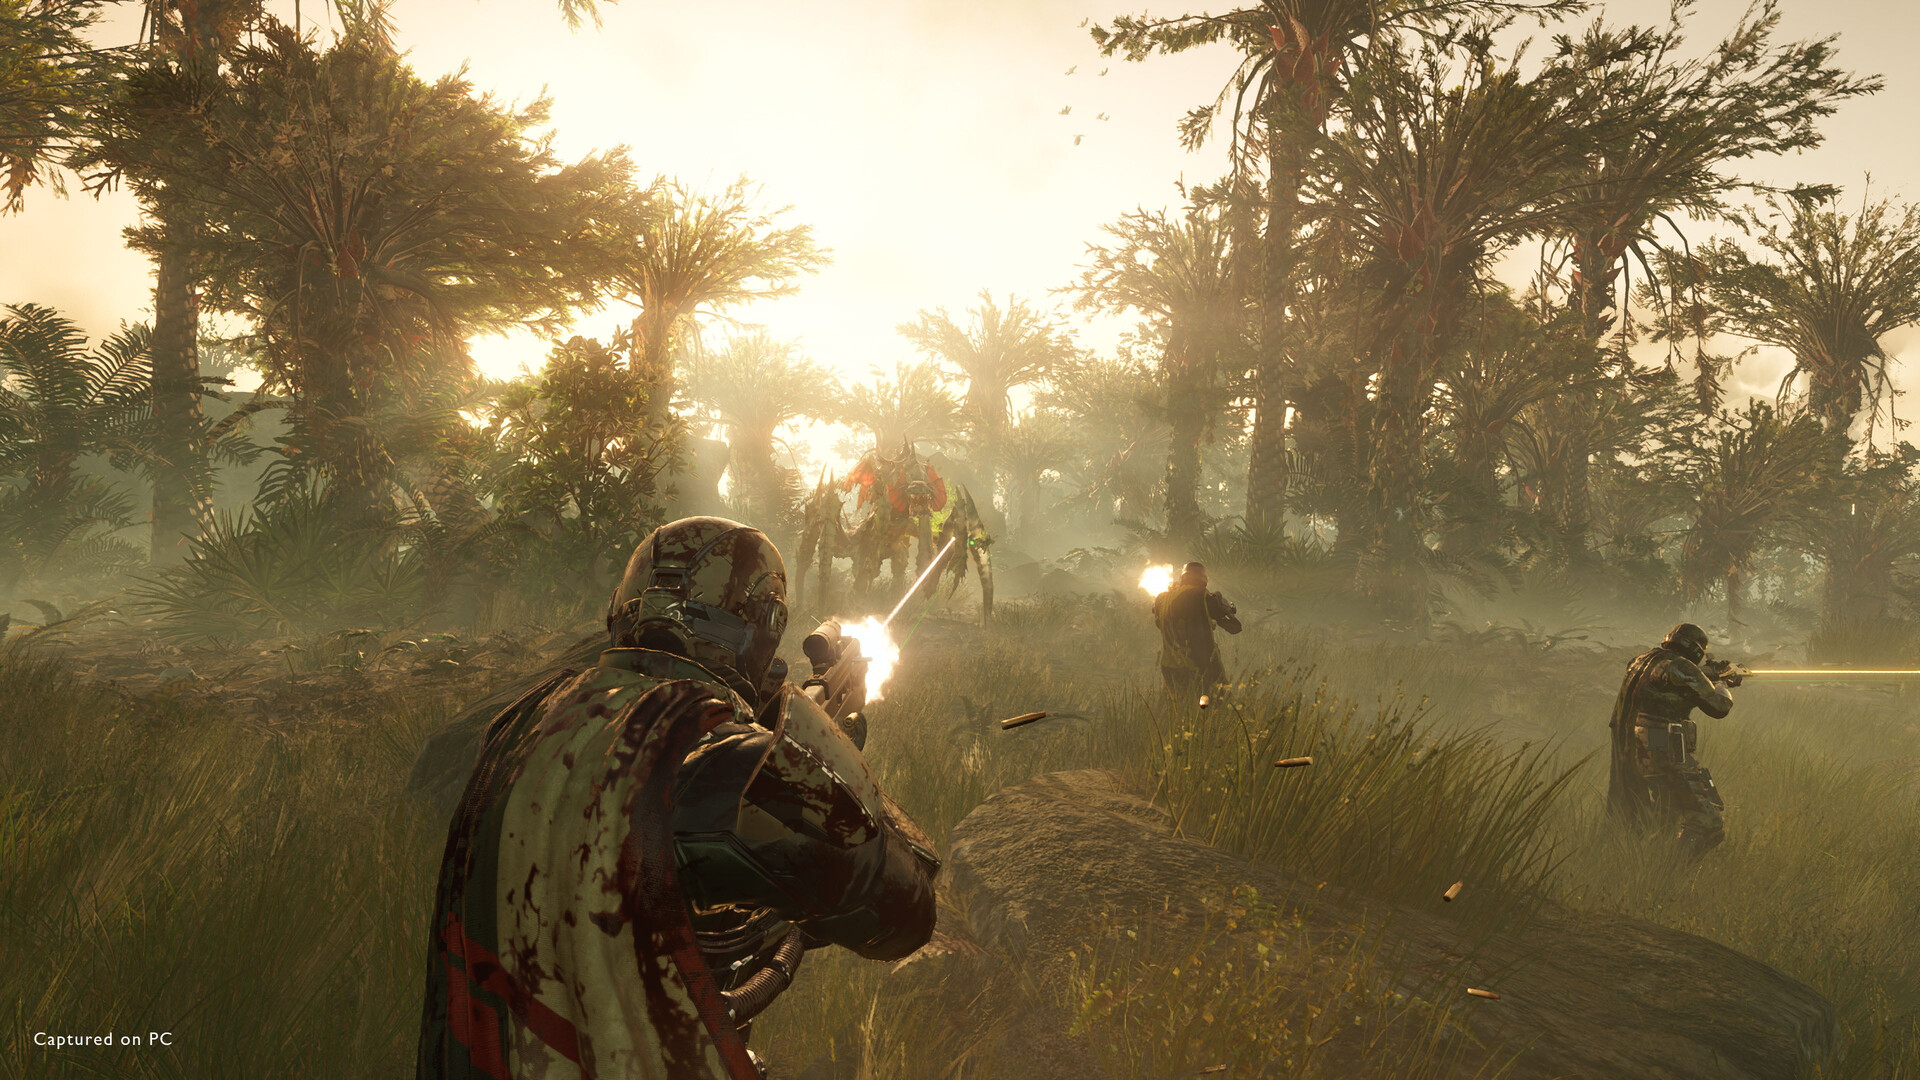
1 player — Anti-armor
Recoilless or Spear. The squad's heavy-target damage dealer.
-
2
1 player — AoE
Eagle Strike or Orbital Barrage to clear groups.
-
3
1 player — Defense and turrets
Emplacement and turrets for objective and extraction holds.
-
4
1 player — Support and healing
Shield, resupply, and healing keep the squad in the fight longer.
Avoid duplicate roles. Two players running the same role means the squad has no answer for the role you skipped. Coordinate over chat or voice before deployment — even one minute of planning helps enormously.
Adjust by Faction
The best picks shift per faction. Three-faction weaknesses and counter loadouts are in the Faction Guide, and the basic controls plus stratagem inputs are in the Beginner Guide.
★Honest Take: Splitting Roles Changes Everything
Honestly, Helldivers 2 jumps a full tier the moment your four-player squad commits to four distinct roles. Even in a random matchmaking lobby, eyeballing the others' loadouts and filling the missing role wins more games than any individual skill would. Squad-level optimization is the soul of this game, and it's where the genuinely great moments come from.