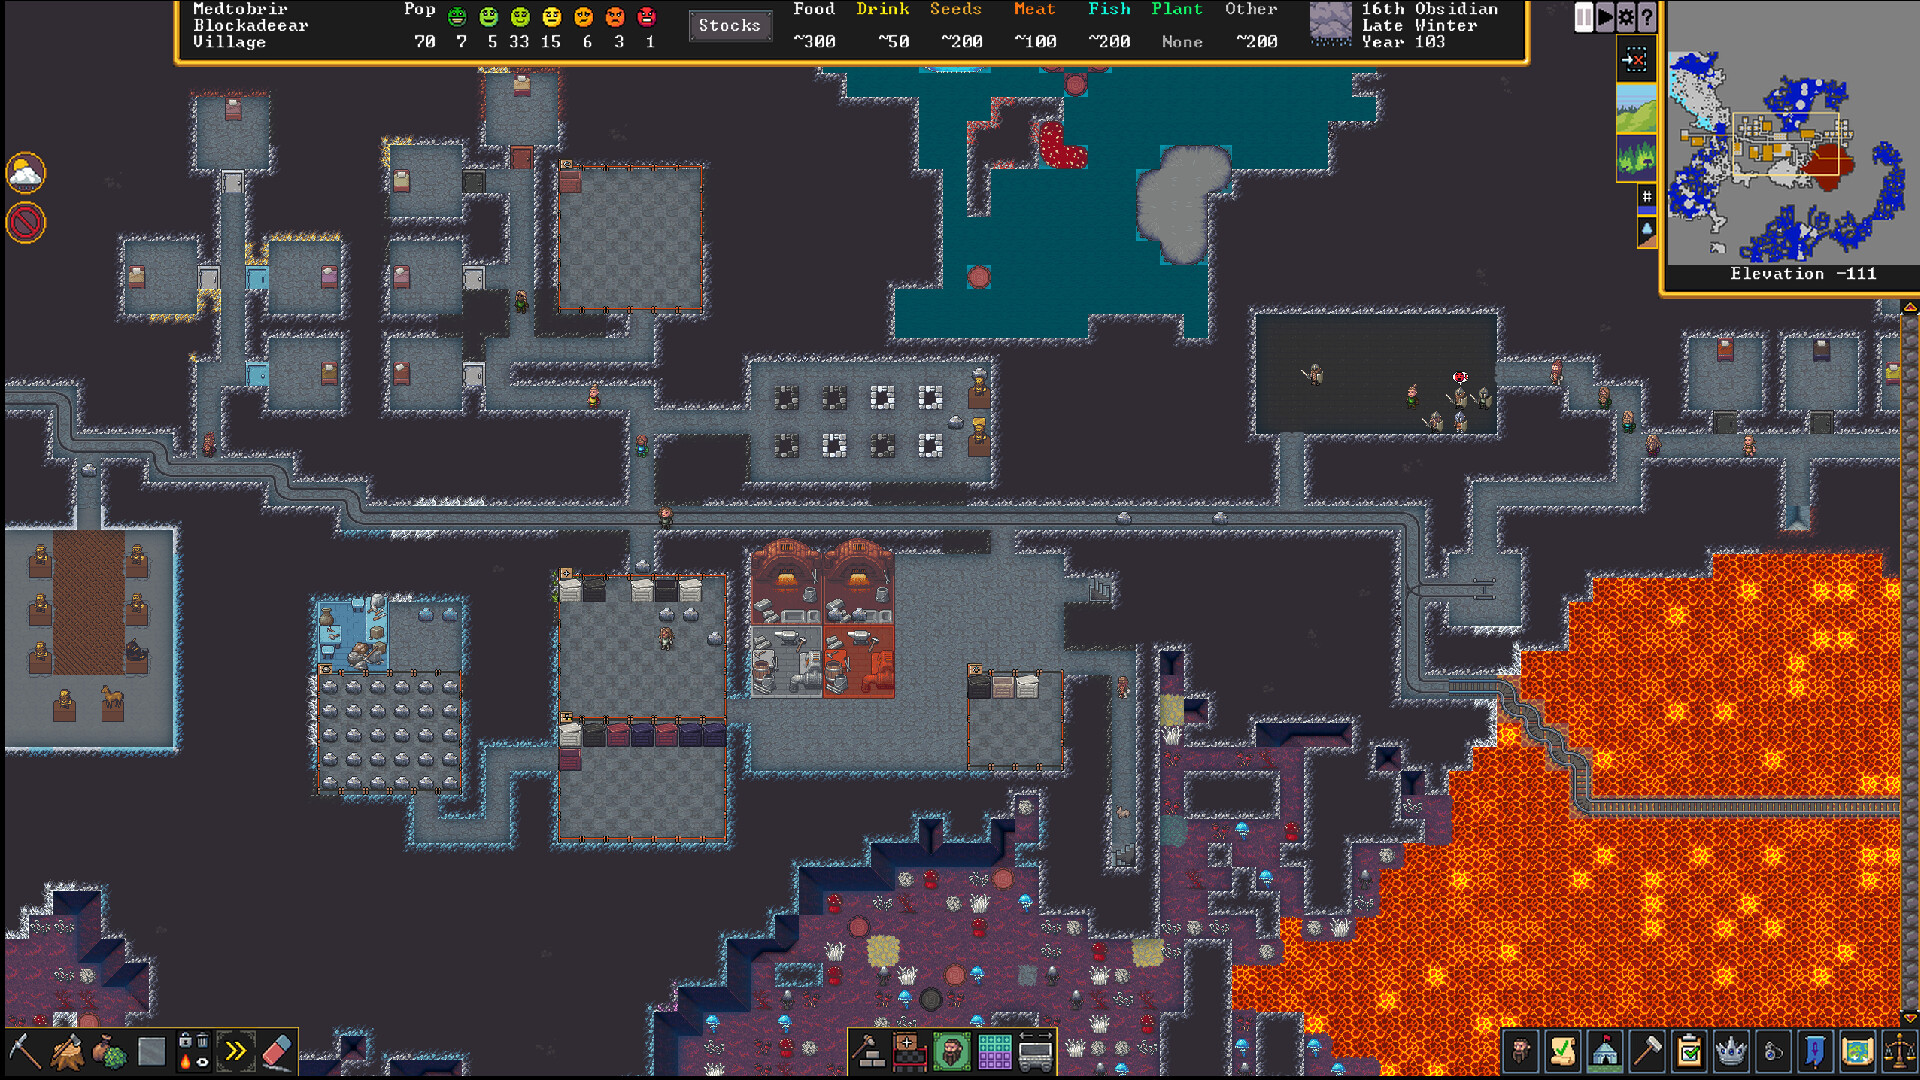
You can survive every siege and still lose a fortress to your own dwarves. That much has always been true. What has changed is the machinery underneath it.
A great deal of advice still circulating describes the old happiness system, where dwarves had a mood rating and a bad one produced a tantrum spiral. Current Dwarf Fortress does not work that way. It runs two related but separate systems: a numeric stress score that decides breakdowns, and a needs and focus system that decides how well dwarves work. Understanding them as two things rather than one is most of the battle.
What actually fixes stress — ranked
Most stress advice in this game is a pile of equally-weighted tips. It is not equally weighted — a few interventions carry almost all of the result. Here they are in the order you should build them.
| Rank | What to do | How well it works | Why it ranks here |
|---|---|---|---|
| 1 | Give every dwarf a **private engraved bedroom** | Near-universal contentment | The single highest-return construction in the game for stress. A dormitory does not substitute. It scales with fortress size, so start before you need it. |
| 2 | Build a **legendary-quality dining hall** | Satisfaction in roughly **88%** of dwarves | One room that reaches most of the fortress. Quality is what does the work here, so keep improving it rather than adding a second hall. |
| 3 | Run a **militia and train it** | Positive memories in about **93%** of dwarves | The surprise on this list. Training reads as meaningful work, so a militia doubles as stress recovery rather than being pure overhead. |
| 4 | Give dwarves **meaningful work and time with family and pets** | Steady, cumulative | Less dramatic than the first three but it never stops paying, and it is mostly free once your labour assignments are sane. |
| 5 | **Remove trauma and squalor** | Prevents the worst spirals | Bury the dead, clear corpses before miasma, roof the paths dwarves walk. This does not raise contentment so much as stop the collapse you would otherwise get. |
The main stress increasers are trauma and squalor: witnessing death, exposure to corpses, miasma, being rained on, and being forced to consume vomit.
-
1
Give everyone a private engraved bedroom
Not a dormitory. This is the highest-value stress work in the game and it scales with fortress size, so start before you need it.
-
2
Build the four need rooms early
Temple, tavern, library and a decent dining hall between them cover a large share of the needs list.
-
3
Clean up trauma fast
Bury the dead, remove corpses before miasma, and roof over the paths dwarves use. Trauma is the main stress source you actually control.
-
4
Check individuals, not the average
Sort by stress and look at the worst few. Population-level contentment tells you nothing about the one dwarf who is about to go insane.
-
5
Watch focus separately
If quality is slipping with no unhappiness, the problem is unmet needs damaging focus, not stress.
Stress is a score, not a mood
Every experience generates emotions, and each emotion adds or subtracts stress points from a running tally. Unhappy thoughts add, happy thoughts subtract, and stress also dissipates on its own over time — dwarves naturally drift back toward neutral.
Three named thresholds mark the descent:
| Stress points | State | What it means |
|---|---|---|
| 25,000 | Stressed | The first real warning sign |
| 50,000 | Haggard | Drawn by tremendous stresses |
| 100,000 | Harrowed | Utterly harrowed by their own life |
The rule that matters most: a breakdown requires short-term and long-term stress to be elevated at the same time. That is why a single atrocity rarely breaks a settled dwarf, and why a dwarf who has been quietly miserable for a year can snap over something trivial. And a Harrowed dwarf who then hits a stressful event does not merely tantrum — they go insane.
This is also why "my dwarf saw a corpse and is fine" and "my dwarf tantrumed over nothing" are both normal. You are never looking at one number.
Why two dwarves react differently
Four personality traits decide how an individual handles the same fortress:
| Trait | What it controls |
|---|---|
| Bravery | How fast stress accumulates — high bravery slows the buildup |
| Stress vulnerability | Where the breaking point sits — low values are more resilient |
| Anxiety propensity | How fast stress dissipates — high anxiety actually speeds relief |
| Depression propensity | How hard recovery is once a dwarf is deeply unhappy |
The practical consequence is that you cannot manage a fortress by averages. A single low-bravery, high-vulnerability dwarf will hit Harrowed while everyone around them is fine, and they are the one who ends your fort. Check individuals, not the population.
Every need, and what satisfies it
Needs are the other half of the system. Each dwarf carries a set of needs weighted by their personality, and satisfying any need produces a good thought and lowers stress. Leaving one unmet damages focus and generates negative thoughts.
There are far more of them than most players realise, which is why a fortress with only bedrooms and a dining hall still has unhappy dwarves.
| Need | Satisfied by | Driven by trait |
|---|---|---|
| Socializing | Socialising with others | Gregariousness |
| Alcohol | Drinking alcohol | Immoderation, self-control |
| Prayer or meditation | Praying in a temple, or meditating | Religiosity |
| Occupancy | Completing fortress tasks | Hard work, activity level |
| Creativity | Artistic work | Art-inclined |
| Excitement | Sparring, danger, vermin catching | Excitement-seeking |
| Learning | Gaining skill ranks, reading | Knowledge, curiosity |
| Family | Socialising with close relatives | Family value |
| Friendship | Socialising with friends | Friendship |
| Eloquence | Hearing or reciting poetry | Eloquence |
| Tradition | Talking to champions, attending performances | Tradition |
| Introspection | Reading, composing, sharing insights | Introspection |
| Merriment | Watching or performing entertainment | Merriment, humor |
| Craftsmanship | Crafting items | Craftsmanship |
| Martial arts | Gaining combat skill ranks | Martial prowess |
| Leisure | Idle time, watching performances | Leisure time |
| Romance | Interacting with a spouse or lover | Romance, love propensity |
| Animals | Seeing animals, with mutual visibility | Nature |
| Acquisition | Acquiring trade goods and trinkets | Greed, commerce |
| Quality meals | Preferred foods, or meals worth 20 or more | Immoderation |
| Combat | Taking part in fighting | Violent |
| Troublemaking | Fighting or arguing | Harmony, discord |
| Argumentation | Arguing with others | Friendliness |
| Extravagance | Wearing quality-modified items | Immodesty |
| Wandering | Hunting, gathering, completing missions | Nature, activity level |
| Helping | Bringing water or food to patients, aiding others | Altruism, sacrifice |
| Abstract thinking | Reading, writing, composing, intellectual discussion | Abstract-inclined |
| Art appreciation | Viewing artistic furniture or engravings | Artwork |
Read that list as a building checklist. A temple covers prayer, a tavern covers socialising, merriment and alcohol, a library covers learning, introspection and abstract thinking, and engraved walls cover art appreciation. Four rooms cover a large fraction of the list — which is why the standard advice to build all four is not decoration, it is need coverage.
Focus, and the 50 percent swing
Needs do not only feed stress. They also drive focus, and focus is the part with a direct, measurable effect on your fortress output.
| Focus level | Range | Effect |
|---|---|---|
| Very focused | 140% and above | Maximum skill bonus |
| Quite focused | 120-139% | Strong skill bonus |
| Focused | 101-119% | Moderate skill bonus |
| Untroubled | 100% | Neutral baseline |
| Unfocused | 81-99% | Performance starting to slip |
| Distracted | 61-80% | Significant penalty |
| Badly distracted | 60% and below | Severe penalty |
A highly focused dwarf gets an effective skill boost of up to 50 percent; a badly distracted one takes a penalty of up to 50 percent. That is the difference between a legendary mason and a competent one, from need satisfaction alone.
Focus is independent of mood. A perfectly content dwarf can be badly distracted, and a miserable one can be sharp. If your craft quality has quietly declined and nobody is tantruming, focus is the first thing to check.
Strange moods
Strange moods sit alongside all of this. A mood seizes a dwarf with an overwhelming idea, and they take over a workshop and gather materials obsessively, ignoring food, drink and sleep until it is done. Succeed and you get a uniquely valuable artifact and a legendary crafter.
The hazard is real: a dwarf who cannot obtain the materials their vision demands, or who is struck by a darker kind of mood, can break down, go insane, become melancholy, or turn berserk. Help them get what they need, and keep a squad or war dogs within reach for the outcome you did not want.
★ Honest Take: A great system with a documentation problem
The stress and needs rework is genuinely good design. It replaced a fairly flat mood bar with something that models individuals — two dwarves in the same fortress, seeing the same horrors, legitimately end up in different places, and the personality traits behind that are consistent rather than random.
The problem is how much of the internet still describes the old system. Search for Dwarf Fortress happiness advice and you will find guidance about tantrum spirals and happiness ratings that predates the current model, alongside advice that is still correct, with nothing marking which is which. The game itself surfaces stress and focus in the interface but explains neither, so players end up managing a system they are reading about in an obsolete form. The mechanics deserve better documentation than they get.
To keep the threats outside the walls, see the military guide. To run the economy that supports a comfortable fortress, see the fortress guide. If you are still learning the basics, start with the beginner guide.