The basics: building each run around the Teleporter
In Risk of Rain 2, a stage boils down to "grab items while you hunt for the Teleporter, activate it, kill the boss, fill the charge, and advance", over and over.
-
1
Explore the stage and buy items
Sweep chests, shops, and shrines for items and money. Don't dawdle; be efficient.
-
2
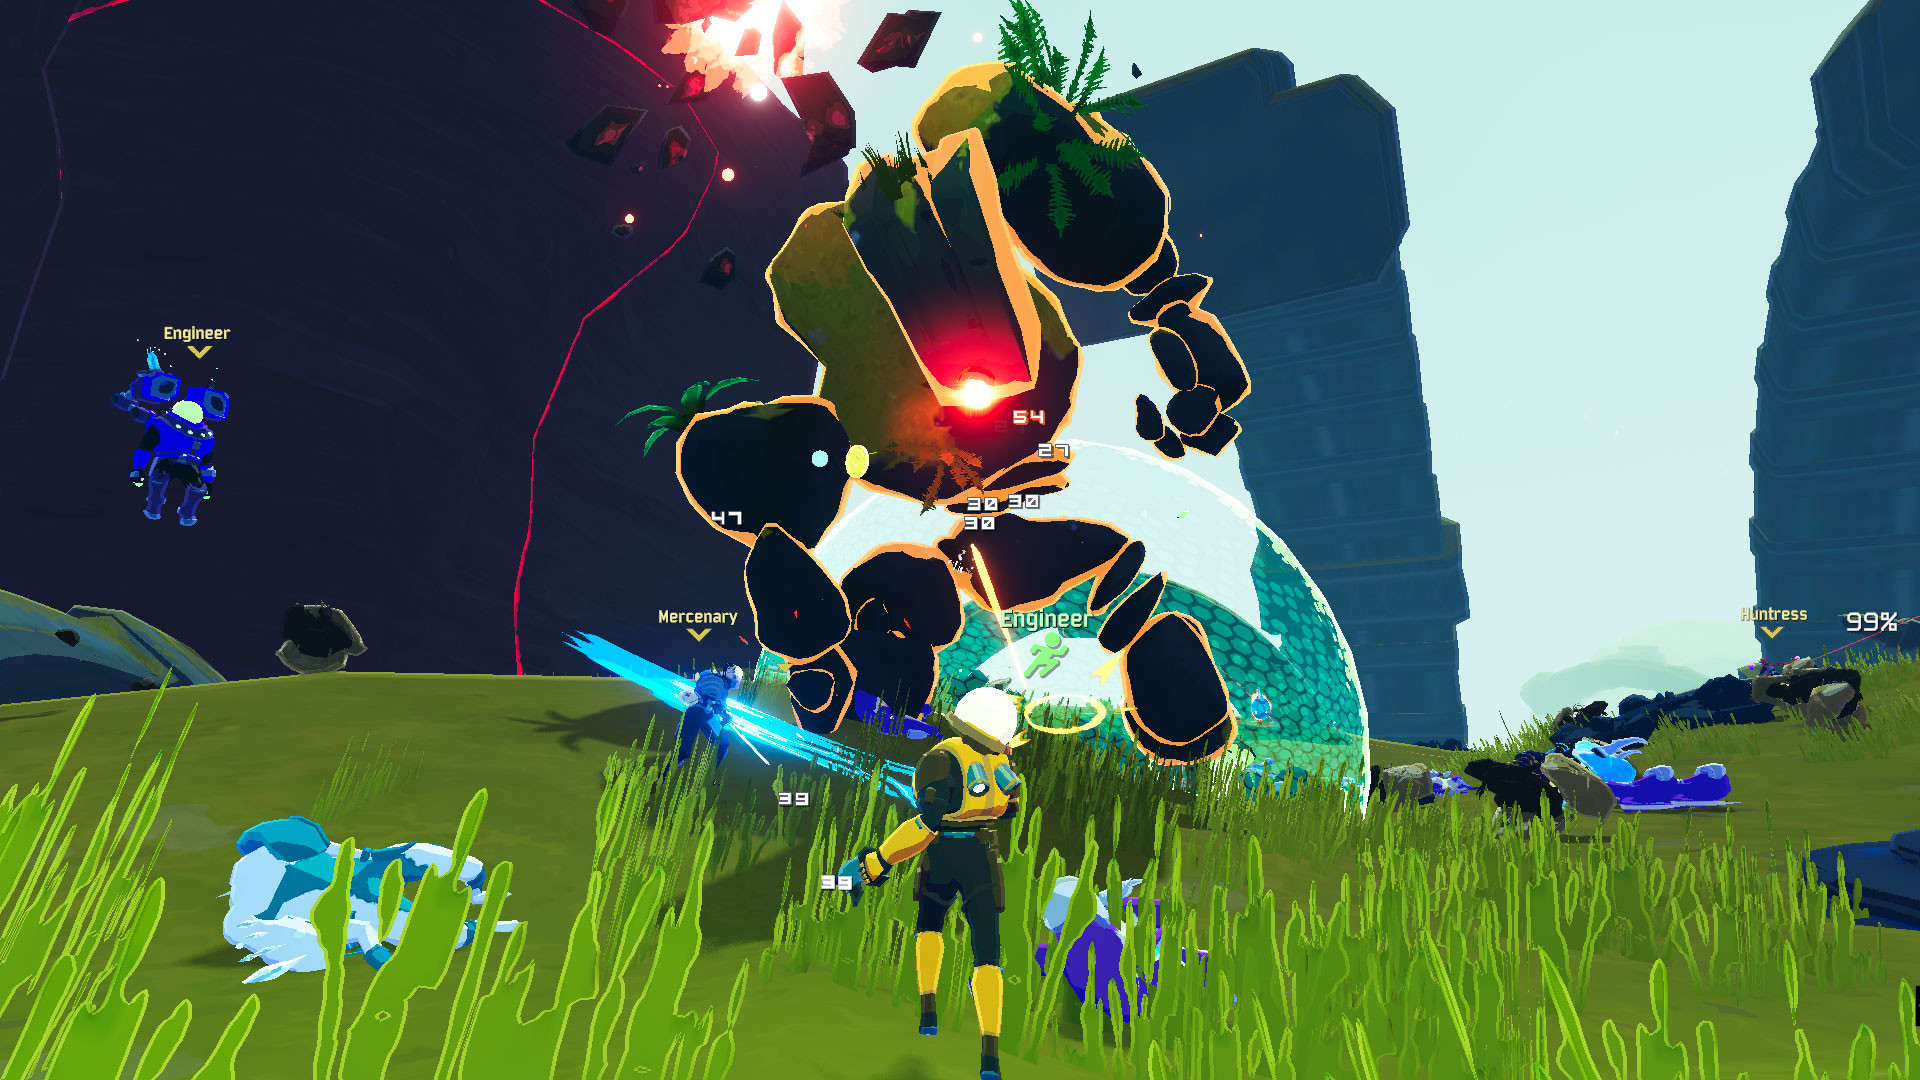
Activate the Teleporter
Activating it deploys the red dome and spawns the Teleporter Boss plus adds. Standing inside the dome charges it.
-
3
Kill the boss and reach 100% charge
Killing the boss and filling the charge unlocks travel to the next stage. It takes at least about 90 seconds.
Difficulty rises with time and stages
Difficulty in this game climbs continuously with time and, on top of that, jumps by roughly 15 percent of its current value every time you enter a new stage. The longer you linger, the stronger enemies get.
| Factor | Effect on difficulty |
|---|---|
| Elapsed time | Rises continuously; lingering hurts you |
| Stages cleared | About +15% per stage (exponential) |
| Shrine of the Mountain | Increases Teleporter bosses and drop rewards |
| Looping | Each loop accelerates the scaling further |
The HUD clock shows difficulty tiers like Easy, then Normal, Hard, Very Hard, Insane, and Impossible. The further it climbs, the more numerous, tankier, and harder-hitting the enemies become.
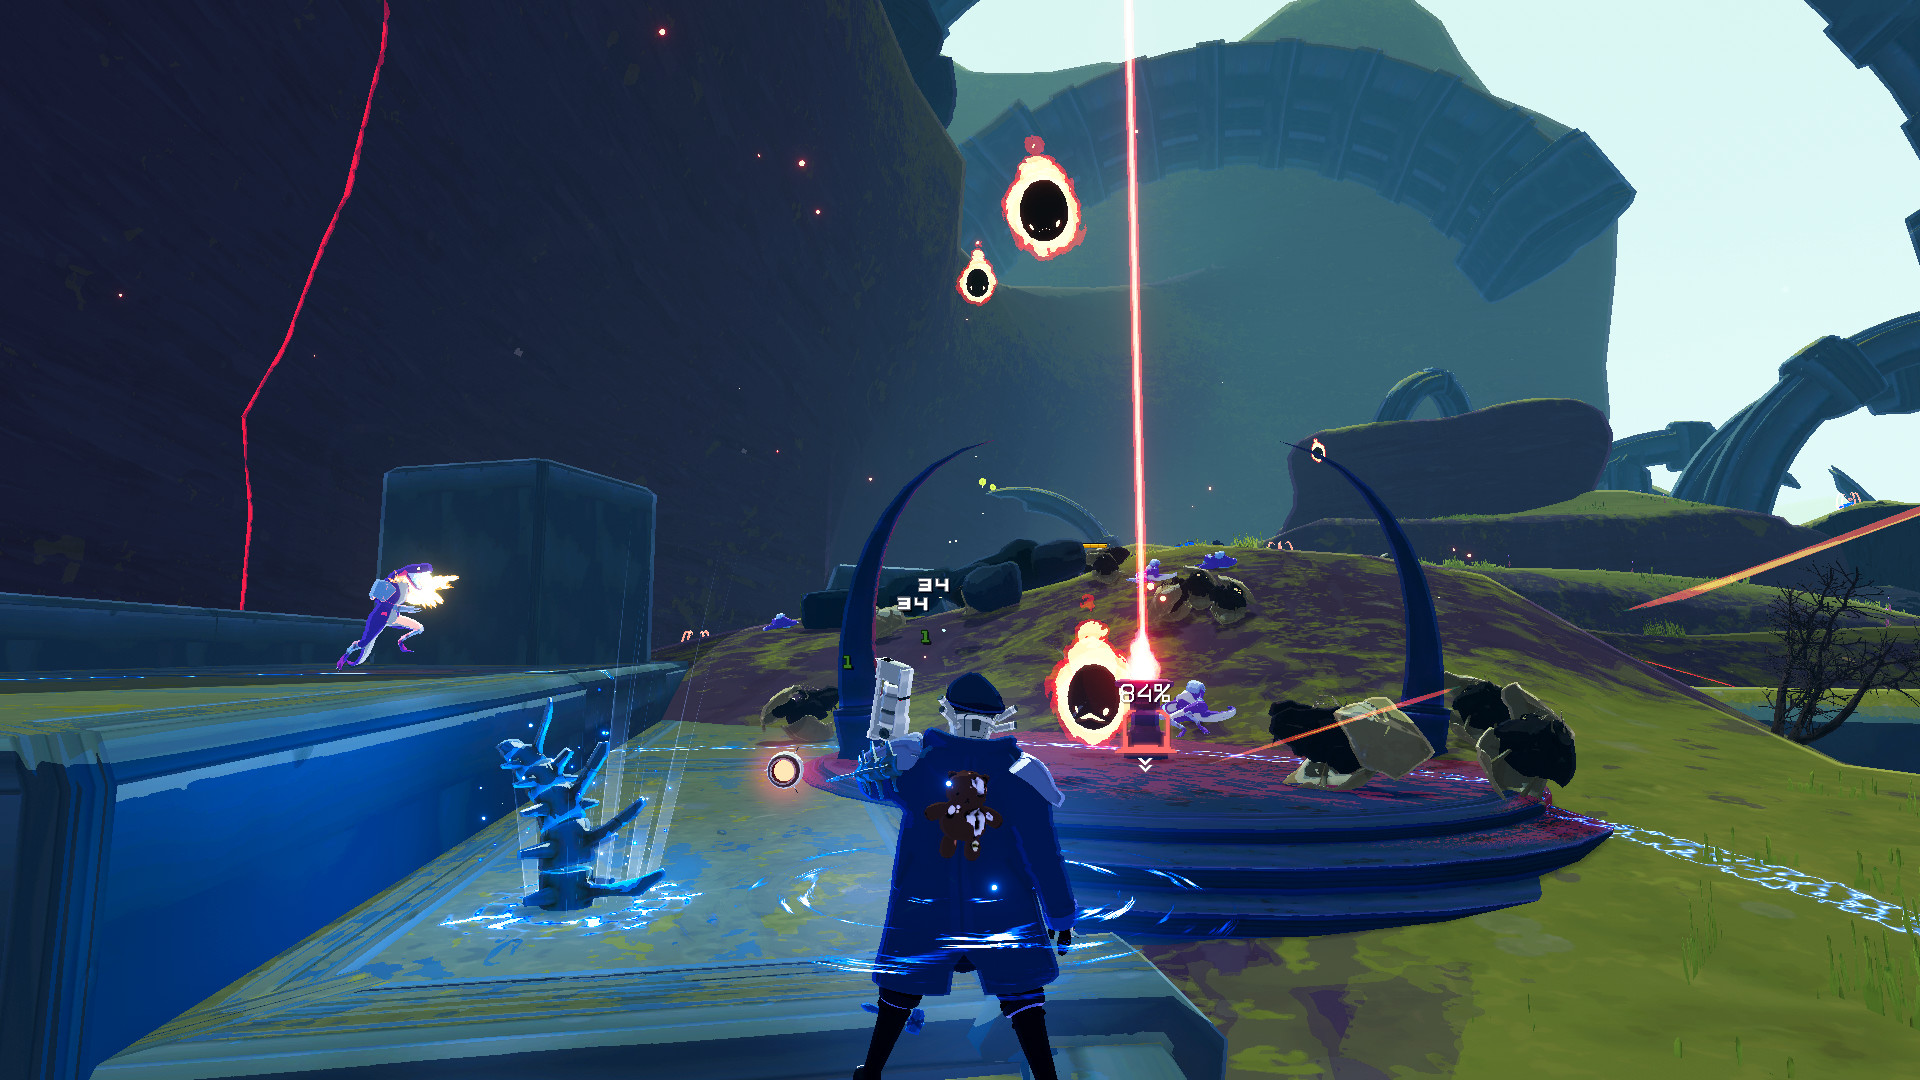
The stage 5 fork: moon or loop
Once you reach stage 5 (such as Sky Meadow), operate the rings on the outer edge of the Teleporter to choose your destination. This is the biggest fork in the game.
| Choice | Destination | Result |
|---|---|---|
| Align rings with the moon | Commencement (moon) | Mithrix final fight then clear |
| Align rings with the planet | Back to an early stage | Loop and continue running |
| Void portal route | The Planetarium | Voidling fight then clear |
Before your build is fully assembled, don't force a loop; head to the moon, beat Mithrix, and bank a clear first. Looping is for perfecting a stacking build and seeing how far you can hold on.
The Mithrix fight and clear conditions
The Mithrix final fight has four phases. The big moment is the fourth phase — Mithrix steals all of your items and becomes invulnerable during it.
-
1
Phase 1
Hammer smashes and needle barrages. He has thick armor and is very tanky.
-
2
Phase 2
Lunar adds (Golems and Wisps) spawn, so clear them out.
-
3
Phase 3
He returns with an energized hammer. Watch for the lingering blue flame pillars.
-
4
Phase 4
He steals all your items and turns invulnerable. Deal damage to reclaim them, then focus the weakened Mithrix.
After the kill, you clear by reaching the escape ship within 3 minutes and defending it for 1 minute. Enemies keep spawning during the escape, so save some movement items and area firepower.
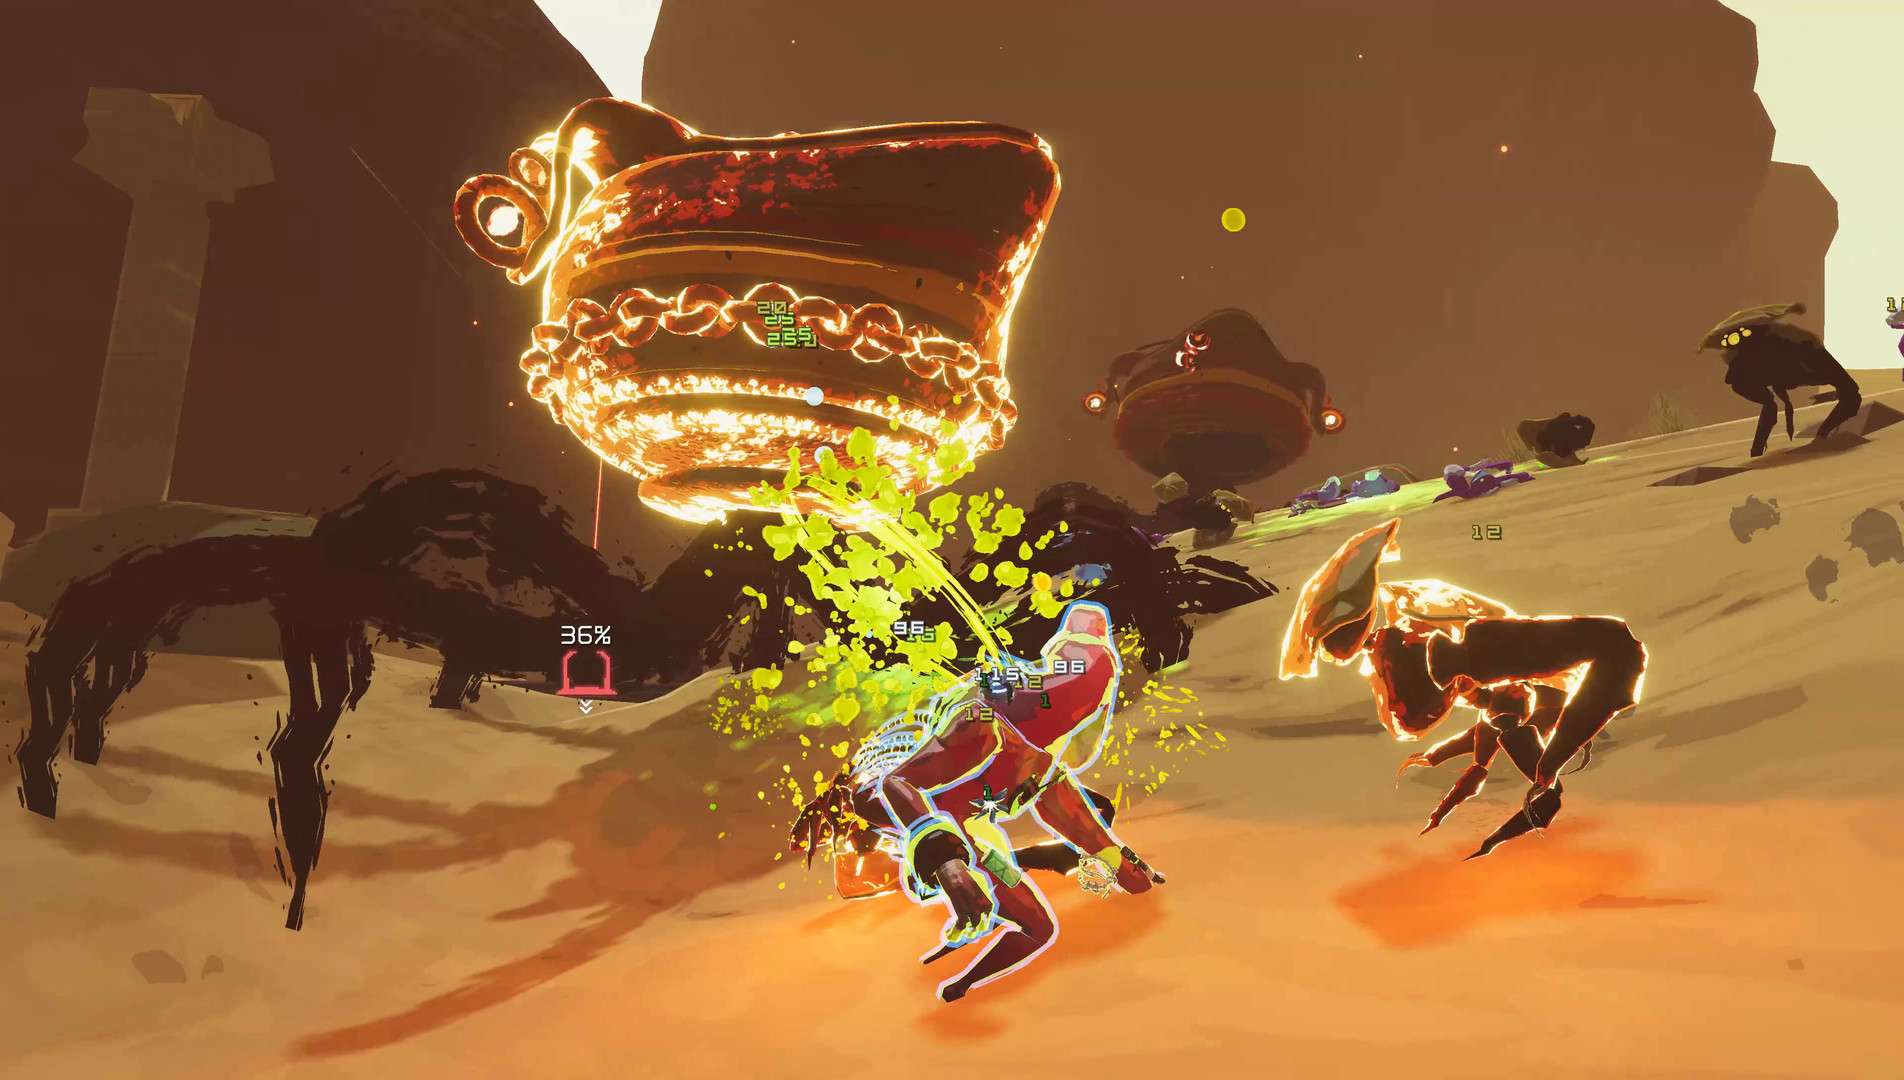
How to survive deep loops
Pros
- +Stacking scales exponentially and firepower climbs sky-high
- +A unique sense of accomplishment and endgame depth
- +More chances to acquire higher-rarity items
Cons
- −Difficulty accelerates and a single hit can one-shot you
- −A firepower-heavy build collapses when survival can't keep up
- −A single run becomes extremely long
In deep loops the rule is to stack not just firepower but plenty of survival and movement. To avoid one-shot deaths, secure damage-negation and evasion options, and keep moving so you never sit in the enemy's crossfire. For how to think about your item build, see the Item Strategy guide; for the basic rules and early-game play, see the Beginner Guide.
★ Our take: looping is where this game shines
Honestly, the real magic of Risk of Rain 2 is "how long can you hold on once you start looping." As difficulty climbs without limit, your stacked firepower fills the screen while enemies just keep getting tankier — and that tug-of-war creates an addictiveness nothing else matches. The moon route is plenty for your first clear. Once you're comfortable, align those rings with the planet and dive into the deep loops.