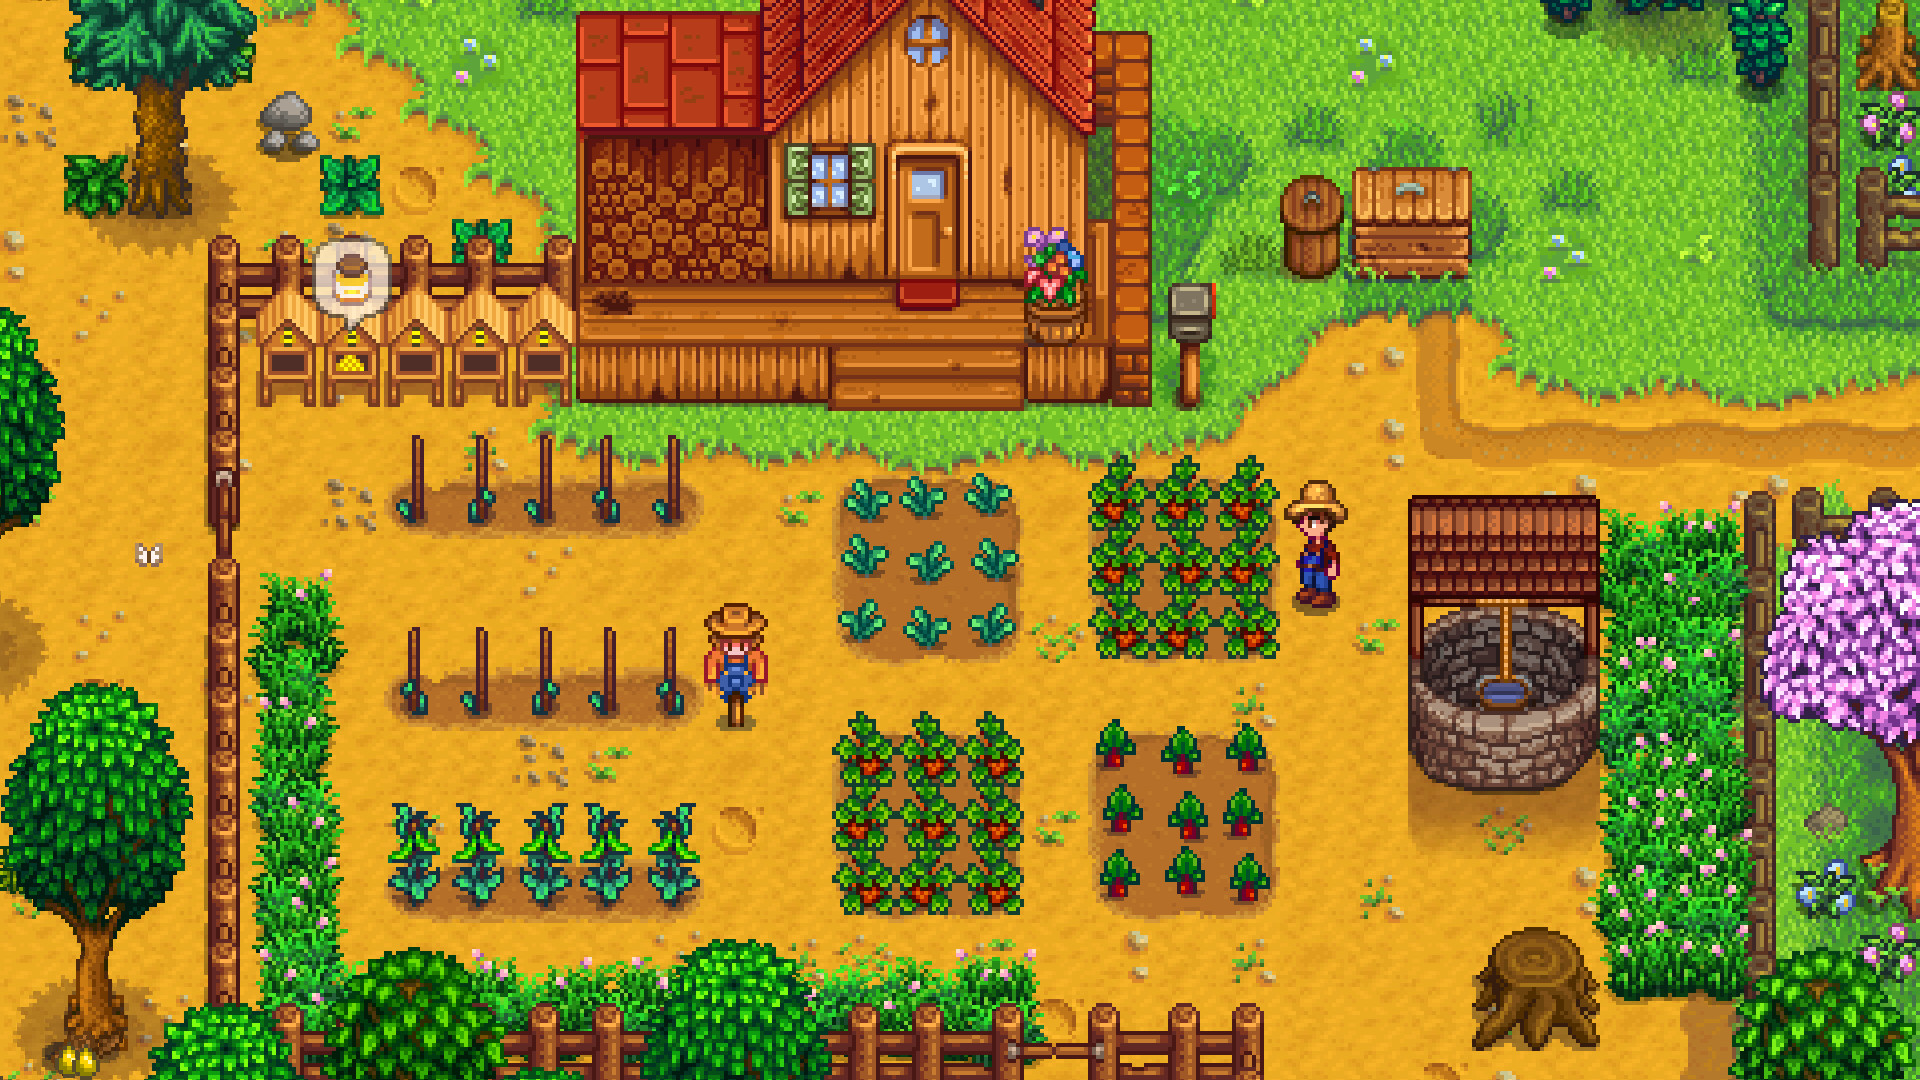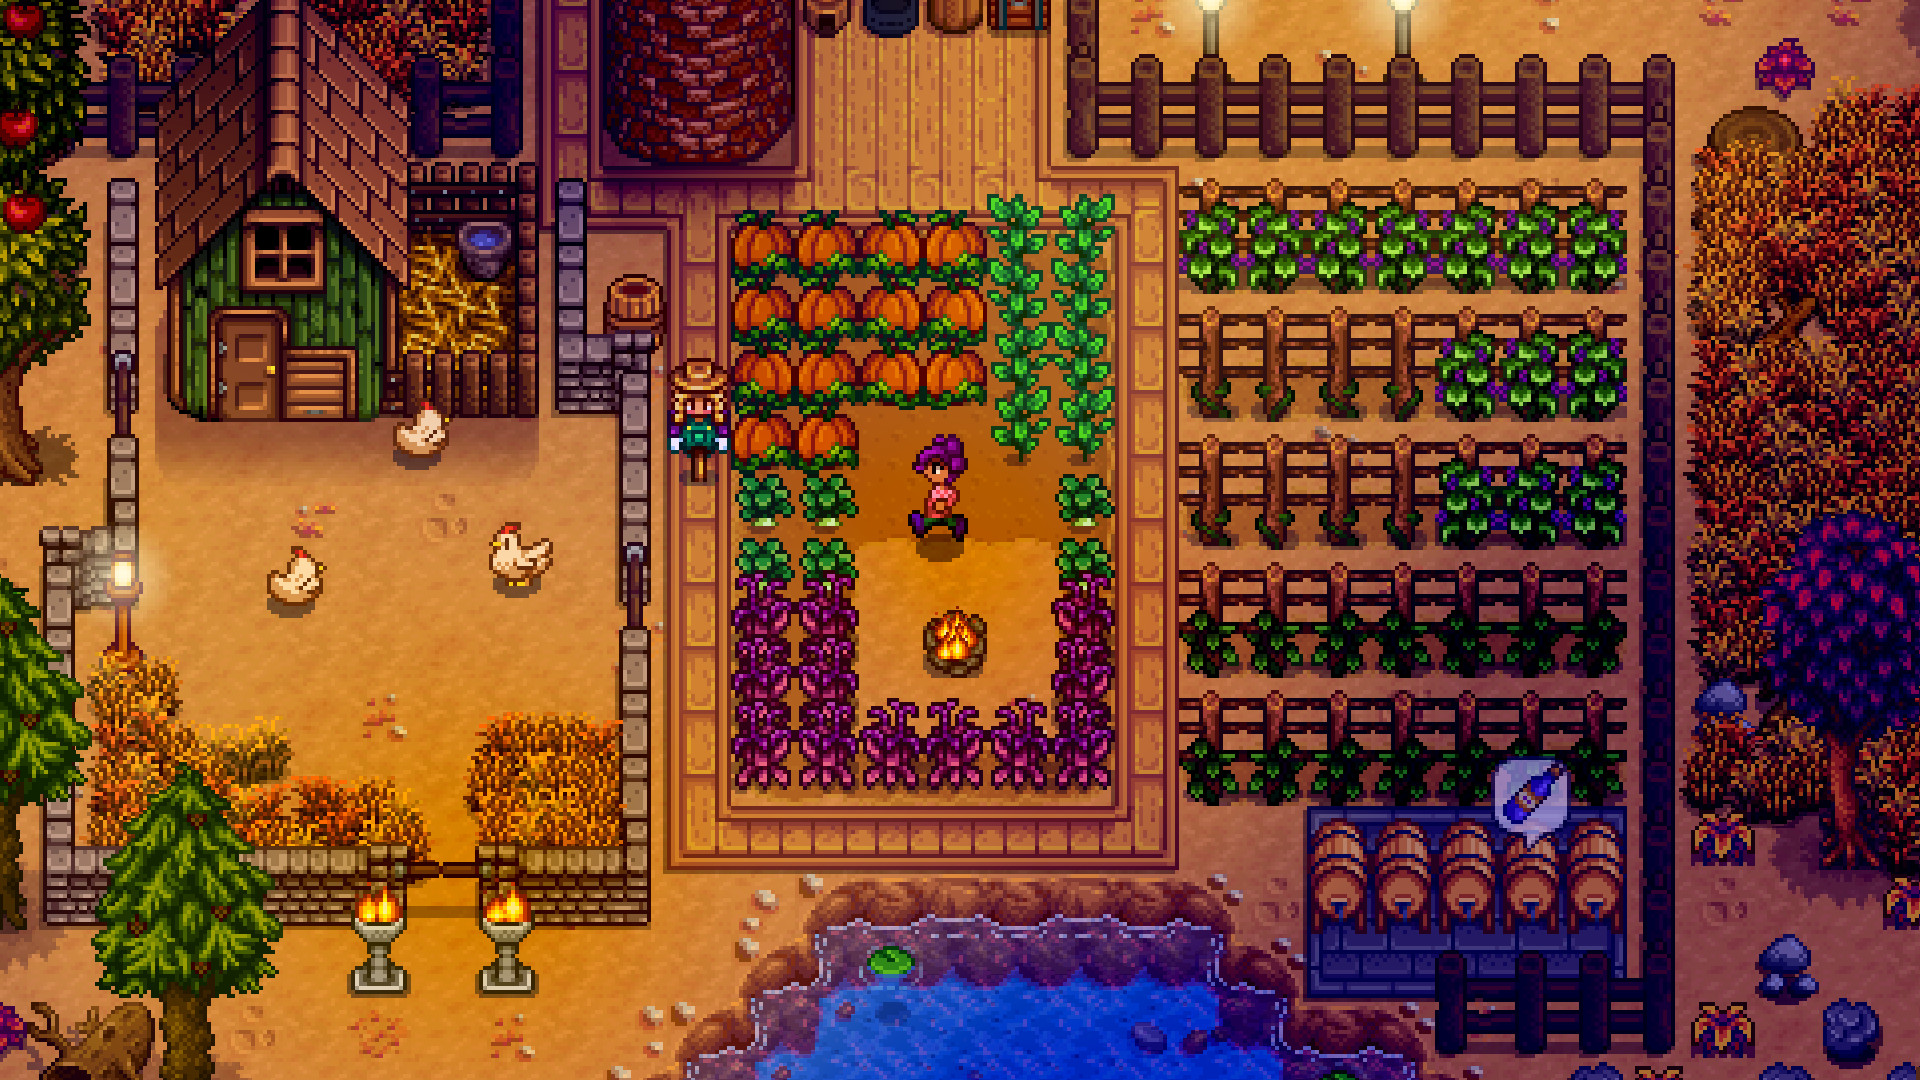
Most beginner guides say "manage your time and energy" and stop there. The more useful fact is that Stardew Valley's first week is partly scripted: the weather for Spring 1-5 is fixed, the fishing rod arrives on Spring 2, and the Mines and the Community Center both open on Spring 5. Once you know the script, the first week plans itself, and the rest of the year is a short list of dates and thresholds.
This page is the hub for your first year: what to do and when, with links to the detailed guides instead of repeating them. Facts are checked against the Stardew Valley Wiki (1.6).
The short answer: what to do in your first week and first season
| When | Do this | Why |
|---|---|---|
| Spring 1 | Plant and water the 15 parsnip seeds, meet villagers, forage | Parsnips are ready on Spring 5; 15 crops are below the crow threshold |
| Spring 2 | Go to the beach for Willy's free Bamboo Pole | Fishing is the best early money and needs no seeds |
| Spring 3 (always rain) | Fish or chop wood all day | Rain waters your crops; Pierre is closed on Wednesdays anyway |
| Spring 5 | Harvest parsnips, enter town from the Bus Stop, then go to the Mines | Unlocks the Community Center and starts copper ore for tools |
| First 2,000g | 24-slot backpack from Pierre | Doubles your inventory from 12 to 24 slots |
| Spring 13 | Egg Festival: buy strawberry seeds (100g each) and plant them that night | The only chance to buy them in year 1 |
| By the end of spring | Copper pickaxe, Mines floor 40, one of every spring crop kept | Iron starts at floor 41; spring bundle items vanish on Summer 1 |
| Summer | Sprinklers, blueberries, the Luau soup | Sprinklers free your mornings; summer crops pay for the year |
If you only remember one rule: every day should have a main job — farm, fish, mine or socialize. Water first, then spend the rest of the day on that one job. Days that try to do everything usually end at 2am with nothing finished.
Energy and time: the rules that catch beginners
You start with 270 energy. Swinging the watering can, hoe, pickaxe or axe costs 2 energy at skill level 0, and each level in the matching skill cuts that by 0.1, down to 1 at level 10. So the first week is the most expensive one: everything costs the full price.
| Rule | What happens | What to do |
|---|---|---|
| Energy hits 0 | You become exhausted: slower movement, slower tools, and you cannot cast a fishing rod | Eat forage or a parsnip (25 energy) before you hit 0 |
| Energy hits -15 | You pass out and the day ends | Never work through exhaustion |
| Clock hits 2:00am | You pass out wherever you are | Head home by 1am at the latest |
| Passing out outside | You lose 10% of your money, up to 1,000g | Sleep in your own bed |
| Bed after midnight | Less energy tomorrow (about -25% at 1am, -50% at 2am) | Bed by midnight restores you fully |
| Going to bed exhausted | Tomorrow's energy restoration is halved | Stop before 0 energy |
Time. The day starts at 6am, and 10 in-game minutes take about 7 real seconds. In single-player, time pauses while a menu, dialogue or cutscene is open, so checking your inventory or the calendar costs nothing. In multiplayer it does not pause.
Free energy. Spring forage is food: spring onions, leeks and dandelions can be eaten instead of sold, and Salmonberries grow on bushes from Spring 15 to 18 (25 energy each, almost worthless to sell). Eat them.
Permanent energy. Each Stardrop adds 34 maximum energy. In year 1, two are realistic: the one in the floor 100 chest of the Mines, and the one sold for 2,000 Star Tokens at the Stardew Valley Fair.
Spring 1-7, day by day
Year 1 starts on a Monday. The weather for the first five days is fixed: Spring 1, 2, 4 and 5 are always sunny, and Spring 3 always rains. After that it is random, and the TV's weather channel tells you tomorrow's forecast.
-
1
Spring 1 (Mon, sunny) — parsnips and introductions
Clear a small patch near the house, till it, and plant and water the 15 Parsnip Seeds Mayor Lewis left you. Walk to town and greet villagers (finishing the Introductions quest gives +100 friendship with everyone you have met). You start with 500g: if you buy seeds, take one Cauliflower, one Bean Starter and one Potato to keep for the Community Center's Spring Crops Bundle.
-
2
Spring 2 (Tue, sunny) — the fishing rod
Willy's letter arrives. Visit the beach that day, before 5pm, and he gives you the Bamboo Pole. Water first, then fish the afternoon away. Fishing level 0 is hard; the Fishing Guide explains why and how to make it easier.
-
3
Spring 3 (Wed, rain) — fish or chop
No watering today. Pierre is closed on Wednesdays, so use the day for fishing or for collecting wood and stone. You will need 50 wood for a Scarecrow and much more for a coop and the house upgrade.
-
4
Spring 4 (Thu, sunny) — forage and save materials
Water, forage the town and Cindersap Forest, and keep fishing. Livin' Off The Land airs on Mondays and Thursdays and gives practical tips.
-
5
Spring 5 (Fri, sunny) — the big day
Harvest the parsnips (the Getting Started quest pays 100g), which usually takes you to Farming level 1 and unlocks the Scarecrow. Then take the farm's east exit to the Bus Stop and walk into town between 8am and 1pm: Mayor Lewis opens the Community Center. Morris's letter also opens the Mines; Marlon gives you a Rusty Sword at the entrance.
-
6
Spring 6 (Sat) — first mining day
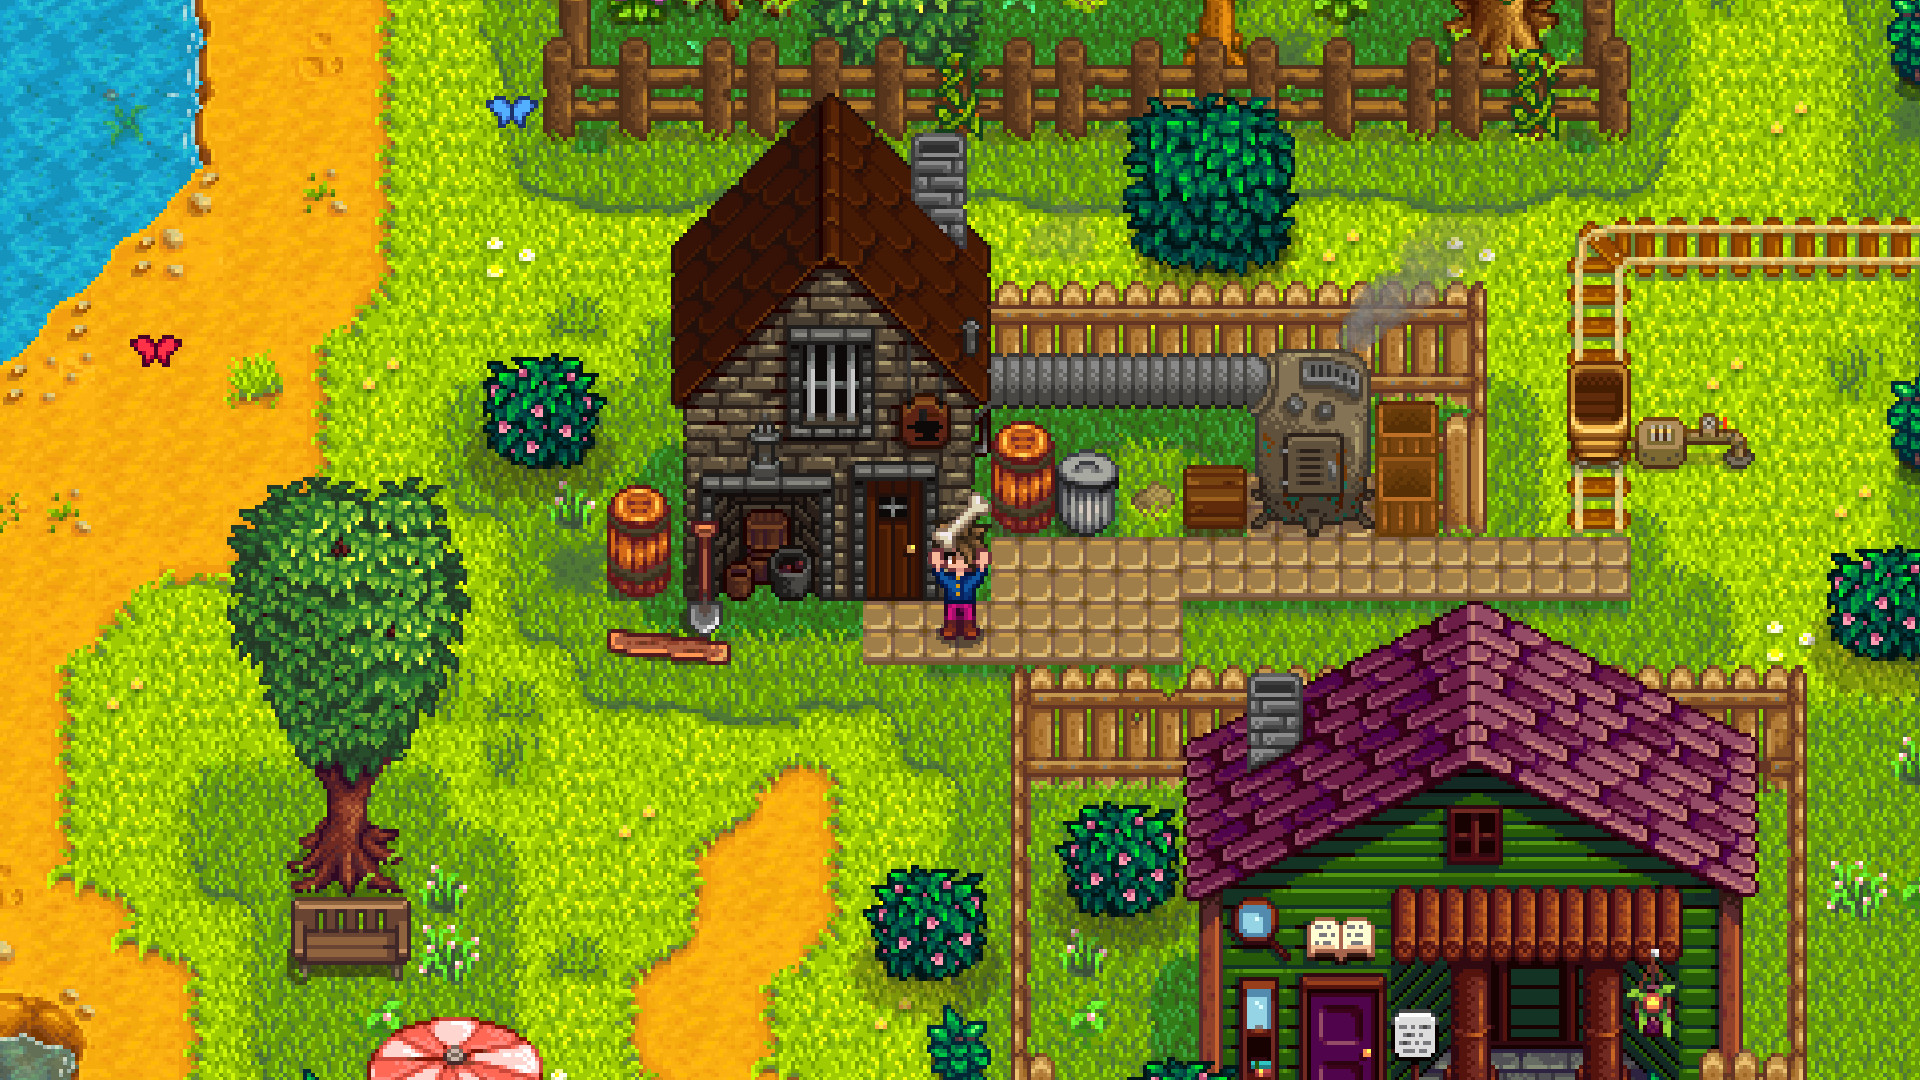
Pick up copper ore and coal on floors 1-9. The morning after you first collect copper ore, Clint visits with the Furnace recipe (20 copper ore and 25 stone). Five copper ore plus one coal makes a Copper Bar.
-
7
Spring 7 (Sun) — replant and plan
Replant the parsnip patch (or plant potatoes, kale or cauliflower), craft a Scarecrow if you plant more than 15 crops, and watch The Queen of Sauce: new recipes air every Sunday, starting today. The Traveling Cart is in Cindersap Forest on Fridays and Sundays.
Crows. For every 16 crops on your farm, one crow may try to eat a crop overnight (up to four crows). Fifteen crops are completely safe. Once you plant more, place a Scarecrow: it unlocks at Farming 1 and costs 50 wood, 1 coal and 20 fiber, and it protects 8 tiles in every direction.
The first-year roadmap, season by season
Spring: strawberries, the backpack and floor 40
- Egg Festival (Spring 13). Enter the town square between 9am and 2pm. Pierre's booth sells Strawberry Seeds for 100g — the only time you can buy them in year 1. Bring money; this is what your first two weeks of fishing and parsnips are for. Strawberries take 8 days and regrow every 4, so seeds planted on Spring 13 give two harvests (21st and 25th). The wiki notes a third is possible with Speed-Gro applied at planting, and the easiest source is the Spring Crops Bundle reward (20 Speed-Gro).
- Backpack. The 24-slot backpack (2,000g) is the best first purchase. The 36-slot one is 10,000g and can wait.
- Copper pickaxe. 2,000g plus 5 Copper Bars at Clint's. It breaks every rock on Mines floors 1-39 in one hit, which makes reaching floor 40 by the end of spring realistic.
- Flower Dance (Spring 24). Held in the far west of Cindersap Forest. You can dance with a marriage candidate at 4 hearts or more (+250 friendship). Pierre sells Daffodils and Dandelions there, which rescues the Spring Foraging Bundle if you sold yours.
- Season end. On Summer 1, every spring crop withers. Do not plant a crop that cannot finish growing by Spring 28.
Summer: sprinklers and the Luau
- Sprinklers. The basic Sprinkler unlocks at Farming 2 and costs 1 Copper Bar + 1 Iron Bar; it waters the 4 adjacent tiles every morning. Iron ore starts at Mines floor 41, so getting there is what unlocks sprinklers. Quality Sprinklers (8 tiles) need Farming 6 and a Gold Bar, which comes from floor 81 down.
- Crops. Blueberries are the low-budget answer for summer; see Best Crops by Season. Keep one Tomato, Hot Pepper, Blueberry and Melon for the Pantry.
- Luau (Summer 11). The Governor tastes the town's potluck soup, and the ingredient you add changes your friendship with the whole town: the best result is +120, the worst is -100. Bring one high-value, high-quality ingredient such as a gold-quality crop. Never add Pufferfish, Red Mushroom or Sap.
- Coop and barn. A Coop is 4,000g, 300 wood and 100 stone; a Barn 6,000g, 350 wood and 150 stone. The Pantry's Animal Bundle needs more than cows and chickens (goats need a Big Barn, ducks a Big Coop), so start in summer if the greenhouse is your goal.
- Also in summer: the Trout Derby (Summer 20-21, river in Cindersap Forest; the first Golden Tag prize is a Tent Kit) and the Dance of the Moonlight Jellies on the evening of Summer 28.
Fall: the Fair and the Pantry push
- Stardew Valley Fair (Fall 16, 9am-3pm). The Grange Display takes up to 9 items judged on quality and variety; items from different categories (fruit, vegetables, fish, forage, minerals, animal products, artisan goods, cooking) score more than nine of one crop. First place gives 1,000 Star Tokens, and the Stardrop costs 2,000, so the rest comes from the Fair's minigames. Pick your items up after judging; they are not returned automatically.
- Crops. Pumpkins and cranberries, plus the four fall crops and the gold-quality crops the Pantry needs.
- Spirit's Eve (Fall 27, 10pm-11:50pm). In odd years the chest at the end of the maze holds a Golden Pumpkin, which nearly every villager loves. Year 1 is an odd year.
- Kegs. Farming 8 unlocks the Keg. If you get there in fall, the Money Making Guide explains why processing is the jump in income.
Winter: the Mines, upgrades and the Crafts Room
- No regular crops grow outdoors, so winter is the season for tool upgrades (no crops to water while Clint has the can), the Mines down to floor 120, and the winter forage that finishes the Crafts Room.
- Festivals: Festival of Ice (Winter 8, ice fishing contest), SquidFest (Winter 12-13), the Night Market (Winter 15-17, evenings) and the Feast of the Winter Star (Winter 25, secret gift exchange).
The Community Center, Joja and the greenhouse
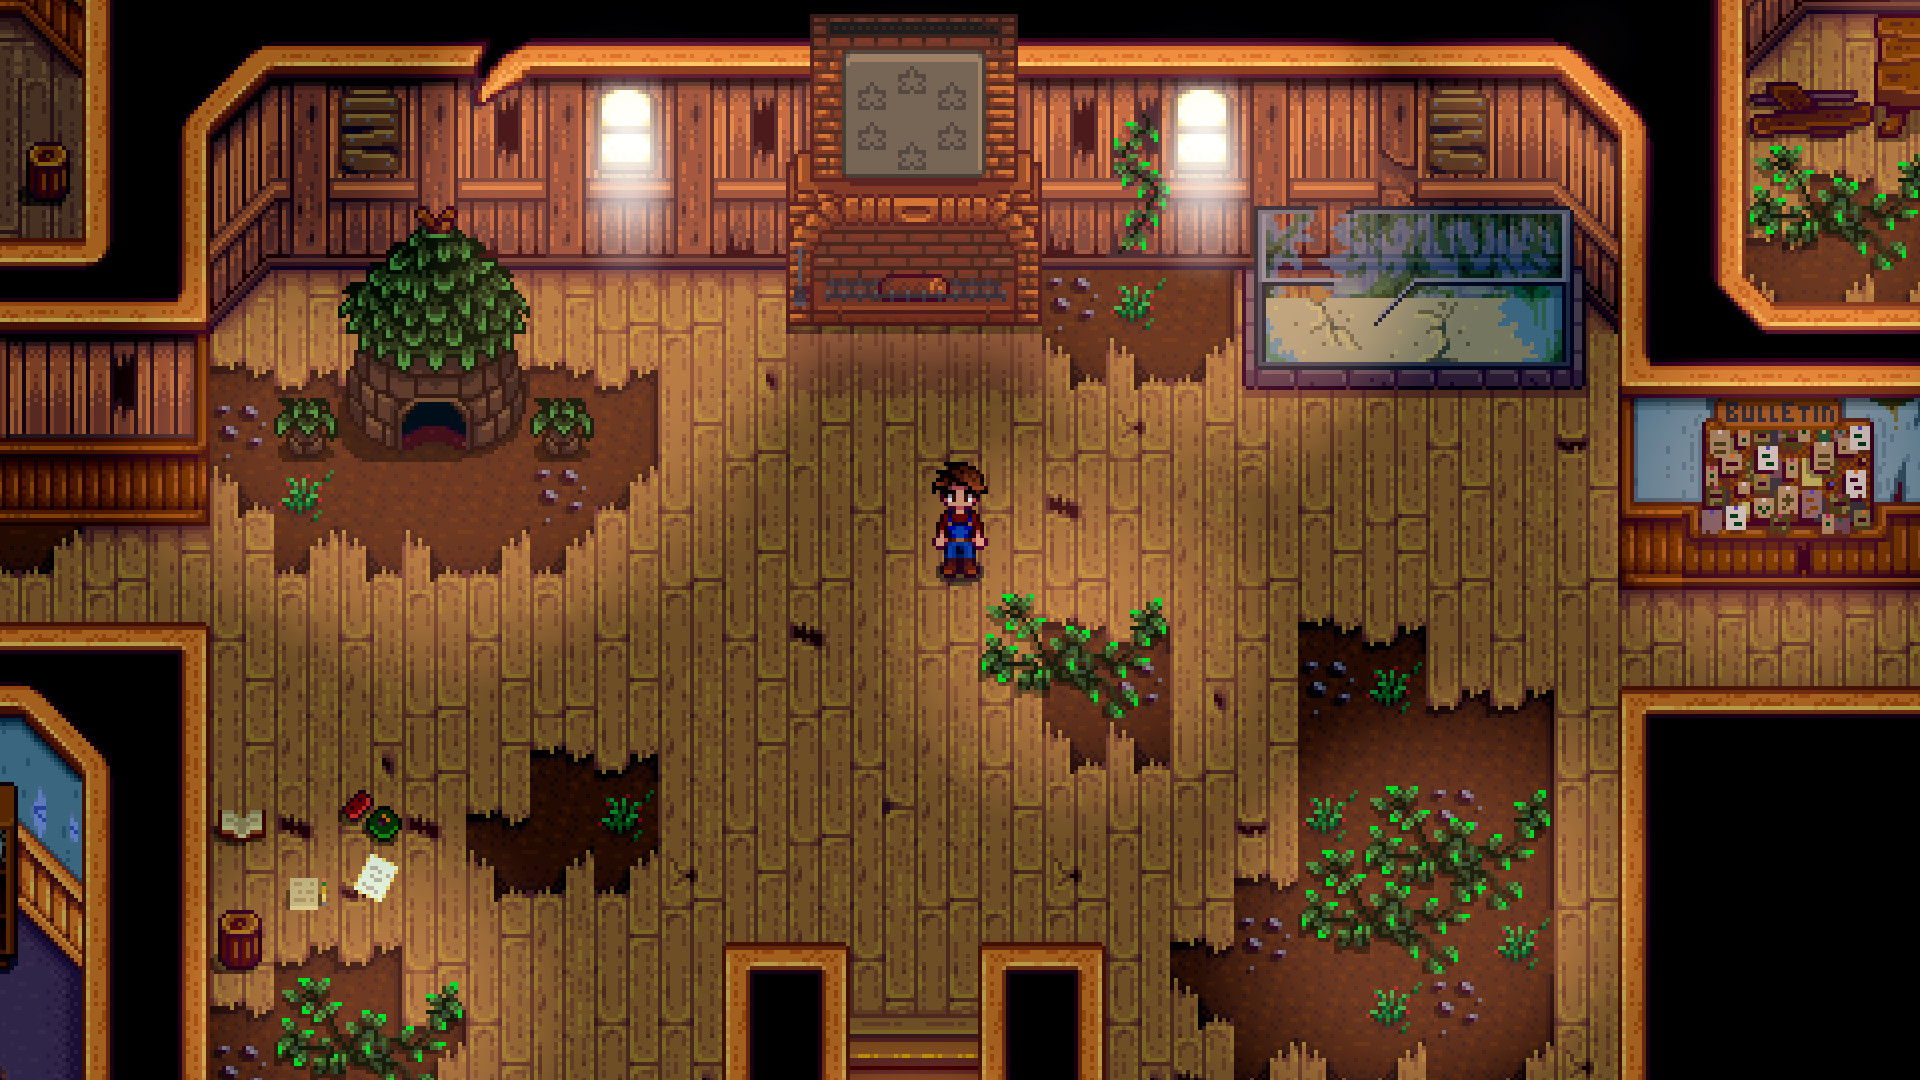
The Community Center is the backbone of year 1. Six rooms of bundles repair the greenhouse, the minecarts, the Quarry bridge and the bus. The one that matters most early is the Pantry, because its reward is the greenhouse: 120 tiles that grow any crop in any season (crops still need watering), plus room for fruit trees around the edge.
The alternative is a JojaMart membership (5,000g from Morris), which turns the building into a warehouse and lets you buy the same repairs with gold instead. It costs far more gold in total, and you give up the individual bundle rewards (Keg, Quality Sprinkler, Seed Maker, Crystalarium and more). Every bundle, the season to collect each item, and the full Joja cost table are in the Community Center Guide.
Realistic year-1 target: the Pantry (greenhouse) and the Boiler Room (minecarts, filled by going down the Mines). The Crafts Room cannot finish before winter, the Fish Tank needs the desert, and the Bulletin Board's Red Cabbage usually pushes it to year 2. Not finishing in year 1 is normal.
When to upgrade each tool
Clint the blacksmith is open 9am to 4pm and closes on most festival days. Every upgrade takes 2 days, and you cannot use the tool while he has it.
| Tier | Cost | Bars from |
|---|---|---|
| Copper | 2,000g + 5 Copper Bars | Mines floors 1-39 |
| Steel | 5,000g + 5 Iron Bars | Mines floors 41-79 |
| Gold | 10,000g + 5 Gold Bars | Mines floors 81-119 |
| Iridium | 25,000g + 5 Iridium Bars | Mainly the Skull Cavern |
| Tool | Upgrade when | What it changes |
|---|---|---|
| Pickaxe | First, in spring | Copper breaks every rock on floors 1-39 in one hit; Steel breaks the farm's boulders |
| Watering can | The day before rain, or in winter | Larger tank (40 to 55) and a charged 3-tile line at Copper; 3x3 at Gold |
| Axe | When you need hardwood | Copper chops Large Stumps; Steel chops the Large Log blocking the Secret Woods |
| Hoe | Winter, if at all | A charged swing tills more tiles; useful but rarely urgent |
The watering can trick. On a day when the TV forecast says it will rain tomorrow, water your crops in the morning, then hand the can to Clint. The rain waters everything the next day, and you collect the upgraded can the morning after. In winter the timing does not matter, since nothing grows outdoors.
Why the pickaxe first: faster mining means copper and iron sooner, and those bars feed every other upgrade and the sprinklers.
What to keep and what to sell
| Item | Keep or sell | Why |
|---|---|---|
| One of each seasonal crop, forageable and fish | Keep | Community Center bundles; missing one can cost a year |
| Five gold-quality Parsnips, Melons, Pumpkins or Corn | Keep | The Quality Crops Bundle in the Pantry |
| Copper, iron and gold ore, coal | Keep | Bars for tools and sprinklers; ore sells for little |
| Wood, stone, fiber, hardwood, clay | Keep | Scarecrows, chests, coop, barn, house upgrade, staircases |
| Quartz and gems | Keep a few | Refined Quartz for Quality Sprinklers; gems are loved gifts |
| First copy of each mineral and artifact | Donate | Museum rewards; 60 donations bring the Rusty Key to the Sewers |
| Geodes | Crack them | Clint opens each for 25g; contents are often museum items |
| Salmonberries, extra forage | Eat | Free energy, almost no sale value |
| Extra crops and fish beyond the above | Sell | Your income until kegs and preserves jars arrive |
If you put the wrong item in the shipping bin, open the bin again the same day: the last item shipped can be taken back. Only the last one, though, so check before you dump a full stack.
Friends and marriage in year 1
You do not need to befriend everyone. Talk to the people you see, and pick a few villagers whose loved gifts are easy for you. Gifts on birthdays count eight times. The Gift Guide has every villager's birthday and easy loved gifts, and the Marriage Guide covers the Bouquet, the Mermaid's Pendant and the 12 candidates. If you want to marry, the first house upgrade (10,000g and 450 wood at Robin's, which also adds a kitchen) is a requirement, so put it on the year-1 list.
Common beginner mistakes
- Planting more than you can water. The starter can holds 40 charges. Until you have sprinklers, a field you cannot water every morning is a field of crops that simply stop growing.
- Shipping your only copy. Dropping the whole harvest in the bin is how most bundle items are missed. Keep one of everything new.
- Staying out until 2am. Passing out outside costs up to 1,000g and tomorrow's energy.
- Leaving the Mines on floor 34. Progress is saved only at multiples of 5. Push to the next elevator; the Mines Guide covers floors, weapons and what to bring.
- Giving Clint the watering can on a sunny day in spring or summer. Two days of hand-watering without a can means two days of dry crops. Wait for a rain forecast or for winter.
- Missing the Egg Festival with no money. Strawberry seeds are 100g each and sold only that day in year 1. Keep cash for Spring 13.
- Planting late in the season. Crops that are not done on day 28 die on day 1 of the next season, except those that grow in both (such as Corn, Wheat and Sunflowers).
- Fishing with a short bar and no plan. Fishing level 0 is the hardest it will ever be. The Fishing Guide explains bar size, rods and the levels where it gets easier.
Next steps: Skills and Professions for the level 5 and 10 choices (take Tiller at Farming 5 if you plan to make wine), and the Stardew Valley review for our overall verdict.
★Honest Take: the first week is the hardest week
Stardew Valley's opening is generous with freedom and stingy with explanation. You are handed a farm full of debris, 270 energy, a watering can that holds 40 charges and a fishing minigame tuned against you, and the game tells you almost nothing about crows, season ends, elevator floors or the 2am rule. It is normal for the first week to feel like failure.
It gets better quickly, and for concrete reasons: skills cut tool costs, sprinklers end the watering chore, the backpack ends the inventory juggling, and the Mines start paying for upgrades. The weakness is that the most important deadlines — strawberry seeds on Spring 13, keeping one of each seasonal item — are easy to miss on a first playthrough, and the game will not warn you. Follow the dates above, aim for the greenhouse, and treat everything else in year 1 as optional.