At level 5 in each skill you choose one of two professions; at level 10 you choose one of two more, and which two you see depends on your level 5 choice. So each skill is really a choice between four end states, and the level 5 pick is mostly about which level 10 you want.
The best pick for each skill
| Skill | Level 5 | Level 10 | Why |
|---|---|---|---|
| Farming | Tiller | Artisan | Artisan goods +40% — the largest money multiplier in the game |
| Mining | Miner | Blacksmith | +1 ore per vein, then metal bars worth +50% |
| Foraging | Gatherer | Botanist | Double forage chance, then everything foraged is iridium quality |
| Fishing | Fisher | Angler | Fish worth +25%, then +50% |
| Combat | Fighter | Brute | +10% damage and +15 HP, then another +15% damage |
None of these are permanent. If you change your mind, the Statue of Uncertainty in the Sewers lets you pick one skill's professions again for 10,000g. Choose now with the table above and adjust once your farm's plan is clear.
Every profession and its effect
| Skill | Level 5 | Level 10 options |
|---|---|---|
| Farming | Rancher: animal products +20% | Coopmaster: coop animals befriended faster, incubation halved / Shepherd: barn animals befriended faster, sheep produce wool faster |
| Farming | Tiller: crops +10% | Artisan: artisan goods +40% / Agriculturist: all crops grow 10% faster |
| Mining | Miner: +1 ore per vein | Blacksmith: metal bars +50% / Prospector: chance to find coal doubled |
| Mining | Geologist: chance for gems to appear in pairs | Excavator: chance to find geodes doubled / Gemologist: gems +30% |
| Foraging | Forester: trees drop 25% more wood | Lumberjack: all trees can drop hardwood / Tapper: syrups +25% |
| Foraging | Gatherer: 20% chance of double forage | Botanist: foraged items always highest quality / Tracker: forageable items shown with arrows |
| Fishing | Fisher: fish +25% | Angler: fish +50% / Pirate: chance to find treasure doubled |
| Fishing | Trapper: cheaper crab pots | Mariner: crab pots never catch junk / Luremaster: crab pots need no bait |
| Combat | Fighter: +10% damage, +15 HP | Brute: +15% damage / Defender: +25 HP |
| Combat | Scout: crit chance +50% | Acrobat: special move cooldown halved / Desperado: crits deal double damage |
Skill by skill: when the other option wins
Farming — Tiller → Artisan
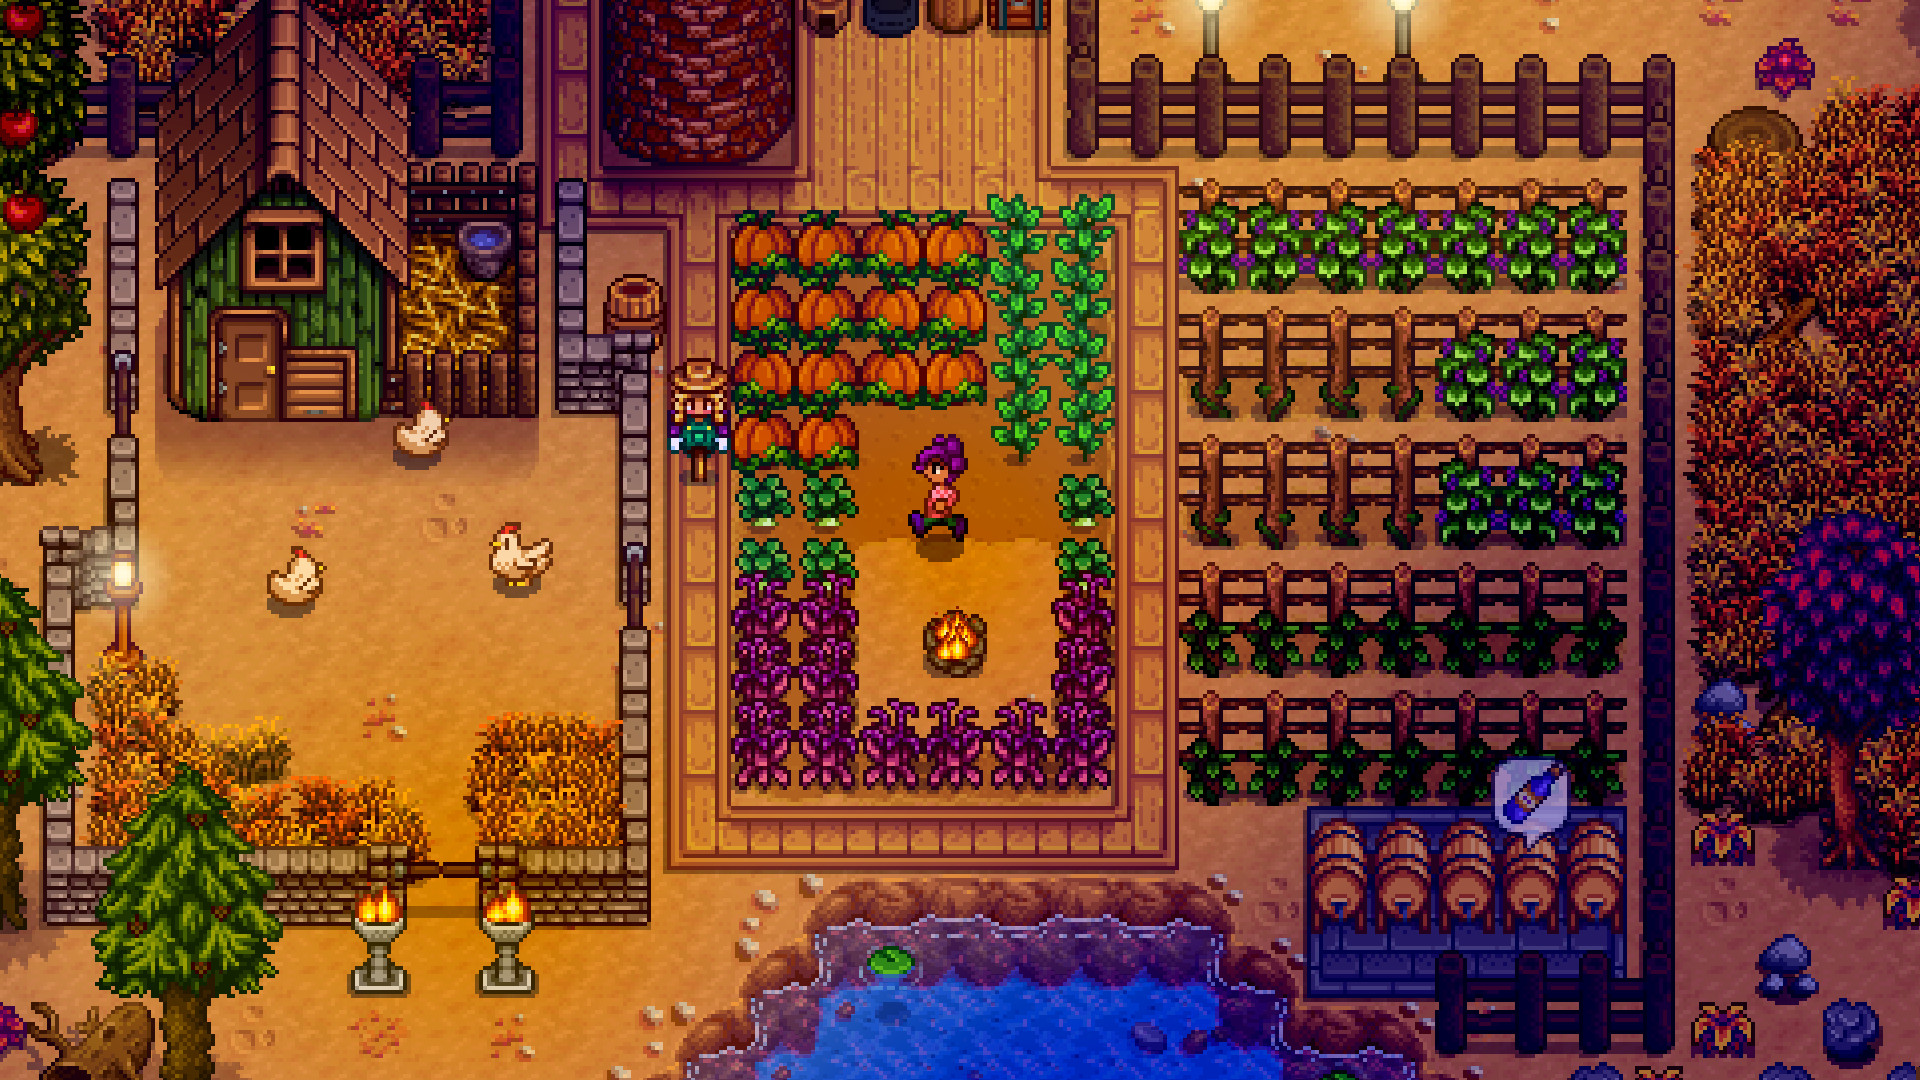
Artisan is the reason Tiller is the right level 5 pick. Wine from kegs, jelly and pickles from preserves jars, and cheese, cloth and mayonnaise from animal products are all artisan goods, so Artisan raises the value of almost everything a developed farm sells. Note that this means animal-based farms want Artisan too — Rancher only boosts raw animal products, which you would usually process anyway.
When Agriculturist wins: if you sell raw crops instead of processing them, or you are pushing for one extra harvest of a high-value crop in a season. For most players, the kegs come first and Artisan wins.
Mining — Miner → Blacksmith (or Geologist → Gemologist)
Miner's extra ore per vein speeds up every tool and building upgrade. At level 10, Blacksmith raises the value of bars you sell, while Prospector doubles coal finds — useful if you smelt a lot and keep running out of coal.
When Geologist wins: if you plan to run many Crystalariums copying a valuable gem, Gemologist's +30% on gems pays off every day. Excavator (double geodes) helps with museum collection and artifact hunting more than with money.
Foraging — Gatherer → Botanist
Botanist makes every foraged item iridium quality: double the sell price, better gifts, more energy when eaten, and better ingredients for cooking. Combined with Gatherer's 20% double-drop chance, foraging becomes surprisingly valuable.
When Forester wins: if you need large amounts of wood and hardwood. Lumberjack lets every tree drop hardwood, which removes one of the most annoying bottlenecks in building. Many players take Forester early and switch later with the statue.
Fishing — Fisher → Angler (or Trapper → Luremaster)
If you fish with a rod, Fisher then Angler is a straightforward +25% then +50% on fish. Pirate's doubled treasure chance is fun but worth less over time.
When Trapper wins: if you rely on crab pots. Luremaster removes the need for bait, which turns a row of crab pots into a zero-effort daily income. Mariner removes junk, but Luremaster saves more work.
Combat — Fighter → Brute
Brute's +15% damage multiplies with Fighter's +10%, works with every weapon and needs no special build. That reliability is why it is the standard pick for the Skull Cavern.
When Scout wins: with high-crit weapons and rings, Scout then Desperado (double crit damage) has a higher ceiling. Defender (+25 HP) is the honest pick for players who keep dying in the mines; Acrobat helps if you use special moves constantly.
Leveling tips
- Farming: water and harvest every day. Crops that regrow give experience on each harvest.
- Mining and Combat: both level fastest in the Mines and the Skull Cavern, so they tend to rise together.
- Foraging: chop trees and pick up forage on the way to everything else; it levels without dedicated time.
- Fishing: perfect catches and harder fish give more experience. Reaching level 5 early makes fishing far more comfortable.
Masteries (1.6)
Once all five skills are level 10, extra experience fills a mastery bar. Farming experience counts at half rate; the others count fully. Each mastery level lets you claim one skill's reward:
| Skill | Mastery rewards |
|---|---|
| Farming | Iridium Scythe, Statue of Blessings recipe, Golden Animal Crackers (double animal produce) |
| Mining | Statue of the Dwarf King recipe, Heavy Furnace recipe, doubled gems from gem rocks |
| Foraging | Mystic Tree Seed recipe, Treasure Totem recipe, Golden Mystery Boxes |
| Fishing | Advanced Iridium Rod, Challenge Bait recipe, golden fishing treasure chests |
| Combat | Anvil recipe, Mini-Forge recipe, a Trinket slot |
To put Artisan to work, see the Money Making Guide. For the Skull Cavern runs where Brute pays off, see Mining and Combat, and for Fisher and Angler in practice, the Fishing Guide.
★Honest Take: only two choices really matter
Most profession picks in Stardew Valley are not close. Tiller into Artisan and Gatherer into Botanist are right for almost every farm, and Fighter into Brute is never a mistake. The decisions that actually depend on you are Mining (bars or gems) and Fishing (rod or crab pots). And because the Statue of Uncertainty exists, even those are cheap to undo once your farm has money — so pick, play, and change later if the farm you end up building wants something else.