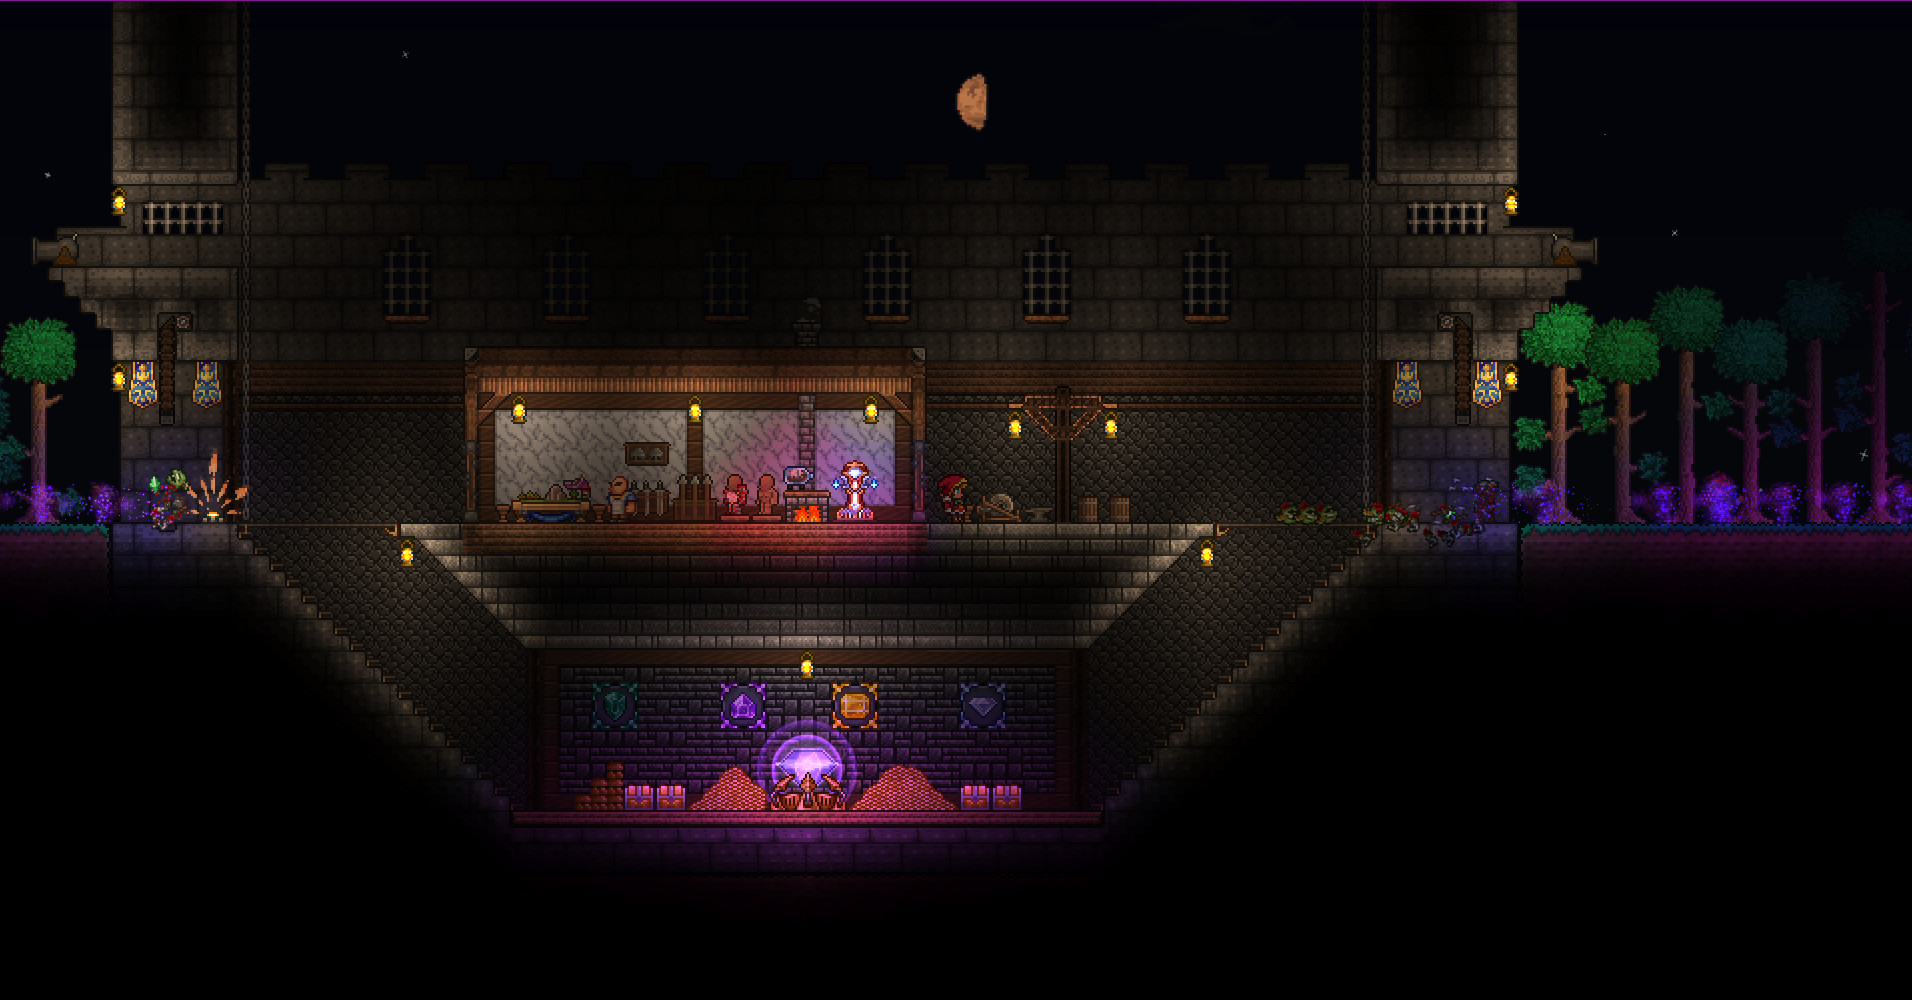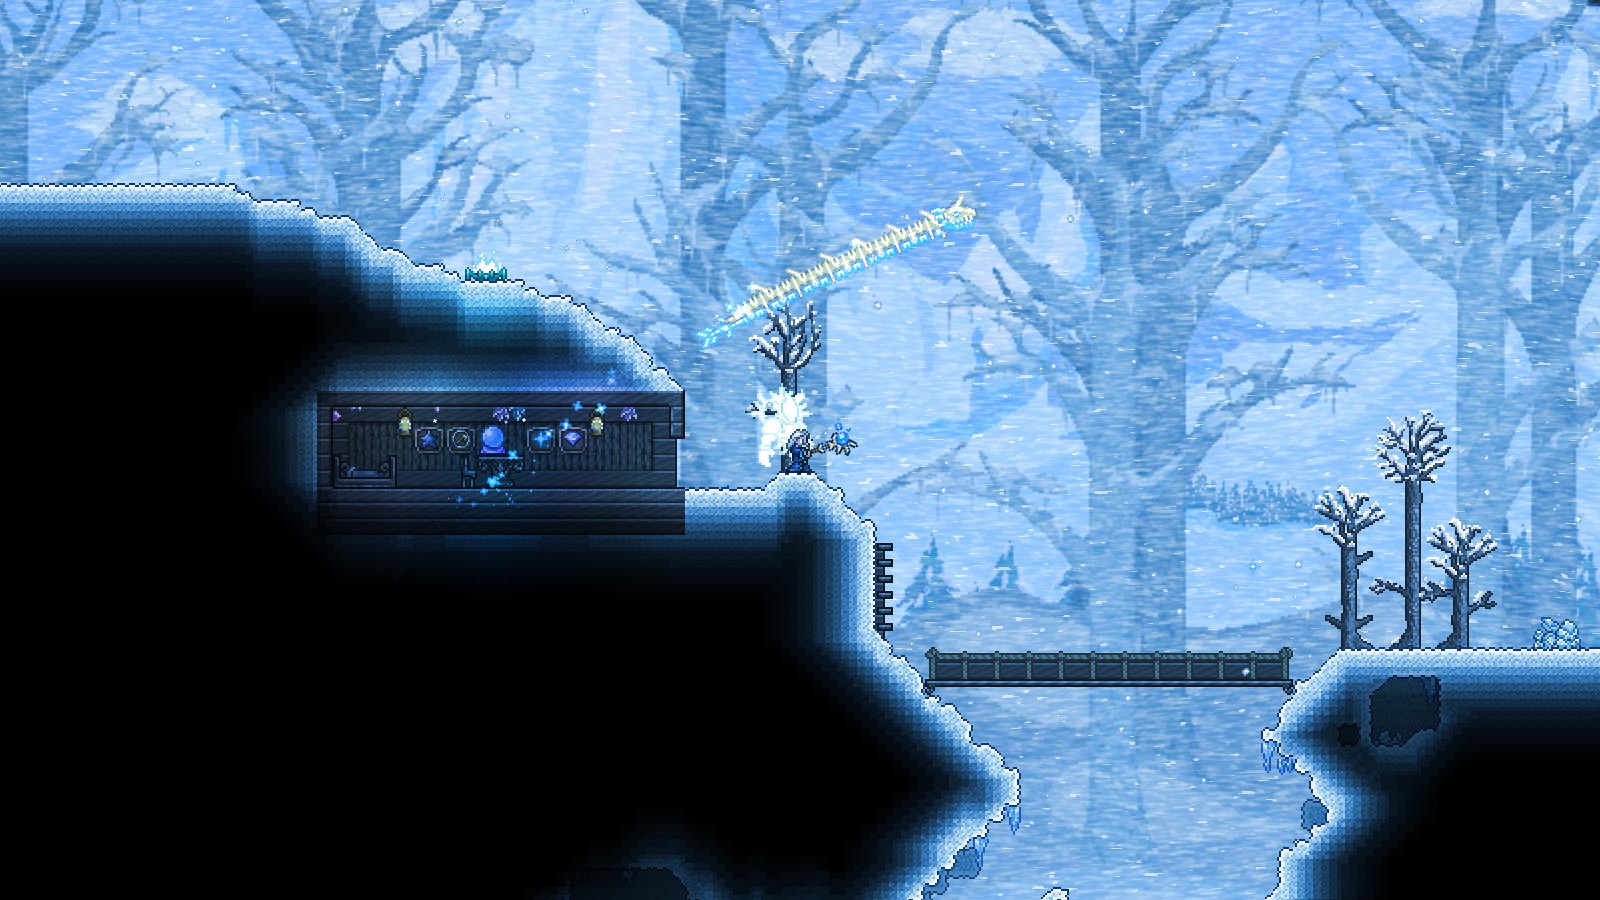
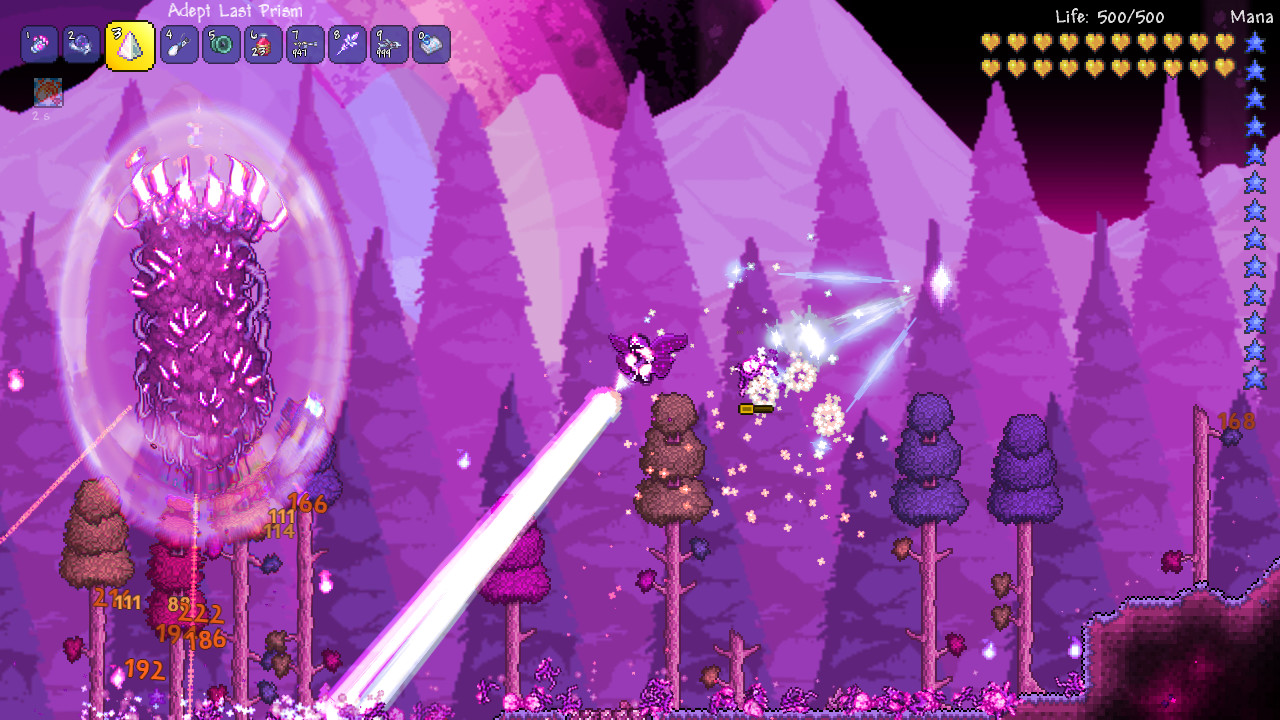
Terraria never asks you to pick a class. What you wear and hold decides it: a broadsword and Molten armor make you melee, a Minishark and Necro armor make you ranged. You can change your mind at any point, but once Hardmode starts, the armor set bonuses and class emblems reward sticking to one class for each fight.
This guide starts with a comparison of the four classes, then gives one table per class with the gear to aim for at each stage. The stages follow the boss route explained in the Boss Order Guide.
The four classes at a glance
| Class | Playstyle | Strengths | Weaknesses | Beginner difficulty |
|---|---|---|---|---|
| Melee | Swords, yoyos, spears and flails up close or at mid range | Highest-defense armor sets; strong sword line from Night's Edge to the Zenith | Must get close to some bosses; fewer ranged options early | Easiest |
| Ranged | Bows, guns and launchers from a distance | Steady damage at range; one weapon gets much stronger with better ammo | Ammunition costs money; defense is lower than melee | Easy |
| Magic | Staves, wands, spell tomes and magic guns that cost mana | Very high damage and many piercing or homing spells | Lowest defense; you must manage mana and Mana Sickness | Medium |
| Summoner | Minions and sentries fight for you; whips mark targets | Minions attack on their own while you dodge; top-tier endgame weapons | Low defense; weak until armor and accessories add minion slots | Medium |
The difficulty column is our judgement, based on defense and how much each class asks you to manage. Every class can beat every boss, and the best class is the one you enjoy playing.
When to commit: before the Wall of Flesh, class bonuses are small, so use the strongest weapon you find whatever its class. The Wall of Flesh drops one of four class emblems (Warrior, Ranger, Sorcerer or Summoner) and Hardmode armor sets give large class-only bonuses. That is the natural point to choose. If the emblem you get does not match, you can still use it later as an ingredient for the Avenger Emblem, which boosts every class.
The stages used in this guide
- Pre-Boss: your first hours, before the Eye of Cthulhu. Gold or Platinum is the best ore.
- Pre-Hardmode: from the first bosses up to the Wall of Flesh. Hellstone, the Dungeon and the Jungle are open.
- Early Hardmode: after the Wall of Flesh, before the mechanical bosses. Ore armor and wings. See the Hardmode Guide.
- Post-Mechs: after the mechanical bosses, before Plantera. Hallowed Bars, Souls of Might, Sight and Fright, and Chlorophyte.
- Post-Plantera: the Hardmode Dungeon, Pumpkin Moon and the Solar Eclipse open up.
- Post-Golem / Pre-Moon Lord: Martian Madness, Duke Fishron and the Empress of Light, then the Lunatic Cultist and the lunar fragments.
- Endgame: after the Moon Lord, with Luminite.
Melee progression
| Stage | Weapons | Armor | Key accessories |
|---|---|---|---|
| Pre-Boss | Gold or Platinum Broadsword; the Enchanted Sword if you find an Enchanted Sword Shrine | Gold or Platinum armor | Feral Claws (Ivy Chests in the Underground Jungle) |
| Pre-Hardmode | Night's Edge: Light's Bane or Blood Butcherer, Muramasa, Blade of Grass and Volcano at a Demon or Crimson Altar | Molten armor (Hellstone Bars) | Feral Claws; Shield of Cthulhu in Expert |
| Early Hardmode | Breaker Blade (Wall of Flesh), then the best ore weapons you can craft | Adamantite armor with the Adamantite Helmet, or Titanium armor with the Titanium Mask | Warrior Emblem; Power Glove (Titan Glove from Mimics + Feral Claws) |
| Post-Mechs | Excalibur (Hallowed Bars), then True Excalibur (+24 Chlorophyte Bars) and True Night's Edge (+20 each of Souls of Fright, Might and Sight) | Hallowed armor with the Hallowed Mask | Mechanical Glove (Power Glove + Avenger Emblem) |
| Post-Plantera | Terra Blade (True Night's Edge + True Excalibur + Broken Hero Sword from Mothron); The Horseman's Blade (Pumpking) | Turtle armor (Chlorophyte Bars + Turtle Shells from Giant Tortoises) | Fire Gauntlet (Mechanical Glove + Magma Stone) |
| Post-Golem / Pre-Moon Lord | Influx Waver (Martian Saucer), Possessed Hatchet (Golem), Flairon (Duke Fishron); after the Cultist, Daybreak (18 Solar Fragments) | Beetle armor (Turtle armor pieces + Beetle Husks from Golem) | Destroyer Emblem (Avenger Emblem + Eye of the Golem); Fire Gauntlet |
| Endgame | Zenith; Meowmere and Star Wrath (Moon Lord) | Solar Flare armor (Luminite Bars + Solar Fragments) | Fire Gauntlet, Destroyer Emblem |
Night's Edge is the classic melee goal before Hardmode because it carries straight into the post-mech True Night's Edge and, with True Excalibur and a Broken Hero Sword, the Terra Blade. The Broken Hero Sword only drops from Mothron, which appears in Solar Eclipses once Plantera is dead, so the Terra Blade is a post-Plantera weapon.
The Zenith is crafted at a Mythril or Orichalcum Anvil from ten swords: Terra Blade, Meowmere, Star Wrath, Influx Waver, The Horseman's Blade, Seedler, Starfury, Bee Keeper, Enchanted Sword and Copper Shortsword. Keep those swords instead of selling them.
Ranged progression
| Stage | Weapons | Armor | Key accessories |
|---|---|---|---|
| Pre-Boss | Musket (always from the first Shadow Orb) or The Undertaker (first Crimson Heart); Gold or Platinum Bow | Fossil armor (Sturdy Fossils from Desert Fossil run through an Extractinator) | None class-specific; build mobility first |
| Pre-Hardmode | Minishark (Arms Dealer, 35 gold), Phoenix Blaster (Handgun from the Dungeon + 10 Hellstone Bars), Molten Fury (15 Hellstone Bars) | Necro armor (Bones from the Dungeon after Skeletron, plus Cobwebs) | None class-specific |
| Early Hardmode | Clockwork Assault Rifle (Wall of Flesh), Daedalus Stormbow (Hallowed Mimic) | Adamantite armor with the Adamantite Mask, or Titanium armor with the Titanium Helmet | Ranger Emblem; Magic Quiver for bows (Skeleton Archers) |
| Post-Mechs | Megashark (Minishark + Illegal Gun Parts + 5 Shark Fins + 20 Souls of Might), Hallowed Repeater, Chlorophyte Shotbow; Chlorophyte Bullets home in | Hallowed armor with the Hallowed Helmet | Avenger Emblem; Magic Quiver |
| Post-Plantera | Tactical Shotgun (Tactical Skeletons in the Dungeon), Venus Magnum (Plantera) | Shroomite armor (Shroomite Bars at the Autohammer, sold by the Truffle) | Rifle Scope (Skeleton Snipers in the Dungeon) |
| Post-Golem / Pre-Moon Lord | Stynger (Golem), Tsunami (Duke Fishron); after the Cultist, Phantasm (18 Vortex Fragments) or Vortex Beater | Shroomite armor | Sniper Scope (Rifle Scope + Destroyer Emblem), upgradable to the Recon Scope |
| Endgame | S.D.M.G. and Celebration Mk2 (Moon Lord) | Vortex armor (Luminite Bars + Vortex Fragments) | Recon Scope or Sniper Scope; Magic Quiver line for bows |
Ranged is the most ammo-driven class. A Megashark with Chlorophyte Bullets (60 Musket Balls + 1 Chlorophyte Bar) is a big jump over the same gun with Musket Balls. Shroomite armor has three helmets: the Headgear for bows, the Mask for guns and the Helmet for launchers and other specialist weapons, so pick the one that matches your main weapon. Its set bonus rewards standing still.
Magic progression
| Stage | Weapons | Armor | Key accessories |
|---|---|---|---|
| Pre-Boss | Wand of Sparking (wooden chests); gem staves such as the Amethyst Staff (7 Copper Bars + 8 Amethyst) | Jungle armor (Jungle Spores, Vines, Stingers) | Mana Crystals (5 Fallen Stars each) |
| Pre-Hardmode | Space Gun (20 Meteorite Bars), Water Bolt (Dungeon bookshelves), Demon Scythe (Demons in the Underworld) | Meteor armor (makes the Space Gun cost no mana) | Mana Flower (Nature's Gift + Mana Potion) |
| Early Hardmode | Crystal Storm (Spell Tome + 20 Crystal Shards + 15 Souls of Light at a Bookcase), Golden Shower or Cursed Flames | Adamantite or Titanium armor with the Headgear | Sorcerer Emblem; Mana Flower |
| Post-Mechs | Rainbow Rod (needs Souls of Sight from the Twins); keep the Golden Shower or Cursed Flames | Hallowed armor with the Hallowed Headgear | Avenger Emblem, then Celestial Emblem (+ Celestial Magnet) |
| Post-Plantera | Shadowbeam Staff (Necromancers), Inferno Fork (Diabolists), Bat Scepter (Pumpking); Leaf Blower or Nettle Burst (Plantera) | Spectre armor with the Spectre Mask | Celestial Emblem; Mana Flower |
| Post-Golem / Pre-Moon Lord | Heat Ray, Staff of Earth (Golem); Razorblade Typhoon, Bubble Gun (Duke Fishron); after the Cultist, Nebula Blaze (18 Nebula Fragments) | Spectre armor | Celestial Emblem, Destroyer Emblem |
| Endgame | Last Prism, Lunar Flare (Moon Lord) | Nebula armor (Luminite Bars + Nebula Fragments) | Celestial Emblem, Destroyer Emblem |
The pre-Hardmode Meteor armor and Space Gun combo is the classic early mage setup: with the full set, the Space Gun costs no mana. Spectre armor has two heads. The Spectre Mask makes your magic damage hit extra nearby enemies; the Spectre Hood cuts your magic damage by 40% and turns your hits into healing for the player with the lowest health nearby, which is a multiplayer support role, not a solo one.
Summoner progression
| Stage | Weapons | Armor | Key accessories |
|---|---|---|---|
| Pre-Boss | Finch Staff (Living Wood Chests in Living Trees); Leather Whip (Zoologist, 5 gold) | Flinx Fur Coat (Loom: Silk, Flinx Fur, Gold or Platinum Bars) | None class-specific |
| Pre-Hardmode | Imp Staff (17 Hellstone Bars), Hornet Staff (14 Bee Wax), Snapthorn (Stingers, Vines, Jungle Spores) | Bee armor (Bee Wax from the Queen Bee) | Pygmy Necklace (Witch Doctor, 20 gold, at night) |
| Early Hardmode | Spider Staff (16 Spider Fangs), Firecracker (Wall of Flesh) | Spider armor (Spider Fangs from Spider Nests) | Summoner Emblem; Pygmy Necklace |
| Post-Mechs | Optic Staff (Hallowed Bars, Souls of Sight, Black Lens, Lenses), Durendal (12 Hallowed Bars) | Spider armor, or Hallowed armor with the Hallowed Hood | Avenger Emblem |
| Post-Plantera | Pygmy Staff (Plantera); Raven Staff and Dark Harvest (Pumpking) | Tiki armor (Witch Doctor), then Spooky armor (750 Spooky Wood from the Pumpkin Moon) | Papyrus Scarab (Hercules Beetle + Necromantic Scroll) |
| Post-Golem / Pre-Moon Lord | Xeno Staff (Martian Saucer), Tempest Staff (Duke Fishron), Terraprisma and Kaleidoscope (Empress of Light); after the Cultist, Stardust Dragon Staff (18 Stardust Fragments) | Spooky armor | Papyrus Scarab, Destroyer Emblem |
| Endgame | Terraprisma, Stardust Dragon Staff; Lunar Portal Staff or Rainbow Crystal Staff sentries (Moon Lord) | Stardust armor (Luminite Bars + Stardust Fragments) | Papyrus Scarab, Destroyer Emblem |
Summoner damage comes from how many minions you can field. You start with one minion slot, so armor and accessories that add slots (the Flinx Fur Coat, Bee armor, Spider armor, the Pygmy Necklace and the Papyrus Scarab) matter more than a slightly stronger staff. Whips are the other half: the last enemy you hit becomes your minions' target, and the whip's tag damage is added to every minion and sentry hit on it.
The Terraprisma only drops if all the damage to the Empress of Light is dealt in daylight, when she is enraged and almost every hit is lethal. Even the wiki advises that it is not worth attempting without significant experience. The Stardust Dragon Staff is the realistic alternative.
Accessories every class should get
| Line | How to build it | When |
|---|---|---|
| Hermes Boots → Terraspark Boots | Hermes Boots (Gold Chests) + Rocket Boots (Goblin Tinkerer) = Spectre Boots; + Anklet of the Wind + Aglet = Lightning Boots; + Ice Skates = Frostspark Boots; + Lava Waders = Terraspark Boots | Start pre-Hardmode; all are pre-Hardmode parts |
| Cloud in a Bottle → Bundle of Balloons | Cloud in a Bottle + Shiny Red Balloon (Skyware Chests) = Cloud in a Balloon; + Blizzard in a Balloon + Sandstorm in a Balloon = Bundle of Balloons | Pre-Hardmode |
| Shield of Cthulhu | Eye of Cthulhu Treasure Bag, Expert and Master only. A dash that briefly protects you when it hits | From the first boss |
| Cobalt Shield → Ankh Shield | Cobalt Shield (Dungeon Locked Gold Chests) + Obsidian Skull = Obsidian Shield; + Ankh Charm (many debuff-immunity parts) = Ankh Shield | Obsidian Shield pre-Hardmode; Ankh Shield in Hardmode |
| Wings | Angel or Demon Wings: 10 Feathers + 20 Souls of Flight + 15 Souls of Light or Night at a Mythril or Orichalcum Anvil | Early Hardmode, before the mechs |
| Worm Scarf / Brain of Confusion | Eater of Worlds or Brain of Cthulhu Treasure Bag, Expert and Master only. The Worm Scarf cuts damage taken by 17% | Pre-Hardmode |
| Charm of Myths | Band of Regeneration + Philosopher's Stone (Mimics). Regeneration and 25% shorter potion cooldown | Early Hardmode |
| Avenger → Destroyer Emblem | Any class emblem + 5 each of Souls of Might, Sight and Fright = Avenger Emblem (12% damage to all); + Eye of the Golem = Destroyer Emblem | Post-Mechs, then Post-Golem |
All of these combine at the Tinkerer's Workshop, which you buy from the Goblin Tinkerer (see the Beginner Guide for how to free him). The Lava Waders themselves are built from Obsidian Water Walking Boots and a Lava Charm, so the full Terraspark line takes a lot of chest-hunting; the Lightning Boots alone are already a big upgrade.
When your accessories are set, reforge them at the Goblin Tinkerer. Warding gives +4 defense and Menacing +4% damage per accessory. A common approach is Warding while you are learning a fight and Menacing once you are confident.
Expert and Master Mode give one extra accessory slot through the Demon Heart from the Wall of Flesh's Treasure Bag. The slot does not work in Classic worlds.
Mixing classes
Specialising is efficient because armor set bonuses and emblems only boost one class, but there are good reasons to mix:
- Use what is strong. If a boss drops a great weapon from another class, try it. Early on, a strong weapon beats a small class bonus.
- Swap per boss with loadouts. Since 1.4.4, every character has three equipment loadouts that store armor, accessories, vanity and dyes. You can keep a melee set and a ranged set and switch in a second. Loadouts do not store weapons, so keep both classes' weapons in your inventory.
- Generic damage accessories fit everyone. The Avenger and Destroyer Emblems raise all damage, and reforges like Menacing work for any class.
- Minions and whips. A minion keeps attacking while you use another weapon, but its damage scales with summon bonuses, which other classes' armor does not give. A minion on a melee or ranged setup is a small bonus, not a hybrid build.
Common mistakes
- Mixing armor pieces from different classes. Set bonuses need the full set, and they are where most of the class power is.
- Equipping the wrong Hardmode helmet. Adamantite, Titanium and Hallowed armor have different heads for each class. A Hallowed Headgear on a ranged character wastes the bonus.
- Selling Zenith ingredients. The Enchanted Sword, Starfury, Bee Keeper and even the Copper Shortsword are all needed for the Zenith.
- Ignoring mobility. Boots, a double jump, a dash and wings are worth more than most damage accessories against Hardmode bosses.
- Skipping the Avenger Emblem. Five Souls of each mechanical boss make your Wall of Flesh emblem much stronger for any class.
- Choosing the Spectre Hood solo. It lowers your magic damage in exchange for healing; solo mages want the Spectre Mask.
For the exact weapon to chase at each step, see the Weapon Progression Guide. For when each boss and event becomes available, see the Boss Order Guide, and for funding reforges, ammo and potions, the Money Making Guide.
★Honest Take: pick the class you enjoy, then specialise
Terraria's classes are well balanced in one important way: none is locked out of the endgame, and each has a famous end weapon. The honest difference is how forgiving they are. Melee lets you learn the bosses with a cushion of defense; magic and summoner punish mistakes with their low defense but reward you with some of the best damage in the game. The weak point of the system is how much it hides. Nothing tells you that the Hallowed Headgear is for mages or that your mismatched emblem becomes an Avenger Emblem, and many players lose hours to that. Choose one class for Hardmode, follow its armor line, and build the shared mobility accessories early. That covers most of what makes a build work.