How this tier list is built
Wartales has been rebalanced repeatedly, and a section of its long-time player base has been vocal about builds being nerfed out from under them. A tier list built on this patch's damage numbers would be obsolete quickly and would not help you plan a companion you are committing to for forty levels.
So this ranking uses a different axis: role reliability. The question for each class is not "what does it hit for" but "what does this class do that my warband genuinely cannot function without, across regions that never scale down to me?"
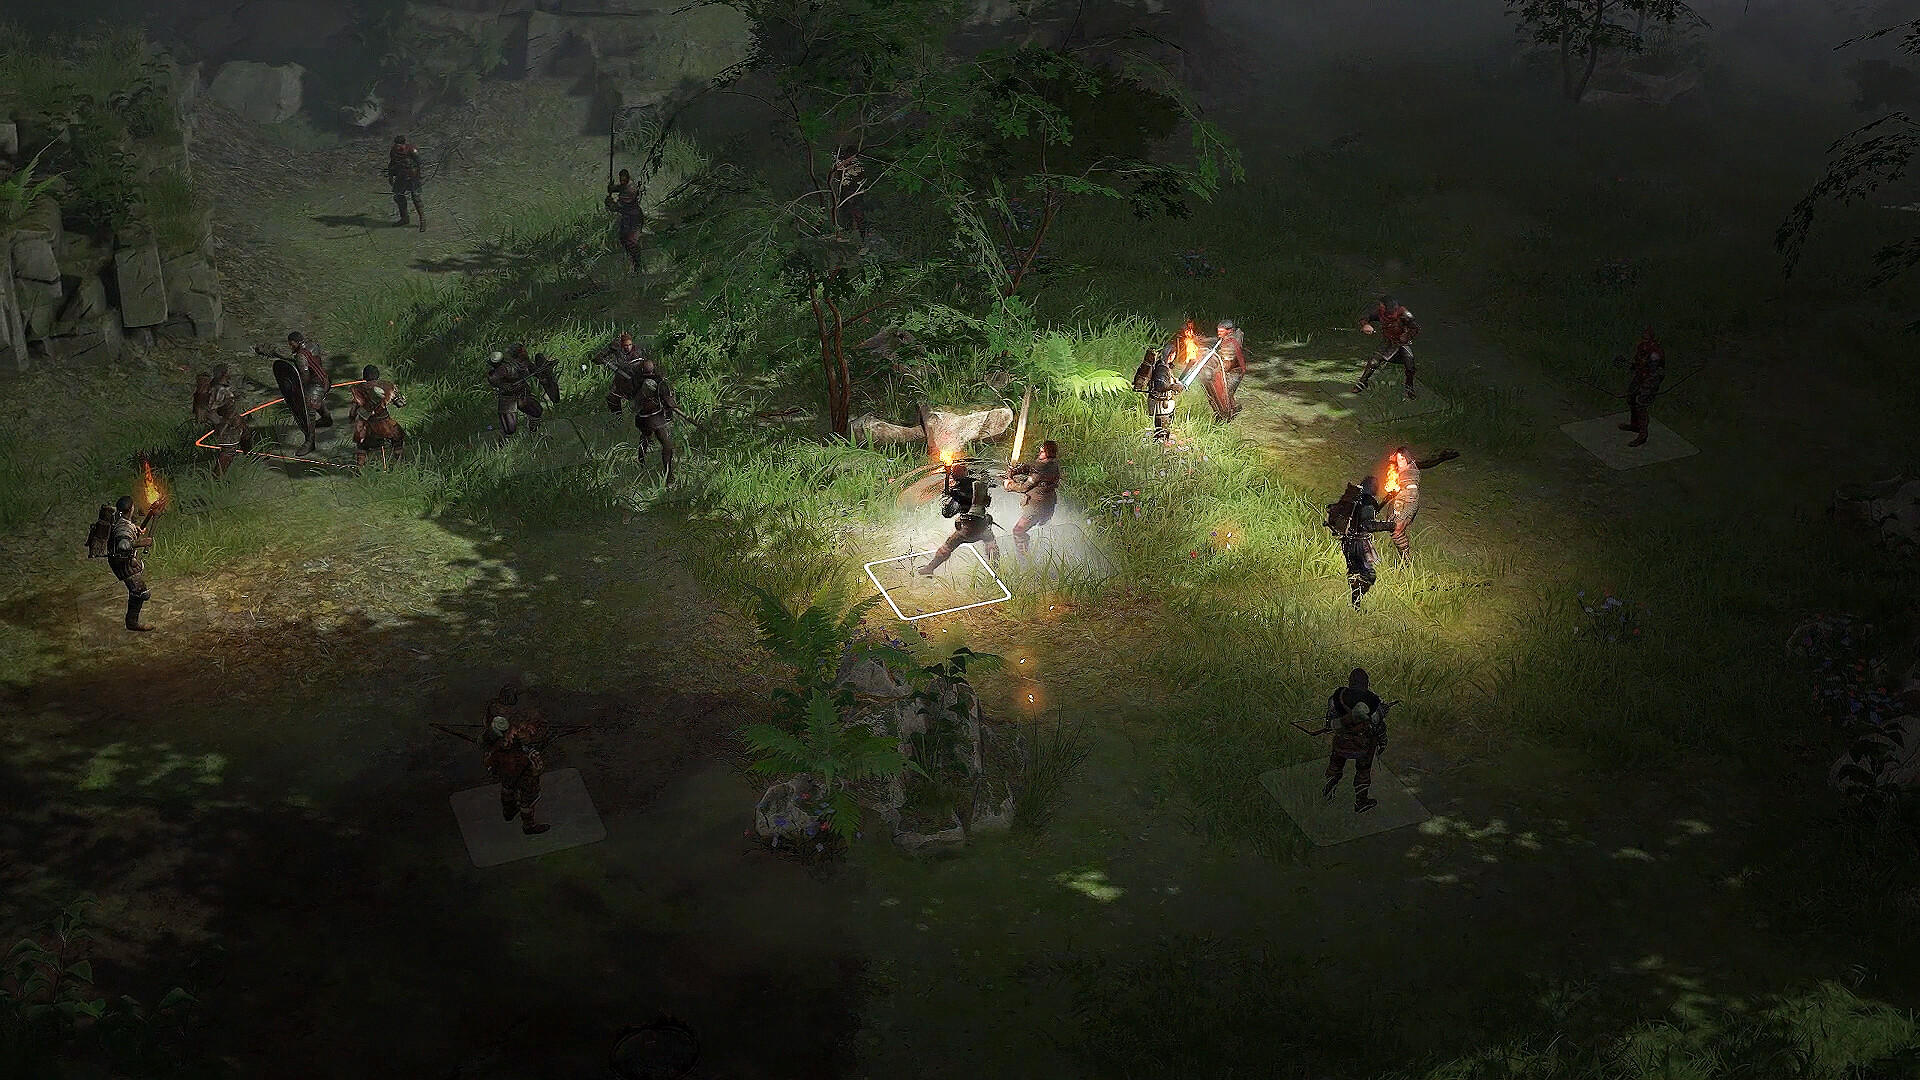
That framing rewards control and durability over burst, because Wartales fights are decided by engagement — who is locked in place and who is free to act — long before they are decided by raw output.
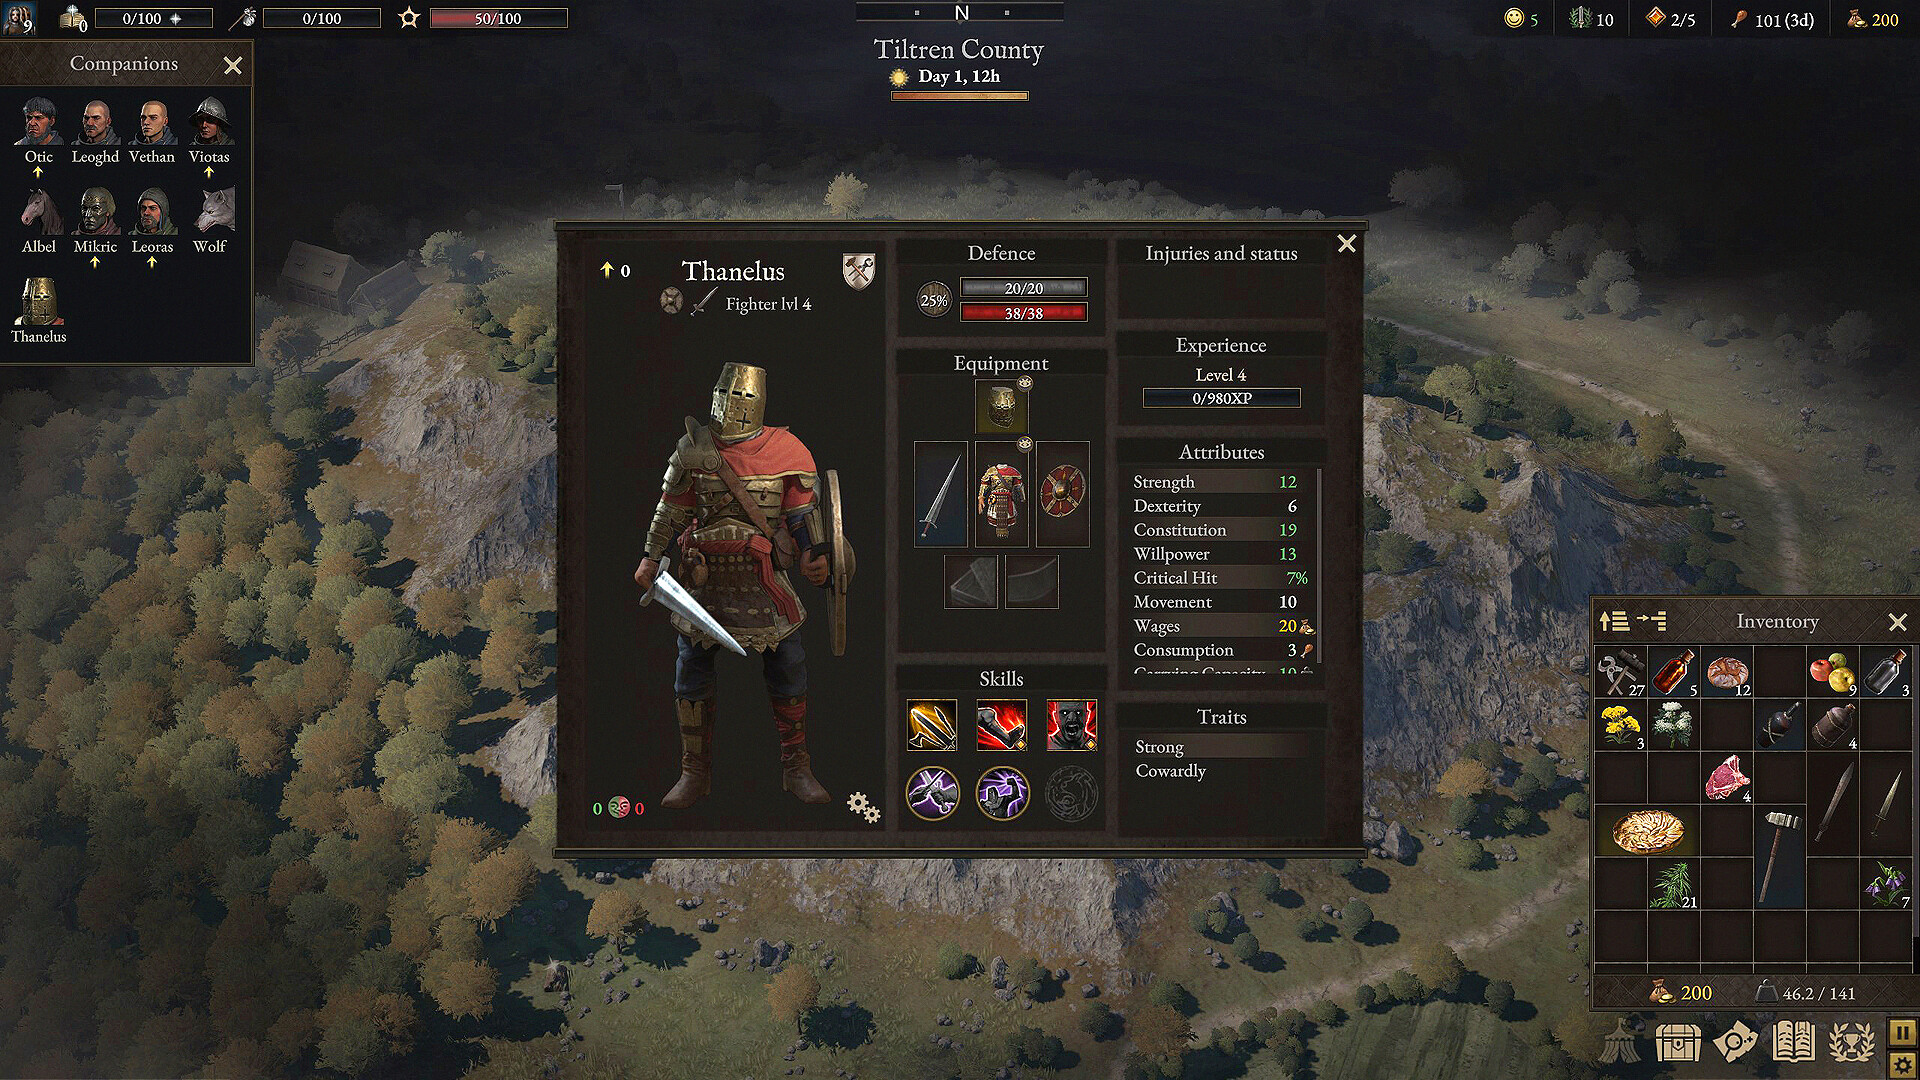
Milestones land at levels 2, 3, 5, 8, 10 and 12. Swordsman, Warrior and Brute open their named branch at level 2; Archer, Ranger, Spearman and Pugilist open theirs at level 3.
The tier list at a glance
S tier — the classes your warband is built around
Spearman
The best class in the game if you judge by influence over the shape of a fight. Reach means a Spearman can strike from behind your own frontline without entering contact, which is exactly the position engagement rules reward. It contributes damage while remaining free to reposition, and its branches cover several genuinely distinct jobs.
Specialisations (level 3): Harpooner (Piercing Throw), Herald (Battle Cry), Pikeman (Spear Wall), Halberdier (Controlled Whirlwind).
Pikeman is the standout for control — a spear wall turns a choke point into something enemies pay dearly to cross. Herald leans into support with Battle Cry, and Halberdier trades reach discipline for area damage. Harpooner is the pick if you want to drag enemies out of position.
Swordsman
The other non-negotiable role. Someone has to stand in front and occupy the enemies that would otherwise reach your archers, and the Swordsman is the class built to do it while still contributing damage. It is the safest first investment in any new warband.
Specialisations (level 2): Protector (Encouragement), Fighter (Destabilizing Strike), Swordmaster (Laceration), Duelist (Final Blow).
Protector is the purest anchor. Swordmaster and Duelist push toward sustained and finishing damage respectively, and Fighter sits in between with disruption.
A tier — dependable, but slot-dependent
Warrior
Aggressive frontline damage. Where the Swordsman holds, the Warrior removes — it is the class you use when the answer to a dangerous enemy is to delete it before it acts twice. It is less forgiving than the Swordsman because it wants to be in contact with the things it is killing.
Specialisations (level 2): Berserker (Rampage), Executioner (Cutting Maelstrom), Sentinel (Ovation), Barbarian (Overbearing Strike).
Executioner and Barbarian are the damage picks, Sentinel pulls toward a supportive frontline role, and Berserker is the highest-variance option.
Ranger
The most flexible damage class, and the one with the widest set of branches. A Ranger can be a straightforward critical-damage dealer or a battlefield utility piece depending on where you take it, which makes it the best class for filling whatever hole your warband has.
Specialisations (level 3): Cutthroat (Frenzy), Strategist (Smoke Screen), Poisoner (Poison Vial), Assassin (Right between the Eyes).
Assassin and Cutthroat are the damage routes. Strategist is the genuine utility pick — smoke changes what enemies can reach. Poisoner trades burst for attrition, which suits long fights against durable enemies.
B tier — strong in the right warband
Archer
Reliable ranged damage that asks for discipline in return. An Archer left in contact is an Archer contributing nothing, so its value is directly proportional to how well your frontline controls engagement. In a warband with two solid frontliners it is excellent; in a sloppy one it is a liability.
Specialisations (level 3): Hunter (Recoil Shot), Beastmaster (ATTACK!), Infantryman (Barrage).
Hunter is the focused single-target route, Infantryman leans toward area pressure with Barrage, and Beastmaster brings an animal companion into the fight, which is as much a control tool as a damage one.
Brute
A specialist rather than a staple. The Brute is at its best when you need something opened up — armour broken, a formation shoved apart, a debuff applied — and it is genuinely good at that. It is ranked here because a warband can be complete without one, which is not true of the classes above.
Specialisations (level 2): Vanguard (Relentless Charge), Smasher (Poisoned Impact), Destroyer (Weakening Blow).
Destroyer is the armour-breaking pick and the most broadly useful. Vanguard is the aggressive opener. Smasher adds poison pressure.
C tier — situational
Pugilist (Pirates of Belerion DLC)
A real class with real depth, but one that competes for slots already better served. Its unarmed, grappling identity is distinctive, and if that fantasy appeals it will not let you down mechanically. It simply does not fill a hole that Swordsman, Warrior or Brute leave open.
Specialisations (level 3): Wrestler (Takedown), Bruiser (Skullbreaker), Slayer (Aeterial Precision).
Do not buy the Pirates of Belerion DLC for the Pugilist alone. Treat it as a variation to enjoy on a second warband if you already own the expansion.
Composing a warband that actually holds
Ranking classes only gets you so far, because Wartales fights are won by composition and position. A dependable core looks like this:
- Two frontliners who own engagement. Swordsman plus Warrior or Brute. Their job is to be in contact with the enemies that matter so nobody else has to be.
- One or two ranged damage dealers, kept clear of contact. Archer or Ranger. If they are engaged, something upstream went wrong.
- One control or reach piece. Spearman, striking past your own line without joining it.
Fill the fourth and fifth slots with whatever your region is punishing you for lacking — more control against crowds, more armour breaking against heavily armoured enemies, more sustain against attrition fights.
The commitment rule
The single biggest mistake players make with the milestone system is hedging. Six choices across levels 2, 3, 5, 8, 10 and 12 is enough to make a companion excellent at one job, and not enough to make them good at two.
Pick the role when you recruit, take every milestone that reinforces it, and recruit a new companion for the gap instead of trying to make an existing one cover it. In a game where regions do not scale down to meet you, a warband of specialists clears content that a warband of generalists cannot.
Once you have picked a role, the milestone and weapon choices that make it work are in the Wartales builds guide. If you have not started yet, the beginner guide covers the opening hours that decide which classes you can afford to recruit at all.