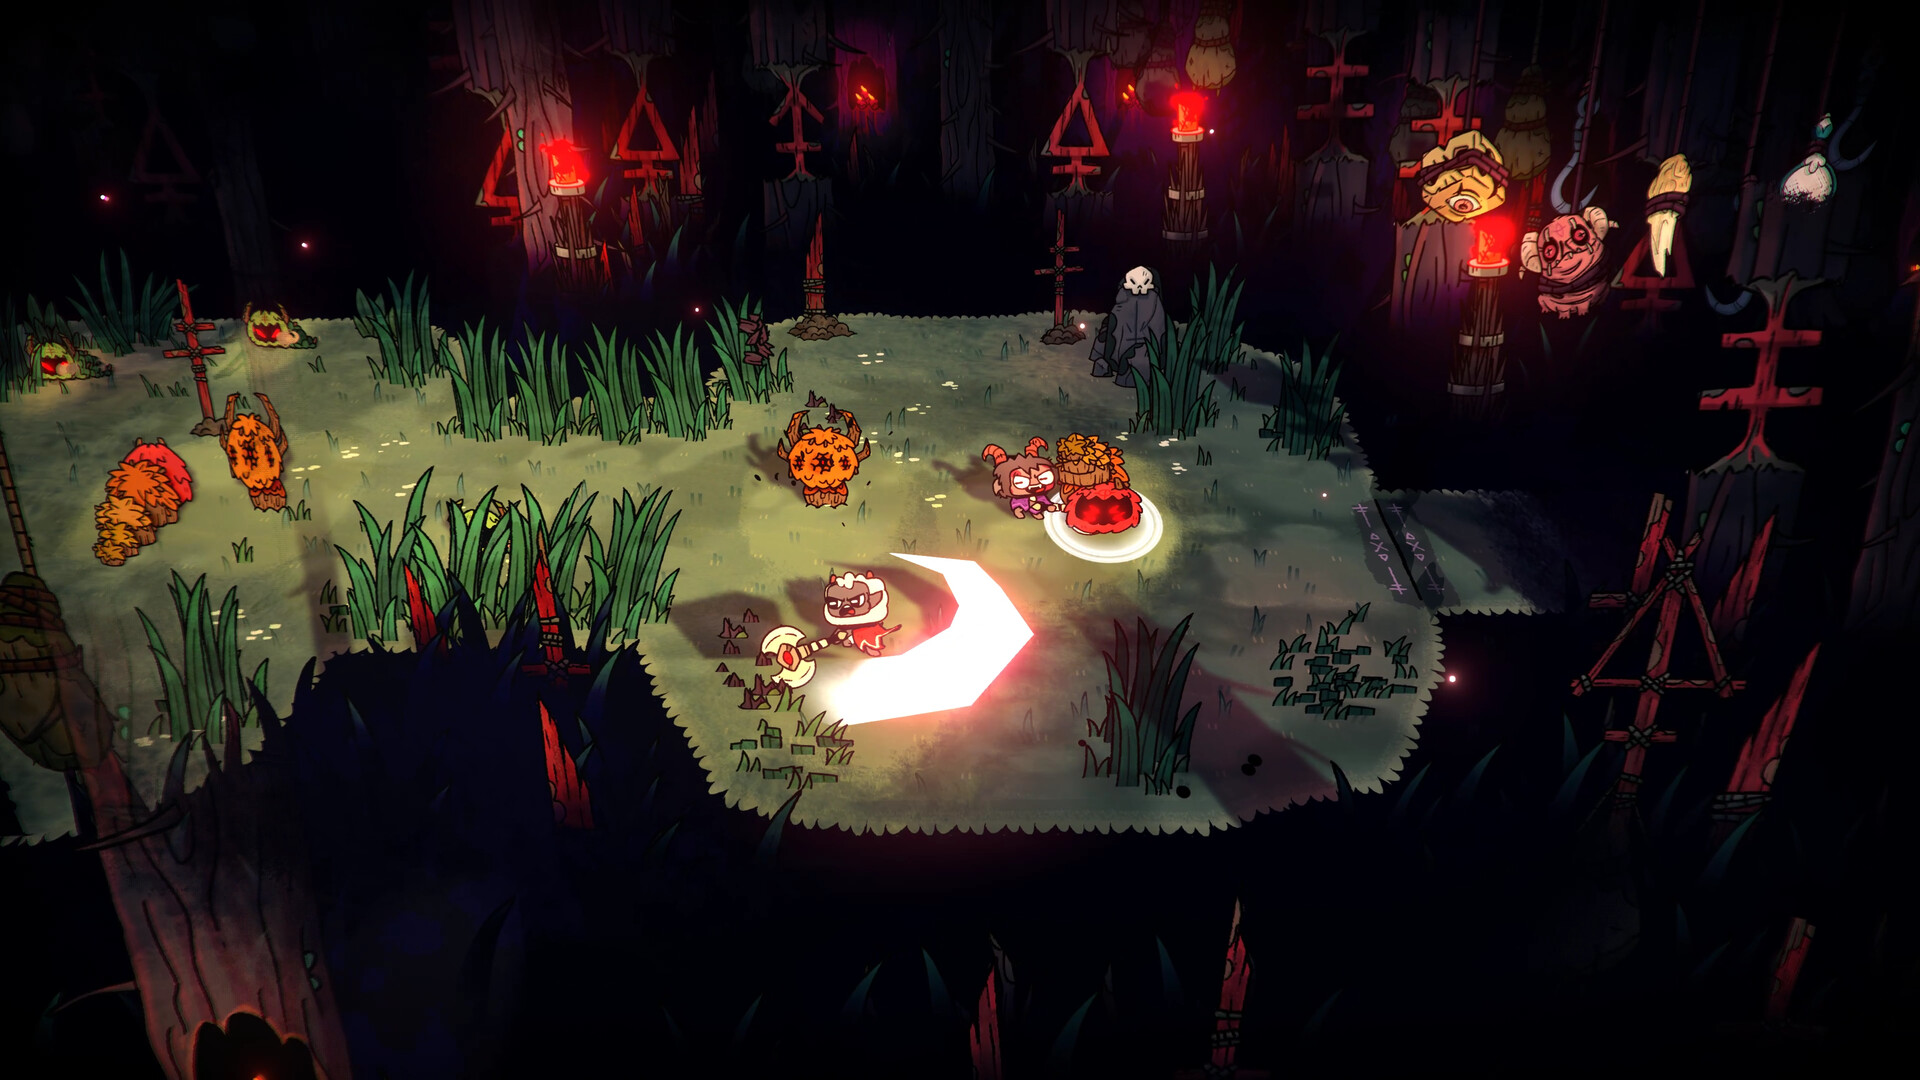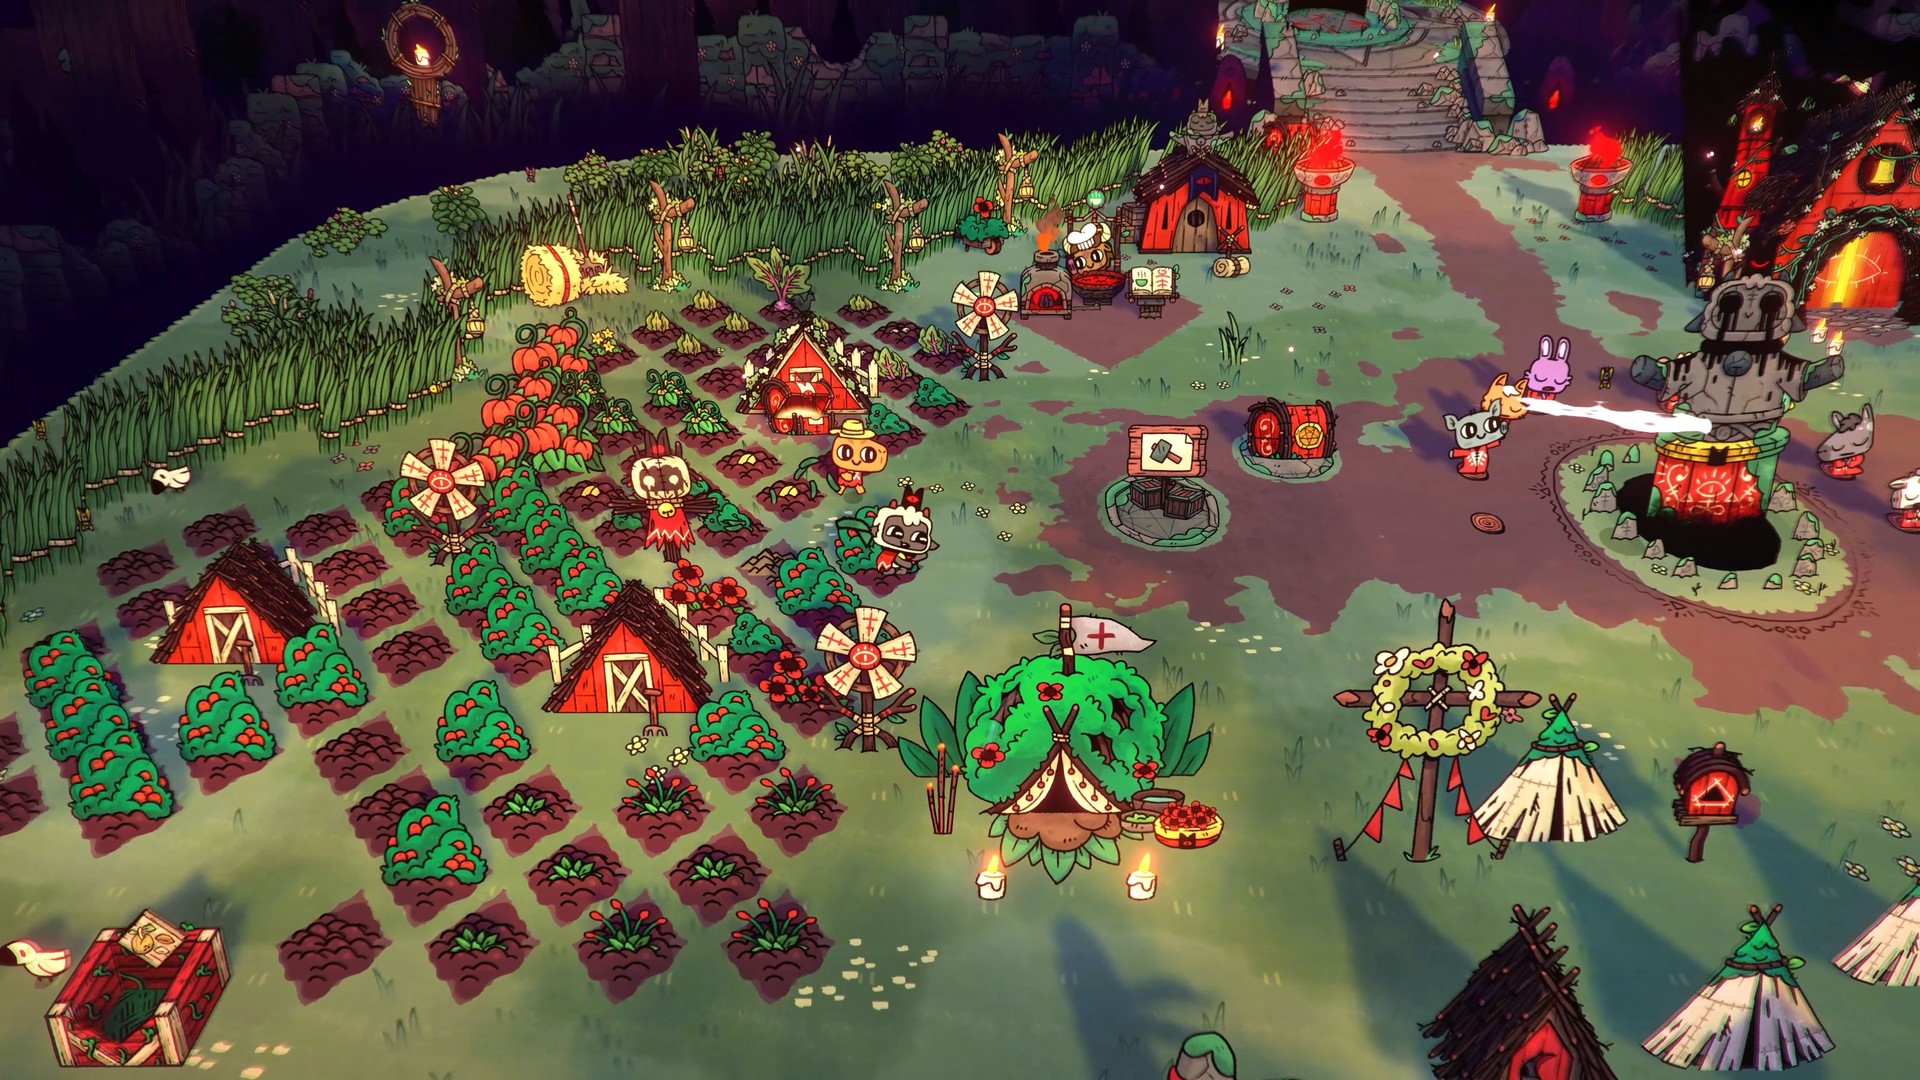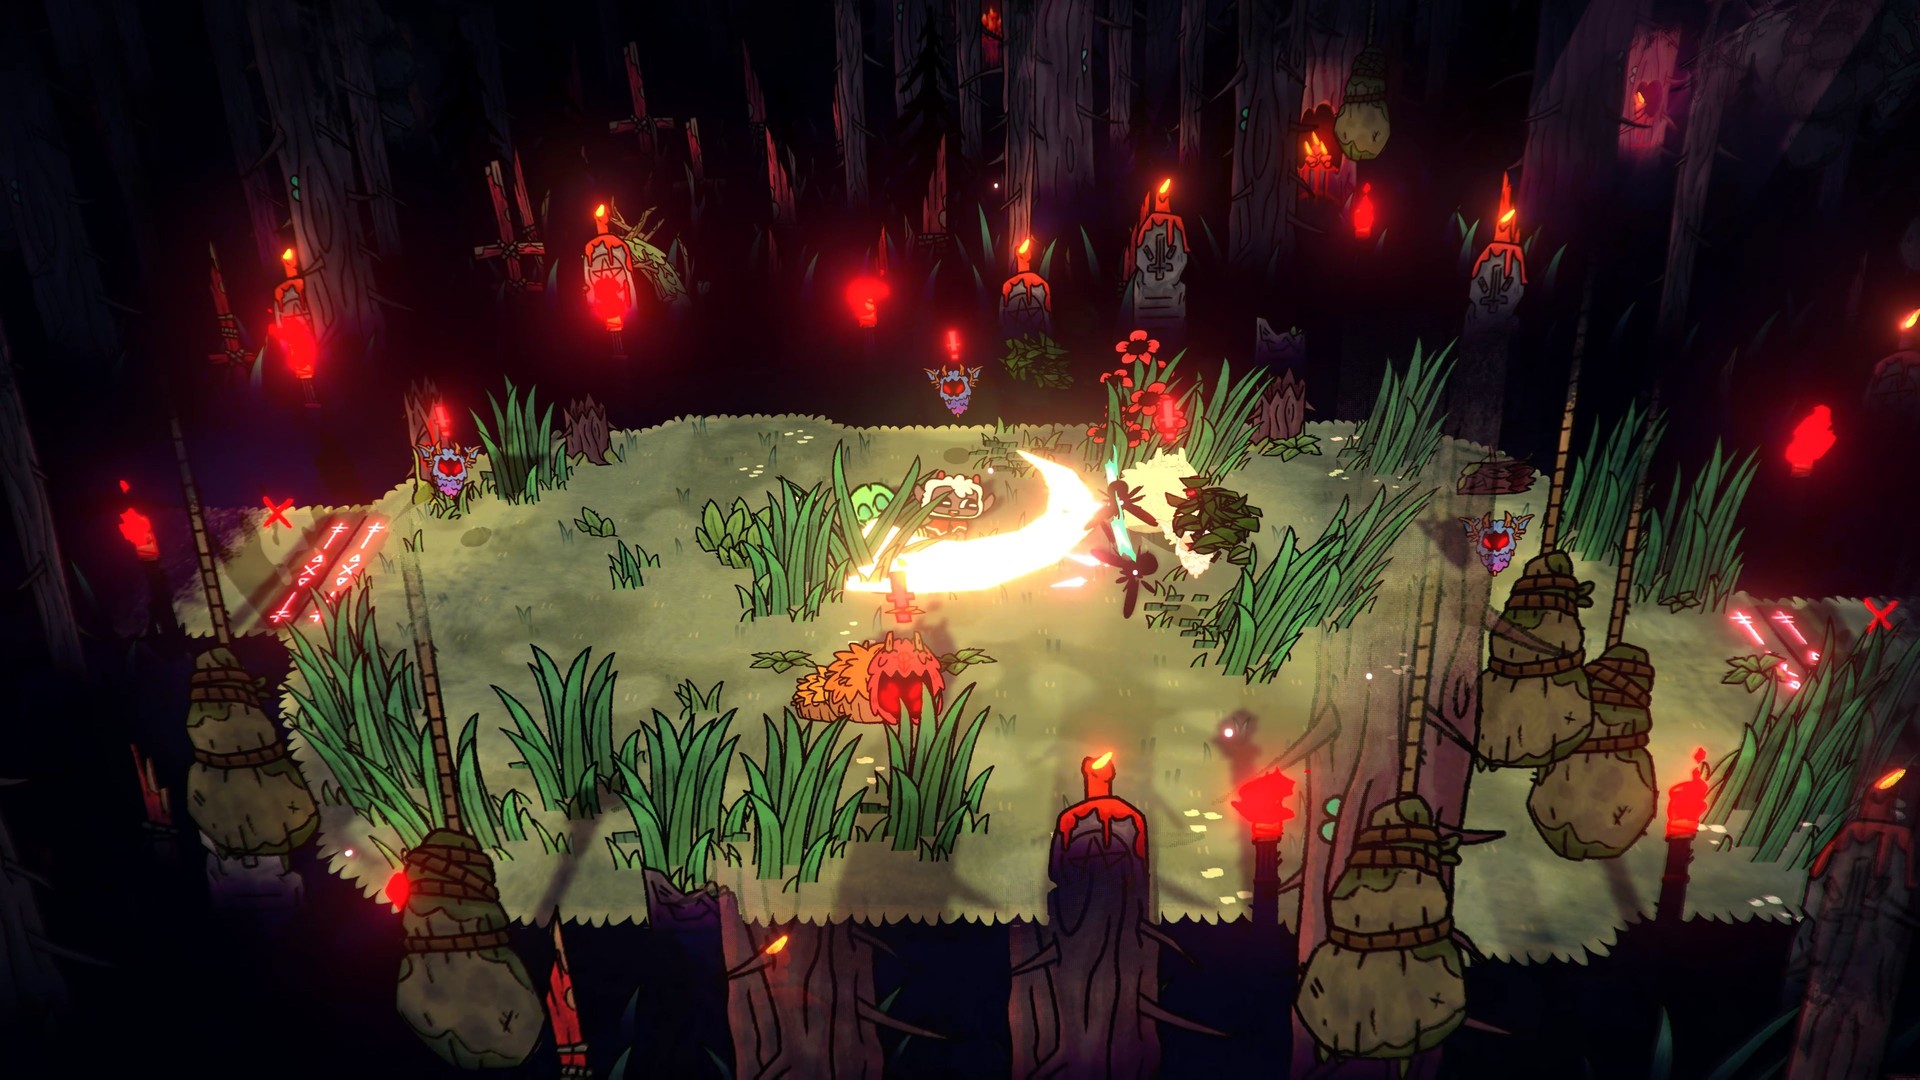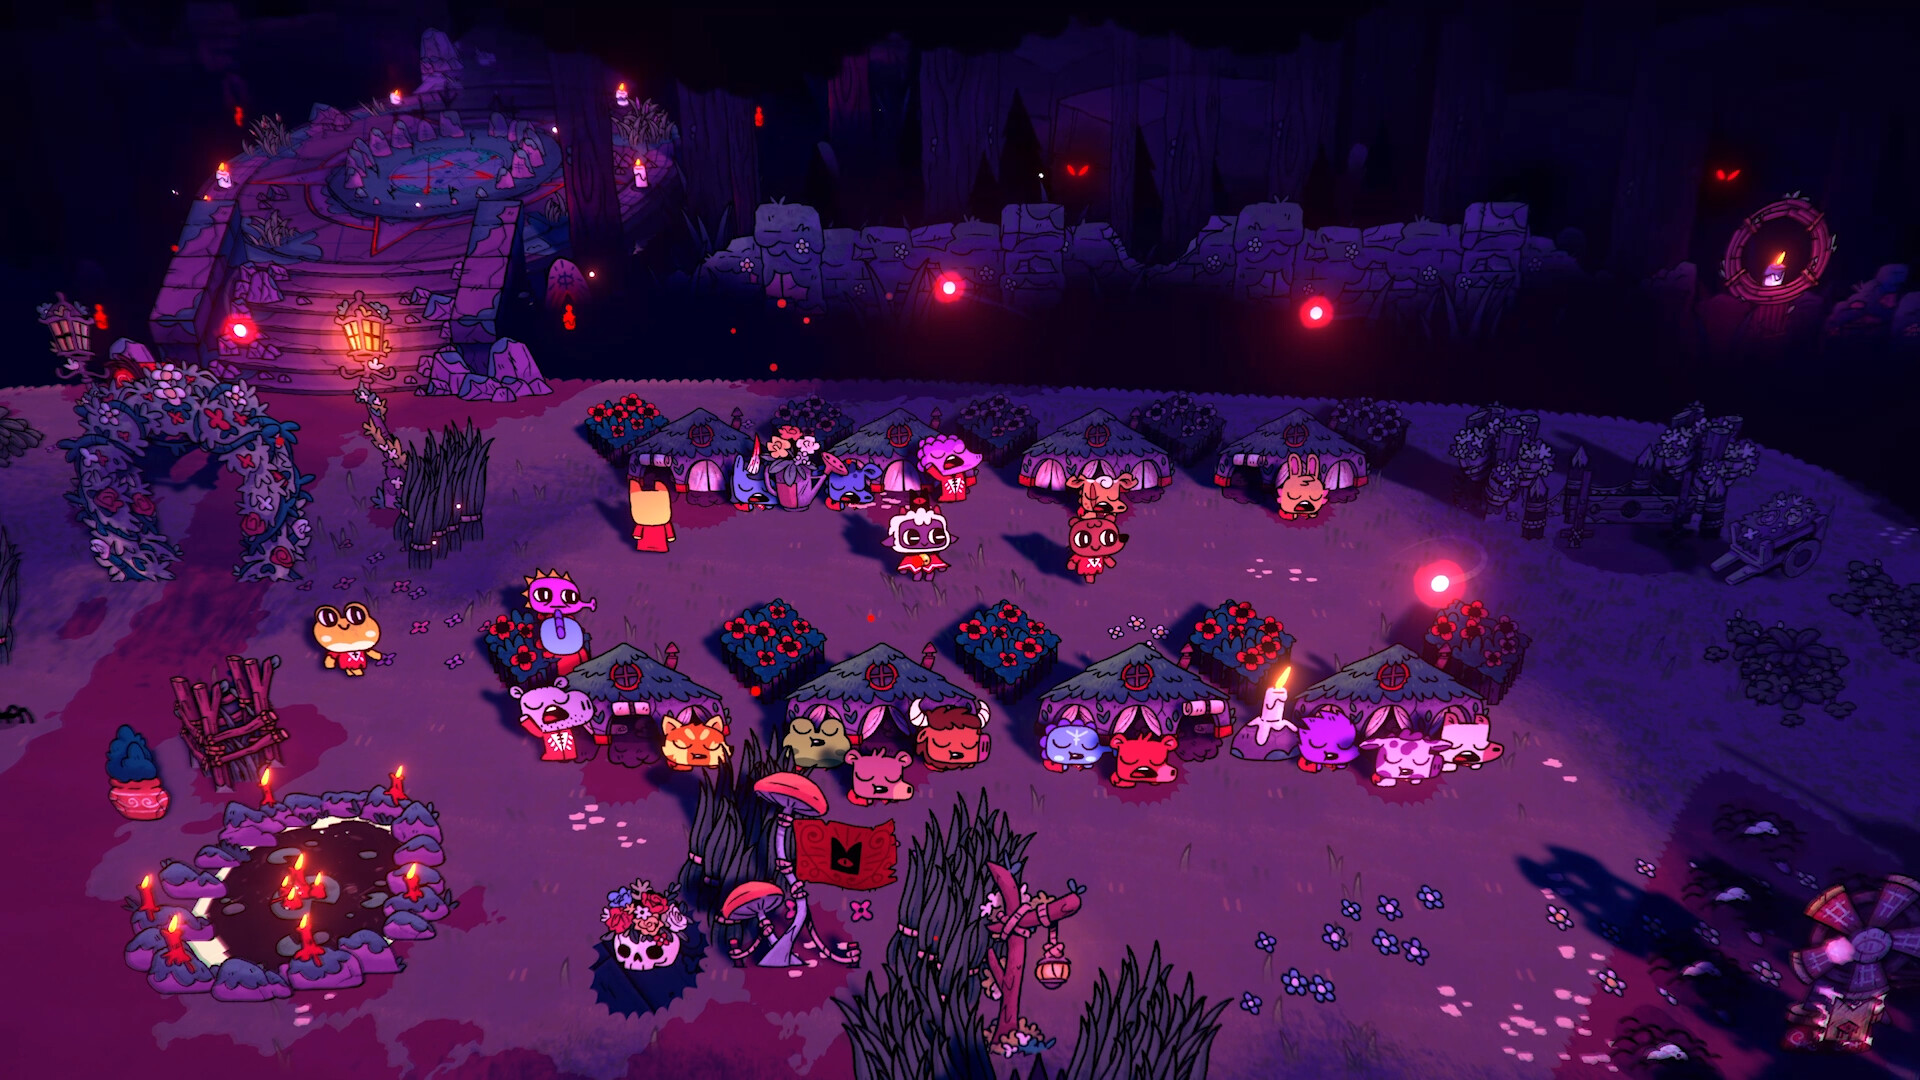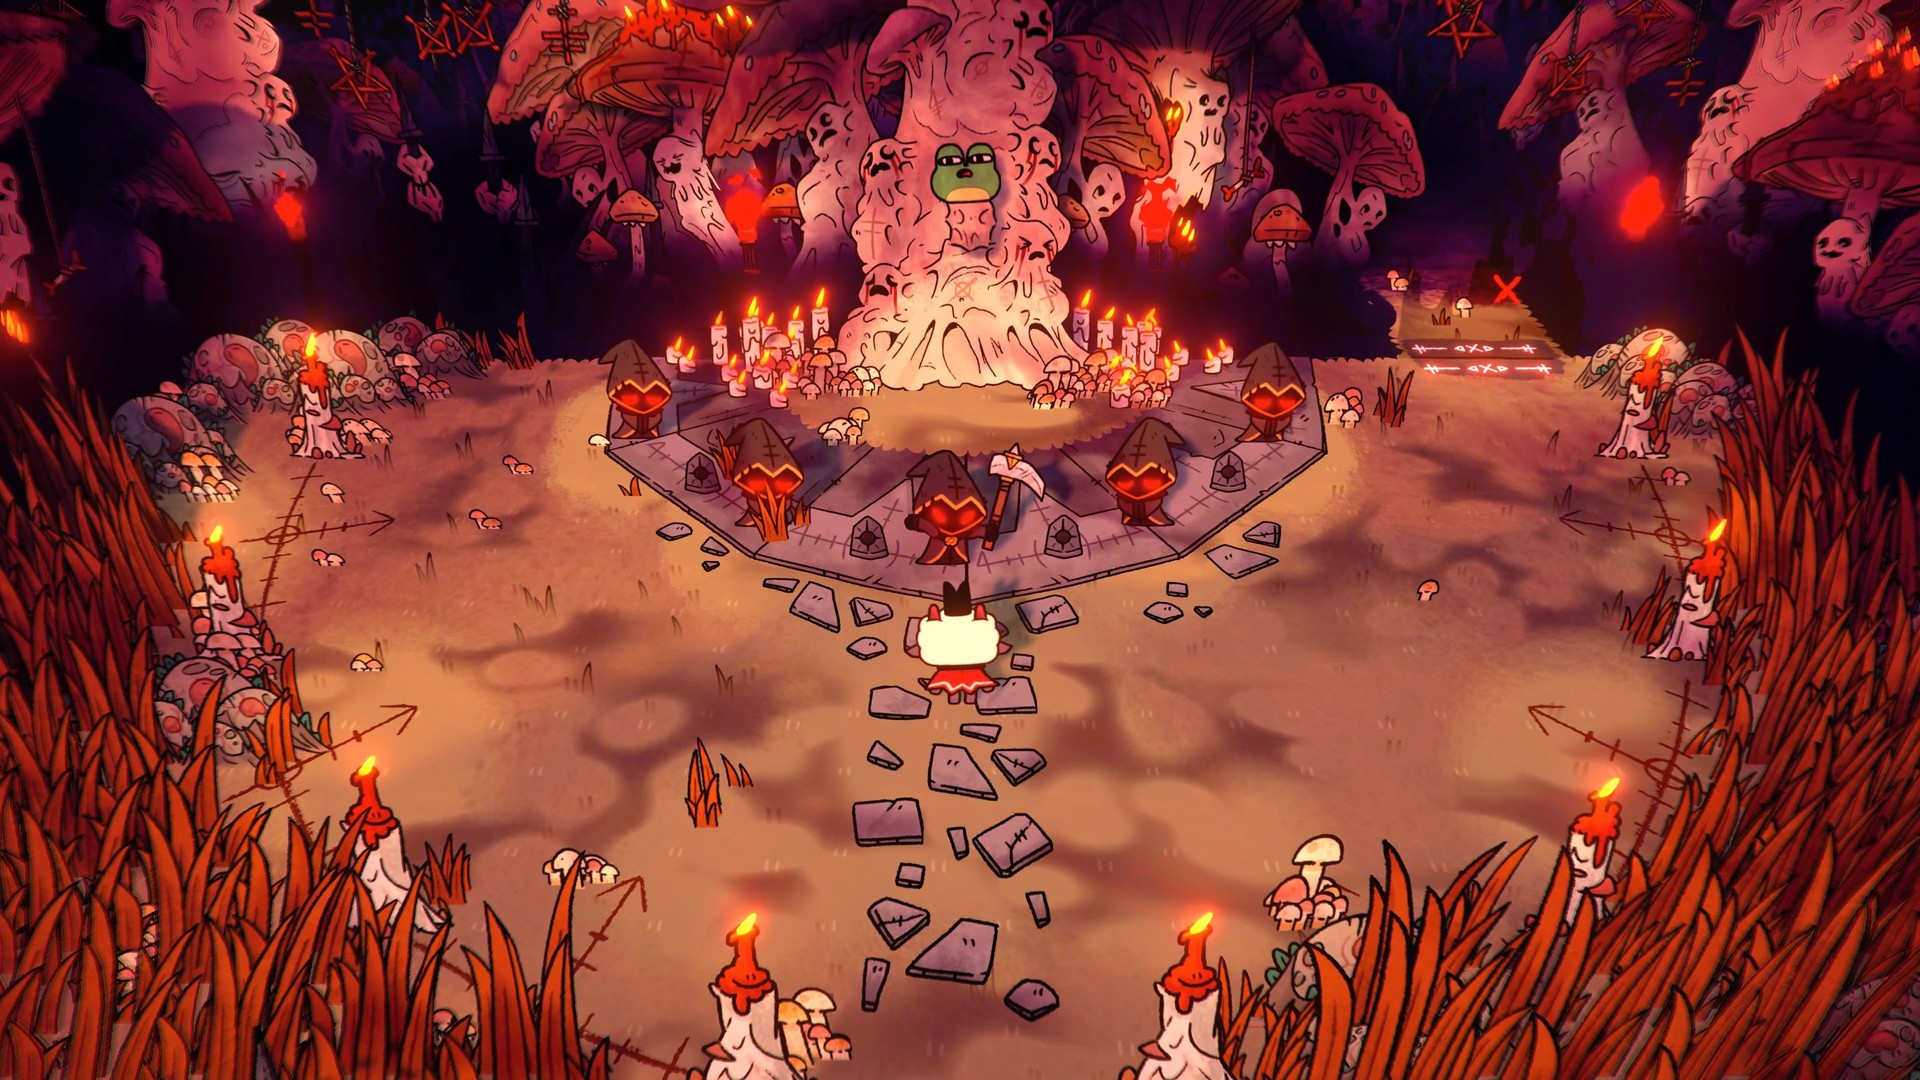
Cult of the Lamb looks like two games, a roguelite dungeon crawler and a cult management sim, but it plays as one loop. Crusades bring back followers, Bones and materials; the cult turns them into Devotion, Faith and permanent upgrades; those upgrades make the next crusade easier. Most early frustration comes from one half starving the other: a crusade that runs too long while the cult falls apart, or a cult that never grows because you keep dying in the same rooms.
This guide gives you the checklist for your first in-game days first, then explains the systems behind it. Numbers come from the community wiki and reflect the current version, including the free updates such as Relics of the Old Faith and the paid Woolhaven DLC.
Your first days: the checklist
| Do this | Why | Notes |
|---|---|---|
| Collect Devotion at the Shrine | Devotion fills Divine Inspiration points, and each point unlocks one building | The starting Shrine holds only 50 Devotion, so empty it before every crusade |
| Unlock and build the Temple | Sermons, Rituals and Doctrines all happen there | Costs 15 Lumber and 5 Stone; it is the first Divine Inspiration with no prerequisite |
| Recruit every follower you can | More followers means more Devotion, more workers and the gates to new regions | Rescue followers on crusades and recruit mini-bosses after you beat them |
| Build the Cooking Fire and Farm Plots | Hungry followers drain Faith and eventually starve | Cooking Fire costs 5 Lumber and 2 Stone; Farm Plots unlock early after the Temple |
| Give everyone a bed | Too few beds costs 20 Faith | Sleeping Bags can collapse at dawn and cost 3 Lumber to fix; upgrade to Shelters later |
| Clean up and plan the Outhouse | Poop, vomit and corpses make followers sick | The Outhouse is a tier 3 unlock, so clean by hand until then; each poop gives 1 Fertilizer |
| Run your first crusade in Darkwood | Bones, materials and new followers come from crusades | The Darkwood gate needs only 1 follower |
| Preach a Sermon every day, in daylight | +10 Faith, Loyalty for everyone, progress toward permanent combat upgrades | A Sermon or Ritual at night costs 15 Faith |
Before you build the Cooking Fire for the first time, hunger and time are frozen. Use that window to clear the berries, Lumber and Stone around the camp without anyone getting hungry.
The core loop: crusade and cult
The two halves trade resources in both directions:
- The crusade gives the cult followers, Bones for Rituals, Lumber, Stone, food ingredients, seeds and coins, plus Commandment Stone fragments from some rewards.
- The cult gives the crusade permanent strength. Sermons unlock extra health, new weapon and curse types and higher starting weapon levels; each Bishop's Heart of a Heretic unlocks a Crown ability.
A healthy rhythm in the early game is short crusades and a full check of the cult every time you come back.
-
1
Before leaving
Empty the Shrine, cook enough meals, make sure there is a bed for everyone, clean up any mess and preach the day's Sermon if you have not yet.
-
2
On the crusade
Clear rooms, take hearts when you are low, rescue any follower you find and grab Bones. The first entrance room gives you a weapon and a curse.
-
3
Coming back
Indoctrinate new followers, check for sick or dissenting followers, assign jobs and spend Bones on a Ritual if Faith is slipping.
-
4
Spend what you earned
Use Divine Inspiration points at the Shrine, declare a Doctrine if you have a full Commandment Stone and put resources into the next building.
When you die, you are sent back to the cult, lose 10 Faith and lose a share of the items collected on that run (15% on Easy, 25% on Medium, 30% on Hard, 50% on Very Hard).
Devotion, Faith and the needs that cause dissent
Two meters are easy to confuse, and they do different jobs.
Devotion is a resource. Followers praying at the Shrine generate it, each one producing an amount equal to its Loyalty level every twentieth of a day. Devotion fills Divine Inspiration points, which you spend at the Shrine on new buildings. The starting Shrine lets four followers pray and stores 50 Devotion; the Cult II, III and IV upgrades raise that to 70, 90 and 175.
Faith is the cult's mood, shown in the top-left corner. It slowly falls over time and moves with almost everything you do. When it gets too low, followers start to dissent.
What moves Faith the most early on
| Event | Faith | What to do |
|---|---|---|
| Preach a Sermon | +10 | Once per day, in daylight |
| Bonfire Ritual | +30 | Your first Ritual; 7-day cooldown |
| Declare a new Doctrine | +10 | Whenever you have a full Commandment Stone |
| Bless a follower | +5 | Free, once per follower per day |
| New building / new decoration | +2 / +4 | Building anything helps a little |
| Not enough beds | -20 | Keep a spare Sleeping Bag or two |
| A follower dies | -20 | Only -5 with the Belief in Afterlife Doctrine |
| Starving followers / sick followers | -10 each | Cook before leaving; clean up mess and corpses |
| Sermon or Ritual at night | -15 | Wait for morning |
| Decline a follower quest / accept and fail it | -25 / -45 | Only accept quests you can finish |
Hunger, illness and sleep
- Hunger. Followers need regular meals. If they starve, Faith drops and they eventually die. Early on you cook at the Cooking Fire yourself; later a Kitchen lets a follower cook meals you queue.
- Illness. A dirty cult makes followers sick. Poop, vomit, unburied corpses and burnt or rotten food all lower hygiene. Sick followers stop working, make more mess and can die. Order them to bed rest, and unlock the Healing Bay later. Use a Body Pit for the dead (+5 Faith when used).
- Sleep. Every follower needs a bed. Waking a follower at night costs 5 Faith, and a follower forced to work through the night becomes exhausted.
Dealing with dissenters
Dissenters stop working, spread falsehoods that pull other followers down and, if ignored for a few days, leave the cult and steal 15-40% of your coins. A dissenter who leaves can turn up as a mini-boss on a later crusade.
- Re-educate once per day; it lowers the dissent meter by 7.5.
- Prison (a tier 2 unlock) stops the meter rising and raises Re-educate to 25 per day. Imprisoning an innocent follower costs 15 Faith, so use it only on dissenters.
- A Magnificent Mixed Meal ends dissent instantly.
- Keeping coins spent before a long crusade limits what a dissenter can steal.
The first Doctrines and Rituals worth taking
Doctrines
Doctrines are permanent choices declared at the Temple. Each one uses a Commandment Stone, built from three fragments that come mostly from followers levelling up (each level also gives 20 Devotion), plus some boss and room rewards. Doctrines also have a cooldown. Each category has four tiers, and at every tier you pick one of two options; the other is locked out until the post-game.
The categories are Sustenance, Afterlife, Work & Worship, Law & Order and Possessions. Sins opens after your third Bishop, and Winter comes with the Woolhaven DLC.
Rituals
Rituals are performed at the Temple and mostly paid for with Bones from enemies. Most Doctrine Rituals cost 75 Bones, and each has its own cooldown.
- Bonfire Ritual is available from the start: +30 Faith for Bones and Lumber, 7-day cooldown. It is your emergency Faith button early on.
- Sacrifice of the Flesh is unlocked by The One Who Waits after a few runs. It costs a follower and 75 Bones and fills a large part of the Sermon upgrade bar, but costs 10 Faith unless your cult believes in sacrifice.
- Brainwashing Ritual comes from delivering 30 Menticide Mushrooms to Sozo and locks Faith at full for 2 days.
The Cheaper Rituals (tier 3) and Ritual Cool Downs (tier 4) Divine Inspirations halve costs and speed up cooldowns.
Do not spend all your Bones on one expensive Ritual right before a long crusade. Keep enough for a Bonfire Ritual in case Faith collapses while you are away.
The four Bishops and their regions
The crusade map opens one region at a time. Each region has three mini-bosses before its Bishop, and each gate needs a certain number of followers in a new game.
| Order | Region | Bishop | Gate | Mini-bosses |
|---|---|---|---|---|
| 1 | Darkwood | Leshy | 1 follower | Amdusias, Valefar, Barbatos |
| 2 | Anura | Heket | 7 followers | Gusion, Eligos, Zepar |
| 3 | Anchordeep | Kallamar | 9 followers | Saleos, Haborym, Baalzebub |
| 4 | Silk Cradle | Shamura | 12 followers | Focalor, Vephar, Hauras |
The first three bosses of each region can be recruited after you beat them, so a region's mini-bosses help you reach the next gate. Anchordeep is a clear step up in difficulty, with many enemies that dash and jump. After all four Bishops, the path leads to The One Who Waits. Region hazards and boss patterns are covered in the Crusade Guide.
What to upgrade first
Sermon upgrades: your combat progression
Each Sermon adds points equal to every follower's level to the Sermon bar, and filling it unlocks the next upgrade. The first is Hearts of the Faithful (a permanent extra half heart), followed by new weapon types (Bane, Vampiric), new curse sets and Might of the Devout, which raises your starting weapon level. This is why recruiting and levelling followers makes you stronger in combat.
Crown abilities from the Bishops
Each Bishop drops a Heart of a Heretic, which you spend at the Temple on one permanent Crown ability, in any order:
| Ability | Effect | When it helps |
|---|---|---|
| Resurrection | The first time you die on a run, sacrifice a follower to come back; red hearts scale with that follower's level | Bishop fights and long runs |
| Omnipresence | Return to base instantly mid-run, losing 10-25% of items by difficulty and no Faith | When the cult needs you or a run is going badly |
| The Hunger | Once a day, eating a meal gives you a heart (usually a blue heart) | If you cook every day anyway |
| Darkness Within | Start every crusade with a Diseased Heart | A small, steady buffer |
Divine Inspiration order
Early on, the order that pays off is Temple, Sleeping Bags, Farm Plot, then the Farming Bundle (Farmer Station and Seed Silo) and Body Pit. Cult II unlocks after four upgrades and opens Shelters, Prison, Lumberyard, Stone Mine and Missionary. The Outhouse, Healing Bay and Janitor Station sit in tier 3.
Tarot and Fleeces
Tarot cards are buffs for a single run. They stack, but you cannot hold two copies of the same card, and they reset when the run ends. Fleeces are capes you unlock with Holy Talisman pieces; each one adds a power with a drawback, apart from the default Fleece of the Lamb, which has no effect. For which weapons, curses and Fleeces to take, see the Weapons and Curses Tier List and the Combat Build Guide.
On difficulty: Easy halves hunger, sickness, dissent and aging in the cult and gives you 4 red hearts instead of 3. Very Hard doubles those cult rates. If the cult side is what overwhelms you, that is a real setting, not just combat tuning. The Woolhaven DLC adds Winter and new regions, and it starts only after you have made progress against the Bishops. Once it is activated, that save file needs the DLC installed.
Common mistakes
- Preaching or performing Rituals at night. Each one costs 15 Faith. Plan your Sermon for the morning.
- Leaving the Shrine full. The starting Shrine holds only 50 Devotion; anything produced after that is lost.
- Taking on follower quests you cannot finish. Declining costs 25 Faith, but accepting and failing costs 45.
- Expecting an Outhouse on day one. It is a tier 3 unlock. Until then, cleaning by hand keeps followers healthy and gives Fertilizer for your farm.
- Leaving corpses out. They lower hygiene and make other followers sick. Build a Body Pit early.
- Imprisoning innocent followers. That costs 15 Faith; the Prison is for dissenters.
- Long crusades on an empty pantry. Cook before leaving, or take Ritual Fast if you plan to stay out.
- Treating followers as decoration. Their levels fuel Devotion, Sermon upgrades and Resurrection. Bless them daily.
Where to go next
Once the loop is stable, the Cult Management Guide covers running a larger cult and automation, the Crusade Guide covers each region and Bishop fight, and the Honest Review explains who the game is for.
★Honest Take: Faith is the real difficulty setting
Most early runs that fall apart do not fail in combat; they fail in the camp. You come back from a good crusade to a cult that is short of beds, has a corpse by the farm and has lost half its Faith to a Sermon you gave at midnight. Once you treat Faith as the thing to protect (Sermon in the morning, a bed for everyone, mess cleaned before you leave), the game becomes the relaxed loop it promises. The weak side is that the cult half never fully runs itself early on, and the busywork between crusades can feel like chores until automation buildings arrive.