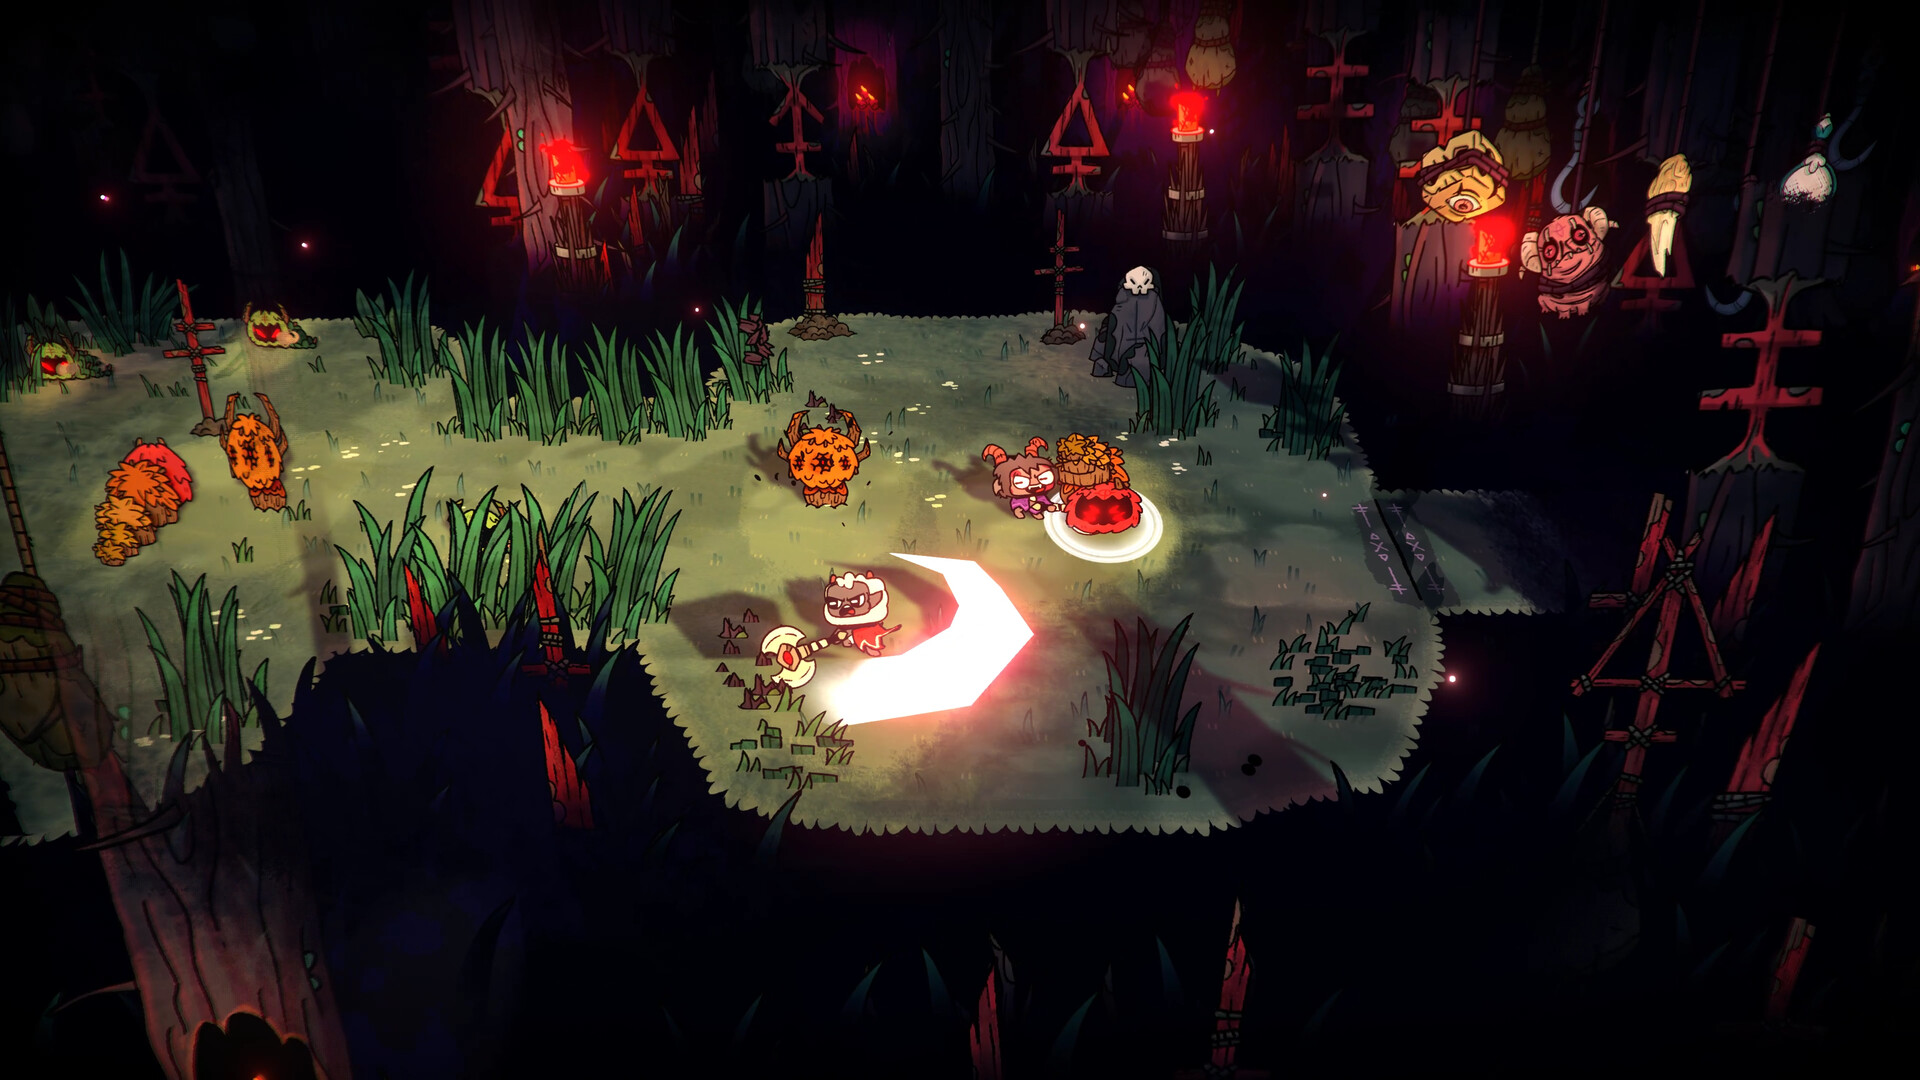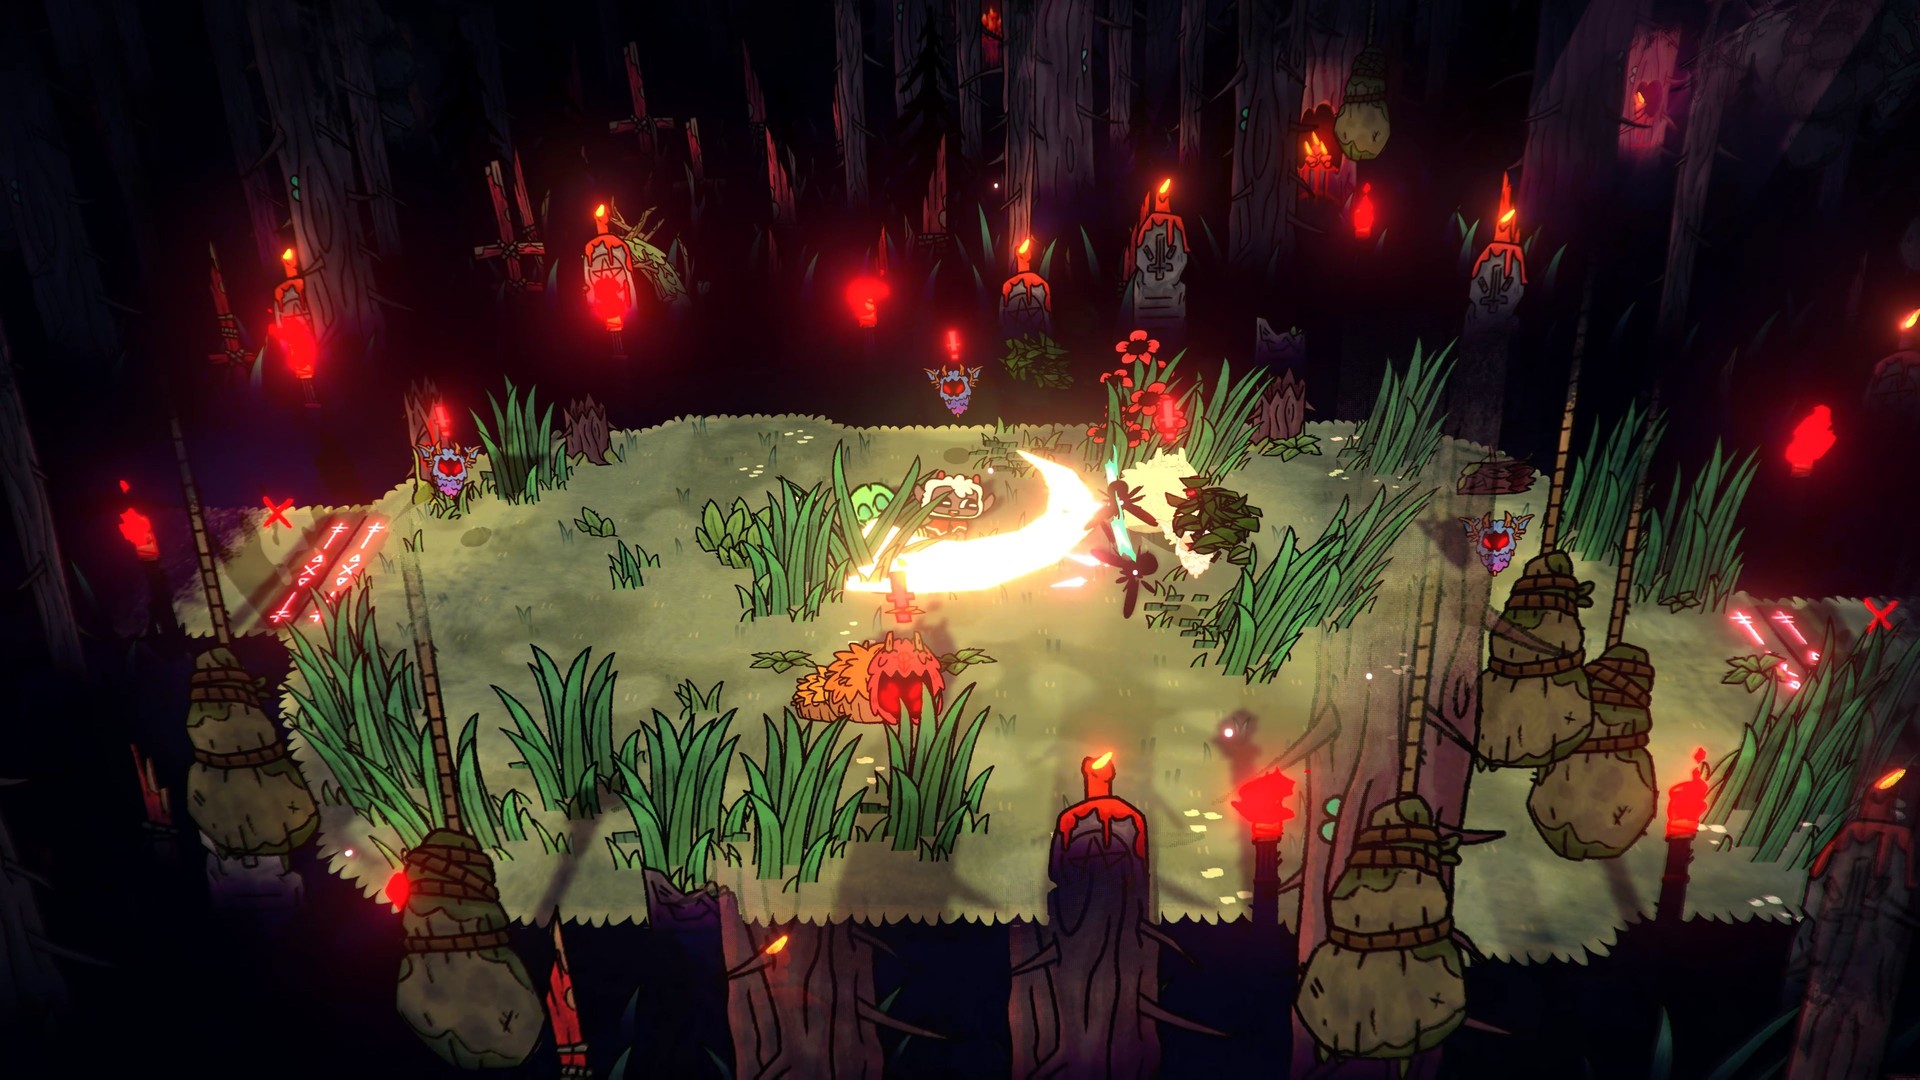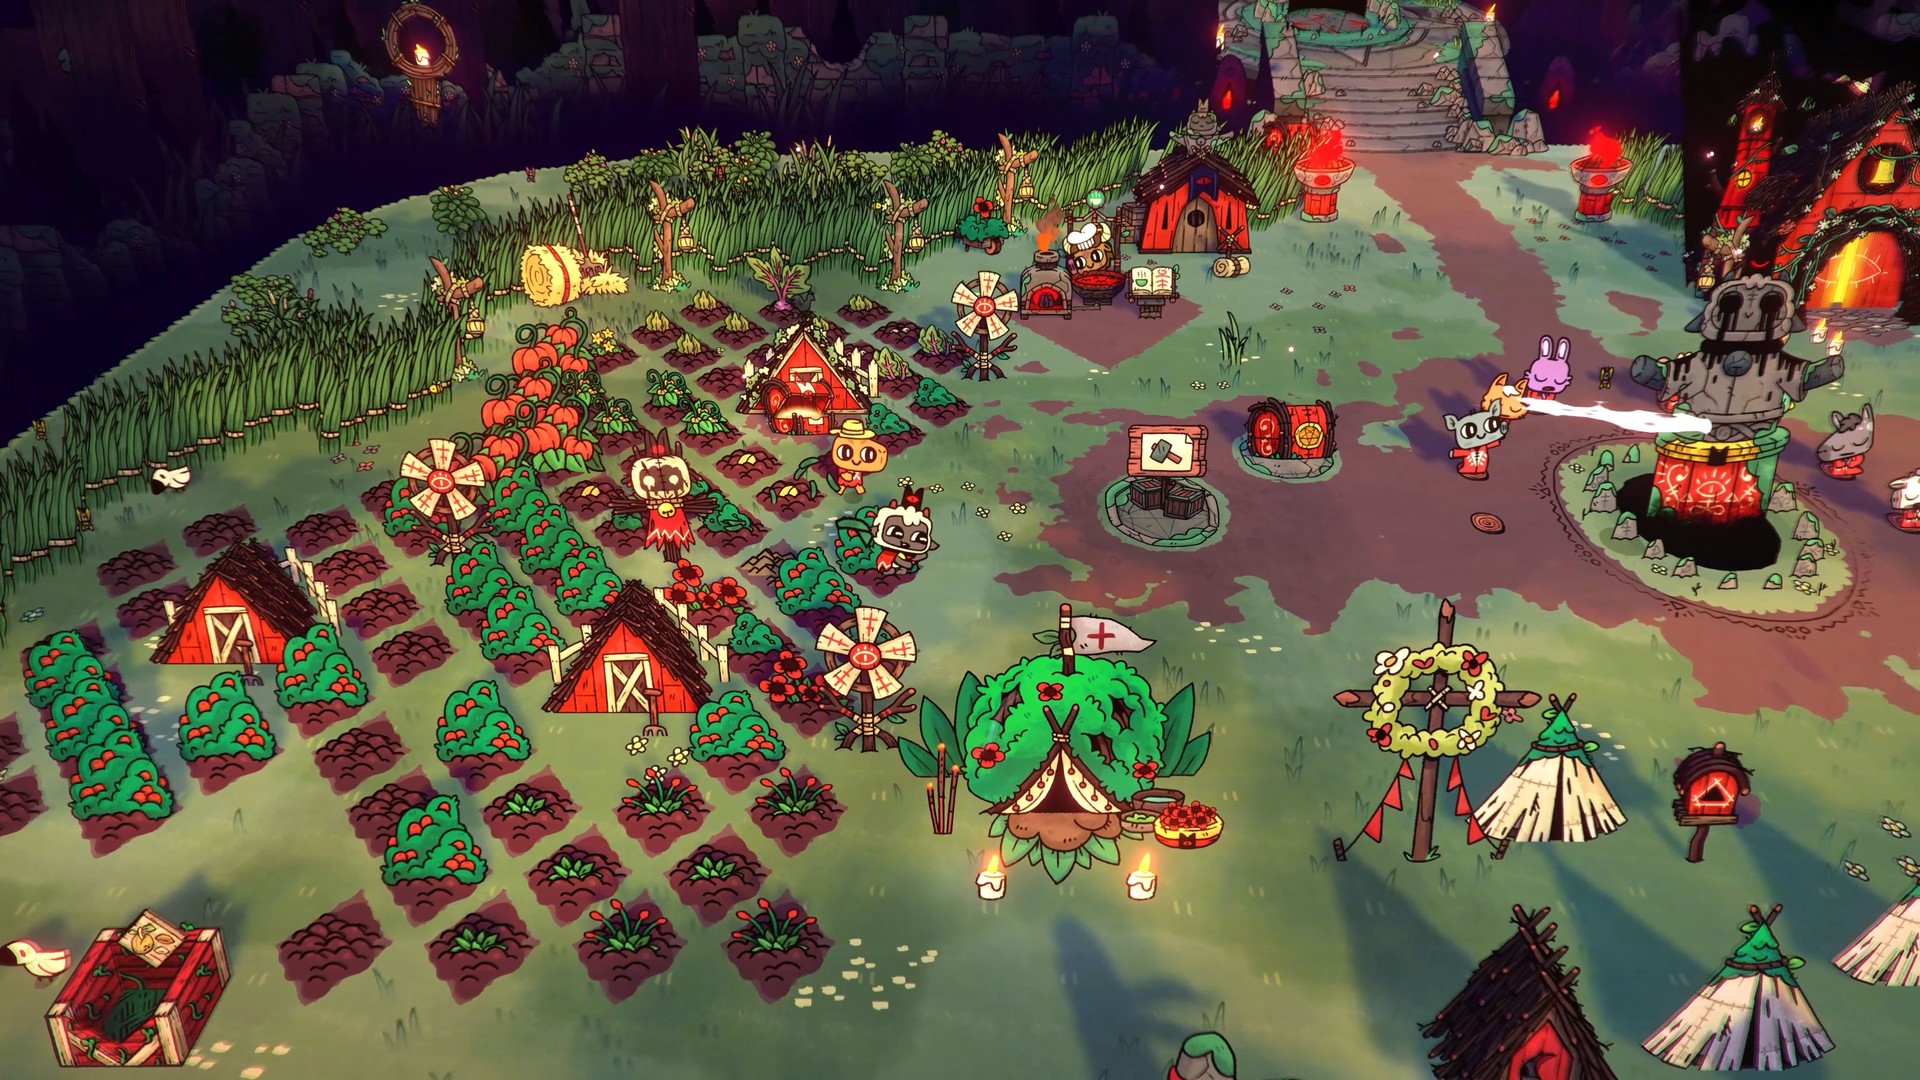
Cult of the Lamb does not let you pick a weapon from a menu. The first room of every crusade drops one weapon and one curse, Kudaai's shop offers a choice of three, and more weapons turn up along the way. So a "build" here is a priority list: what to take when the game offers it, and which tarot cards to stack on top.
The short version: unlock Divine Guardian and the Might of the Devout levels early, take a Hammer or Axe when you see one, and stack weapon damage and healing tarot. The rest of this guide explains why, with the numbers behind it. Item names below are the in-game English names; the figures come from the community wiki's tables for the current version, including the Woolhaven DLC.
Recommended builds at a glance
Each row is a direction to steer a run towards. Swap in whatever the run offers; the curse and the first two tarot cards matter most.
| Build | Weapon | Curse | Key tarot cards | Relic / fleece | When to use it |
|---|---|---|---|---|---|
| Safe all-rounder | Axe or Sword, ideally Vampiric | Divine Guardian | Fortune's Blessing, Soul Snatcher, Shield of Faith | Shamura's Skull / Fleece of the Lamb | Learning a new region or Bishop |
| Hammer crit | Hammer, Merciless or Godly | Divine Guardian | Master of the Art, True Sight, Divine Strength | Heket's Throat / Fleece of the Lamb | Bosses and tanky enemies |
| Golden snowball | Hammer or Axe | Divine Guardian | Fervour's Harvest, Strength from Within, Master of the Art | Toe of the Icegore / Golden Fleece | When you rarely get hit |
| Curse caster | Any (weapon is secondary) | Touch of Ithaqua or Hounds of Fate | Ambrosia, Divine Curse, Fervour's Host | Beak of the Fowler / Fleece of the Glass Cannon | Players who prefer range |
| Berserker sprint | Godly Dagger, Hammer or Blunderbuss | Divine Guardian | Godly Moment, Divine Strength, Gift From Below | Shamura's Skull / Fleece of the Berserker | Post-game, fast clears of familiar regions |
Two of these builds need unlocks first. Golden Fleece and Fleece of the Glass Cannon cost one Holy Talisman each (four talisman pieces make one). Fleece of the Berserker only appears after you beat The One Who Waits. Shamura's Skull and Heket's Throat come from those Bishops' follower quests.
How weapons and curses are offered — and how to get better ones
During a crusade, gear reaches you in three ways. The first entrance room of a run spawns one weapon and one curse. Kudaai's gear shop (the room with hanging swords over the door) lets you take one of three weapons or curses for free. And weapons occasionally appear in other rooms. You can only hold one weapon and one curse, so every pickup replaces what you had.
Two upgrades help you fish for something better: Kudaai's Blessing (a sermon upgrade) lets you resummon the weapon or curse in the entrance room at one level lower, and the relics Kudaai's Fingernail and Kudaai's Toenail summon a new weapon and a new curse, respectively, at a higher level.
What can appear is controlled by sermons, not doctrines. After you build the Temple you can give one sermon per day; each follower contributes points equal to their level, and the points buy upgrades in tiers. These are the combat-relevant ones:
| Tier | Weapon unlocks | Curse and other unlocks |
|---|---|---|
| 1 | Bane Weapons (chance to poison) | Curse of the Horde (Hounds of Fate, Maelstrom, Point of Corruption), Hearts of the Faithful (+half a heart) |
| 2 | Vampiric Weapons, Might of the Devout I (start at level III to IV) | Curse of the Occultist (Cleansing Fire, Divine Guardian, Path of the Righteous), Kudaai's Blessing, Fervour of the Righteous I |
| 3 | Necromantic Weapons, Weapon Mastery (Heavy Attack) | Curse of the Tundra (Divine Blizzard, Death's Squall, Touch of Ithaqua), Hearts of the Faithful II |
| 4 | Zealous Weapons, Might of the Devout II (VI to VII) | Curse of the Necromancer (Death's Attendant, Touch of the Revenant, Divine Blight), Fervour of the Righteous II |
| 5 | Merciless Weapons, Might of the Devout III (IX to X) | Curse of the Beguiler (Strike of the Crown, Oath of the Crown, Call of the Crown) |
| 6 | Godly Weapons, Might of the Devout IV (XII to XIII) and V (XV to XVI), mastery per weapon type | Eyes of the Lost Relics, Blessed and Damned Relics |
Weapon level is worth more than it looks. Each level adds about 7 percentage points to the damage multiplier, so a level X weapon hits roughly 50% harder than the same weapon at level I (a normal Sword goes from 1.2 to 1.8). Might of the Devout is the cheapest permanent damage upgrade in the game.
The Crown Abilities you get from a Heretic's Heart after each Bishop are different again: Resurrection (sacrifice a follower to revive once per run), The Hunger, Omnipresence (return to base from a crusade) and Darkness Within (a Diseased Heart at the start of each run). They help survival but do not change which weapons appear.
Weapon types compared
There are six weapon types in the base game (Sword, Axe, Dagger, Gauntlets, Hammer, Blunderbuss) and a seventh, the Flail, in Woolhaven. "Average damage" is the figure shown in the weapon's tooltip; "speed" is the wiki's attack speed rating.
| Type | Default weapon | Avg damage at level I (normal / Godly) | Speed | Heavy attack | Best for |
|---|---|---|---|---|---|
| Sword | Crusader's Blade | 1.2 / 2.4 | 1 | Jump and slam the ground in a small area | Any build; most flexible |
| Axe | Apostate's Cleaver | 2.4 / 3.6 | 0.5 | Thrown like a boomerang, piercing on the way out and back | Safe high damage, hits behind you |
| Dagger | Traitor's Razor | 1.2 / 2.3 | 2 | A row of daggers falls in the aimed direction | Aggressive players; falls off late |
| Gauntlets | Tempest's Gauntlets | 2.0 / 2.8 | 0.8 | Spin that hits everything nearby | Combo players; third hit does 3 damage |
| Hammer | Warmaker's Hammer | 4.8 / 6.0 | 0.25 | Charged swing with heavy knockback | Bosses, crit builds |
| Blunderbuss | Mayhem's Cannon | Not listed at level I (7.0 / 8.3 at level XXI) | 1 | Charged piercing slug with long range | Ranged play; limited ammo |
| Flail (Woolhaven) | Battler's Bludgeon | Not published yet | Not published yet | Shockwave, then pulls you to the impact point | Ewefall and The Rot, where spacing matters |
Multiply average damage by speed and the first five types land close together at level I (Sword 1.2, Axe 1.2, Hammer 1.2, Gauntlets 1.6, Dagger 2.4). That is only a rough index, but it explains why every type can carry a run: the real differences are range, safety and how each type interacts with critical hits.
Critical hits favour the Hammer. A crit always deals triple damage. Merciless weapons charge one crit on a timer (the first after 25 seconds, then every 20 to 30 seconds), and a missed swing wastes it. One tripled Hammer blow is worth far more than one tripled Dagger stab, which is why Merciless is a top variant on a Hammer and a minor one on a Dagger.
Godly is not equally good on every type. At level I, Godly multiplies average damage by about 2.0 on a Sword, 1.9 on a Dagger, 1.5 on an Axe, 1.4 on Gauntlets and 1.25 on a Hammer. A level X normal Hammer (7.3) beats a level I Godly Hammer (6.0). Once you have Might of the Devout, compare level and type before swapping.
Weapon variants
| Variant | Effect | Sermon tier | Verdict |
|---|---|---|---|
| Default | No special effect | Start | Fine at high level |
| Bane | Chance to poison enemies when attacking | 1 | Minor damage over time |
| Vampiric | Chance to heal you from a slain enemy | 2 | Best variant for survival |
| Necromantic | Chance to summon a ghost from a dead enemy that attacks nearby foes | 3 | Good in crowded rooms, weak on bosses |
| Zealous | Collected Fervour also fills the Divine Inspiration bar | 4 | Helps the cult, not the fight |
| Merciless | Charged critical hit every 20 to 30 seconds | 5 | Excellent on a Hammer or Axe |
| Godly | Significantly more damage; rare | 6 | Biggest gain on Sword and Dagger |
Legendary weapons (Woolhaven)
Woolhaven adds seven unique Legendary weapons, one per type. You find a weapon shard, then Rami in Woolhaven restores it for Wool. Their effects: Golden End (Sword, 1.5x attack speed), Lamb's Slaughter (Axe, a released soul damages another enemy on each kill), Ruins of Nirah (Dagger, invincible during the fourth hit of a combo), Defiler of the Divine (Gauntlets, the third hit calls down lightning), Scourge of Svarog (Hammer, a ring of lightning on each slam), Fate of Plimbo the First (Blunderbuss, three projectiles per shot) and Yngya's Torment (Flail, rotten projectiles on slam). If you own the DLC, Golden End and Scourge of Svarog fit straight into the builds above.
Curse types compared
You hold one curse at a time, and each cast costs Fervour, which enemies drop. Curse damage grows with curse level (each level adds about 0.17 to the damage multiplier; Divine Guardian goes from 1.8 at level I to 4.0 at level X), so a high-level curse from Kudaai's Toenail is a real upgrade.
| Family | Default | Unlockable versions | Best pick and why |
|---|---|---|---|
| Fireballs | Flaming Shot | Cleansing Fire (3 shots), Hounds of Fate (homing), Strike of the Crown (may possess) | Hounds of Fate: homing shots do not need aiming |
| Blasts | Divine Blast | Divine Guardian (2s invincible, deflects), Divine Blizzard (freeze), Divine Blight (poison), Divine Pyre (burn, Woolhaven) | Divine Guardian: the best defensive tool in the game |
| Slashes | Death's Sweep | Oath of the Crown (may possess), Death's Attendant (ghosts), Death's Squall (freeze), Death's Blaze (burn, Woolhaven) | Death's Squall: freezing turns a melee curse into crowd control |
| Splatters | Ichor Thrown | Point of Corruption (explosive), Path of the Righteous (Ichor trail), Call of the Crown (possess on direct hit) | Path of the Righteous with Ichor tarot cards |
| Tentacles | Touch of Turua | Maelstrom (four directions), Touch of Ithaqua (freeze), Touch of the Revenant (ghosts), Touch of Yig (burn, Woolhaven) | Touch of Ithaqua: half of Turua's damage, but an endless line that freezes |
| Teleport (Woolhaven) | None | Godly Stride, Ichor Forsaken, The Enfolding (3s invincible after teleport) | The Enfolding as an emergency escape |
Call of the Crown cannot activate the small totems that reveal hidden Ancient Tablet rooms. If you are hunting tablets, keep a different curse.
Tarot cards: take these, skip these
Tarot effects stack, last for that run only, and you cannot hold two copies of the same card. Some cards come in + and ++ versions with stronger numbers (shown in brackets). Many good cards must be unlocked first, usually by buying them once in the hub areas.
Fleeces explained
Fleeces are equipped before a crusade and set the rules for the whole run. Most are unlocked with a Holy Talisman at the Temple; there are 36 talisman pieces in a playthrough, enough for every fleece.
| Fleece | Bonus | Drawback | Use it when |
|---|---|---|---|
| Fleece of the Lamb | None | None | Learning a region or Bishop |
| Golden Fleece | +5% damage per kill, stacking | Bonus resets when hit; all damage taken doubled | You rarely get hit; pair with Divine Guardian |
| Fleece of the Glass Cannon | Curses deal +100% damage and cost 50% less Fervour | Half melee damage and half health | Curse caster build |
| Fleece of the Diseased Heart | Each tarot card grants a Diseased Heart (max one held) | Taking damage poisons you | With Mithridatism (poison immunity) |
| Fleece of the Fates | Four random tarot cards at the start | No tarot pickups for the rest of the run | Short runs; Purgatory boss rush |
| Fleece of Fragile Fortitude | Red hearts become blue hearts at 2:3 (50% more health) | No red hearts | Survival with no other downside |
| Fleece of a Cursed Crusade (post-game) | Starts with four curse tarot cards | Weapons disabled | Pure curse runs |
| Fleece of the Berserker (post-game) | 10x weapon damage | Half a heart; no resurrection; curses and demons are not boosted | Fast clears of regions you know well |
| Fleece of Fervor's Favor (post-game) | Heal half a heart for one curse's worth of Fervour (manual) | No hearts spawn | Curse-heavy play with the Vosegus demon |
| Fleece of the Hobbled Heels (post-game) | Heal a heart after each room; more speed and starting health | Cannot roll | Players who tank rather than dodge |
| Cowboy | Always start with a Blunderbuss | None | Blunderbuss practice; costs 10 Sin |
| God of Death Fleece (post-game) | Two Diseased Hearts when you resurrect | None | Any late-game run |
Woolhaven adds two more functional fleeces with no downside, Ratau's Cloak (burrow through dungeons using Fervour) and Yngya's Fleece (three lamb ghosts that distract enemies), plus twelve cosmetic ones.
Relics
Relics arrived with the Relics of the Old Faith update and are part of the current game. You carry one at a time; you get them from Chemach or at random after clearing a combat room. Most charge as you hit enemies (fast, average or slow), while "fragile" relics work once and disappear.
Bishop tips in brief
For regions, room types and the run structure, see the crusade guide. These are the build-relevant points per boss.
| Bishop | What it punishes | Build tip |
|---|---|---|
| Leshy (Darkwood) | Standing near his spike trails; he is invincible while burrowed | Hit him while he roars or shoots green orbs. Worms only spawn at phase changes (about 60% and 30% health), so clearing them buys calm |
| Heket (Anura) | Ignoring the hoppers; up to six keep coming | Use hoppers to refill Fervour. At about 30% she summons two tough Mortar Hoppers, so save a relic or curse burst for them |
| Kallamar (Anchordeep) | Chasing him; he teleports away and fills the room with fireballs | Ranged damage helps (Blunderbuss, homing curses). Dodge through him to trigger his sword slash. He gets faster below 50% |
| Shamura (Silk Cradle) | Panic rolling; Shamura stays glued to you | Bait the close slash, then roll up or behind. During the radial fireball jumps the gaps face you, so standing still is safe |
The final fight against The One Who Waits allows no tarot cards and only the default fleece, and rolling gives fewer invincibility frames. Woolhaven's Yngya and Marchosias fights share these rules. Your weapon level, curse and hearts from sermons are all you bring, so finish the Might of the Devout and Hearts of the Faithful upgrades first.
Common mistakes
- Swapping a high-level weapon for a low-level Godly one. On a Hammer, Godly adds only about 25%; three or four levels add more.
- Holding a weapon "you main". Weapons are random. Refusing a strong Axe because you prefer Daggers costs runs.
- Taking resource tarot cards early. Nature's Boon or Neptune's Curse in the first room means one less combat card for the Bishop.
- Wasting Merciless crits. The charged crit is spent even if the swing misses. Swing it at a target you will hit.
- Burning Divine Guardian on trash. Keep Fervour for the boss's big attacks, or for protecting a Golden Fleece stack.
- Looking for unlocks in the doctrine menu. Weapons, curses and heavy attacks come from sermons.
Related guides
Start with the beginner guide if you are new. For a ranking of weapon types and curses on their own, see the weapons and curses tier list. Sermon points come from follower levels, so the cult management guide is also a combat guide. Our overall verdict on the game is in the review.
★Honest Take — your cult is your biggest damage upgrade
The combat in Cult of the Lamb is simple, and that is mostly a strength: rooms are short, bosses are readable, and five minutes is enough for a meaningful attempt. The weak side is that a run's power depends heavily on what the dice give you. A Godly Sword in the first room and a Dagger with no tarot cards are very different games, and no build guide can change that.
What you can control is the cult. Our clearest finding from the numbers is that the Might of the Devout levels and Divine Guardian, both bought with sermons, matter more than any single drop. If a Bishop keeps beating you, the fix is usually not a better weapon but a few more days of sermons with higher-level followers. Players who enjoy deep, deterministic build-crafting may find this shallow; players who like a light roguelite that feeds a management game will find it well balanced.