The combat side of Cult of the Lamb is the Crusade. You push through randomly generated dungeons, clear four regions in order, and defeat the heretic Bishop who rules each one. The bottom line: learn each region's hazards, pick reward rooms and tarot to match your current loadout, and finish your cult's permanent upgrades before you set out, and the difficulty steadily drops. This article focuses on the regions, Bishops and run structure. Concrete weapon, curse and tarot combos live in a separate article.
The big picture of a Crusade
A Crusade is a roguelite where you run four regions in order. Each region is stitched together from randomly generated rooms, and as you clear its mini-bosses (the Apostles) in turn, you face the Bishop who rules that region last. Beating a Bishop unlocks the next region, and defeating all four leads to the final boss, The One Who Waits.
The regions come in this order.
| Order | Region | Bishop | Mood |
|---|---|---|---|
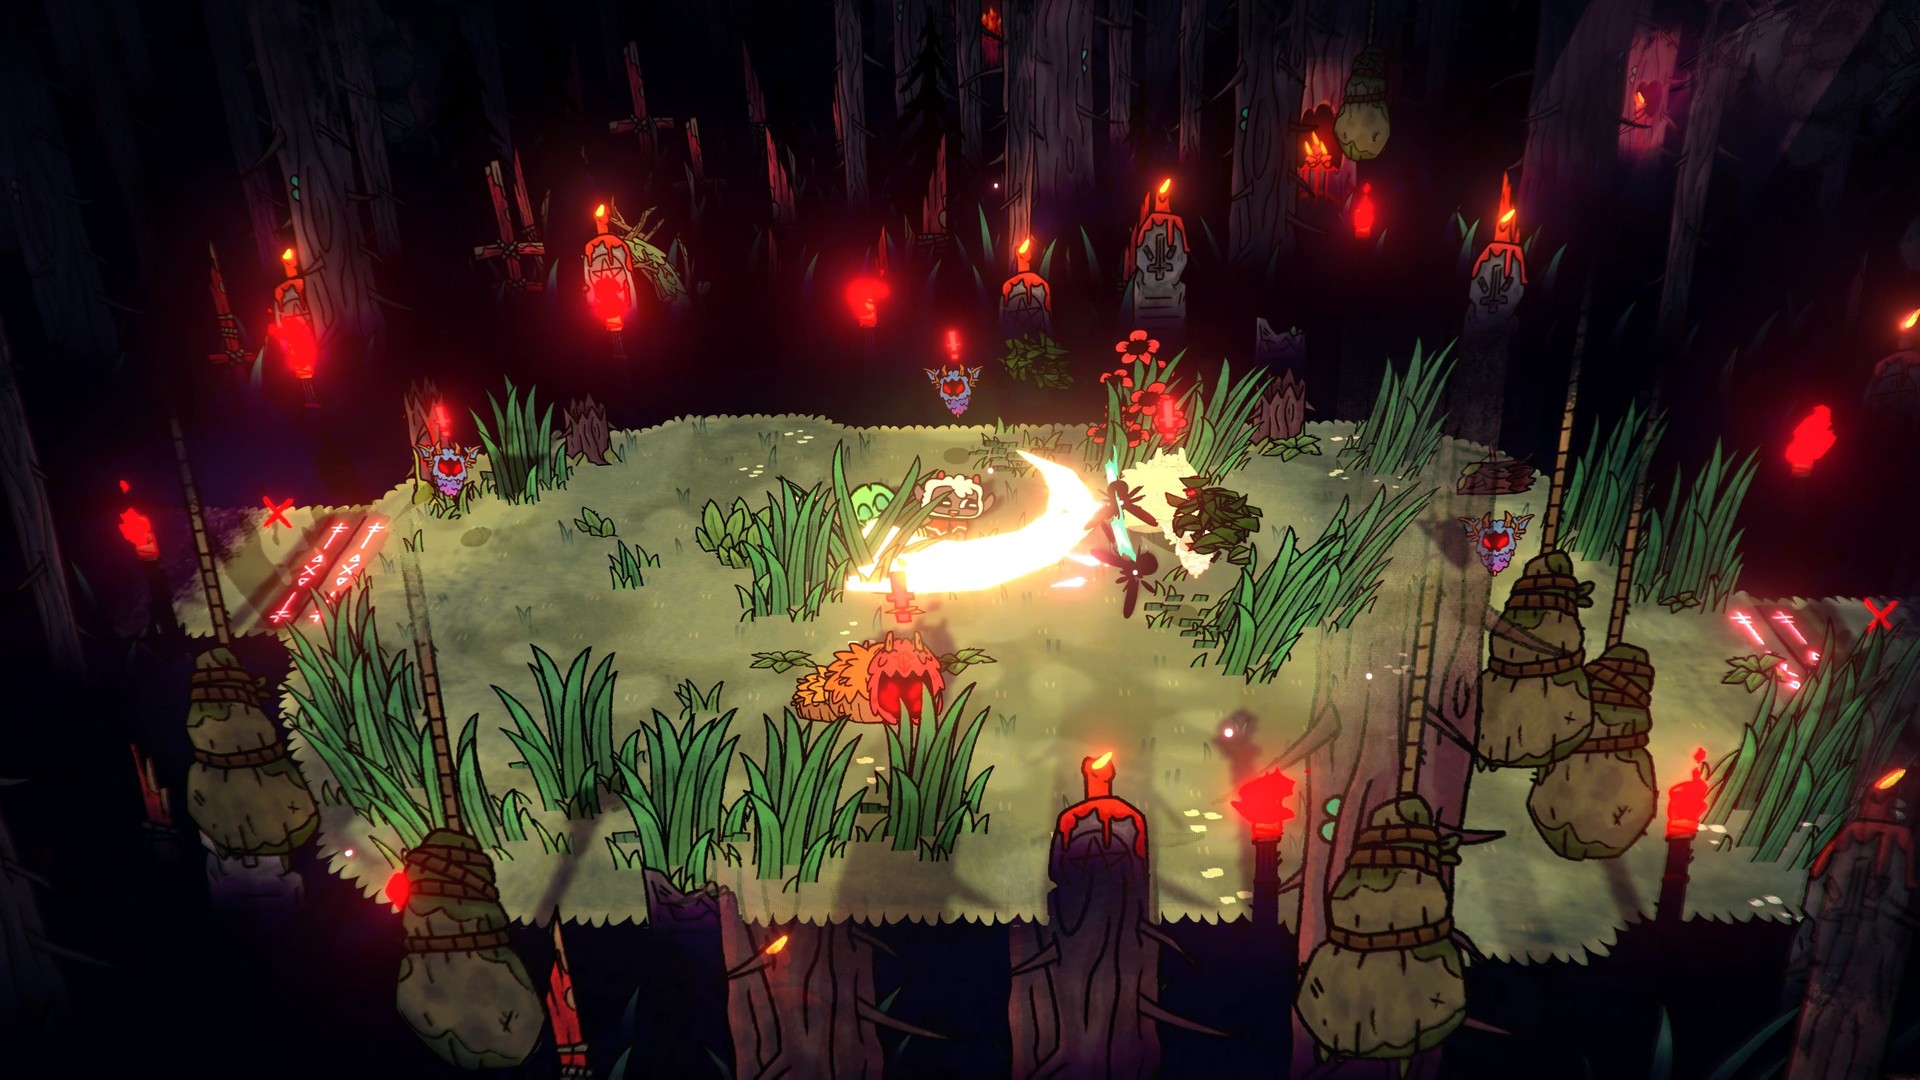
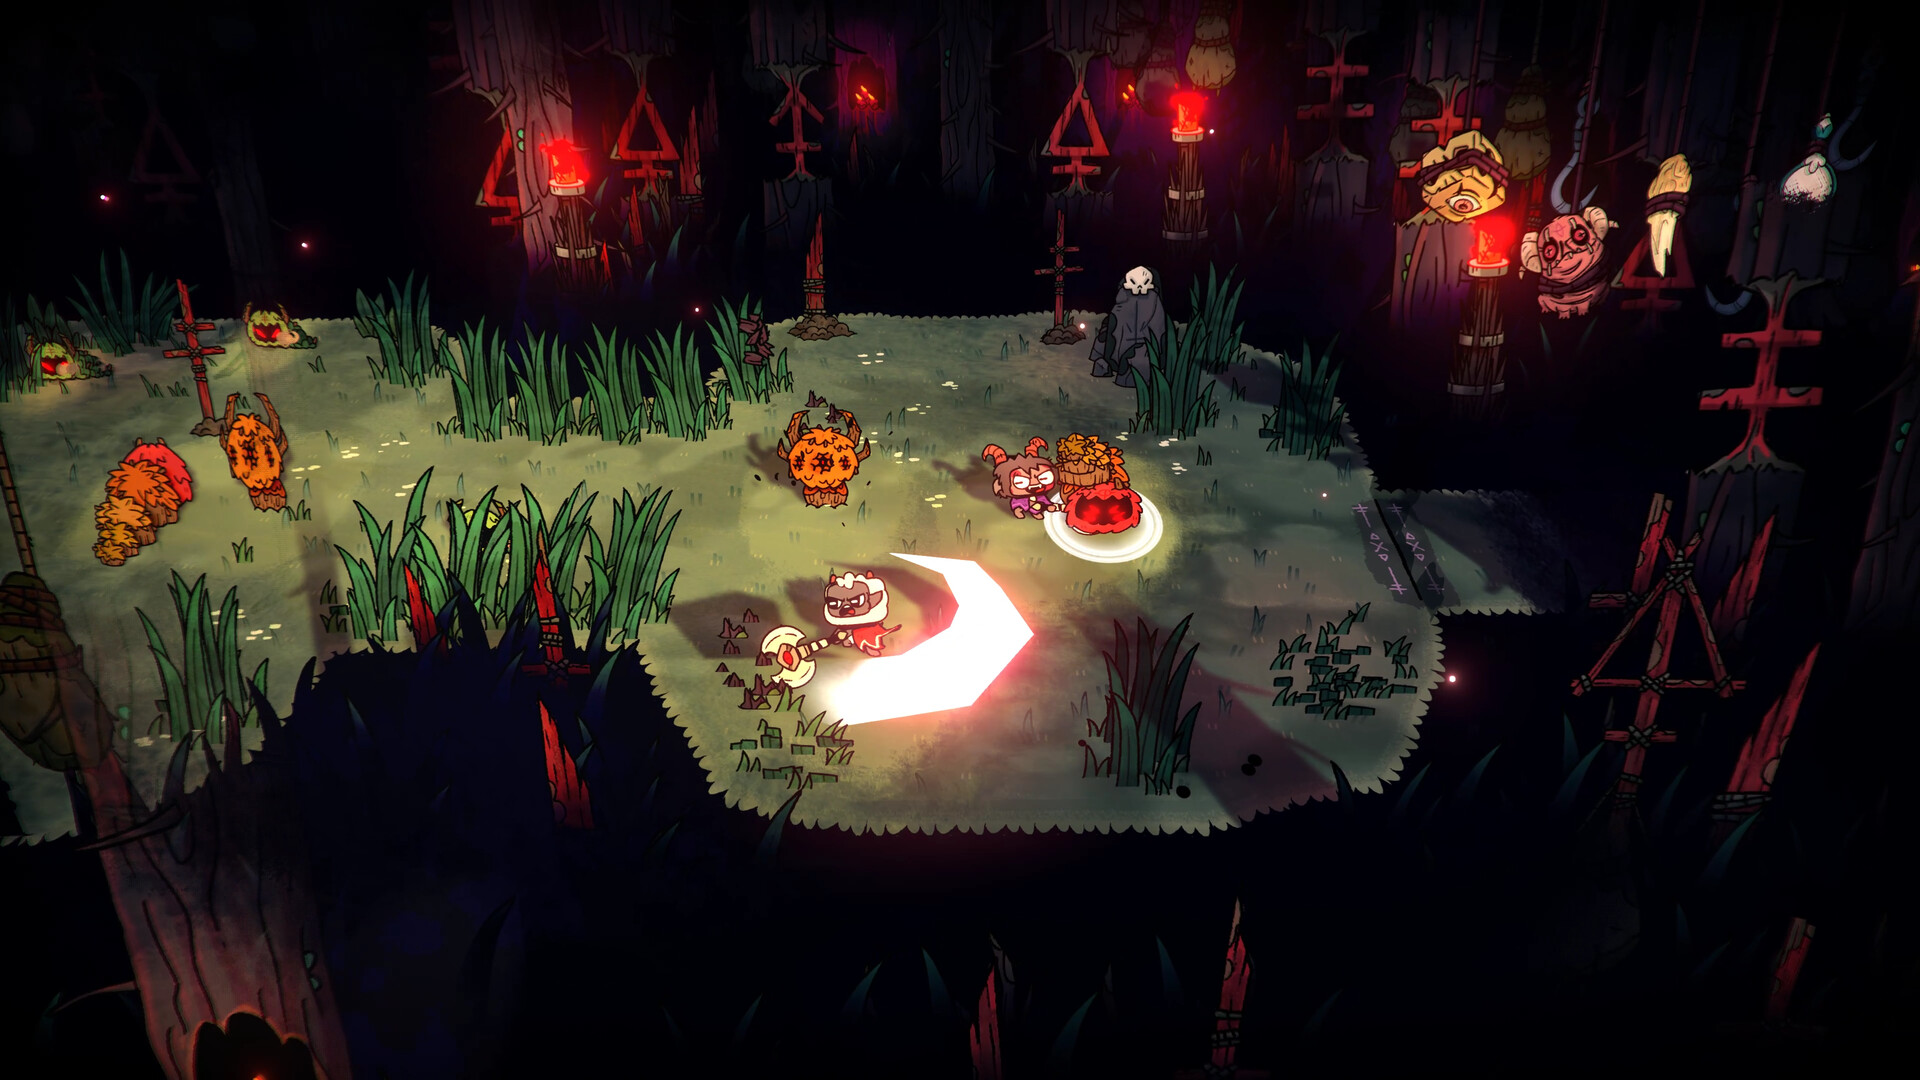
| 1 | Darkwood | Leshy | A deep summer forest the sun barely reaches |
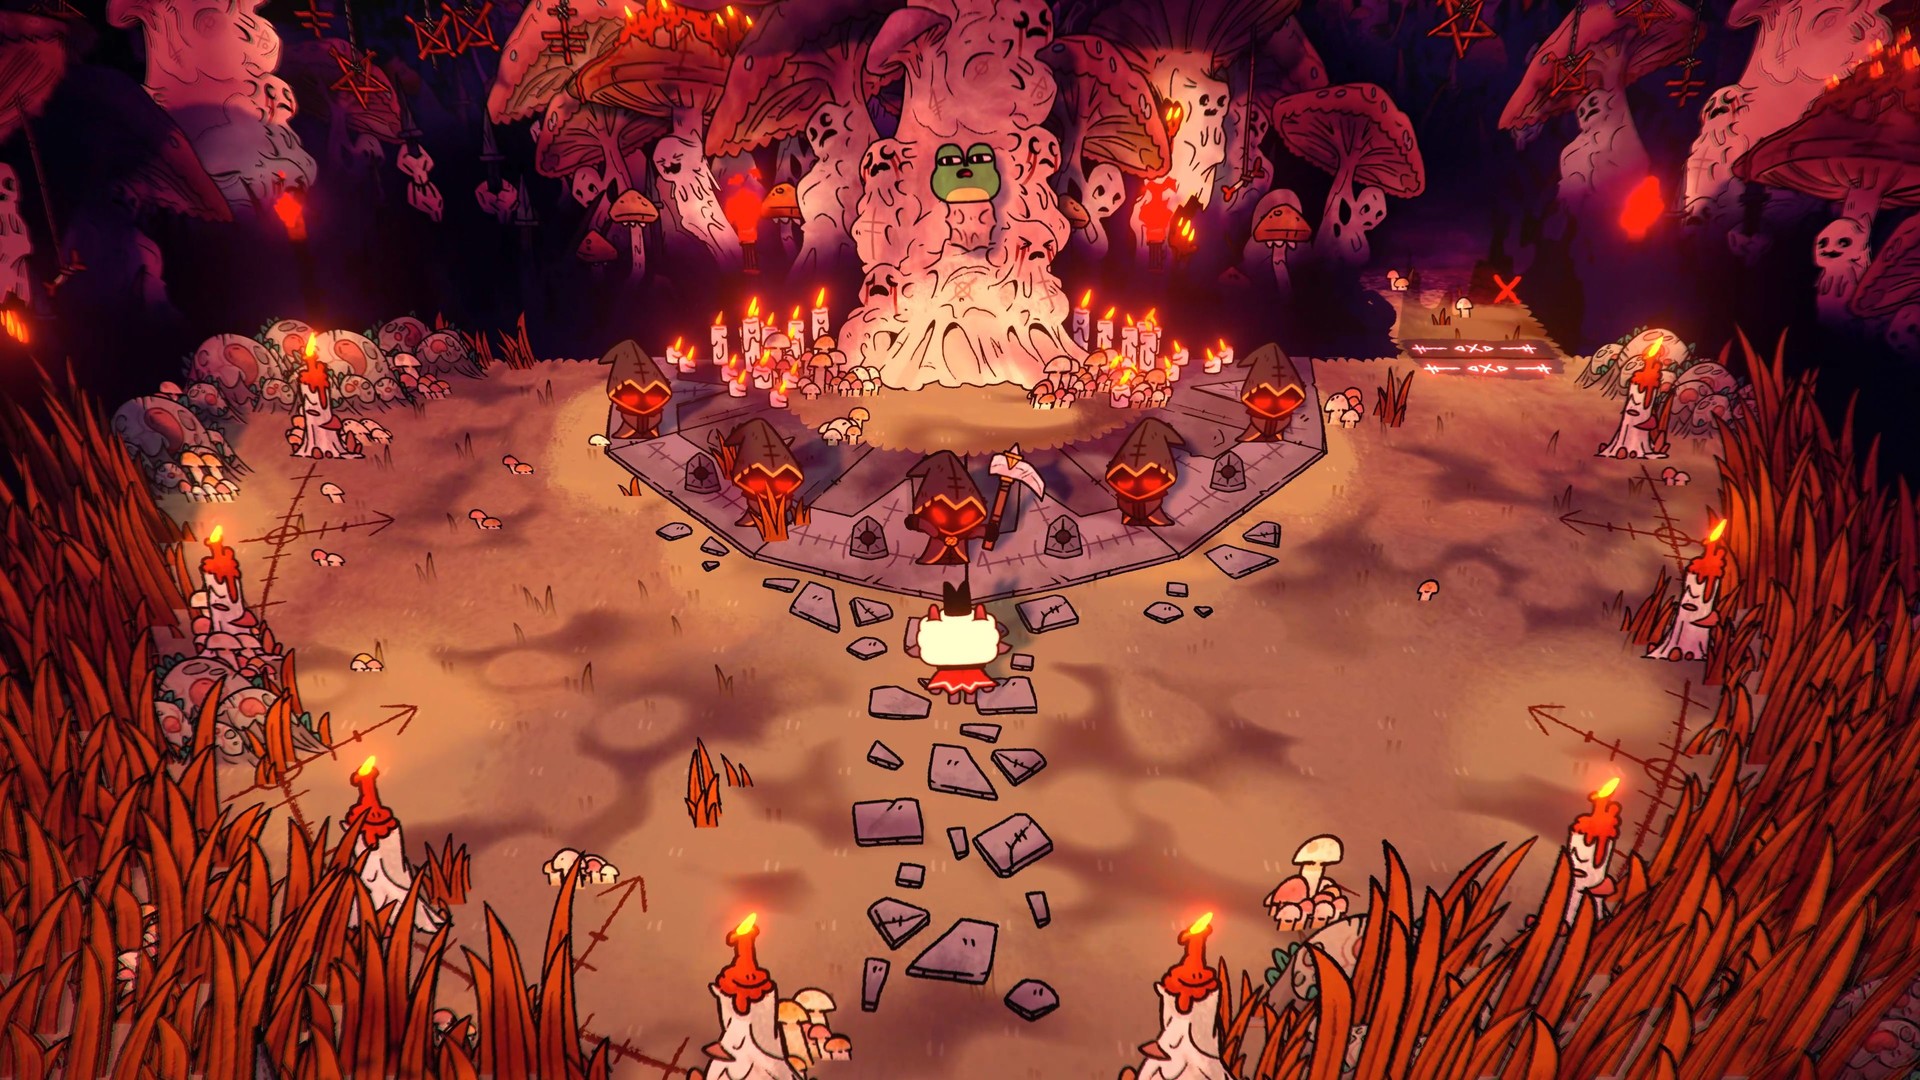
| 2 | Anura | Heket | An autumn forest thick with poison mushrooms |
| 3 | Anchordeep | Kallamar | An undersea realm; difficulty steps up |
| 4 | Silk Cradle | Shamura | A cave draped in spider webs |
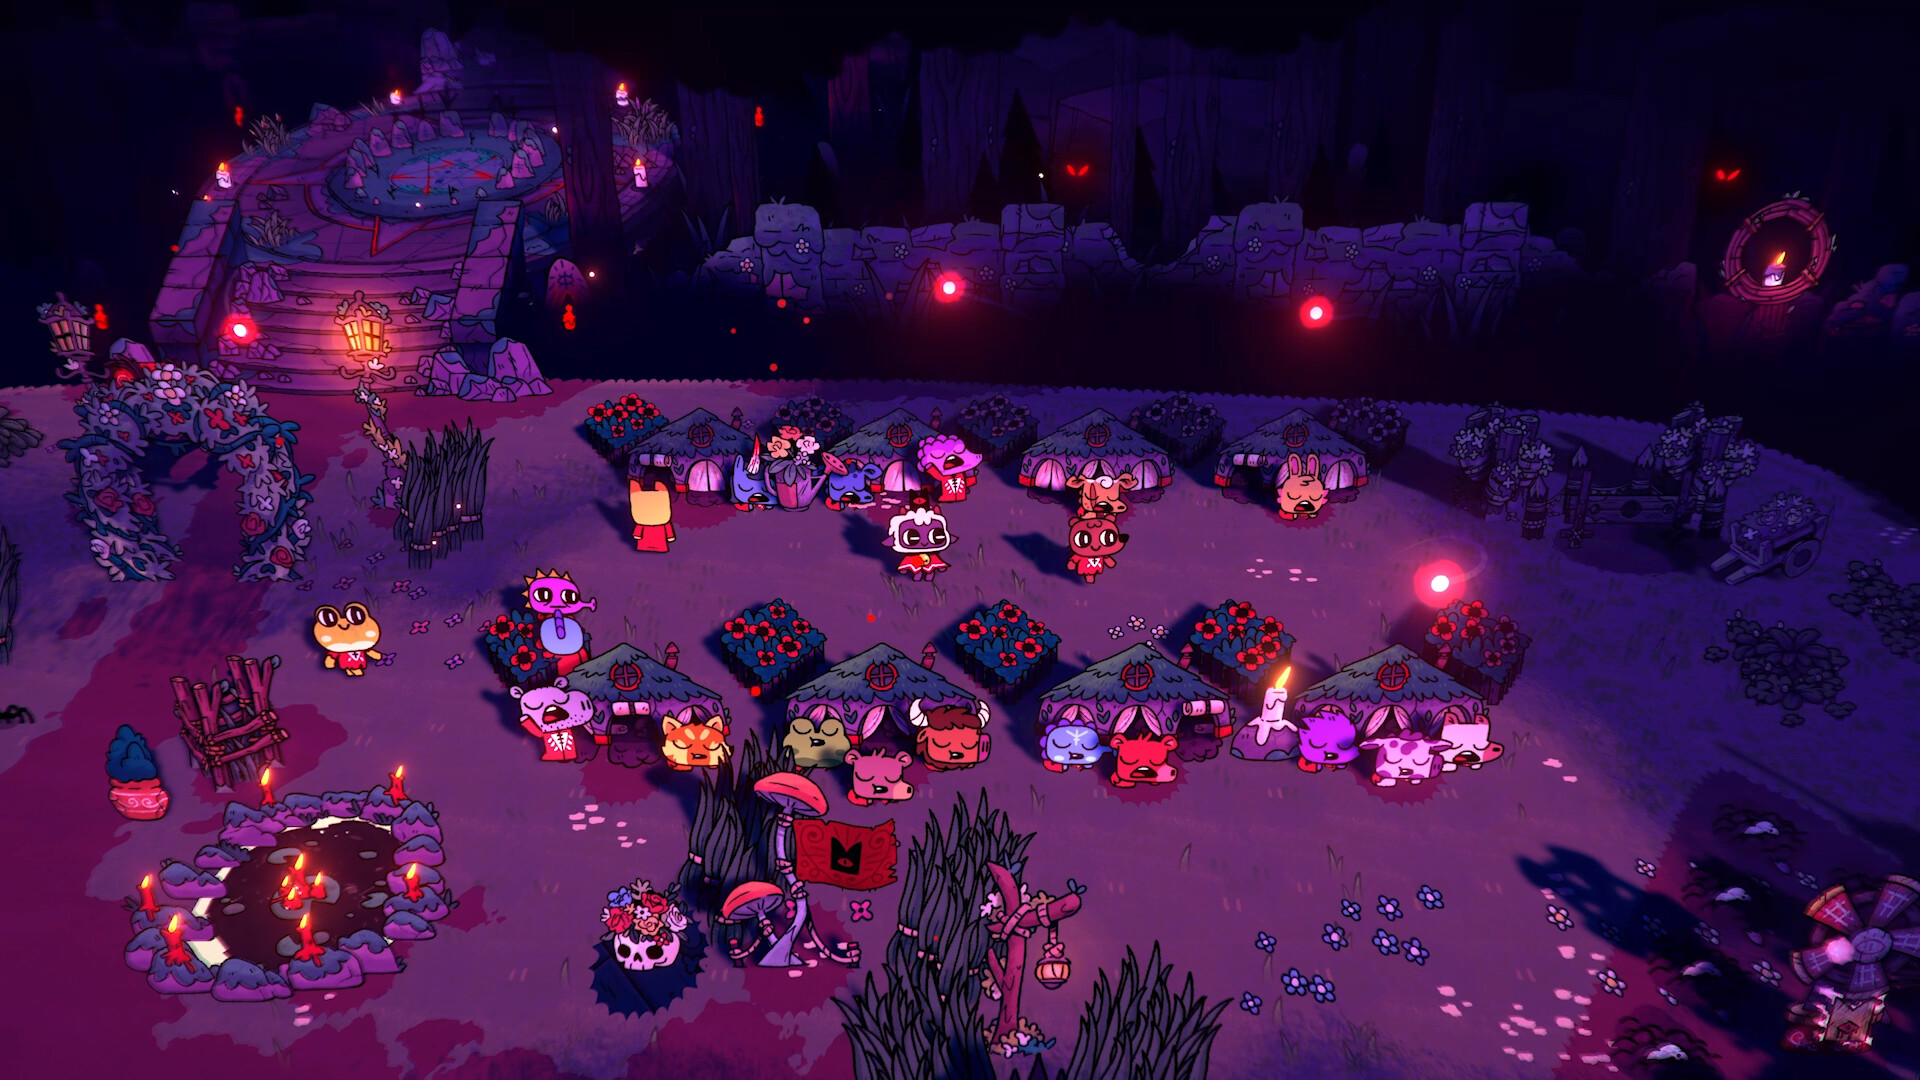
The Bishop is the fixed boss at the end of each region, but they also appear in "Witness" scenes within the region — in Anura, Heket inflicts Starvation on your followers, and in Anchordeep, Kallamar inflicts disease — affecting the cult side too. Managing the cult while you are away is part of clearing a Crusade.
Room layout and the branching map
A short way into a region, an Adventure Map appears. You aim for the goal (the boss) by choosing routes through branching paths. The main room types are below.
| Room | Contents | Notes |
|---|---|---|
| Entrance room | The run's starting point; the first one gives a weapon and a curse | Later entrances have a Devotion Shrine instead |
| Combat room | Clear all enemies to move on | The minimap icon tells you the type |
| Reward / choice room | Pick one of two for free | Choose between a Red/Blue/Diseased Heart or a Tarot Card |
| Clauneck's shop | Free pick of two tarot | An upgrade slot that sets your build direction |
| Kudaai's shop | Free pick of three weapons/curses | Use it to re-roll for a better weapon |
| Boss room | A mini-boss or Bishop fight | The region's milestone |
There are also rooms where you dig graves for Bone and Skeletons, chest rooms that drop Coins and a Tarot Card, and offering rooms where you pay the Statue of the Beast some Coins for a return. Followers who dissented or were removed from the cult can also appear as mini-bosses.
How to choose tarot cards
Tarot are passive buffs you pick up during a run. Effects range from extra health to better reward quality to defense and damage, but the most important rule is that effects last for that single run only. They reset when the run ends, so they are not permanent upgrades.
Pick tarot that mesh with "this run's" weapon and curse. If you are running a vampiric weapon, favor damage over healing; if your health is still shaky, favor max-HP cards. When a two-option choice appears in a reward room or at Clauneck's shop, always compare the keep against the discard before deciding.
Per-region hazards and how to play them
When the region changes, the hazards (terrain traps) and enemy mix change too. Just knowing a region greatly cuts the damage you take.
Anchordeep is a clear difficulty wall. Get surrounded by dashing enemies and you melt fast, so watch your dodge (dash) cooldown and save your defensive curse. Stalling out here is also a sign your cult's permanent upgrades are lagging behind.
Bishop (boss) basics
-
1
Learn the region's quirks via mini-bosses
Each region has several mini-bosses (Apostles). Get used to the region's signature bullet patterns and dashes from their fights before challenging the Bishop.
-
2
Dodge after reading the tell
Leshy uses multi-hit shots and slam drops, Heket uses AoE and exploding insects plus summons big toads at low HP, Kallamar teleports and barrages (more often below half HP), and Shamura mixes shots, melee and jumps with exploding projectiles — all are telegraphed.
-
3
Save your defensive curse for the big moments
Cast invincibility curses like Divine Guardian on the boss's big attacks. Do not burn them clearing trash.
-
4
Prioritize health management
Secure heart rewards along the way. Reach the Bishop with a buffer, and favor dodging over forcing extra hits.
A Bishop's attack frequency and variety increase as its health drops. Rather than hugging it in a panic, chip it down a little at a time when openings appear. For weapon families and how to pick curses, see the combat build guide.
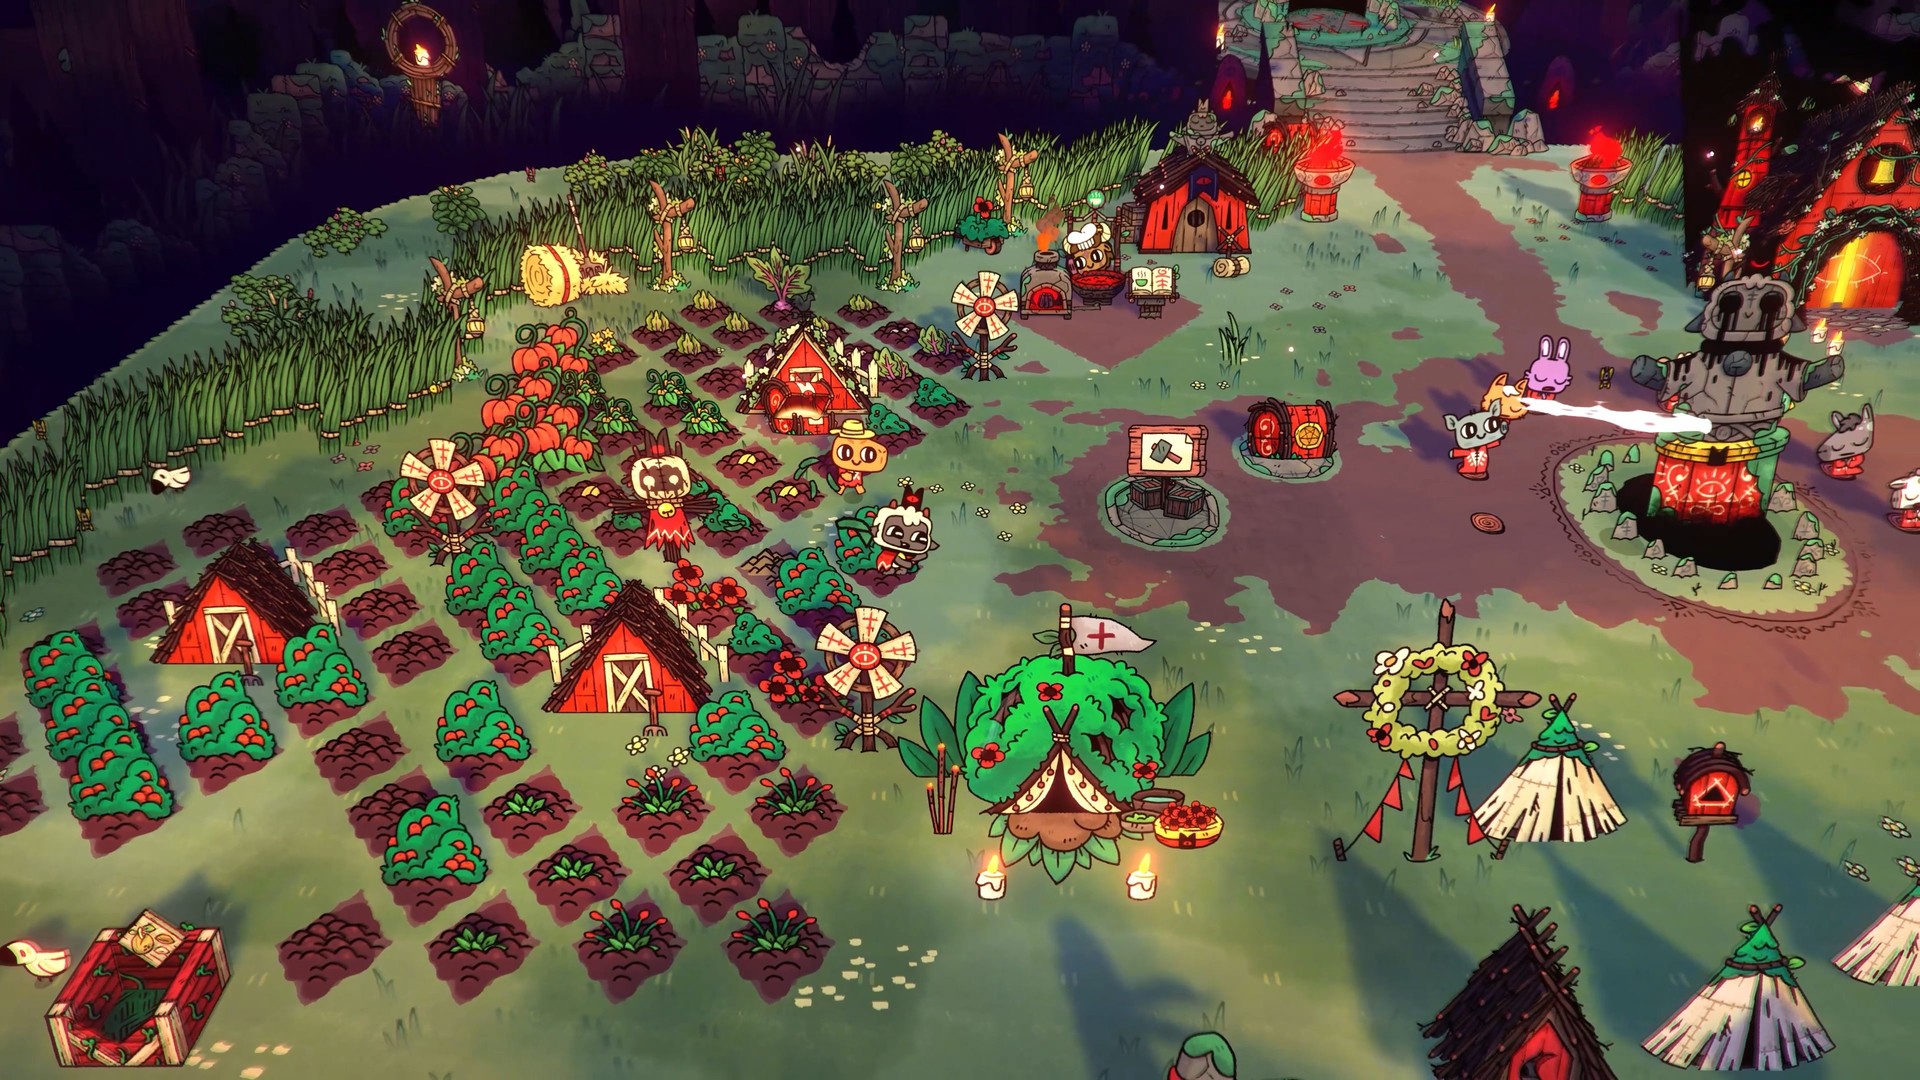
Prep before a run decides the outcome
A Crusade is two sides of the same coin as cult management. Advancing permanent upgrades (Crown upgrades for HP and damage) and tending to followers, food and rituals before you leave lowers the felt difficulty a lot. If the cult falls apart while you are away, you lose time rebuilding it on return.
For running the cult and prioritizing Crown upgrades, see the cult management guide. Strengthen via management, gather materials on the Crusade, then strengthen again — that loop is the shortest path overall.
★ My take: the world changes the moment you learn the regions
Honestly, the toughest stage is the first few runs, where you die to accidents because you cannot read the enemies or traps. But once you learn each region's traps (streams, rocks, dashes, spiders), the damage you take plummets and it becomes a lot of fun. I died over and over to Anchordeep's dash rushes, but once I found the dodge timing, the difficulty wall vanished. Region knowledge really is the biggest permanent upgrade.