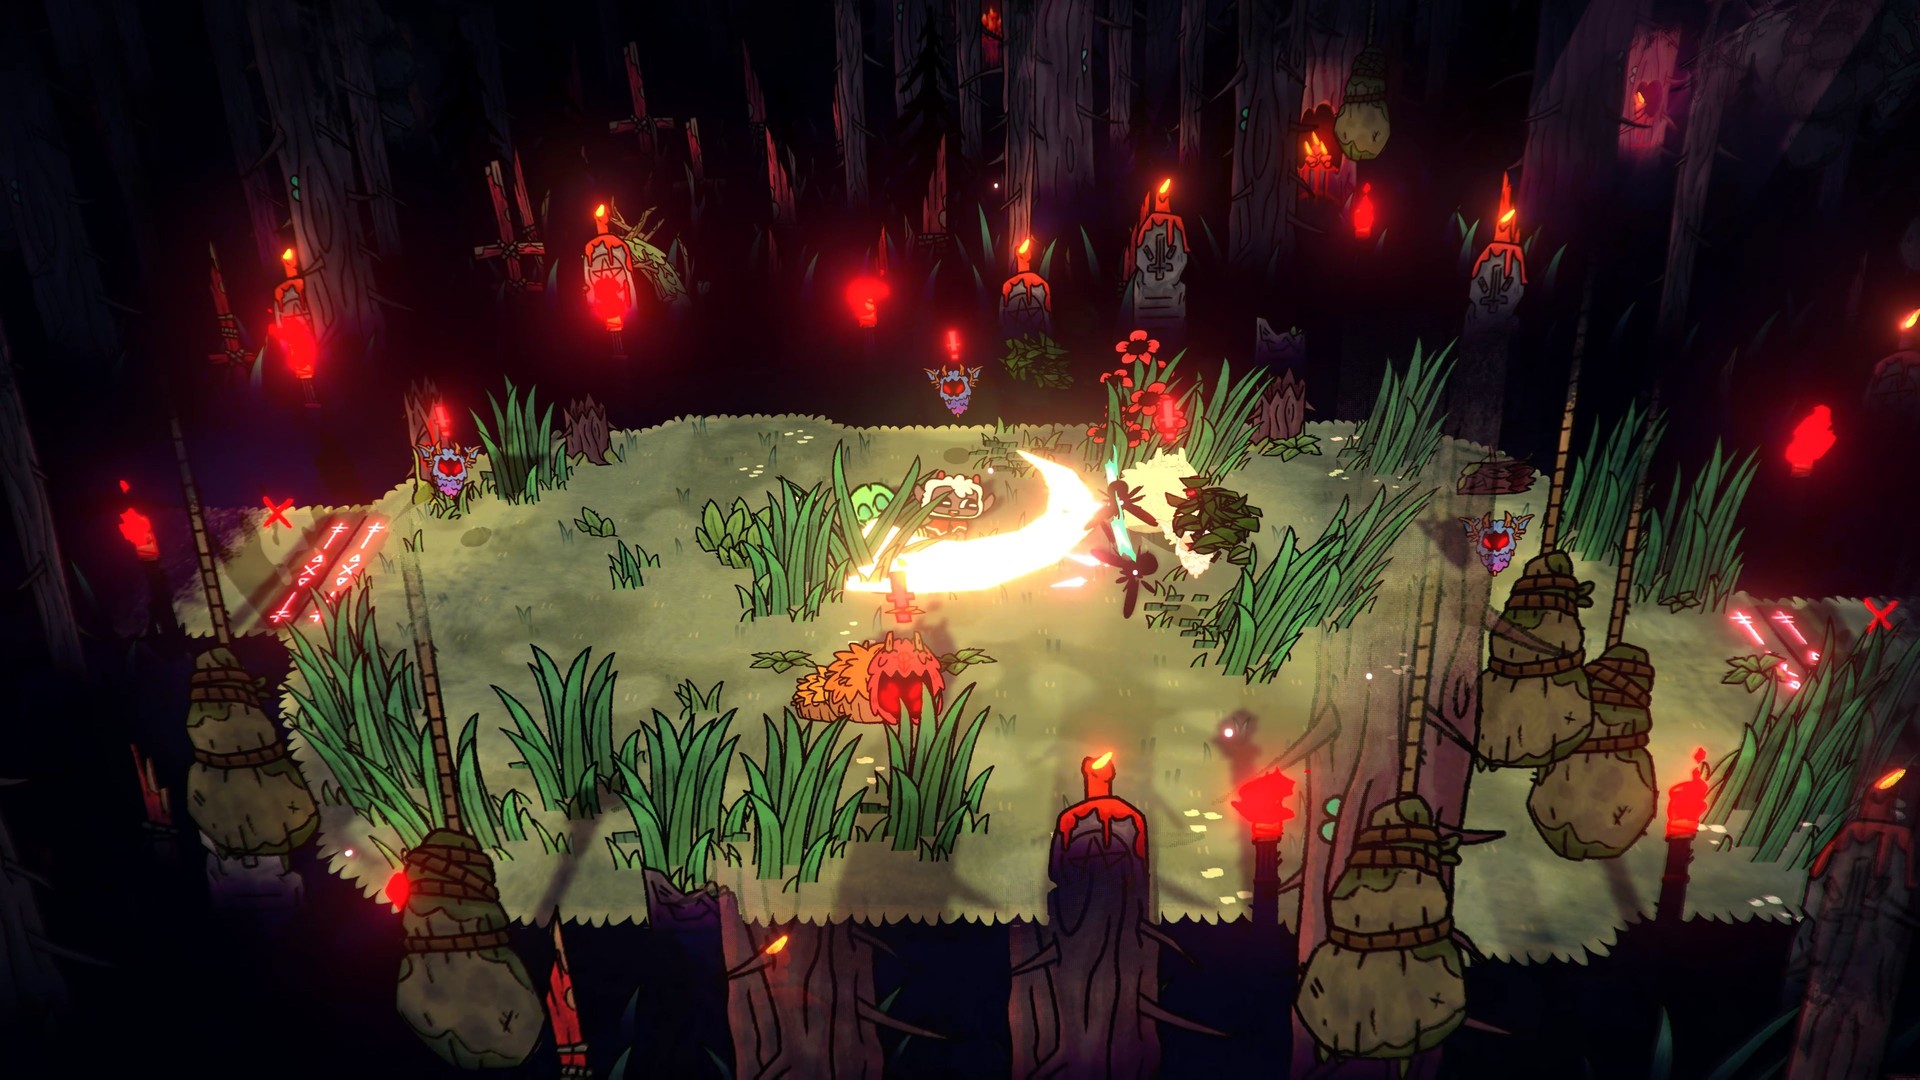
Most of cult management in Cult of the Lamb is routine: preach, feed, clean, repeat. The part you cannot undo is the doctrines. Each Commandment Stone makes you choose one of two options, and the other is locked out until the post-game, when Forgotten Commandment Stones let you go back for the ones you skipped. So we start with the decision table, then explain the systems behind it.
Every doctrine pair, with our pick
The base game has five doctrine categories with four pairs each. The rule behind our picks is simple: an effect that pays out every day beats a one-off, and loyalty is worth more than coins because every loyalty level gives you Devotion and a Commandment Stone fragment.
| Category | Option A | Option B | Our pick — why |
|---|---|---|---|
| Work & Worship | Faithful — Devotion 15% faster | Industrious — work speed +15% | Faithful. Early on, Devotion is the bottleneck for unlocking buildings |
| Work & Worship | Inspire — a stronger Bless | Intimidate — less loyalty, +10% work for 2 days | Inspire. More loyalty per day, and Intimidate can give the Coward trait |
| Work & Worship | The Glory of Construction — finish all builds instantly | Ritual of Enlightenment — Shrine Devotion +20% for 3 days | Enlightenment. Followers already build fast; extra Devotion lasts |
| Work & Worship | Glory Through Toil — no sleep for 3 days | Holy Day — no work for a day, +80 Faith | Holy Day. The biggest Faith refill in the game with no downside |
| Possessions | Extort Tithes — collect coins daily | Bribe Follower — pay coins for loyalty | Bribe. Coins are easy to find; loyalty levels are not |
| Possessions | Belief in Materialism — Faith for better beds | Belief in False Idols — more Faith for decorations | False Idols. You place decorations far more often than you upgrade beds |
| Possessions | Alms for the Poor — give coins, loyalty to all | Ritual of Enrichment — every follower donates coins | Alms. Cult-wide loyalty without bones; Enrichment costs Faith |
| Possessions | Sacral Architecture — +5 Faith per new building | Devotee — more Faith from sermons | Devotee. Sermons happen every day; new buildings eventually stop |
| Sustenance | Ritual Fast — no eating for 3 days | Feasting Ritual — fill hunger, +30 Faith | Feasting for most players; Ritual Fast if you take very long crusades |
| Sustenance | Cannibal — Faith from eating follower meat | Grass Eater — no Faith loss from grass meals | Grass Eater. Grass is everywhere and Grassy Gruel stops hurting Faith |
| Sustenance | Ritual of the Harvest — all crops ready now | Ritual of the Ocean's Bounty — double fish, rare fish for 2 days | Ocean's Bounty. A good farm needs no help, rare fish do |
| Sustenance | Substances Encouraged — +20 Faith on Brainwashing | Belief in Prohibition — +10% work and Devotion, 50% sickness after Brainwashing | Substances Encouraged, unless you never brainwash |
| Afterlife | Belief in Sacrifice — +20 Faith on sacrifice | Belief in Afterlife — a death costs 5 Faith, not 20 | Afterlife. It softens every death, including the ones while you are away |
| Afterlife | Ritual of Resurrection — revive a dead follower | Funeral — +20 Faith for a recent death | Resurrection. The only way to keep high-level followers |
| Afterlife | Respect Your Elders — Faith from elders | Good Die Young — Faith if an elder is killed, a loss if one dies naturally | Respect Your Elders. No penalty to trip over during a crusade |
| Afterlife | Return to the Earth — Natural Burial | Grieve the Fallen — Grave | Return to the Earth. Bodies become fertilizer and never fill up space |
| Law & Order | Murder Follower | Ascend Follower Ritual — loyalty to all | Ascend. Removes a follower and raises everyone else's loyalty |
| Law & Order | Ritualistic Fight Pit | Wedding — marry a follower, +30 Faith | Wedding. A spouse can be kissed for loyalty every day |
| Law & Order | Belief in Original Sin — jailing the innocent costs less | Belief in Absolution — +10 Faith each day the prison is empty | Absolution. Free Faith most days |
| Law & Order | Loyalty Enforcer — patrols and raises loyalty | Tax Enforcer — collects coins | Loyalty Enforcer. Tax income is tiny by comparison |
There are two more categories. Sins opens after you defeat the third bishop and preach a sermon; it is built around the Sin resource and late-game buildings, so leave it until you can use Sin. Winter belongs to the paid Woolhaven DLC (released January 22, 2026) and covers Warmth, the Rotburn Furnace and ranch animals. Both follow the same one-of-two rule.
The pairs that are genuinely close
- Faithful vs Industrious. Faithful speeds up every building unlock; Industrious speeds up gathering and farming. If you have more buildings unlocked than resources to build them, take Industrious.
- Ritual Fast vs Feasting Ritual. Ritual Fast lets you leave for three days without worrying about food, but its cooldown is 10 days and it costs Faith. Feasting fills everyone up, adds Faith and doubles as a panic button when Heket's famine hits during Anura.
- Belief in Sacrifice vs Belief in Afterlife. If you plan to sacrifice every elder before they die, Belief in Sacrifice turns each one into +20 Faith. If you are often away when followers die of old age, Belief in Afterlife saves you 15 Faith every time.
The rituals worth their bones
Rituals are performed at the Temple and mostly cost bones. Two Divine Inspiration unlocks change the maths: Cheaper Rituals halves the cost and Ritual Cool Downs halves the cooldown. Base values below.
| Ritual | Cost | Cooldown | Effect and when to use it |
|---|---|---|---|
| Bonfire Ritual | 25 bones, 10 lumber | 7 days | +30 Faith. Available from the start; your first Faith fix |
| Holy Day | 75 bones | 5 days | +80 Faith, but no work that day. Use on a day you are home anyway |
| Feasting Ritual | 75 bones | 5 days | Fills cult hunger and +30 Faith. Use after a long crusade or a famine |
| Ritual Fast | 75 bones | 10 days | No eating for 3 days. Use right before a long crusade |
| Brainwashing Ritual | 25 Menticide Mushrooms, 10 lumber | 7 days | Locks Faith at full for 2 days. Many followers fall sick afterwards |
| Ascend Follower | 1 follower, 75 bones | 5 days | Removes a follower and raises everyone's loyalty. Ideal for elders |
| Alms for the Poor | 50 coins | 5 days | +30 loyalty to every follower and some Faith. No bones needed |
| Wedding | 75 bones | 3 days | +30 Faith; -5 Faith for each spouse you already have |
| Ritual of Resurrection | 150 bones | 3 days | Revives a dead follower, -10 Faith. Risk of Cursed or Catatonic |
| Ritual of Enlightenment | 75 bones | 5 days | Shrine Devotion +20% for 3 days, -10 Faith. Use when Faith is high |
| Loyalty Enforcer | 75 bones | 5 days | Appoints a follower who raises others' loyalty daily, -15 Faith. Do it once |
| Sacrifice of the Flesh | 1 follower, 75 bones | 7 days | Fills the sermon bar; higher-level followers are worth more |
Prepare before the Brainwashing Ritual. When it wears off, many followers get sick, and with Belief in Prohibition it happens twice. Keep enough Camellias to treat most of the cult at the Healing Bay, and come home soon after the two days end.
When a follower reaches loyalty level 10 and asks to become a Disciple, the Ritual of Discipleship (75 bones) unlocks. It gives +100 Faith, and Disciples help with dissenters while you are away, so do it whenever someone qualifies.
How each follower need works
Faith is a single bar for the whole cult. Hunger, illness and sleep belong to each follower, and loyalty is each follower's level.
Faith — the cult's mood
Faith drains slowly on its own and moves with almost everything you do. When it gets low, followers start dissenting. The swings below come straight from the wiki's list, and they explain most collapses.
| Raises Faith | Amount | Lowers Faith | Amount |
|---|---|---|---|
| Ritual of Discipleship | +100 | Accept a follower's quest, then fail it | -45 |
| Holy Day | +80 | Murder a follower in daylight with others around | -40 |
| Discover a new location | +35 | Decline a follower's quest | -25 |
| Bonfire Ritual, Feasting Ritual, Wedding | +30 | Not enough beds | -20 |
| Complete a follower's quest | +20 | A follower dies (without Belief in Afterlife) | -20 |
| Dissenter stops dissenting | +15 | Sermon or ritual at night | -15 |
| Sermon | +10 | Starving followers / sick followers | -10 each |
| New decoration | +4 | Wake a follower at night | -5 |
Hunger
Followers need meals. Starving followers cost Faith and eventually die. You cook at the Cooking Fire, which can only be built once, and later at a Kitchen, where you queue up to 30 meals and an assigned follower cooks them as needed. Meals are not equal: the Mixed Meals and Minced Follower Meat also add +30 loyalty, while Grassy Gruel costs 5 Faith unless you took Grass Eater.
Illness and hygiene
A dirty camp makes followers sick. Poop, vomit, unburied corpses and burnt or rotten food all lower hygiene. Sick followers do not work, make more mess, cost Faith and can die. Order them to bed rest, or cure them instantly at the Healing Bay for 15 Camellias (10 with Healing Bay II). The Healing Bay is also the only cure for the Cursed and Catatonic traits that resurrection can cause.
Sleep
Every follower needs a bed. Having too few beds costs 20 Faith. A Sleeping Bag collapses often, a Shelter collapses less, and a Grand Shelter never collapses and collects a little Devotion while its owner sleeps (up to 10). Waking someone at night costs 5 Faith, and forcing them to work all night leaves them exhausted.
Loyalty and levels
Each follower has a 100-point loyalty bar. When it fills, the follower gains a level, you get 20 Devotion and one Commandment Stone fragment, and the bar resets. Followers never lose loyalty, and a higher level means more Devotion per prayer at the Shrine (equal to the level) and more sermon points.
The best regular sources are Bless (+20, or +35 at level 1) or Inspire (+25, or +40) once per follower per day, Mixed Meals and Minced Follower Meat (+30), Alms for the Poor (+30 to everyone), finishing a follower's quest (+50) and the Confession Booth (+75).
Dissenters — what to do
A dissenter has red eyes, stops working and spreads "falsehoods" that drag the others down. Left alone for a few days, they leave the cult and take 15-40% of your coins. Deal with them on the day they appear.
-
1
Re-educate once a day
Talk to the dissenter and choose Re-educate. It lowers their dissent by 7.5 per day, which is slow, and you can only do it once per day.
-
2
Put them in Prison if you can
In Prison their dissent stops growing, they cannot influence others, and each re-education counts for 25 instead of 7.5. A Prison holds one follower. Followers with the Unlawful trait can break out.
-
3
Feed them the right meal
A Magnificent Mixed Meal ends dissent instantly. Minced Follower Meat works only 40% of the time and often makes them sick.
-
4
Or remove them
Ascend, sacrifice or murder them, or feed them a Deadly Dish. Murder in daylight costs 40 Faith, so do it at night while the rest are asleep.
-
5
Spend your coins if they are about to leave
A leaving dissenter steals a share of your coins. Spend them or refine them into Gold Bars first.
A follower who arrives with the Spy trait leaves after three days no matter how happy they are and takes 10% of your gold. Ascend or sacrifice them before then.
Which buildings to unlock at each stage
Devotion fills Divine Inspiration points at the Shrine, and each point unlocks one building or upgrade. The tree opens in tiers based on how many things you have unlocked, so the order matters.
| Stage | Opens when | Unlock first | Why |
|---|---|---|---|
| 1 | From the start | Temple, Farm Plot, Farming Bundle, Sleeping Bags, Body Pit | Sermons, food and beds before anything else |
| 2 | 4 unlocks (Cult II) | Shelter, Offering Statue, Tabernacle, Prison, Lumberyard, Stone Mine | More Devotion, sturdier beds, a place for dissenters |
| 3 | 10 unlocks | Refinery, Healing Bay, Outhouse, Janitor Station, Cheaper Rituals, Shrine Flame | The hygiene buildings and half-price rituals live here |
| 4 | 20 unlocks (Cult III) | Grand Shelter, Ritual Cool Downs, Farmer Station II, Refinery II, Tabernacle II | Faster rituals and harvests without you |
| 5 | 25 unlocks (Cult IV) | Healing Bay II, Outhouse II, Tabernacle III, Missionary III | Lower costs and bigger capacity |
Shrine upgrades come from the Cult II, III and IV unlocks. The Shrine holds 50 Devotion with 4 praying followers at first, then 70 and 6, 90 and 8, and finally 175 and 10. Shrine Flame adds a fire pit fuelled by grass or lumber. While it burns, followers pray 20% faster, or 40% with Shrine Flame II.
The Temple has no functional upgrade tier. Its later "Sacred Enlightenment" upgrades cost Gold Bars and Sin and only change how it looks. The Temple's real power curve is the sermon upgrades below.
Reach stage 3 as fast as you can. The Refinery turns lumber and stone into planks and blocks and coins into Gold Bars, and nearly every mid-game building needs those. Build two if you can: one for planks and one for blocks.
Automation — fewer chores
| Chore | Building | What it does |
|---|---|---|
| Watering | Farmer Station + Seed Silo | Followers sow seeds from the silo and water plots within 2 tiles |
| Harvesting | Farmer Station II | Followers harvest the crops as well |
| Growth | Harvest Totem | Plots within 3 tiles grow 33% faster |
| Fertilizer | Fertiliser Silo, Compost Bin | Compost turns 50 grass into 15 fertilizer |
| Cooking | Kitchen | Queue up to 30 meals; an assigned follower cooks them |
| Poop | Outhouse | Holds 4 poops before it overflows; clean it for fertilizer |
| Cleaning | Janitor Station | Followers clean poop and vomit; Janitor Station II also empties Outhouses |
| Devotion | Tabernacle, Grand Shelter | Extra Devotion from followers who are not at the Shrine |
| Loyalty | Loyalty Enforcer | Raises every follower's loyalty a little each day |
The Lumberyard and Stone Mine gather on their own but collapse after a while and need rebuilding.
Old age and death
Followers arrive 20-30 days old and become elders at 40-55 days. An elder does not work and dies about 3.5 days later, leaving a corpse. The game checks aging at the start of each day, so in practice only one follower turns elder per day.
- Plan the exit. Ascend Follower and Sacrifice of the Flesh both use a follower, and using an elder costs you nothing in work. With Belief in Sacrifice, a sacrifice even gives +20 Faith.
- Slow it down. A Skull Necklace delays aging, and a Golden Skull Necklace stops it entirely. Give them to your highest-level followers.
- Deal with the body. Unburied corpses lower hygiene and make others vomit. A Body Pit gives +5 Faith when used, and Natural Burial turns each body into 10 fertilizer.
- Resurrection resets age. A resurrected follower comes back young, with their level intact, and lives a full lifespan again. Cure any Cursed or Catatonic result at the Healing Bay straight away. A Cursed follower can eat others.
Crown upgrades — sermon and Heart of a Heretic priority
Your combat power grows through the Temple, not the Shrine. Each daily sermon fills a bar using points equal to your followers' levels, and each fill unlocks a Crown upgrade.
-
1
Hearts of the Faithful first
Half a heart permanently, and it opens the rest of the tree. Hearts of the Faithful II, another half heart, comes after 5 unlocks.
-
2
Might of the Devout next
Weapons start every crusade at a higher level, from III-IV with the first rank. This is the "damage" part of Crown upgrades.
-
3
Fervour of the Righteous
Increases how much Fervour you can hold, so you can cast an extra curse.
-
4
Weapon Mastery when it opens
Adds a heavy attack for every weapon. The weapon-specific masteries come later.
Each bishop you defeat gives a Heart of a Heretic to unlock one Crown Offering: Resurrection (sacrifice a follower to revive once per run), The Hunger (a blue heart from your daily meal), Darkness Within (a Diseased Heart at the start of each run) or Omnipresence (return to base mid-run). Take Resurrection first, because it is a second life on every crusade. You will have all four after the fourth bishop.
Common mistakes
- Preaching or holding rituals at night. It costs 15 Faith every time. Do them in the morning.
- Declining follower quests casually. Declining costs 25 Faith, and accepting then failing costs 45. Accept only what you can finish.
- Recruiting faster than you build beds. A shortage costs 20 Faith and drags Faith down at the worst time.
- Hoarding coins while someone dissents. A dissenter who leaves takes a share of your coins.
- Resurrecting without a Healing Bay. Curing a Cursed follower costs 40 Camellias, 20 Menticide Mushrooms and 20 Crystal Shards before Healing Bay II.
Related guides
For your first hours, read the Beginner Guide. For what to do with the stronger Lamb your cult builds, see the Combat Build Guide, the Weapons and Curses Tier List and the Crusade Guide. For our overall verdict on the game, see the Review.
★Honest Take: the doctrines matter less than the routine
The doctrine screen looks like the big strategic moment, but most pairs are close, and the post-game lets you pick up what you skipped. What actually breaks cults is the routine: a missed sermon, two beds short, a dissenter ignored for a day. The game also explains Faith poorly. It shows the bar, not the numbers behind it, so one declined quest or night-time ritual can feel like a mystery. Learn the big swings in the Faith table, unlock the Refinery tier early, and the cult stops needing you every few minutes. That is when management becomes the relaxing half of the game.