Most charm lists rank charms as if you already had all eleven notches. You do not, for most of the game. The question that actually matters is "what is the best use of the notches I have right now?" — so this guide ranks charms by what they do per notch, then gives a concrete loadout for every notch count.
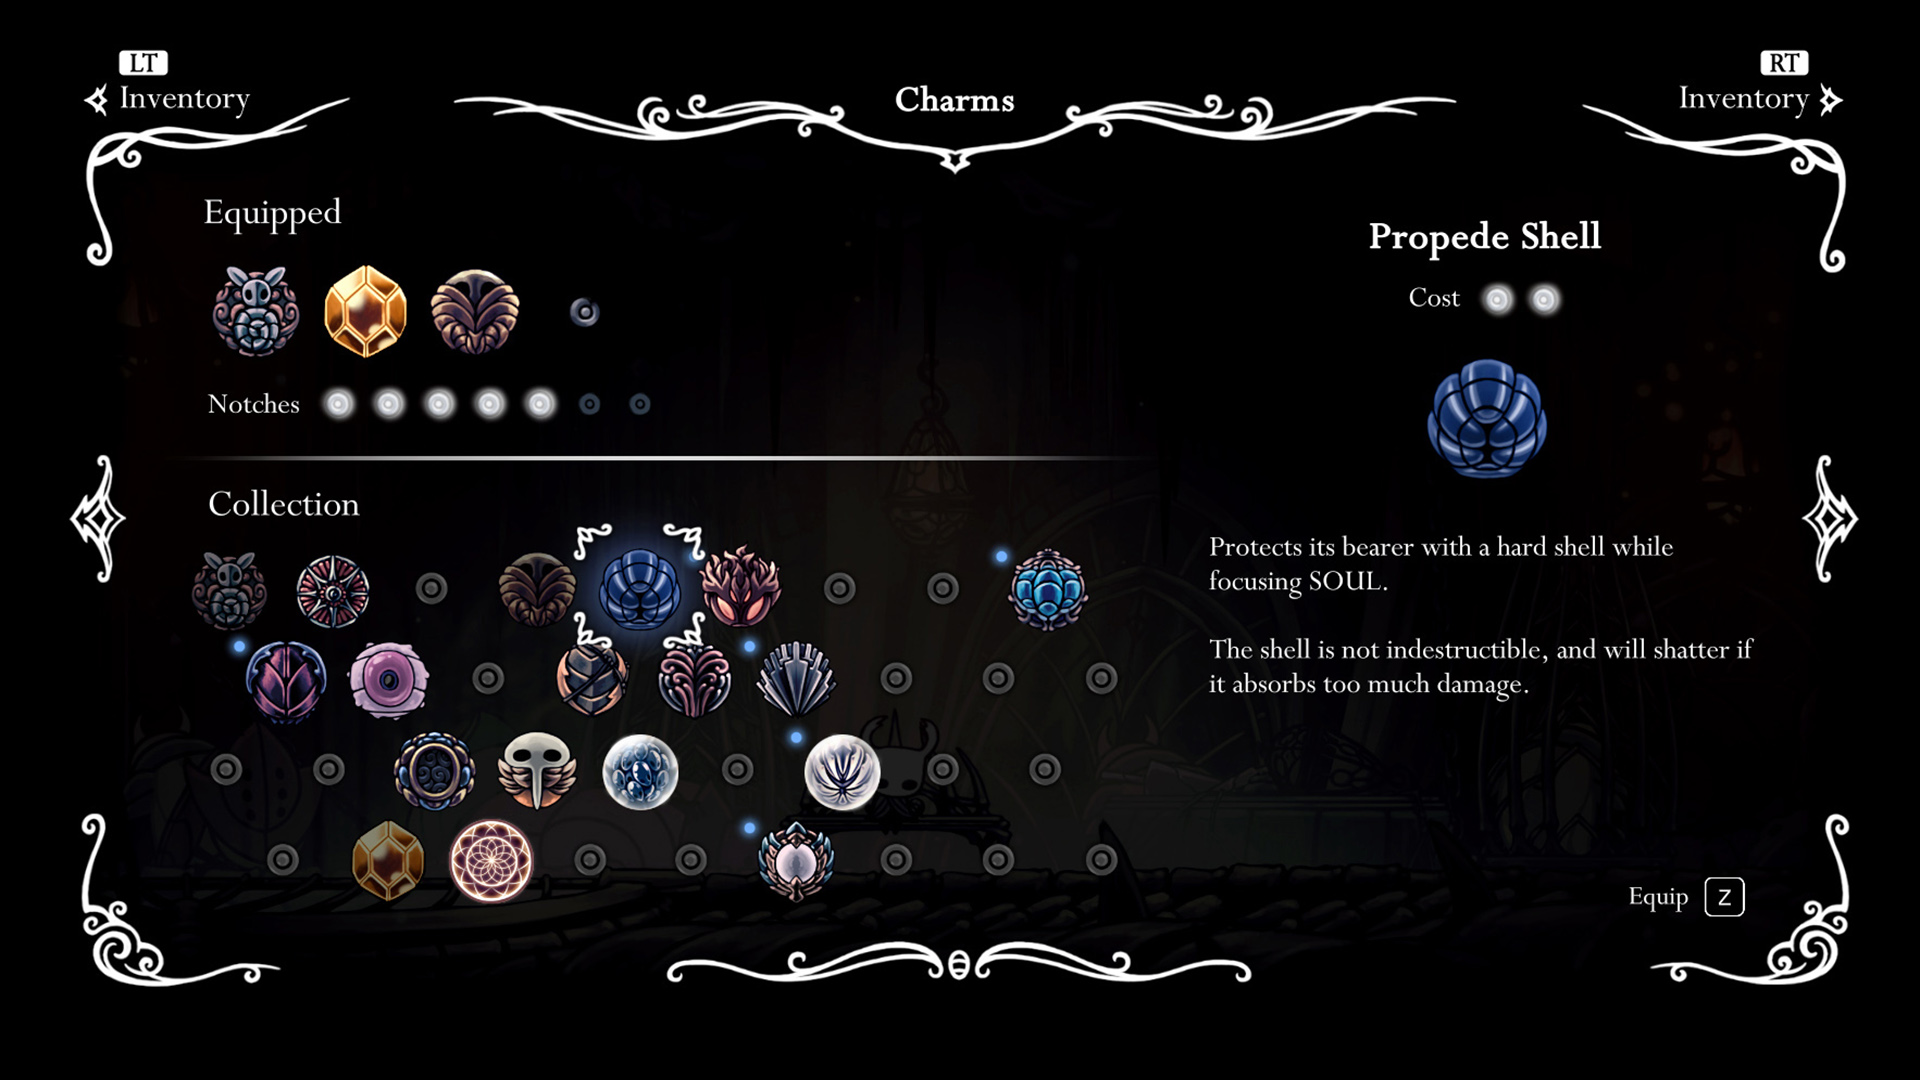
Two numbers frame everything below. You start with 3 notches and can reach 11. And every charm costs 1 to 5 notches, so a single expensive charm can be a third of your budget.
Best charms ranked
The ranking axis is value per notch across a normal playthrough. Charms that are great but expensive (Kingsoul) or great only in one fight sit lower than charms that improve every encounter.
The best loadout for every notch count
This is the table to come back to whenever you gain a notch. Costs are in brackets.
| Notches | Loadout | Why |
|---|---|---|
| 3 | Soul Catcher (2) + Steady Body (1) — or Wayward Compass (1) while learning the map | Soul Catcher is the most valuable early charm; the remaining notch is filler |
| 4 | Soul Catcher (2) + Longnail (2) | More SOUL and safer hits. Longnail is only 300 Geo |
| 5 | Soul Catcher (2) + Shaman Stone (3) | Spells become a real damage option against bosses |
| 6 | Fragile Strength (3) + Quick Focus (3) | Nail damage plus faster healing — the most forgiving balance for learning fights |
| 7 | Nail: Strength (3) + Quick Slash (3) + Steady Body (1) / Spell: Shaman Stone (3) + Spell Twister (2) + Soul Catcher (2) | The point where you choose a build |
| 9 | Nail: Strength (3) + Quick Slash (3) + Mark of Pride (3) / Spell: Shaman Stone (3) + Spell Twister (2) + Soul Eater (4) | The two standard endgame builds |
| 11 | Nail 9-notch build + Longnail (2) or Dashmaster (2) / Spell 9-notch build + Dashmaster (2) or Sharp Shadow (2) | Spend the last 2 notches on whatever the fight punishes you for |
If you cannot decide between nail and spell, play the fight once with each. Bosses that stay airborne or keep their distance favour spells; bosses that stay on the ground and give long openings favour the nail.
The two builds in detail
Nail build — Strength, Quick Slash, Mark of Pride. +50% damage, faster swings and more range multiply together: more hits per opening, each hitting harder, from further away. This is the highest sustained damage in the game, but every point of it is earned in melee range. Add Longnail at 11 notches if you are still getting clipped, or Dashmaster if you are being hit while repositioning.
Spell build — Shaman Stone, Spell Twister, Soul Catcher or Soul Eater. Desolate Dive and Howling Wraiths hit hard and grant brief invulnerability while you cast, which makes this build easier to execute against many bosses. Spell Twister means a full SOUL meter is four casts rather than three. The weakness is SOUL: if you miss nail hits, you run dry, which is why the SOUL charms belong in the build.
Grubberfly build — Grubberfly's Elegy, Joni's Blessing. Joni's Blessing keeps you "at full health" for the purposes of Grubberfly's beams, so every swing becomes a ranged attack. Fun and strong in the right fights, but you lose the ability to heal by focusing, so mistakes are permanent.
Where to get the charms that matter early
The order you collect charms in matters more than the final list. A sensible route:
- Soul Catcher — Ancestral Mound, near the start. Equip it immediately.
- Salubra's shop (Forgotten Crossroads) — buy Shaman Stone (220 Geo) or Longnail (300 Geo) first, then Quick Focus (800 Geo). She also sells notches, so check back as your charm count grows.
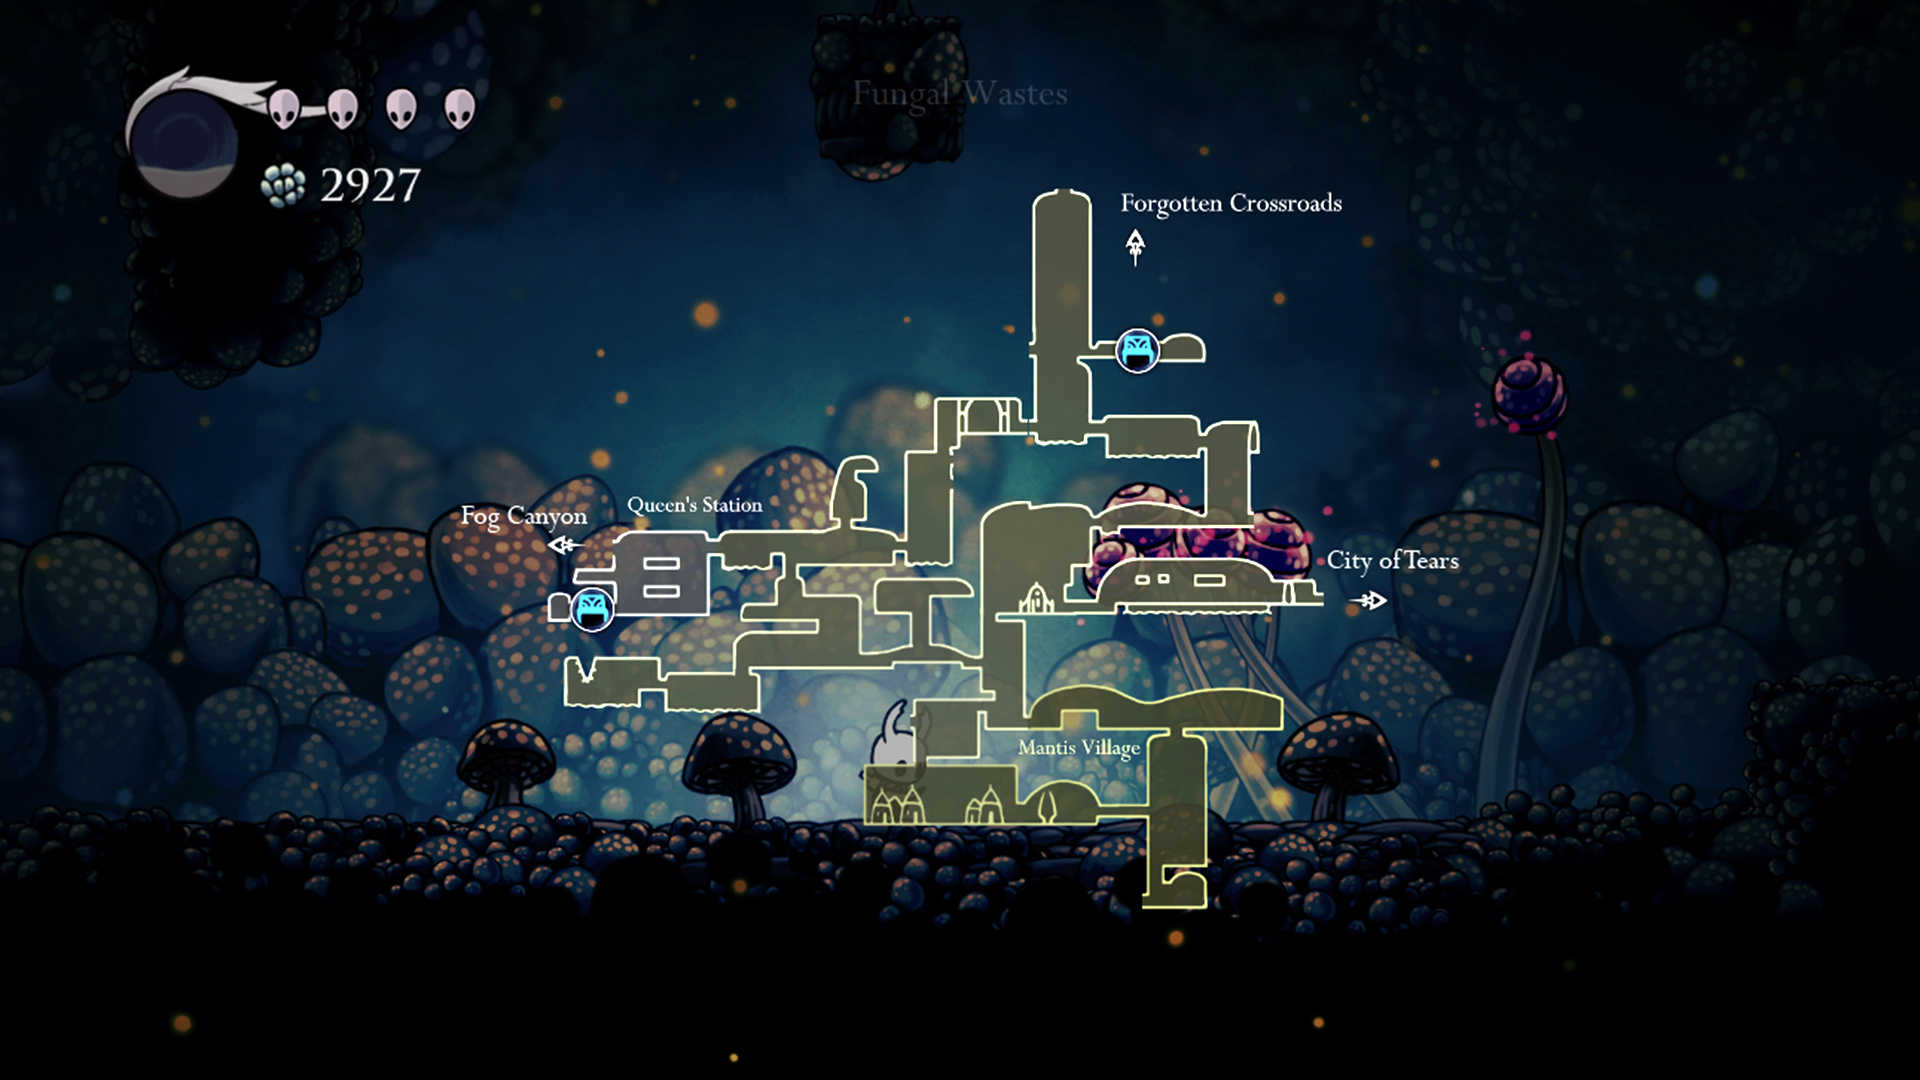
- Dashmaster — Fungal Wastes, under a statue near Mantis Village. Same trip as the Shrumal Ogres notch.
- Fragile Strength — 600 Geo from the Leg Eater in the Fungal Wastes. If it breaks when you die, the Leg Eater repairs it.
- Mark of Pride — Mantis Village chest, after the Mantis Lords.
- Spell Twister — Soul Sanctum, in the room above the Soul Master fight.
- Quick Slash — a hidden room in Kingdom's Edge, mid-to-late game.
All 11 charm notches
| Source | Requirement |
|---|---|
| Starting notches | 3 from the beginning |
| Salubra (Forgotten Crossroads) | 120 Geo, 5 charms owned |
| Salubra | 500 Geo, 10 charms owned |
| Salubra | 900 Geo, 18 charms owned |
| Salubra | 1,400 Geo, 25 charms owned |
| Fog Canyon | Isma's Tear or the Shade Cloak to reach it |
| Fungal Wastes | Defeat both Shrumal Ogres |
| Colosseum of Fools | Clear the Trial of the Warrior |
| Grimm Troupe | Defeat Troupe Master Grimm |
Salubra's notches are gated by how many charms you own, not by progress, so picking up cheap charms you will never equip (Wayward Compass, Gathering Swarm) still pushes you toward the next notch.
Overcharming — when it is worth it
If you try to equip a charm that exceeds your notch limit five times while you have at least one notch free, the game lets you overcharm. Your health bar glows purple and you take double damage from every source.
Overcharming is not a free extra charm. Every hit counts twice, so a fight you could survive eight hits in now allows four. It is only worth it for a short boss attempt you have already learned, where an extra damage charm ends the fight before the doubled damage matters. Never explore overcharmed.
Charms that waste notches
- Fragile charms you cannot afford to repair. If you die often and keep losing Fragile Strength, use the notches on Quick Focus until you can pay for Unbreakable Strength.
- Quality-of-life charms kept too long. Wayward Compass and Gathering Swarm are fine early, but once you know the map, those notches are worth more as Longnail or Steady Body.
- Kingsoul as a combat charm. It is required for the story route to the true ending; it is not a good use of 5 notches in a boss fight.
- Deep Focus for learning fights. Healing two masks sounds better, but the slower focus is exactly when bosses hit you.
Once your charms are set, the Boss Guide covers the fights these builds are for, and the Beginner Guide covers the early route where Soul Catcher and Salubra's shop come in. For where each area sits on the route, see the Exploration Guide.
★Honest Take: the notch budget is the real game
Hollow Knight's charm system works because it never lets you have everything. The moment it clicks is usually the moment you stop asking "which charm is best?" and start asking "what keeps killing me?" — then spend notches on exactly that. If a boss hits you while you heal, Quick Focus. If you cannot reach it, Mark of Pride or spells. If you run out of SOUL, Soul Catcher. Most walls in this game have a charm-shaped answer, and swapping charms is cheaper than grinding.