Hollow Knight's bosses are the gates of its map: the important ones hold an ability or the way to one. So the useful question is not only "how do I beat this boss?" but "what does beating it give me, and can I do something else first?"
The table below is the order most players meet the main bosses, with what each one unlocks. Below it, each fight gets its attacks, the safe moment to heal — what most stuck players are missing — and the charms that help. Charm names match the Charm Guide.
The main bosses in order
| # | Boss | Area | What it gives | Must you beat it? |
|---|---|---|---|---|
| 1 | False Knight | Forgotten Crossroads | City Crest (opens the City of Tears gate) | Yes, on the normal route |
| 2 | Hornet (first fight) | Greenpath | Mothwing Cloak (dash) | Yes |
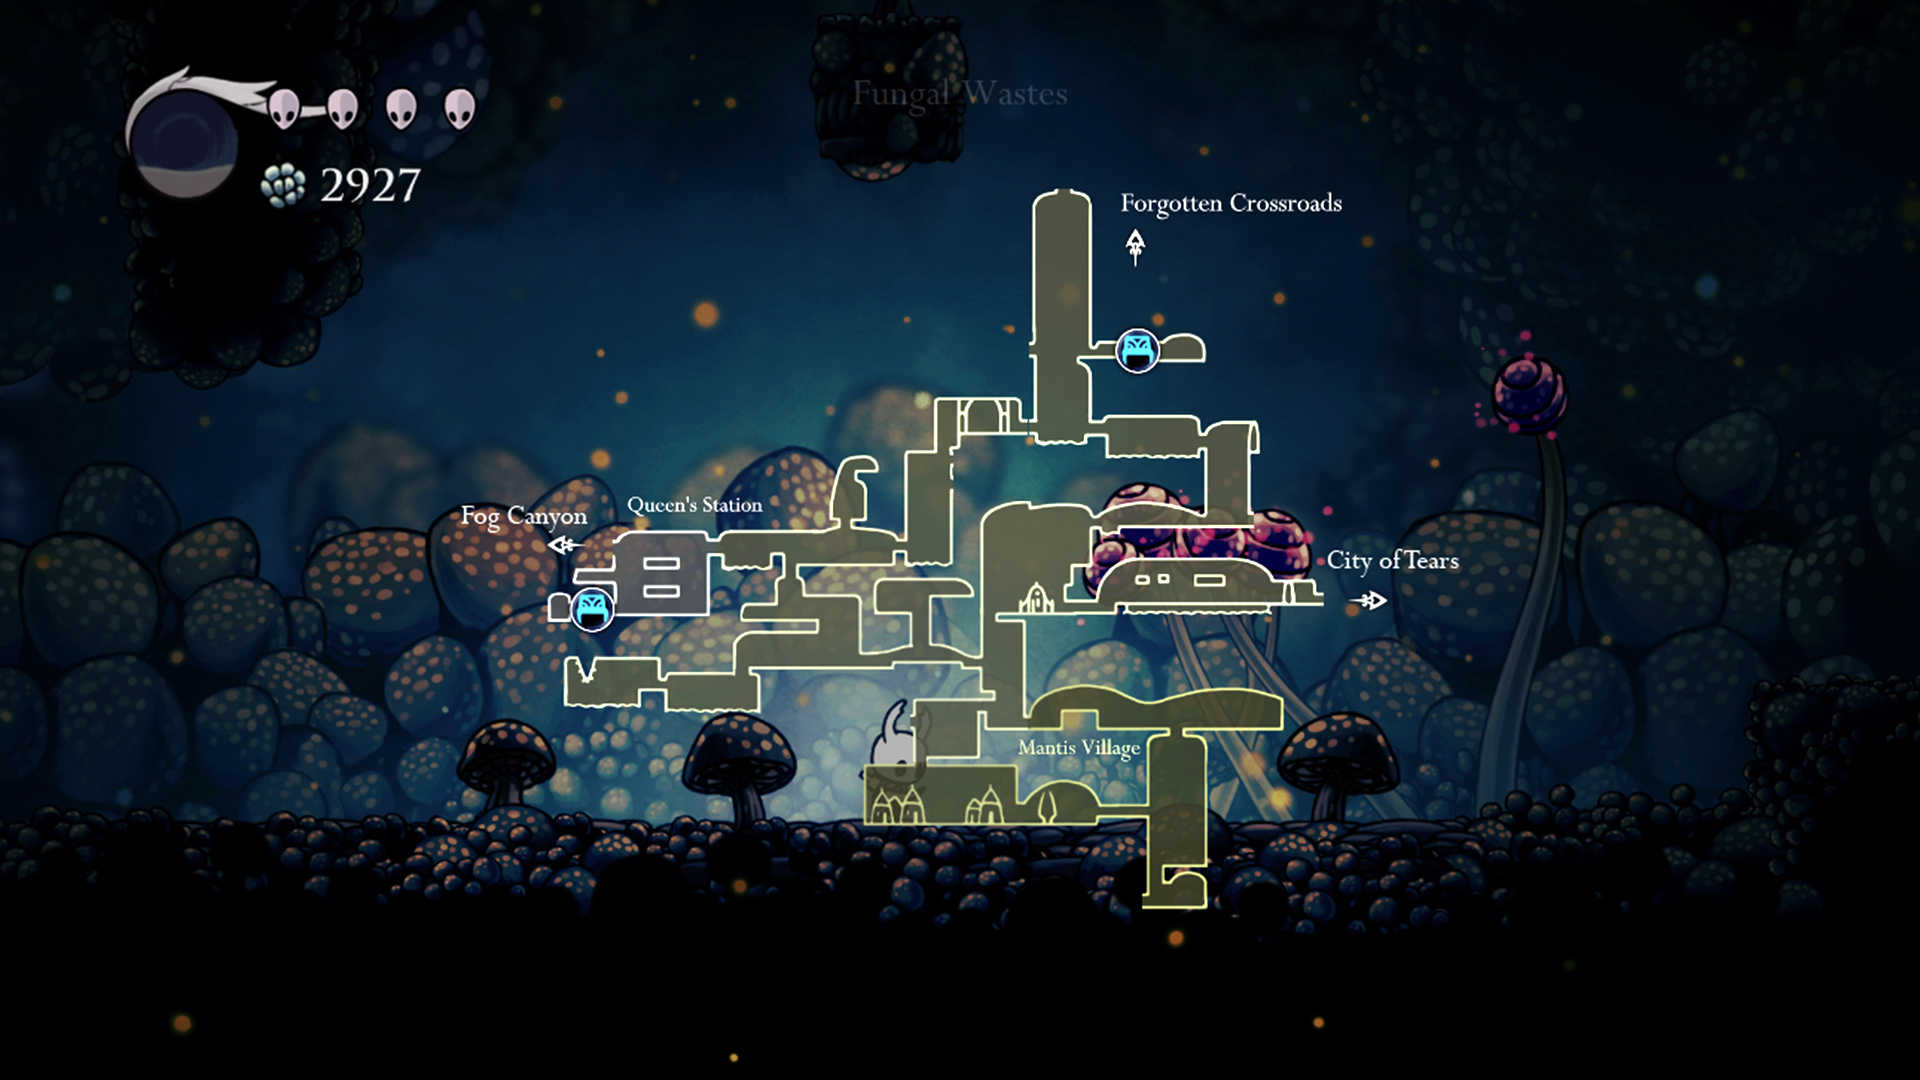
| 3 | Mantis Lords | Mantis Village, Fungal Wastes | Mark of Pride, Hallownest Seal, lower entrance to Deepnest | No |
| 4 | Soul Master | Soul Sanctum, City of Tears | Desolate Dive | Yes, on the normal route |
| 5 | Dung Defender | Royal Waterways | Defender's Crest, way to Isma's Grove | No |
| 6 | Broken Vessel | Ancient Basin | Monarch Wings (double jump) | Not strictly, but the wings open a lot |
| 7 | Watcher Knights | Watcher's Spire, City of Tears | Access to Lurien the Watcher (a Dreamer) | Yes |
| 8 | Uumuu | Teacher's Archives, Fog Canyon | Access to Monomon the Teacher (a Dreamer) | Yes |
| 9 | Traitor Lord | Queen's Gardens | Access to the White Lady (half of Kingsoul) | Only for the Void Heart endings |
| 10 | Hornet (second fight) | Kingdom's Edge | King's Brand (opens the Abyss) | Only for the Void Heart endings |
| 11 | The Hollow Knight | Temple of the Black Egg | An ending | Yes — the final boss |
| 12 | The Radiance | Inside the Hollow Knight's dream | The Dream No More ending | Only for that ending |
The third Dreamer, Herrah the Beast, sleeps in the Beast's Den in Deepnest. Reaching her is a hard trip through Deepnest, but there is no guardian boss to beat.
The order between rows 4 to 8 is flexible. If one fight stops you, the honest advice is to go and do another: a Nail upgrade or a new spell often helps more than another round of attempts.
Before any boss: the three habits
-
1
Learn the heal window first
Every main boss has a moment when it is far away or busy — a long projectile, a stagger, a slow wind-up. Heal only there.
-
2
Take one or two hits per opening
Two nail hits and back out is consistent; the third hit is usually where you get clipped.
-
3
Change charms before you change strategy
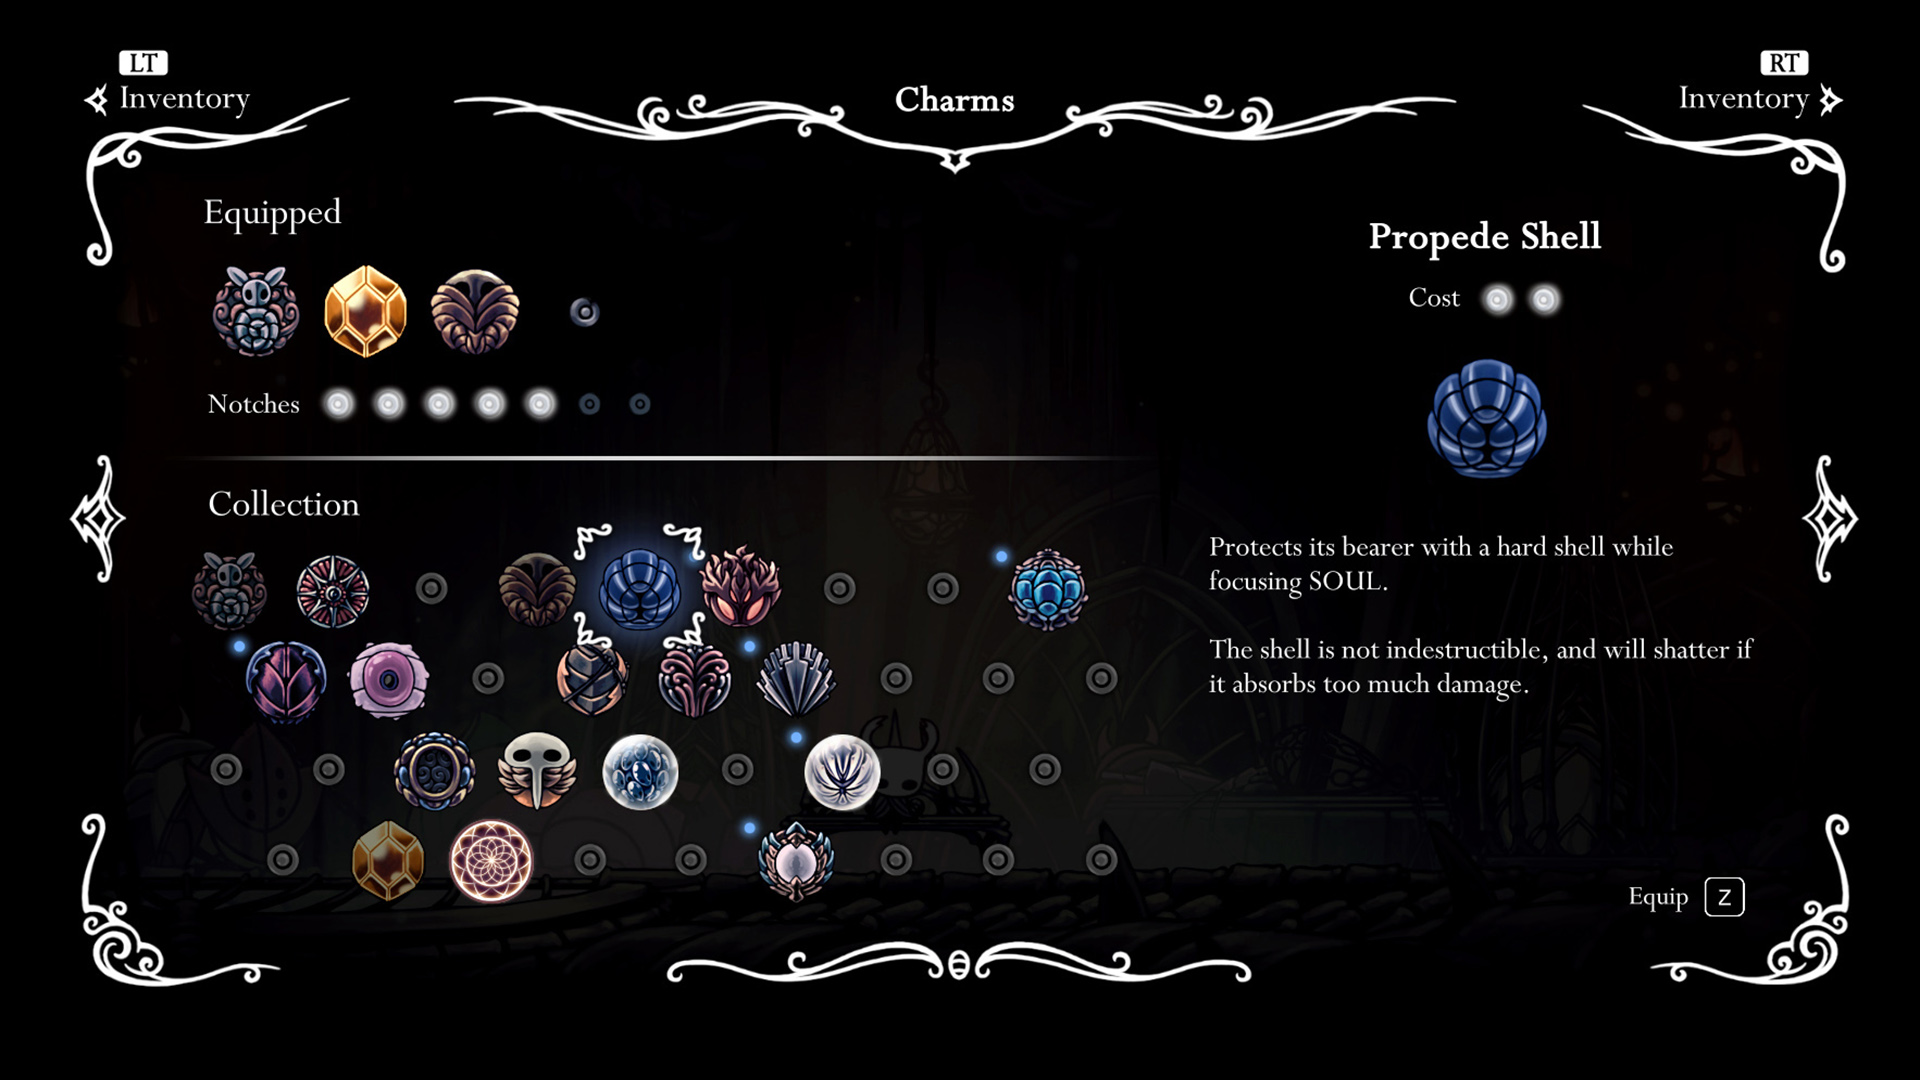
Hit while healing → Quick Focus. Out of SOUL → Soul Catcher. Cannot reach the boss → spells with Shaman Stone, or Mark of Pride / Longnail.
The early walls
False Knight — Forgotten Crossroads
A maggot in stolen armour, and the first real boss. Beating it gives the City Crest, which opens the gate to the City of Tears.
- Attacks: a mace slam with a floor shockwave (jump it), a leaping slam aimed at where you stood, and a Rage of repeated slams while barrels fall.
- The key fact: hitting the armour gives no SOUL. SOUL only comes from hitting the maggot's head when it falls over.
- Heal window: during the Rage attack, in a corner, watching for barrels. You can also hit falling barrels back into it for extra damage.
- Charms: Soul Catcher, to get more out of the short head windows.
Hornet — Greenpath
The first fight that tests reactions. Beating her gives the Mothwing Cloak, the dash that the rest of the game is built around.
- Attacks: a ground lunge, a diagonal air lunge, a needle throw that also hits on the way back, and a thread storm around her body.
- Heal window: during the needle throw or the thread storm, from outside their reach.
- Stagger: after losing about a fifth of her health she kneels. Heal or fire Vengeful Spirit; the next hit wakes her up, and she always leaps after recovering.
- Charms: Soul Catcher. Vengeful Spirit does much more than the nail at this stage, so more SOUL means more spells.
Mantis Lords — Mantis Village (optional)
Optional: the Mantis Claw is in the village on the way down, not behind the Lords. Beating them opens the treasury (Mark of Pride, a Hallownest Seal, Geo), a bench and the lower entrance to Deepnest. Have at least one Nail upgrade first.
- Phase 1 (one Lord): a dash across the whole floor (jump it), a drop straight down from above you (dash away — it has a clear delay) and a boomerang blade thrown from the wall. Low on the wall means a rising arc; high means a falling one.
- Phase 2 (two Lords): the same moves, from both at once, at independent timing. Stay on one side (but out of the corner): the far Lord tends to throw boomerangs and the near one uses melee.
- Heal window: during the boomerang. It is the easiest attack to dodge and the slowest to finish.
- Charms: Quick Focus is the biggest help here. Vengeful Spirit catches them while they cling to the wall.
Soul Master — Soul Sanctum
Beating him gives Desolate Dive, needed to break floors — including the way into Crystal Peak. Spell Twister is in a room above the fight.
- Phase 1: he teleports between a dash, a homing orb, a "clock" of four orbs that crosses the room and comes back, and a slam with shockwaves. The dangerous one is the fake-out slam: he starts a slam, resets mid-drop and slams again above where you moved.
- Best damage: hit him from below while he is conjuring a homing orb.
- Heal window: when he deflates in mid-air (his stagger), and in the centre after the clock attack has passed.
- Phase 2: after a fake death he crashes back in. He chains 4–7 explosive slams without shockwaves, then hovers to summon orbs — hit him then. Heal windows are scarce, so bank SOUL before it.
- Charms: Shaman Stone if you have it; Quick Focus otherwise.
Mid-game bosses
Dung Defender — Royal Waterways (optional)
A friendly bruiser who mistakes you for a husk. Beating him gives Defender's Crest and the way to Isma's Grove, where Isma's Tear lets you swim in acid (you also need the Crystal Heart to reach it).
- Attacks: dung balls that bounce until they touch the floor three times, and burrows that end with him bursting up and throwing four more.
- Half health: he shouts and enters a burst frenzy for about twelve seconds, popping up out of the ground roughly every half second. Keep moving and do not try to heal during it; it happens only once.
- Safe damage: when he stops to throw two balls, hit once, step back for the throw, step in for one more hit.
- Charms: Quick Focus, and spells if you have them.
Broken Vessel — Ancient Basin
It guards the Monarch Wings — not strictly required to finish the game, but they open the Palace Grounds and make many areas easier.
- Attacks: long dash slashes, a four-swing flail, a slam that throws infection blobs, and a Cascade of blobs across most of the floor — Desolate Dive through it. Later it summons 1-HP Infected Balloons; swat them.
- Charms: Quick Focus; Mark of Pride or Longnail to match its reach; Shaman Stone makes Vengeful Spirit likely to hit twice because the Vessel is knocked back.
Watcher Knights — Watcher's Spire
Six giant knights guard Lurien the Watcher, one of the three Dreamers. Only two are ever active at once: a second wakes after the first has been up for 20 seconds, and if you kill the first one quickly, the next two wake together. Expect to fight two at a time for most of the battle.
- Before the fight: a breakable ceiling to the left of the arena (reached with the Mantis Claw) hides the anchor of a chandelier. Strike it to crush one knight and fight five instead of six.
- Attacks: a double slash, a roll along the floor and a bouncing roll. They are immune to the nail while rolling, but spells still hit.
- Charms: Quick Focus; Shaman Stone with Desolate Dive, whose invulnerability protects you; Sharp Shadow once you have the Shade Cloak.
Uumuu — Teacher's Archives, Fog Canyon
The guardian of Monomon the Teacher. It is a patience fight: Uumuu is shielded and cannot be damaged until Quirrel arrives and pops its membrane, which gives you about five seconds of free hits.
- Lightning burst: fills the room in one of two patterns. The bottom platforms are always safe; the top-left or top-right is the other safe spot depending on the pattern.
- Chase: lightning spawns on your position every second for a few seconds. Keep moving.
- Acid: the floor is acid. Without Isma's Tear, falling in hurts and slows you.
- Charms: Quick Focus and a SOUL charm (Soul Catcher, Soul Eater) — chances to hit are rare.
Hornet — Kingdom's Edge (second fight)
At the entrance to the Cast-Off Shell. She fights with the full moveset now: everything from Greenpath, faster, plus a parry (if you hit her while she guards, she counters with a wide slash — do not swing into it) and spike traps hung in the air later in the fight. Beating her gives the King's Brand, which opens the door to the Abyss.
- Heal window: her stagger, as in Greenpath — she always leaps when she recovers. Dashing over her ground lunge is the safest way to get behind her.
- Charms: Shaman Stone with Vengeful Spirit or Shade Soul is excellent: it damages her from range and clears the spikes. Add Quick Focus and a SOUL charm.
Traitor Lord — Queen's Gardens
A deposed Mantis Lord in a small arena. He blocks the way to the White Lady, who gives one half of Kingsoul. Most of his attacks — an angled leaping dive, a claw dash, and later a ground pound with floor-to-ceiling shockwaves — deal two masks; at range he throws spinning wind-scythes.
- Defence: the Shade Cloak dash passes through all his attacks, and Desolate Dive's invulnerability frames help too. Hit him in the short gaps between attacks.
- Charms: Quick Focus; Dashmaster for faster dodges.
The endings and their bosses
You fight the Hollow Knight after breaking all three Dreamers' seals. What happens after that depends on the Void Heart.
| Ending | What you need | Final fight |
|---|---|---|
| The Hollow Knight | No Void Heart | Defeat the Hollow Knight |
| Sealed Siblings | Void Heart | Defeat the Hollow Knight without using the Dream Nail when Hornet pins it |
| Dream No More | Void Heart and the Awoken Dream Nail | Dream Nail the Hollow Knight while Hornet holds it, then defeat the Radiance |
The route to the Void Heart: Traitor Lord → the White Lady (left half of Kingsoul) → the Awoken Dream Nail from the Seer at 1,800 Essence, which lets you enter the White Palace → the right half of Kingsoul at its end → Hornet in Kingdom's Edge for the King's Brand → the Birthplace at the bottom of the Abyss with Kingsoul equipped. Once you have the Void Heart, you cannot get the first ending on that save.
The Hollow Knight fights with a three-swing combo, a lunge and a parry; later it adds a diving slam with pillars of infected fire, blob barrages, and a self-stab during which all your hits deal only 1 damage — dodge rather than attack. From its third phase on it cannot be staggered.
The Radiance fights with bursts of swords and light beams, homing orbs, spikes that cover part of the floor, and a wall of light that sweeps across the arena — the wiki notes that the only way through it is the Shade Cloak, so get the cloak before you try her. Unlike the dream bosses, losing to her counts as a real death. The Godmaster content adds harder versions and two more endings; they are outside this guide.
Optional bosses worth knowing early
| Boss | Area | Why fight it |
|---|---|---|
| Gruz Mother | Forgotten Crossroads | Easy early practice; about six Vengeful Spirits |
| Vengefly King, Massive Moss Charger | Greenpath | Short fights; you can leave the Moss Charger fight at any time |
| Crystal Guardian | Crystal Peak | Every beam is telegraphed by a thin line; the Enraged Guardian above (Monarch Wings) guards a Mask Shard |
| Soul Warrior | Soul Sanctum | The one behind the Elegant Key door drops Shade Soul |
| The Collector | Tower of Love | Collector's Map and three grubs |
| Nosk | Deepnest | A Pale Ore past its lair |
Dream bosses do not cost you anything
Failed Champion, Soul Tyrant and Lost Kin are dream versions reached with the Dream Nail. In a dream boss fight you do not really die: no Shade, no lost Geo, and Fragile charms do not break. They are a safe place to practise — and they give Essence toward the Awoken Dream Nail.
Common mistakes
- Healing next to the boss. If you get hit during Focus, you lose both the heal and the SOUL. Wait for the heal window listed above.
- Thinking the Mantis Lords hold the Mantis Claw. The claw is in the village. If the Lords are too hard, take the claw and go elsewhere.
- Wasting nail hits on armour or shields. False Knight's armour gives no SOUL, and Uumuu takes no damage before Quirrel opens it. Spend that time positioning.
- Swinging at Hornet's parry or the Hollow Knight's self-stab. One triggers a counter; the other only takes 1 damage per hit.
- Fighting a wall with an under-upgraded nail. If the Nailsmith in the City of Tears can upgrade your nail, do it before the Mantis Lords or the mid-game guardians.
Loadouts for every notch count are in the Charm Guide. The Exploration Guide covers the ability order and the Beginner Guide the first hours. For whether the game is worth it, see the Hollow Knight Review.
★Honest Take: hard, but almost always fair
Hollow Knight's main bosses are hard but readable: almost every attack has a tell and almost every fight has a safe moment to heal, so players who get stuck are usually healing at the wrong time rather than lacking reflexes. The weak spots are real — Uumuu is more tedious than difficult, some walks back to arenas are long, and the jump to the dream and Godmaster versions is steep. The best part is that you are rarely trapped by one wall: the map almost always has somewhere else to go and something there that makes you stronger.