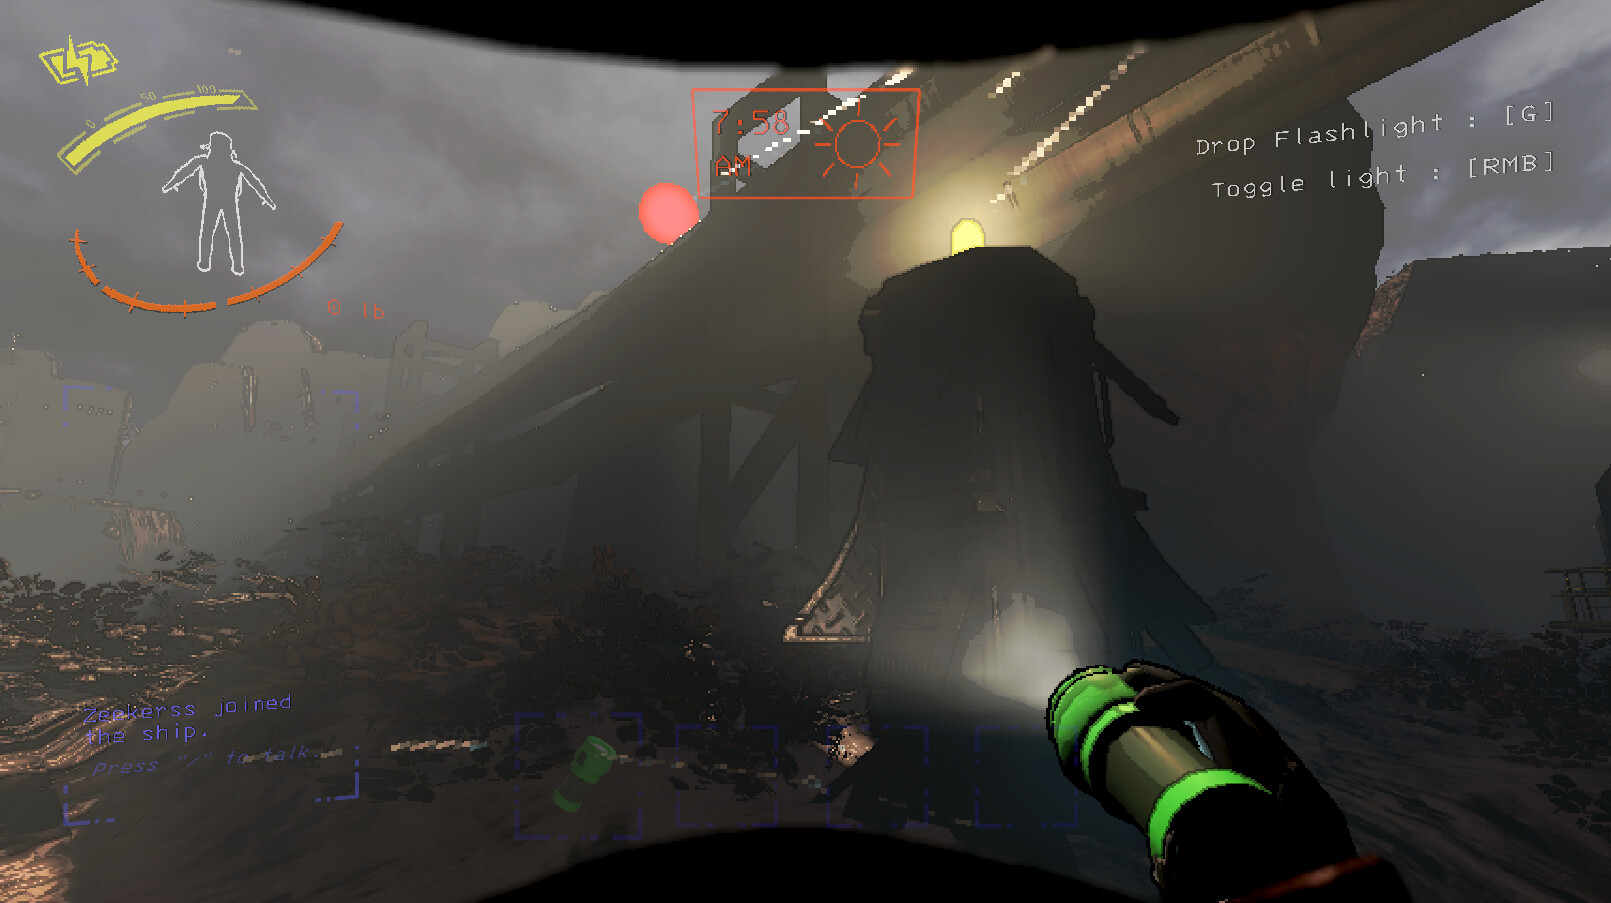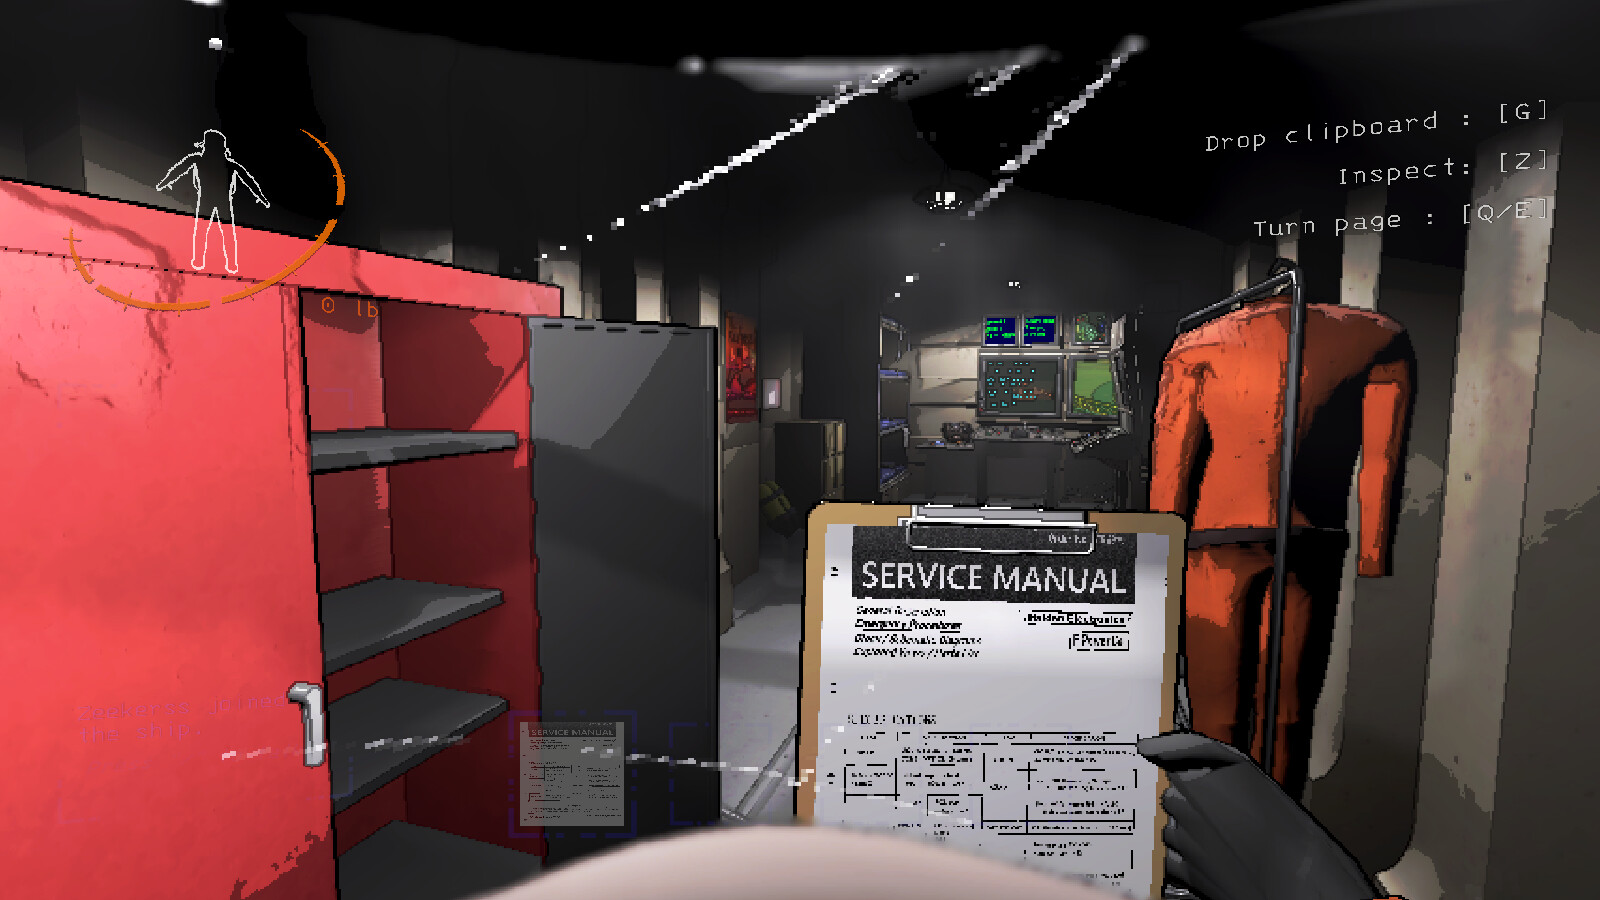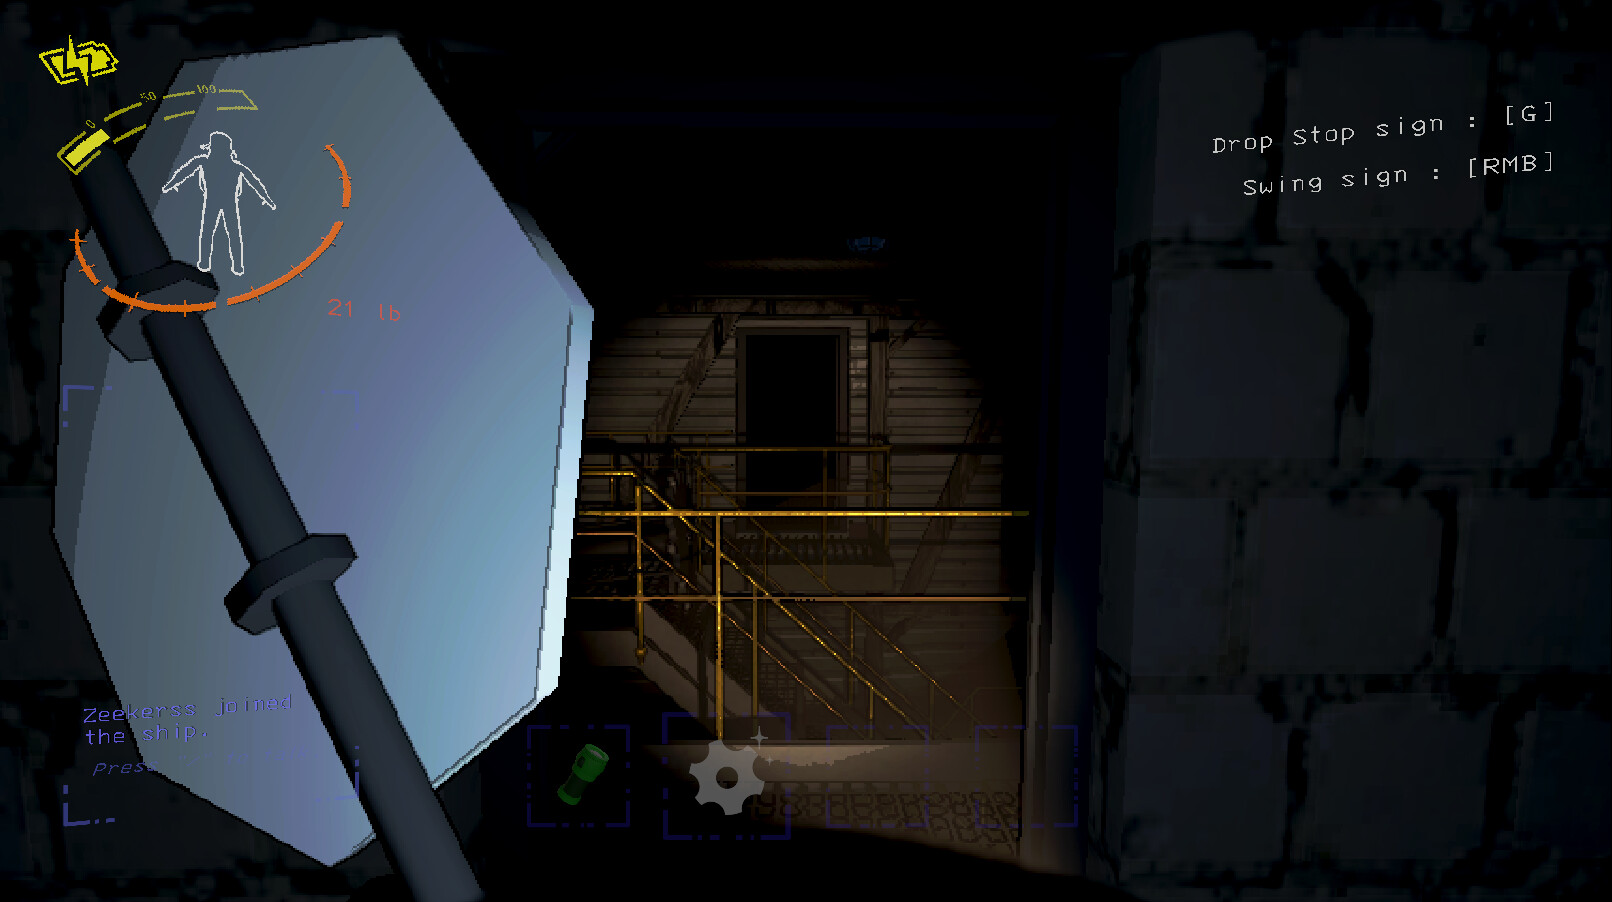
Your first Lethal Company shifts will probably end with somebody screaming in a dark corridor. That part is fine. What separates crews that reach the third quota from crews that are fired on the first is a short list of habits: buying the right cheap gear, keeping one person on the ship, leaving the facility before night and selling on the right day.
Numbers below come from the community wiki and match the current version, v80 ("The Blooming Update", April 2026). Moon, item and monster names stay in English, as they appear in the game.
Your first shifts: what to do
| Decision | What to do | Why |
|---|---|---|
| First purchase | Walkie-talkies (10 each) and a flashlight (15) | Light and communication decide whether you find scrap and get back. Both fit in the starting 60 credits |
| First moon | 41-Experimentation, then 220-Assurance | Free, small Factory interiors and the lowest hazard ratings in the game |
| Crew roles | One player stays at the terminal | Only the ship can see the map, open secure doors and switch off turrets and landmines |
| Timing | Have the scrap out by mid-afternoon; never go in alone at night | Outdoor monsters appear late in the day and spawns rise toward midnight |
| Selling | Sell on the deadline day | The Company pays 100% then, against 30%, 53% and 77% earlier |
| Weather | Skip eclipsed and flooded moons | Eclipse starts the day at night-level danger; floods cut off the way back |
How a quota cycle works
The Company sets a profit quota: the total value of scrap you must sell before the deadline. Miss it and the entire crew is fired, which ends the run.
- The first quota is always 130. Each later quota rises by more than the one before, so the early ones are the easy ones.
- A cycle is three working days plus a selling day. You land on a moon on each of the three days, then on the day with 0 days left you must be at 71-Gordion, the Company Building.
- Gordion does not use up a day. Time does not pass there, so you can land, shop and leave at any point in the cycle.
- The Company's buying rate climbs toward the deadline. It pays 30% with three days left, 53% with two, 77% with one and 100% on the deadline day. Selling above the quota also earns an overtime bonus.
For a first quota of 130, one decent day on Experimentation (the wiki's average is about 301 per visit with full collection) already covers it. Use the other two days to learn the ship and the moons, not to take risks.
Unsold scrap stays on the ship and counts toward the next quota, but a full crew wipe deletes every piece of it. The Quota Guide covers how much to sell, the overtime bonus and which moons pay at larger quotas.
Your first purchases
You start a new contract with 60 credits. Orders are typed at the terminal and arrive by dropship. If you order while in orbit, the dropship waits until you land, so buying before you pull the lever saves time. Once the dropship lands, it leaves again after 30 seconds, so someone has to be there to unload it.
| Item | Price | What it does for a new crew |
|---|---|---|
| Walkie-talkie | 10 | Lets the inside crew talk to the operator. Must be switched on; switching it on and talking can draw nearby monsters |
| Flashlight | 15 | Cheap light, about 140 seconds of battery. Recharge on the ship |
| Pro-flashlight | 28 | Brighter, longer-lasting light for whoever goes deepest. v80 slightly reduced night vision, so lights matter more |
| Shovel | 30 | The basic weapon. Two or three hits kill a Snare Flea or Hoarding Bug, four a Thumper. Conductive in storms |
| Stun grenade | 30 | Stuns most creatures for 5 seconds. Pair it with a shovel |
| Survival Kit | 138 | Four flashlights, four walkie-talkies and two shovels: 22 credits cheaper than buying them one by one |
| Teleporter | 375 | Ship upgrade that pulls the crewmate on the monitor back to the ship, alive or dead. The first big purchase |
Spending the starting 60 credits by crew size
This is the table most beginner guides skip. The cheapest way to make a small crew safe is not a weapon but enough walkie-talkies for everyone, operator included.
| Crew | Buy with 60 credits | Cost | Reasoning |
|---|---|---|---|
| Solo | Pro-flashlight + shovel | 58 | No operator to talk to, so spend on light and a weapon |
| 2 players | 2 walkie-talkies + pro-flashlight | 48 | One inside with the light, one at the terminal |
| 3 players | 3 walkie-talkies + 2 flashlights | 60 | Both inside players get a light; the operator talks to them |
| 4 players | 4 walkie-talkies + 1 flashlight | 55 | Everyone can hear the operator. Buy the Survival Kit after the first sale |
v80 added a utility slot for most store-bought tools (the shovel is the exception), so a flashlight or walkie-talkie no longer has to take one of your four regular slots.
The terminal commands that matter
The terminal is on the ship. Most commands can be shortened, and an item can be ordered by its first three letters. Confirm with C and cancel with D.
| Command | What it does | When you use it |
|---|---|---|
| MOONS | Lists the moons and today's weather on each | Every morning, before choosing where to go |
| Moon name (e.g. ASSURANCE) | Routes the autopilot there after you confirm | Then pull the lever to land |
| STORE | Lists equipment, upgrades and this quota's decor | Before landing, so the order is waiting |
| BUY item / item name | Orders it; add a number for several (BUY 4 SHOVELS) | Same; FLA for flashlight, PRO for pro-flashlight |
| VIEW MONITOR | Shows the radar map on the terminal screen | The operator's main view: crewmates, monsters, doors, hazards |
| SWITCH name | Switches the map to a specific crewmate | Following whoever is in trouble |
| Two-character code (e.g. E9) | Opens or closes a secure door, or disables a turret or landmine for a few seconds | Codes are printed on the map next to each door and hazard |
| SCAN | Counts the scrap left on the moon and its rough value; in orbit, the scrap on the ship | Deciding whether another trip inside is worth it |
| INFO moon / BESTIARY | Moon details; creature files you have scanned | Learning what a monster does before you meet it again |
Two caveats. A turret is only disabled for about 4.5 seconds, so the operator types the code just as the crewmate is about to pass, not early. And a landmine can be disarmed while someone is standing on it, which is why you should freeze, not step off, if you hear the click. PING, FLASH and TRANSMIT need a Radar booster (60) or the Signal Translator (255), which come later.
The free moons for beginners
Six moons cost nothing to route to. The three listed as Easy in the terminal are where a new crew should start; Offense, March and Adamance are free too but rated Intermediate. The averages below are the wiki's estimate per visit assuming you collect all regular scrap, so read them as a comparison, not a promise.
| Moon | Hazard rating | Scrap items | Wiki avg. per visit | Interior | What to know |
|---|---|---|---|---|---|
| 41-Experimentation | D | 8-11 | 301 | Factory (about 99%) | The ship starts here. Smallest interior; fire exit up the metal stairs left of the main entrance. Bunker Spiders and Snare Fleas are the usual threats inside |
| 220-Assurance | C | 13-15 | 575 | Factory (87%), Mineshaft (12%) | Small outdoor area with both entrances near the ship. Snare Fleas, Hoarding Bugs and Bunker Spiders inside; bring a shovel |
| 56-Vow | C | 12-14 | 622 | Factory (61%), Mineshaft (39%) | Forest moon. Brackens and Maneaters inside, Forest Keepers and Feiopars outside. The metal bridge collapses under too many people |
-
1
Day 1 of your first quota: Experimentation
Learn the walk from the ship to the main entrance, use the scanner (right mouse button) to find scrap, and practise talking to the operator. One normal day covers the 130 quota.
-
2
Days 2-3: Assurance
More scrap on a still-small map. Its fire exit is reached by a fixed ladder on the scaffolding and a jump onto a pipe; the pipes also lead safely to the main entrance.
-
3
Later quotas: Vow, then the Intermediate moons
Vow pays the most of the easy moons but is the first place most crews meet a Bracken. Cross the metal bridge one or two at a time, or use the dam with the fire exit at its foot.
Inside the facility
Every moon has a building interior, generated fresh each landing: a Factory, a Mansion or a Mineshaft. The basics are the same in all three.
- Main entrance. The scanner marks it as a point of interest. It leads into a fixed starting room; in the Mineshaft that room has an elevator down to the rest of the map.
- Fire exit. Most moons have one, at a fixed spot outside, but it leads into a random room inside. It can save a long walk, but you enter facing the door, which is dangerous if a Coil-Head is behind you.
- Vents. Indoor monsters spawn from vents. A vent rumbles louder and louder before something comes out, and vents show as red lines on the operator's map.
- Secure doors and the breaker box. Factory secure doors can be opened from the terminal while they have power. Switching off the breaker box or removing the Apparatus leaves them stuck open.
- Apparatus. Found only in Factory interiors, always sold for 80. Pulling it out opens the secure doors and cuts all power for good, has a 70% chance to raise monster spawns and wakes every Old Bird on the moon. Take it as the last item of the day, never the first.
- Steam leaks. In Factories and Mineshaft corridors, a leak fills an area with steam that blocks your view. Find the valve with the jet of steam and pull it to fix it.
- Mineshaft bonus. A Mineshaft always gets six extra scrap spawns above the moon's limit, because of their greater risk.
Weather and what it means
Weather is shown next to each moon in the MOONS list and changes daily. It never changes the amount or value of scrap; it only adds danger. A clear free moon is often a better day than a paid moon in bad weather.
| Weather | What happens | Beginner verdict |
|---|---|---|
| Clear | No extra hazard | Go |
| Rainy | Quicksand patches outside; you sink in seconds. Walk back out the way you came the moment you hear the mud sound | Fine with care; do not jump off the ship while it lands |
| Stormy | Conductive items carried outside (shovels, metal scrap) attract lightning. Drop a buzzing item and step away | Fine; carry one conductive item at a time |
| Foggy | Visibility outside drops to a few metres | Fine on a moon you already know |
| Flooded | Water rises through the day, slows you and can drown you. Experimentation's ship area is under water by mid-afternoon | Avoid at first |
| Eclipsed | Outdoor monsters are active from the start, and indoor spawns begin at night level | Avoid until the crew is experienced |
A meteor shower is a separate random event that can start on any moon. A warning appears on your HUD; meteors are slow, so watch the sky and move out of the way.
When the ship leaves
The ship lands at 8:00 a.m. and a full day lasts about 11 minutes 40 seconds of real time. It leaves automatically at midnight, whether everyone is aboard or not. Players outside the ship get a warning at about 10:12 p.m.
The ship can also leave early: a living player can pull the lever to take off, and dead players can vote to leave, which gives the living a one-hour warning. Anyone not aboard when the doors close is counted as missing, which is the same as dead.
If everyone dies or is left behind, the ship departs on its own and all scrap stored on the ship is lost. Credits, equipment, ship upgrades and decorations are kept. On top of that, each death costs 8% of your credits, and each body not brought back costs another 12%.
Monster danger rises through the day. On the easy moons, outdoor monsters start appearing from mid to late afternoon, and indoor spawns also climb as the deadline gets closer, so day three is harder than day one. The wiki's rule of thumb is to have scrap back at the ship by around 3 p.m. on easy moons. At night, never let one player stay inside alone: a lone player has nobody to hit a Snare Flea off their head or carry their body home.
The early killers in one line each
These are the monsters and hazards new crews meet first on the easy moons. Full tactics are in the Monster Guide.
Common mistakes
- Everyone going inside. Without an operator nobody can see the map, open doors or switch off a turret.
- Buying a weapon before walkie-talkies. A shovel does not help if nobody hears your call for help. Walkie-talkies cost 10.
- Selling early. Scrap sold with three days left fetches 30% of its value.
- Staying inside until the warning. The 10:12 p.m. warning is too late on most moons; you still have to carry scrap past outdoor monsters.
- Landing on an eclipsed or flooded moon "just to try". Wiping loses every piece of scrap on the ship, not just that day's haul.
- Pulling the Apparatus first. Power goes out, doors stop working and spawns can rise for the rest of the day.
- Carrying a shovel in a storm. It is conductive. Keep metal items to one per person outside.
- Leaving bodies behind. The extra 12% per body adds up fast; carry them or save for the Teleporter.
Where to go next
Once the crew survives a few quotas, read the Quota Guide for selling, route costs and which moons pay at larger quotas, and the Monster Guide for every creature in detail. There is also a Moons and Equipment Guide, and our Honest Review if you are still deciding whether the game suits your group.
★Honest Take — the learning curve is the fun, mostly
Lethal Company teaches almost nothing on its own. There is no tutorial for the terminal codes, the buying rate or why the ship just left without you, and a new crew will lose a run or two to things it was never told. That is the honest weakness. The strength is that every rule is simple once you know it, and each one you learn visibly keeps the crew alive longer: an operator with walkie-talkies, scrap out before night, selling on the last day. Play the first quotas on the easy free moons, expect to laugh at a few disasters, and treat each wipe as a lesson rather than bad luck.