Verdict Games Verdict Games
Lethal Company Moons & Equipment Guide|Every Moon and Terminal Item

Lethal Company Moons & Equipment Guide|Every Moon and Terminal Item

Author: Verdict Games Editorial Team Last Updated:

The Bottom Line

Free moons are factory layouts and stay safe; paid Rend, Dine and Artifice use mansion layouts for high payouts but punish you with weather and outdoor monsters, while Titan is the largest and hardest. Use the teleporter as an escape insurance, the extension ladder and jetpack for terrain, and the walkie-talkie plus radar booster to make coordination and searching far easier.

Summary

Lethal Company moons split into free, factory-style worlds and pricier, high-danger ones, each with its own difficulty, weather and interior layout (Factory, Mansion or Mineshaft). Picking the right moon and using your gear well changes survival and profit far more than raw quota grinding does. This guide covers what each moon is like and where every Terminal store item actually earns its keep.

Who This Is For: Players who want to pick moons well and use each tool correctly Intermediate

Key Points

Key Points

1

Free moons are factory layouts and safe; paid moons pay more but bite

2

Titan is the biggest and hardest; Artifice is top profit but brutal

3

Teleporter is escape insurance; inverse teleporter is the opposite, for entry

4

Radar booster and walkie-talkie transform ship-operator coordination

Picking a moon is where the run begins

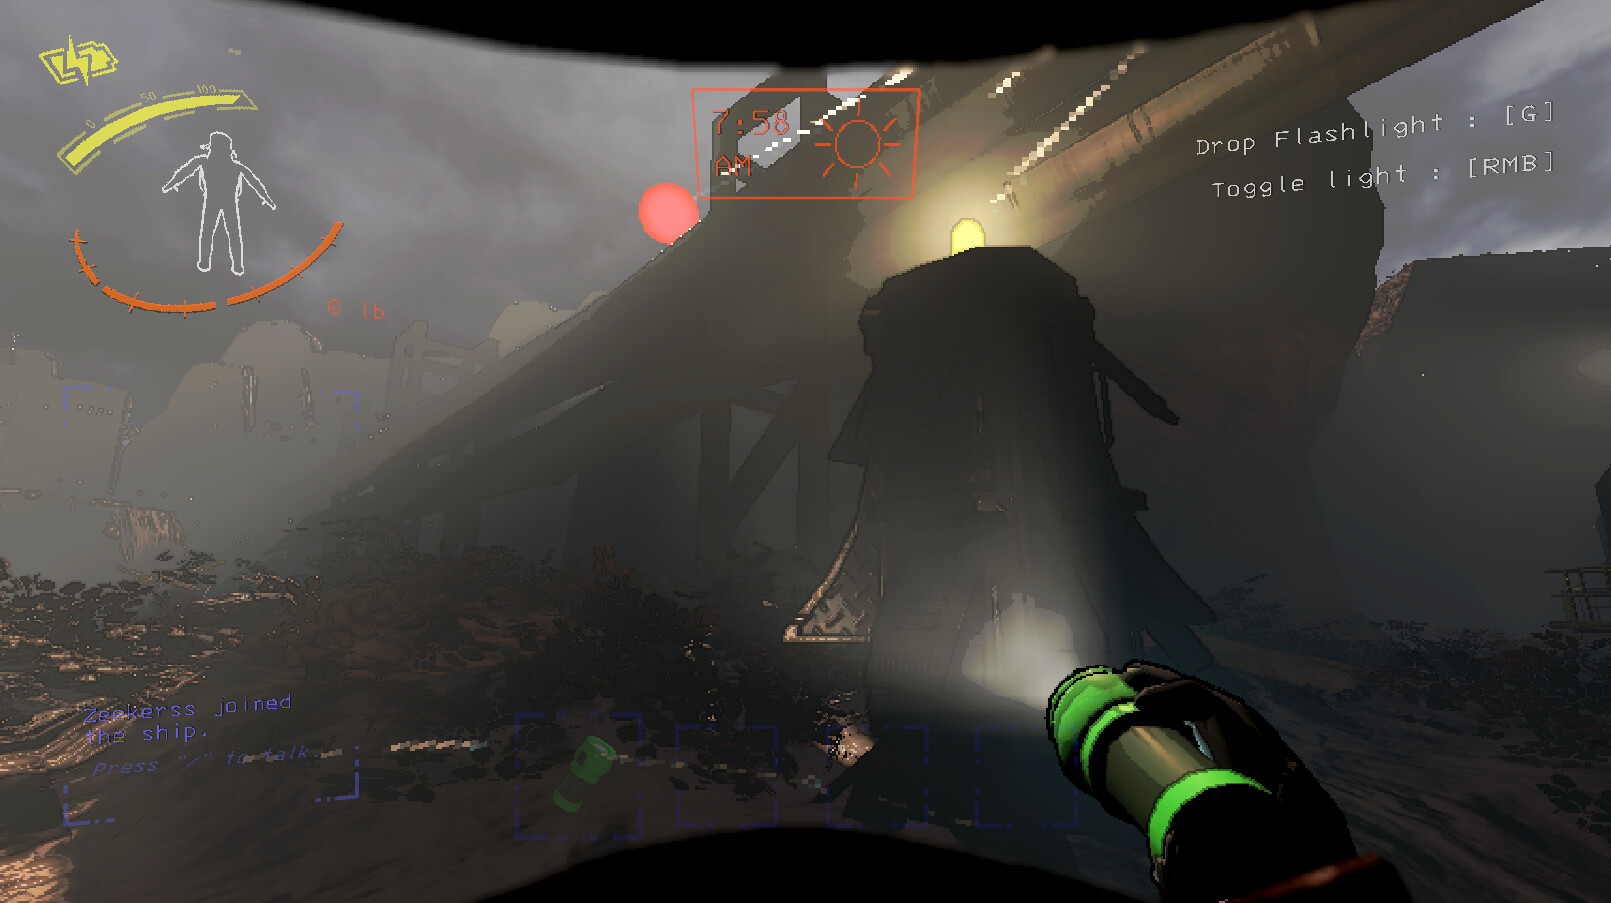
In Lethal Company the moon you choose reshapes difficulty, profit and the gear you need. Bottom line: early on, take safe, factory-layout free moons, then move to paid moons for big payouts once your kit is ready. Weather never changes how much scrap exists or its value, but it wrecks visibility and movement, making the quota harder to hit.

Routing to a paid moon costs company credits up front. Show up under-equipped and fail, and you lose both the routing fee and the scrap—a classic "red ledger" run. Before you go, confirm you have an escape plan (teleporter) and proper vision gear.

Free versus paid moons

Moon Cost Interior Difficulty & traits
Experimentation Free Factory Low danger. Ideal first practice
Assurance / Vow Free Factory Low to mid. Vow rains often
Offense / March Free Factory Mid difficulty, larger maps. Fog and flooding
Adamance Free Mineshaft Mid difficulty. Easy to get lost
Rend / Dine Paid (550/600) Mansion High danger, high profit. Blizzard and eclipse
Titan Paid (700) Factory Largest map, hardest. Dangerous outdoors too
Artifice Paid (1500) Mansion Top profit but brutal. Demands all-round skill

Titan's biggest risk is its sheer size—it is huge, easy to get lost in, and you run out of time before scrap. Outdoor monsters and indoor volume both bite, so do not force it open before your crew and gear are ready. Artifice sits above even that; tackle it only once you know the answers to most threats.

Playing each interior layout

Each moon tends toward a specific interior, and each layout rewards a different search approach.

  1. 1

    Factory rewards corridor awareness

    Most free moons use it. Branching, lookalike halls make you lose your bearings, so share positions hard with the radar booster and walkie-talkie.

  2. 2

    Mansion means doors and locks

    Common on Rend, Dine and Artifice. Locked doors are everywhere, and without a key or lockpicker you get stalled.

  3. 3

    Mineshaft is all vertical

    Appears on Adamance and others. Elevators and drop sections abound, so extension ladders and fall planning pay off.

Where each store item shines

Terminal store gear transforms once you understand each role. Prices are in company credits and can drop during sales.

S
Walkie-talkie (12) The backbone of ship-and-search coordination. Buy one per person from the very start Teleporter (400) Emergency-recalls a teammate inside the facility to the ship. Death insurance, but they drop their scrap
A
Pro-flashlight (60) Wide, long-lasting beam. Lifts survival in dark mansions and mineshafts Extension ladder (60) Great for vertical travel and high scrap. Shines in mineshafts and cliffs Radar booster (50) Once placed, the ship operator tracks the spot and can ping or flash to support
B
Jetpack (700) Strong for long outdoor distance and height, but one slip means instant death. For experts Inverse teleporter (425) Flings you from ship into the facility. Empty-handed only, so its use is narrow TZP-Inhalant (120) Boosts move speed and cuts stamina drain. Good for escapes and rushed grabs

The lockpicker (20) skyrockets in value on mansion moons. Pricey scrap often hides behind locked doors, and once placed it auto-unlocks in roughly 30 seconds. Tucking one or two into a Rend, Dine or Artifice run widens what you can reach.

For monster handling per moon, see our Monster Guide, and for quota-minded routing efficiency see the Quota Strategy. Reading both sharpens how you pick moons.

★Honest take: treat gear as insurance and it clicks

Honestly, Lethal Company's gear makes the most sense framed as insurance rather than firepower. The teleporter prevents wipes, the walkie-talkie and radar booster cut accidents, and the extension ladder dodges dead ends—unglamorous tools, yet exactly what makes paid-moon profit real. The jetpack's thrill is tempting, but locking in gear that keeps you alive is, frankly, what actually earns the most.

FAQ

FAQ

Difficulty, weather, interior layout (Factory, Mansion or Mineshaft) and map size, which scales how much scrap spawns. The free moons—Experimentation, Assurance, Vow, Offense, March and Adamance—cost nothing to route to, while Rend (550), Dine (600), Titan (700) and Artifice (1500) require company credits to unlock. Bigger moons hold more scrap but ramp up the danger.
Free, low-danger Experimentation is the standard first stop. Once comfortable, move to Assurance and Vow. March and Offense are mid-difficulty with larger factories, and Adamance swaps to a mineshaft layout for a different feel. Hold off on paid moons until your gear is ready—routing there and failing just burns credits.
The teleporter (400) pulls a teammate inside the facility back to the ship as an escape tool, but they drop whatever scrap they carry. The inverse teleporter (425) does the opposite, flinging players from the ship to a random spot inside the facility for fast entry, and only makes sense empty-handed. They serve opposite roles, so do not mix them up.
It is powerful on vertical moons like Titan and for crossing outdoor cliffs, but one bad input slams you into a wall for an instant death, and it overheats. Keep bursts short. Prioritise the walkie-talkie, pro-flashlight and extension ladder first, and only reach for the jetpack once terrain becomes a real problem.
The extension ladder (60) drops a vertical climb on the spot, handy for high scrap or crossing cliffs. The radar booster (50), once placed, lets the ship operator track that point on the map and use its ping to flag teammate positions or its flash to briefly stun some monsters.

Our editorial policy is honest, no-spin reviews. We separate facts from opinion and back every rating with reasoning. View Editorial Policy

Related

Related Articles