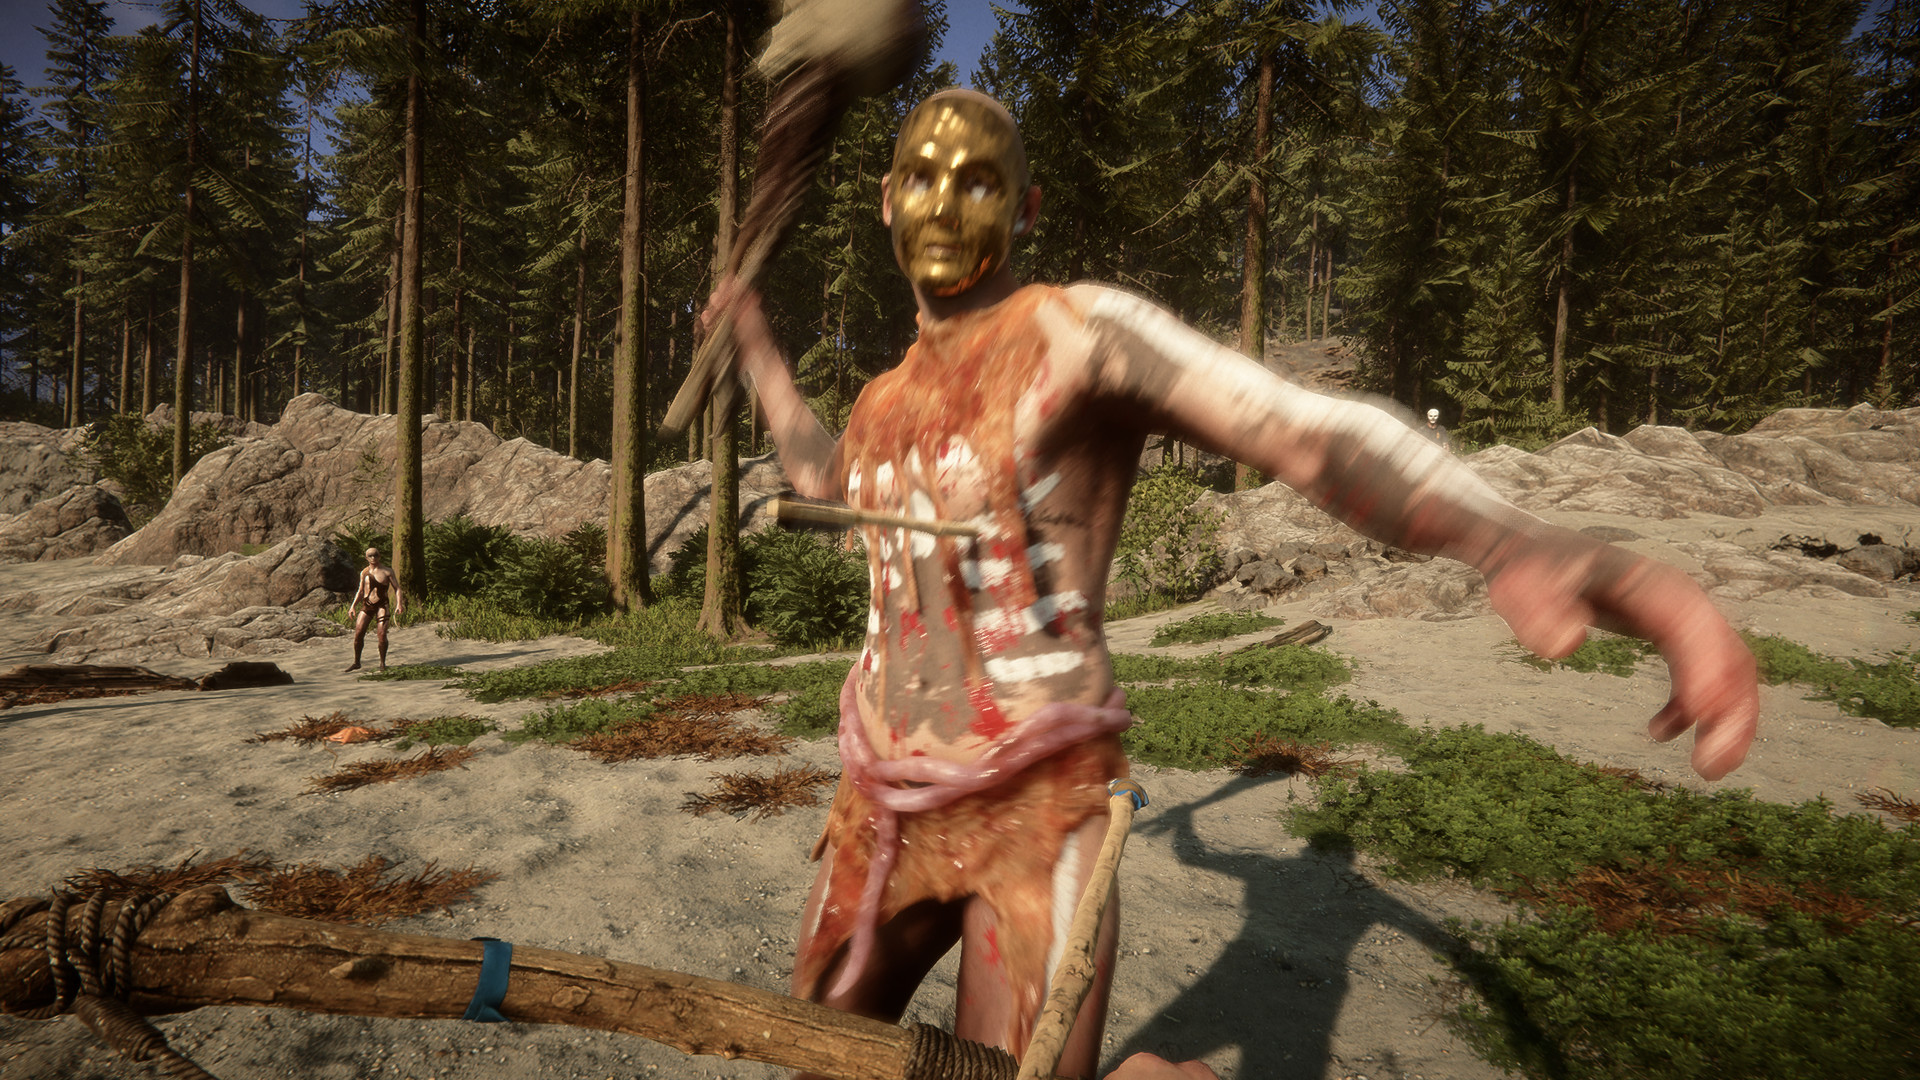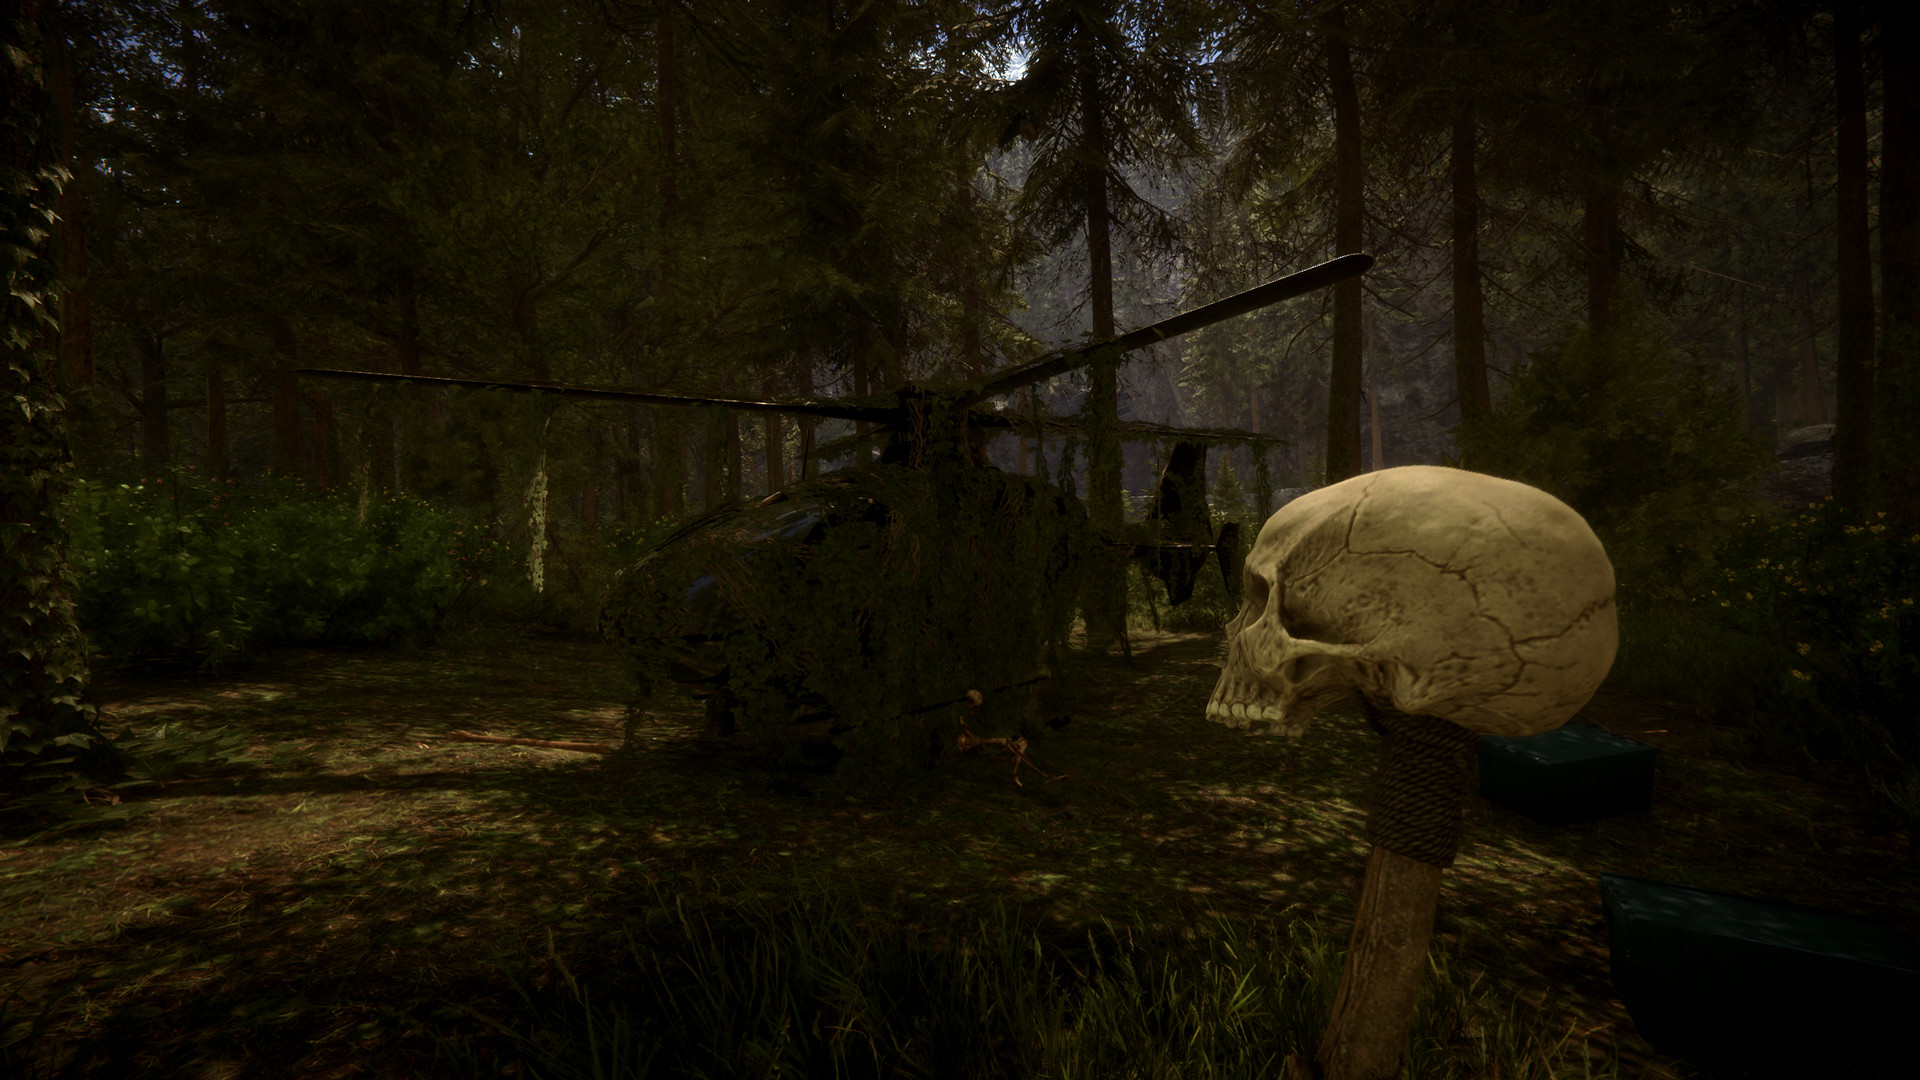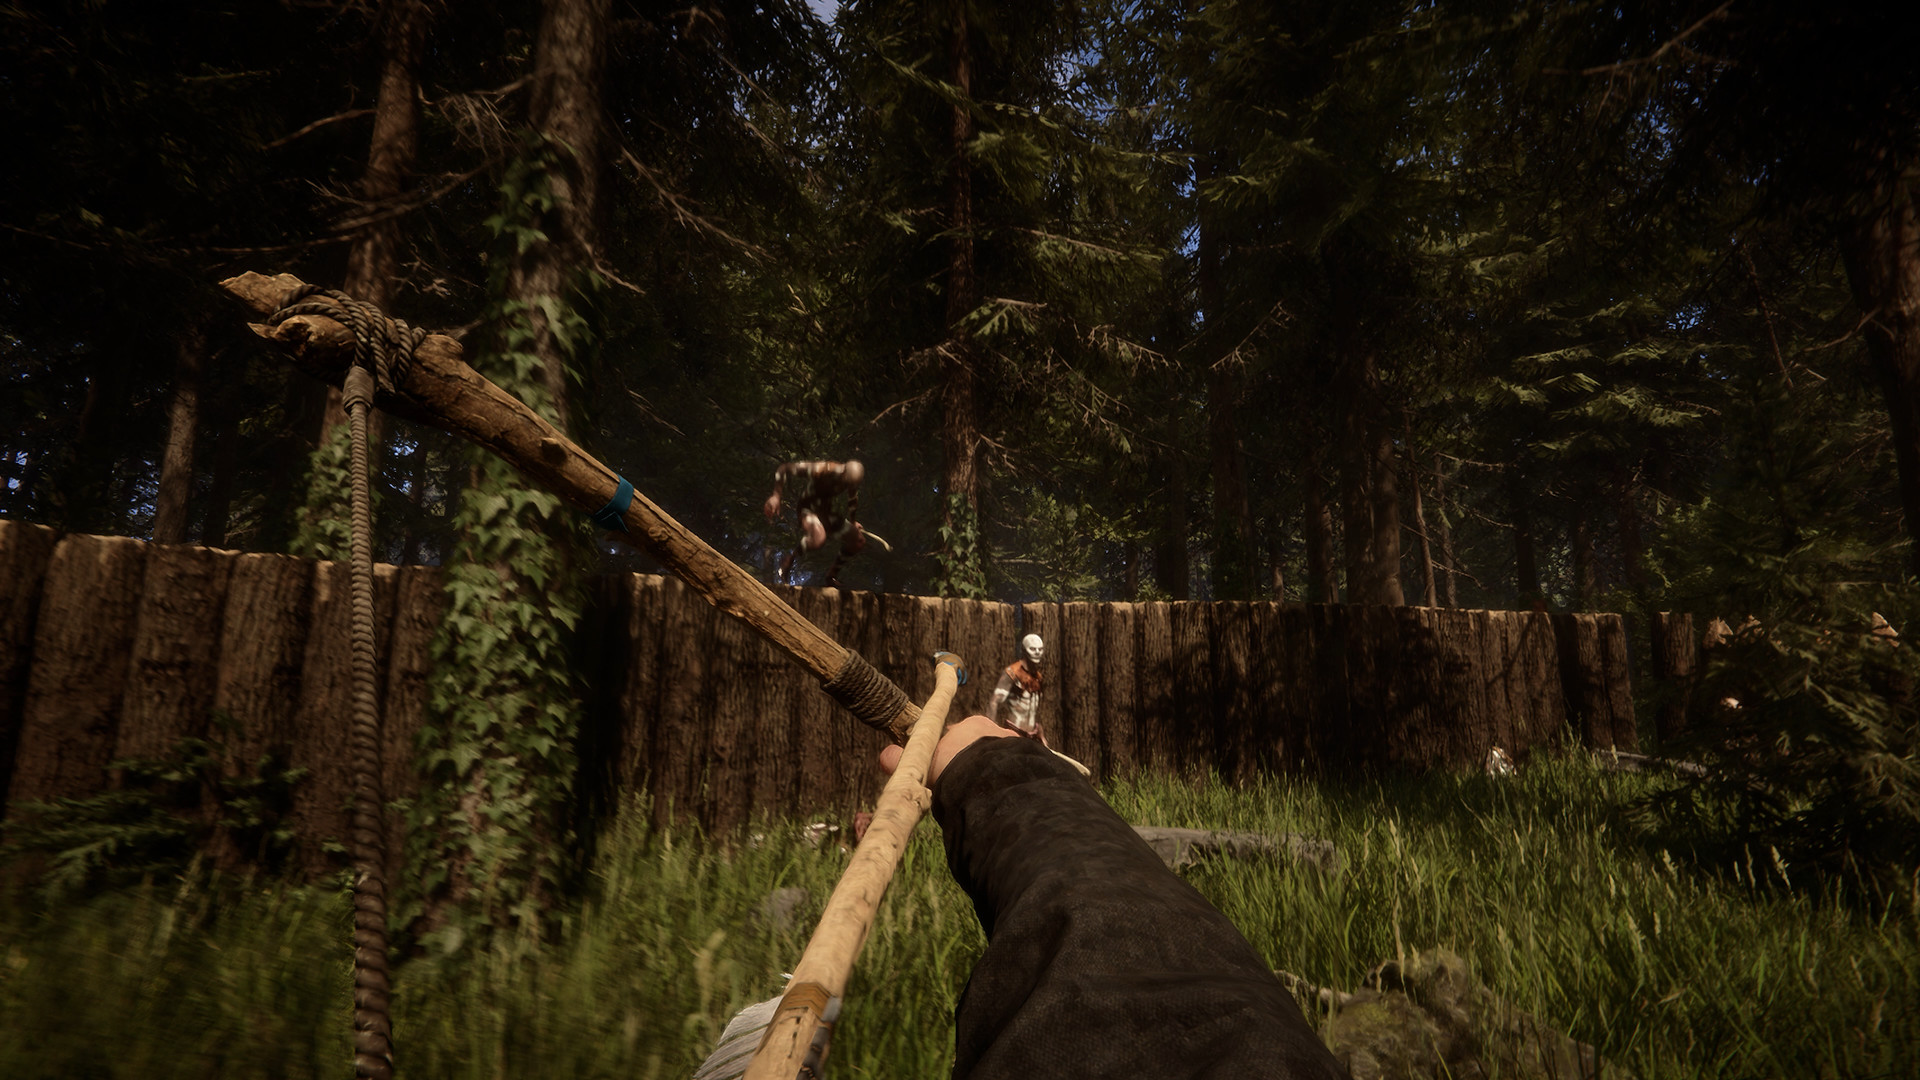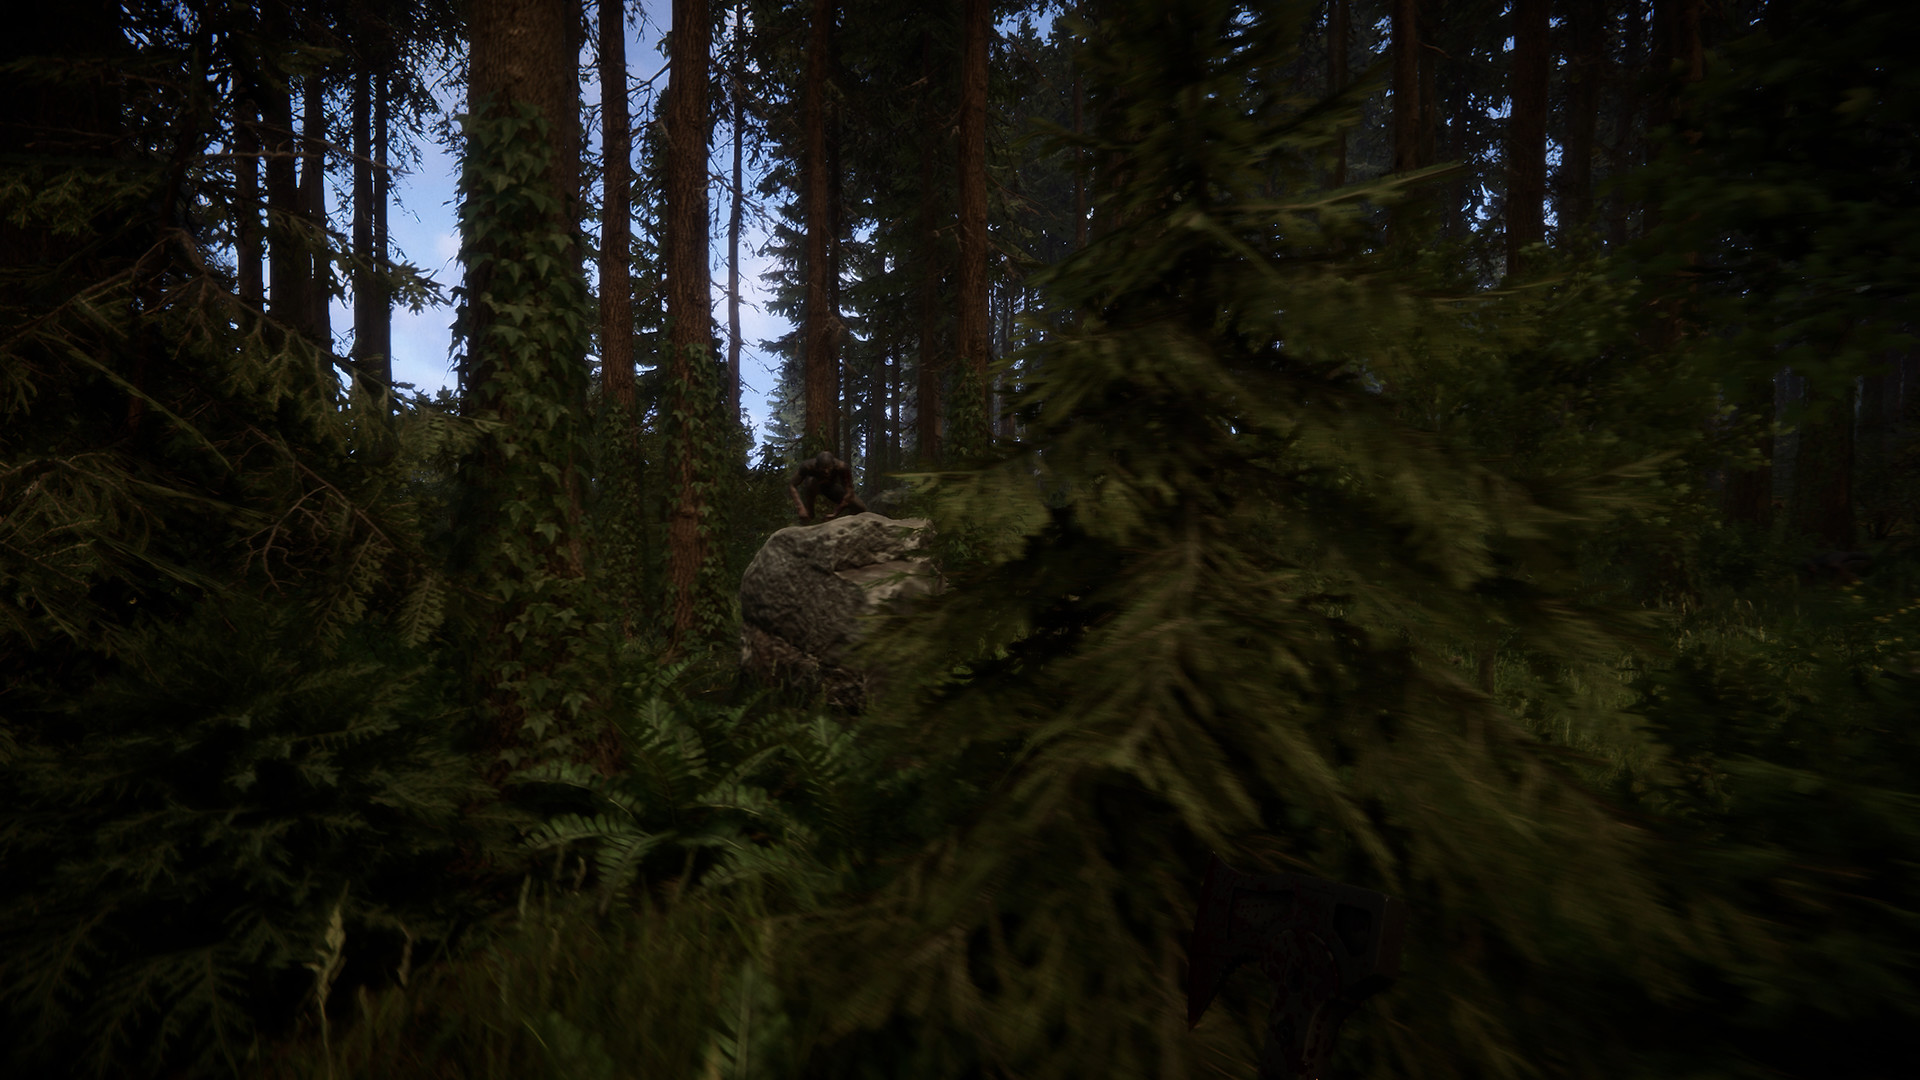
Sons of the Forest gives you almost no instructions. You wake up next to a crashed helicopter with an axe, a GPS and a soldier who cannot hear you, and the island is happy to let you wander until dark. Most of what makes the first day hard is not the cannibals. It is not knowing what is worth grabbing, what the GPS is pointing at, and which items unlock the rest of the island.
This guide is written for the full 1.0 release and ordered the way you will play: the first day, then the tools that make the next days easier.
Your first day: what to do, in order
| Step | What to do | Why |
|---|---|---|
| 1. Loot the crash site | The Emergency Pack is picked up automatically. Then open every case around the wreck | Cases at the starting points hold duct tape, meds, flares, energy bars and some ammo. Duct tape is what your first weapons need |
| 2. Check the GPS | Press M. Note the purple markers | They lead to three dead members of the earlier team, who carry the pistol, the flashlight and the shotgun |
| 3. Recruit Kelvin | Find him on the ground near the wreck and help him up | He gathers logs, sticks and rocks and finishes buildings while you do other things |
| 4. Pick a base spot | Near fresh water, plenty of trees, away from cannibal villages | Water and logs are what you fetch most; cutting trees near a village raises cannibal aggression |
| 5. Build a shelter | Hunting Shelter or a tent, then a drying rack and rain catcher | You need somewhere to save and sleep before night |
| 6. Craft a spear and a bow | Spear: 2 sticks, duct tape, utility knife. Bow: 2 sticks, rope, duct tape | The thrown spear stuns enemies and catches fish; the bow lets you hunt and fight at range |
There are three starting points: a crash on the northern beach, one in the southern mountains and one deep in the forest. The loot around each differs, and quantities vary between playthroughs, so treat the crash site as a bonus rather than a fixed loadout.
What you start with
The Emergency Pack gives you the Tactical Axe, the GPS, a lighter and the guide book. You also have the utility knife, which skins animals and is the third ingredient in a spear. The Tactical Axe chops trees and blocks, but it is the weakest axe; replacing it with the Modern Axe is one of the best early upgrades.
Your first weapons
-
1
Crafted Spear
2 sticks, 1 duct tape and the utility knife. Its melee damage is modest, but a thrown spear can stun cannibals and even mutants, and you can spear fish straight out of the water. You can carry up to 5.
-
2
Crafted Bow
2 sticks, 1 rope and 1 duct tape. Rope is the bottleneck: it turns up in cannibal villages, abandoned boats along the coast and rivers, and cases.
-
3
Stone Arrows
2 feathers, 2 sticks and 4 small rocks per craft. Cheap, slow arrows that are fine for hunting and early fights.
The GPS and how to read it
Press M to open the GPS. It shows your position, the terrain (coastlines, paths, lakes, rivers, cliffs), the time and the day. It does not explain what anything is, so here is what the markers on it mean.
| Marker | What it is | What to do |
|---|---|---|
| Purple markers at the start | Three dead members of the earlier team (the hanging, floating and buried mercenaries) | Visit them in this order: raft and cliff first, the grave once you have a shovel |
| Cave entrances | The caves that hold the key tools | Most are boarded up; break the planks with an axe |
| Bunker entrances | Underground facilities with keycard doors | Several only appear after you read a laptop in another cave or bunker |
| Kelvin | A blue K that tracks him | Use it to find him when he wanders off to gather |
| Your own icons | GPS locators you place on a stick or give to Virginia | Mark your base, a cave you left half-done, or track her |
The three purple markers are worth knowing in detail:
- The floating mercenary is on an orange life raft off the western coast. He carries the pistol and a GPS locator. Sharks patrol the water, so take meds and go in daylight.
- The hanging mercenary dangles from a rope on the west side of the snowy mountain. Cut the rope from the top or shoot it with an arrow to bring him down. He carries the flashlight and a GPS locator.
- The buried mercenary lies under a cross of sticks in the northwest. You need the shovel to dig him up, and he carries the shotgun.
The GPS loses its signal underground. In caves and bunkers you navigate by memory and light, so bring the flashlight or a torch and drop back to the surface to check where you are.
GPS locators are not only loot. You can place one on a standing stick and pick an icon to mark a location, or give one to Virginia so she shows up on your map. They became craftable in a later patch, but the three on the Team B bodies are your first ones.
Kelvin and Virginia
Kelvin: what he can and cannot do
Kelvin was injured in the crash and can no longer hear or speak, so you give him orders by writing on your notepad. Walk up to him after the crash and help him to his feet; until you do, he cannot do anything.
| Order | What it does | Best use on day one |
|---|---|---|
| Get | Collects logs, sticks, rocks, fish, berries and more, then fills a holder, drops it here, gives it to you or follows you | Logs into a log storage next to your build site. He carries 2 logs at a time |
| Build | Fire, shelter, finish structure, repair structure | Place a blueprint and let him finish it |
| Clear | Cuts the trees in a 5, 10 or 20 meter radius | Clearing a building site |
| Stay | Here, at shelter, or hidden | Parking him somewhere safe before a cave run |
| Follow me / Take a break | Escort or rest | Bringing him to a new area |
Later patches added orders to reset traps, fill log sleds and fill drying racks with fish. He looks after his own needs, drinking from fresh water and eating from berry bushes or your structures, and lies down to rest when tired.
What Kelvin will not do is fight. He retreats from combat and points at enemies he can see. Cannibals and mutants can knock him down but cannot kill him; he recovers on his own after a while, or faster if you help him up. The one thing that kills him for good is you: the player can kill Kelvin with a weapon, and he does not come back. Keep your axe swings and shots away from him, especially in a chaotic fight at your base.
Virginia: earning her trust
Virginia is the three-armed woman you will see running through the forest from your first day. She cannot be given orders, and she starts out scared of you. Holding a weapon or running toward her makes her flee; attacking her makes her fearful for good.
Things the wiki lists as raising her affinity:
- Spending time near her without a weapon drawn
- Watching her dance (she dances near a radio)
- Lighting an unlit fire she is standing near
- Killing enemies she points out to you
- Helping her up when she goes down
- Eating from your crop plots and drying racks
As trust grows she sits near your fire, brings you berries, herbs and sticks, leads you to points of interest, and eventually follows you. At that point you can give her an outfit, a GPS locator, a pistol and a shotgun. She can use both guns at once and does not consume ammo, which makes her the best use of a spare weapon in the game.
Virginia's death is permanent. She can be downed by mutants, cannibals and players, and if you do not reach her in time she is gone from that save. She does not spawn outside your range, so she cannot be killed off-screen; the risk is in fights you are part of. She settles near tents and fires, not log buildings or beds, which matters when you plan your base.
Survival stats: hunger, thirst, rest and stamina
| Stat | How to restore it | What happens when it is low |
|---|---|---|
| Hunger | Any food. Berries restore a little, cooked meat a lot | Below about a quarter you are hungry; starving deals damage over time |
| Thirst | Fresh water boiled in a cooking pot, a rain catcher, a printed flask, some berries | Dehydration deals damage over time. Dried fish and meat make you thirstier |
| Rest | Sleeping in a bed or tent, sitting on a chair or bench, guarana berries | Lowers your stamina cap and drains faster if you are hungry or thirsty |
| Stamina | Recovers on its own when you stop sprinting, swinging or swimming | Hunger, thirst, tiredness and cold all shrink the usable bar |
Two details catch new players out. First, lake and river water is dirty and hurts you if you drink it untreated. Fill a cooking pot (found at abandoned camps with modern tents), boil it on a fire, or build a rain catcher. Second, cold eats your stamina: when you get cold, part of the stamina bar turns light blue and cannot be used. A fire, a torch and warmer clothing fix it.
Finding the key items early
The order in which you pick these up decides how fast the game opens up. Locations are given at the level of a cave or an area of the island, which is what the GPS shows you.
There is no standalone "Grappling Hook" tool to hunt for. The Printed Grappling Hook is a part you make at a 3D printer from resin (one print gives two), and you combine it with rope to make Zipline Rope for the Rope Gun. The first 3D printers you can reach are in the Entertainment Bunker's entrance room and in Maintenance Bunker A.
Near the Rope Gun Cave there is also a Stun Baton stuck in a pile of skulls in a pool of water, one of the earliest melee upgrades you can find. It runs on batteries.
Caves and keycards: an order that works
Caves and bunkers chain together: tools from one cave open the next, and laptops inside reveal bunker locations on your GPS. This order needs no backtracking for missing tools.
-
1
Rebreather Cave (northern shore)
Rebreather and Stun Gun. A laptop near the entrance reveals the Entertainment Bunker. A shark can appear in the water by the Rebreather; a bow handles it.
-
2
Rope Gun Cave (west side)
Rope Gun, and the cross near the entrance. Deal with the Sluggy using the timed explosives found right next to it. Do these first two caves in either order.
-
3
Shovel Cave (northwest of the snowy mountain)
Needs the Rope Gun at the entrance and the Rebreather for the flooded sections. You also find the wetsuit, the weapon flashlight and a laptop that reveals Maintenance Bunker A. The shovel is at the very end.
-
4
Shotgun grave and Maintenance Bunker A
Dig up the shotgun in the northwest grave. Then dig open Maintenance A for the Maintenance Keycard, the Firefighter Axe, a pistol rail and laser sight, and a 3D printer. A laptop reveals the Food and Dining Bunker.
-
5
Food and Dining Bunker, then the Entertainment Bunker
The Maintenance Keycard opens both. Food and Dining holds the crossbow and the VIP Keycard; Entertainment holds the Guest Keycard, the Shotgun Rail and the Electric Chainsaw.
-
6
Residential Bunker and beyond
The Guest Keycard opens the Residential Bunker, where you unlock the Luxury Bunker. The endgame needs more preparation; see our story progression guide.
Caves are dark, cramped and full of mutants, and you will come out hurt. Go in with meds, a flashlight, a spear or two and some ammo, save at a tent or shelter near the entrance, and leave Kelvin parked outside with the Stay order.
Seasons and winter prep
On default settings each season lasts 5 days, a full cycle is 20 days, and a new game starts at the beginning of summer. That puts the first day of winter around day 11. Custom games let you change the length.
What winter changes:
- Snow covers the island and stops you collecting rocks and small rocks. Stock them before it falls; stone arrows and many structures need them.
- Lakes freeze. You, Kelvin, Virginia, animals and enemies can all walk across them, so a lakeside base loses its water barrier.
- Cold drains you. Being cold reduces your energy and locks part of your stamina. Stand by a fire, carry a torch, and wear a winter jacket if you have one.
- Rain catchers freeze and stop working, so boiled water and food that does not rot matter more.
The practical prep list is short: dried meat and fish on drying racks, a stockpile of rocks and sticks, a fire inside your defenses, and walls that cannibals cannot climb. The Base Building guide covers which walls hold.
Common mistakes
- Drinking straight from the lake. It hurts you. Boil it in a cooking pot or use a rain catcher.
- Swinging next to Kelvin. Enemies cannot kill him, but you can, and it is permanent.
- Walking up to Virginia with an axe out. She runs. Holster it and let her come to you.
- Settling next to a cannibal village. Cutting trees there raises their aggression toward you every day.
- Trying the Shovel Cave first. You cannot get past the entrance without the Rope Gun or through the flooded parts without the Rebreather.
- Swimming to the raft hurt. Sharks patrol it. Go at full health with meds.
- Looking for a Grappling Hook item. It is a 3D-printed part for Zipline Rope, not a separate tool.
- Leaving winter prep to day 10. Rocks disappear under snow and the lake stops protecting you.
Where to go next
Once you have a shelter, set up a proper base with the Base Building guide. For fighting cannibals and mutants, see Combat and Cannibals. The caves after the keycards and the ending are in the Story Progression guide, and our overall verdict is in the Sons of the Forest review.
★Honest Take: a great island that explains itself badly
The first day of Sons of the Forest is both its best and worst moment. The best part is that nothing is gated by a tutorial: you can walk to the raft, the cliff or a cave on your first afternoon, and finding the Modern Axe on a dead camper feels earned. The worst part is that the game hides how its pieces connect. The GPS shows purple markers without saying who they are, the Rope Gun and Rebreather quietly gate half the island, and the most important rule about Kelvin, that only you can kill him, is never stated. Once you know the chain of raft, Rebreather, Rope Gun, Shovel and keycards, the island stops feeling random and starts feeling designed. Learn that chain, keep Kelvin hauling logs, and treat winter as a deadline rather than a surprise.