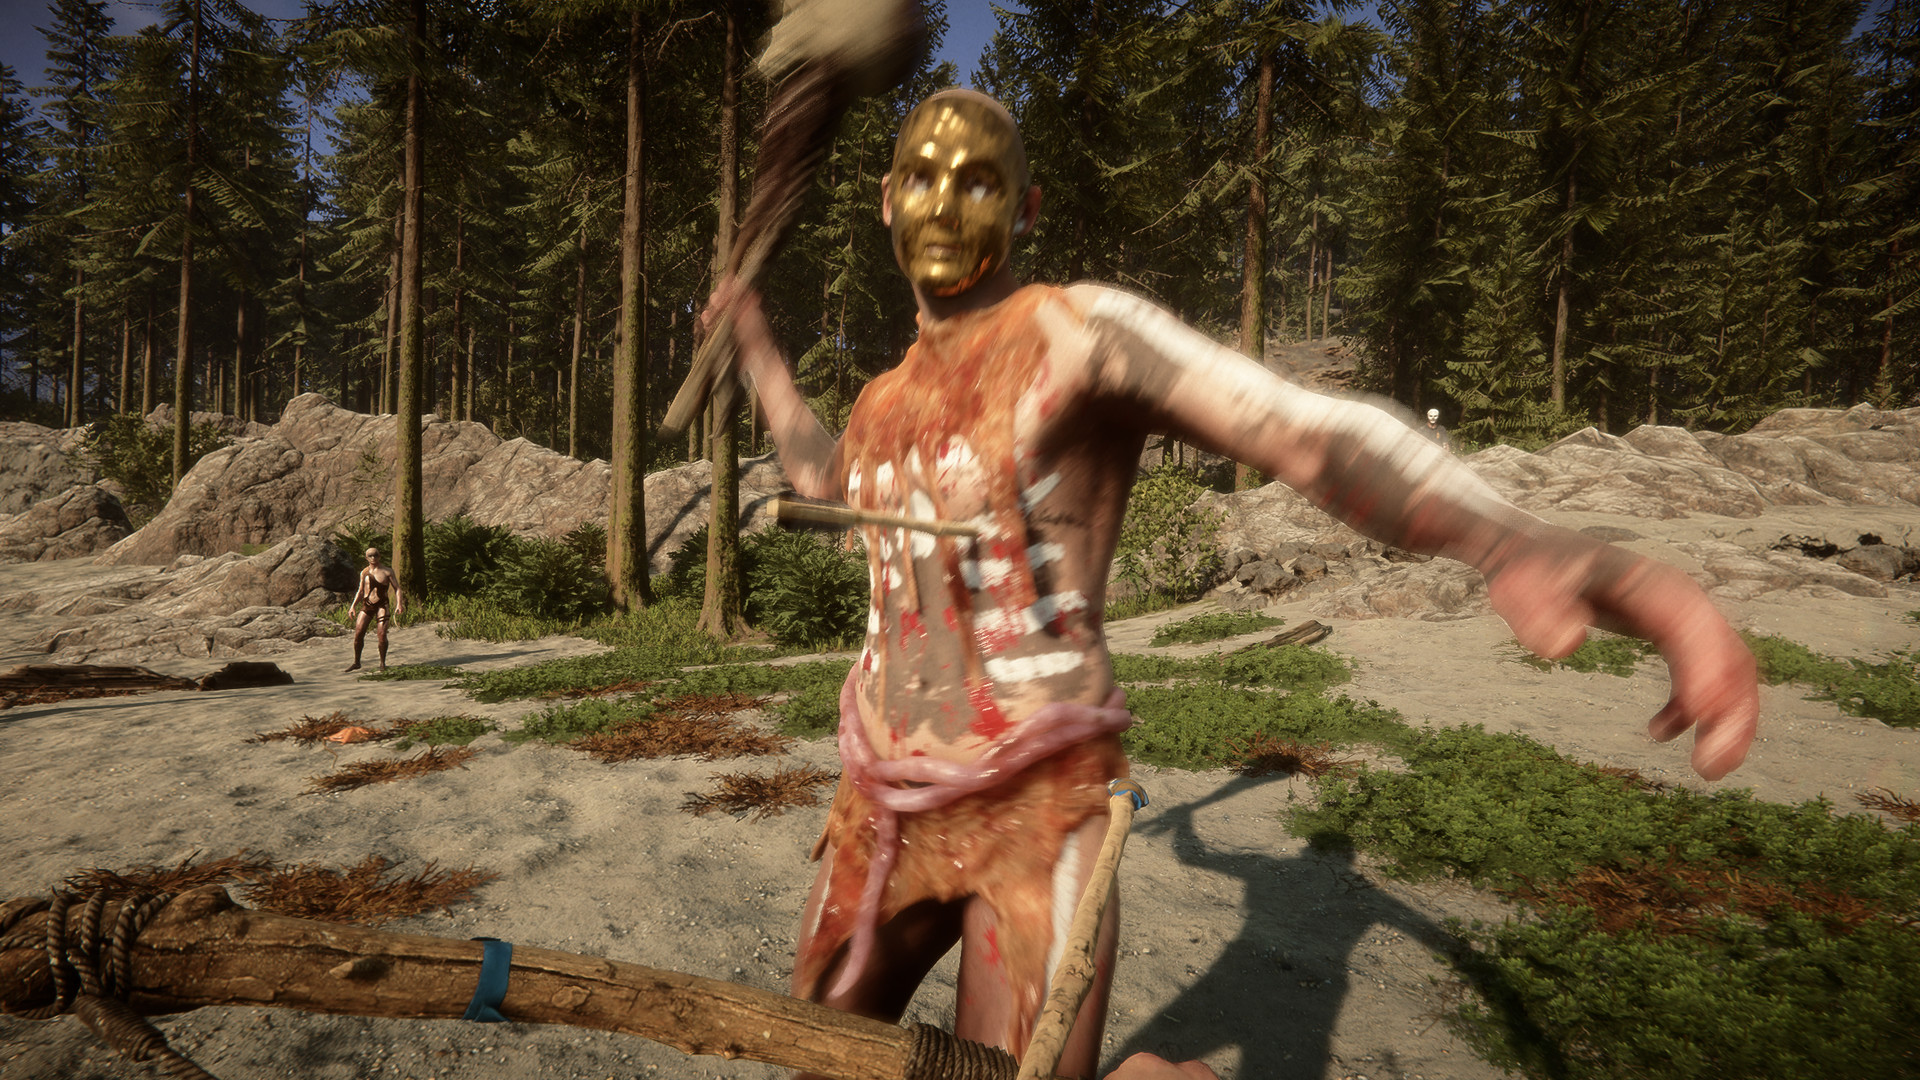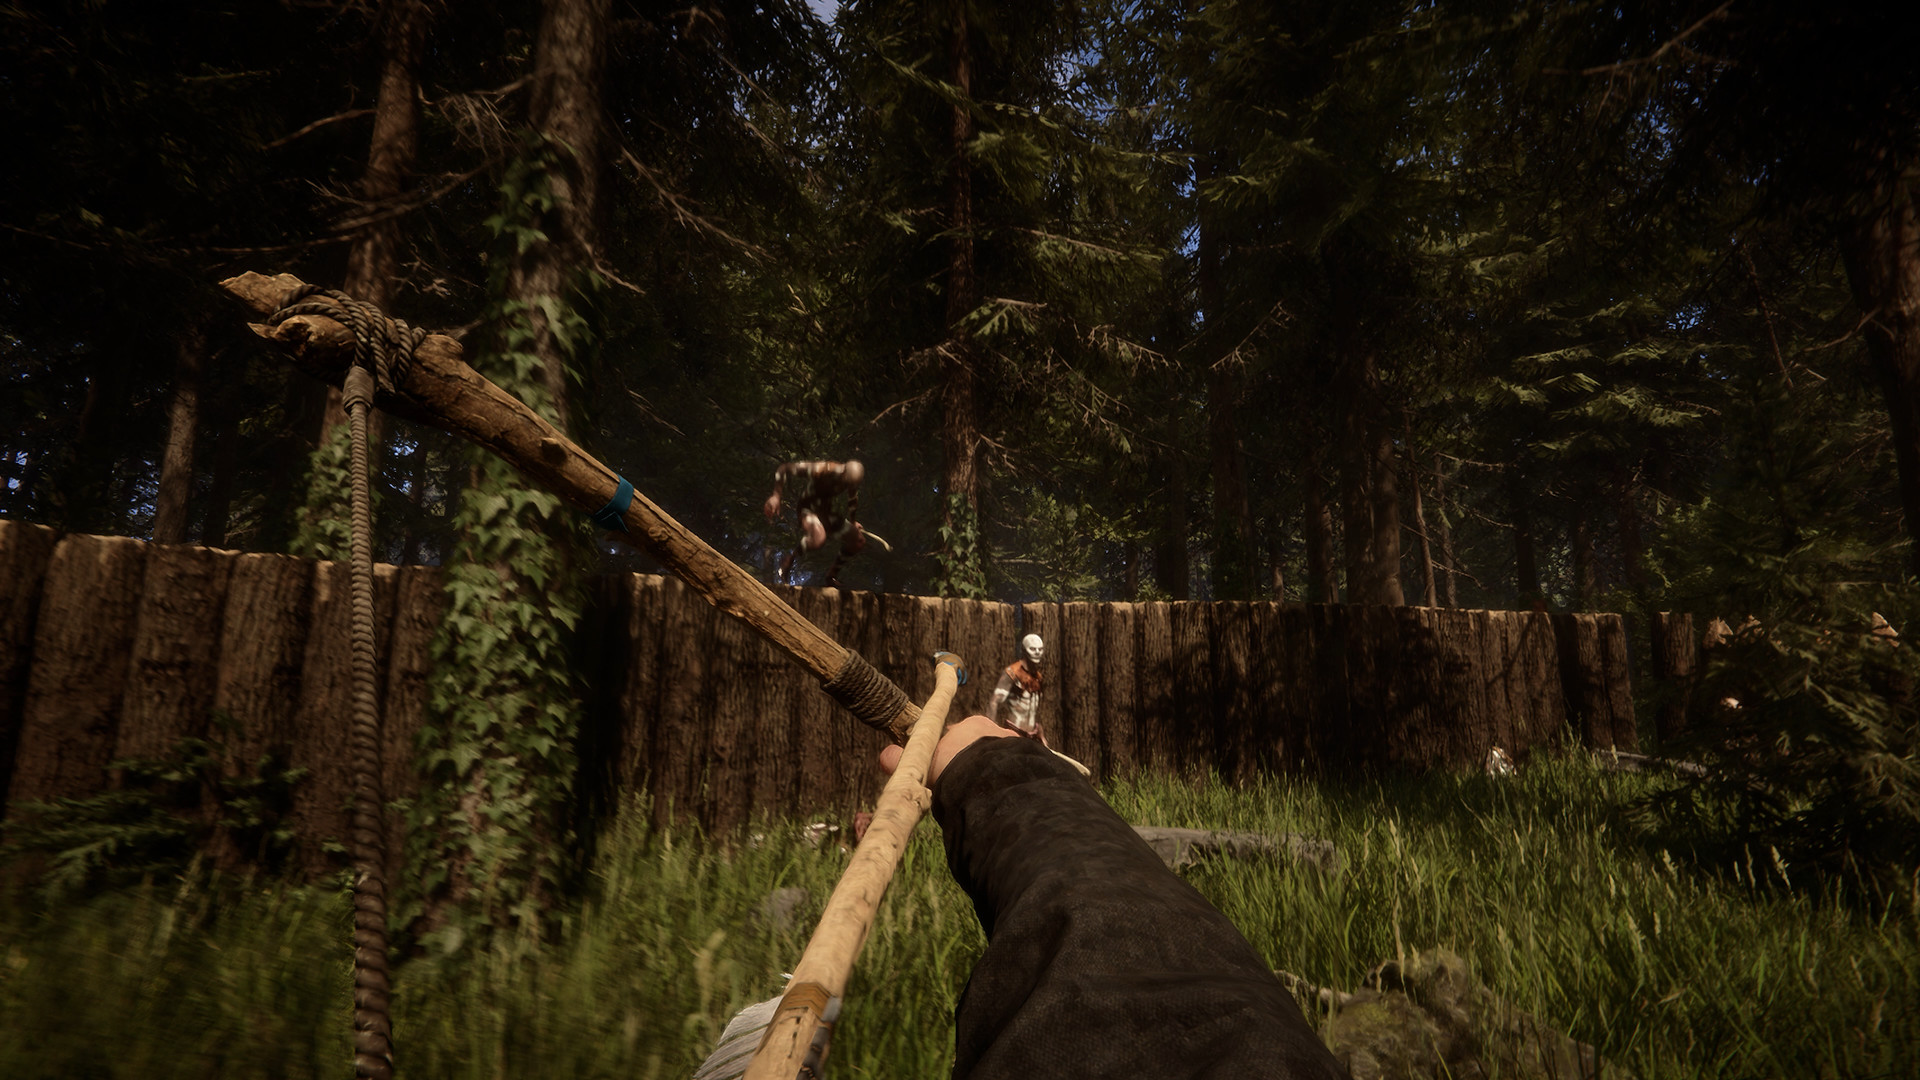
Most Sons of the Forest base guides show off a finished fortress. That skips the part that actually decides whether your base works: where it is, what you build in the first couple of days, and whether your wall is one cannibals can climb. A huge stacked-log wall looks safe and is not — cannibals scale it. A short row of sharpened vertical logs is less impressive and does the job.
This guide is ordered the way you will actually play: pick a spot, build the essentials, then wall it in.
The short answer: what a good first base looks like
| Decision | Do this | Why |
|---|---|---|
| Location | Near fresh water, plenty of trees, away from cannibal villages | Water and logs are what you spend most time fetching; villages raise aggression |
| First structure | Hunting shelter or a tent to save in | Cheap, and saving is what matters on day one |
| Next three | Drying rack, rain catcher, log storage | Food that does not rot, clean water, and a place for Kelvin to drop logs |
| House | Free-built log cabin or a blueprint tree shelter | Only once logs are flowing; a big house on day one leaves you building at night |
| Perimeter | Defensive wall (vertical, sharpened logs) with a gate | Stacked horizontal log walls can be climbed |
| Traps | At the approach cannibals actually use, not against the wall | Some large traps can help cannibals get over walls |
This is written for the full 1.0 release. The building system has changed across patches (stone building, the auto foundation for some prefabs and new traps arrived late), so older videos can show menus or costs that no longer match.
Choosing a location: the trade-offs
We are not going to give you a "best base coordinate." Lists of exact spots go stale, and most of them are one player's favourite rather than anything the game rewards. What the game does reward is a handful of documented mechanics, and every spot is a trade-off between them.
| Spot type | Strength | Weakness |
|---|---|---|
| Lakeshore or riverbank | Water for drinking and cooking; cannibals cannot swim, so water covers one side | Lakes freeze in winter, so the water side is not a permanent barrier |
| Beach and coast | Open sightlines, flat building ground, turtles on the beach (turtle shells make rain catchers) | Fewer large trees right at the shoreline; long log hauls |
| Dense forest | Logs everywhere, short hauls | Poor sightlines; cannibals reach you before you see them |
| Cliff edge or high ground | One side cannot be attacked; good view | Awkward slopes for foundations; hauling uphill is slow |
| Near a cannibal village | None worth having | Being in or near their territory, and cutting their trees, raises aggression |
| Next to a cave mouth | Short trip to the cave you are working on | You will raid caves in the dark and come back hurt; a temporary camp is enough |
Water: close, but not your only source
Water is the resource you will go back for most often, so building near a lake or river saves a lot of walking. The wiki notes that untreated lake and river water can hurt you, so plan on a cooking pot to boil it or a rain catcher for clean water rather than drinking straight from the shore.
Water also helps defensively: the wiki is clear that cannibals cannot swim and will not follow you into deep water. A shoreline base only has to be walled on the land side. The catch is winter: lakes and ponds freeze, and players can even place foundations on the ice. Treat the water side as a seasonal advantage, not a finished wall.
Distance from cannibals
Cannibal behaviour is driven by an anger value that rises with what you do: killing cannibals, destroying villages, being in or near their camps, shooting, and cutting trees. You will cut a lot of trees to build a base. Doing that inside a tribe's territory is the fastest way to have visitors every night. Some tribes are documented as attacking less if you do not cut trees within their borders. Building a short walk away from the nearest village costs you little and saves a great deal.
Avoid the spot right next to a village "because it has a clearing." The clearing exists because the cannibals live there. Patrols in small groups wander around player structures, and some cannibals steal logs. A base you have to defend every night is a base you never get to expand.
Blueprints vs free building
Sons of the Forest has two building systems, and they work together.
- Guide book blueprints. Press B to open the survival guide, browse to a structure and place it. A white ghost shows where it goes; red means the spot is invalid. Holding X switches between guide modes to reach more pages. You then fill the ghost with materials (or tell Kelvin to). Blueprints cover shelters, tree shelters, storage, furniture, utility pieces and traps.
- Free building with logs. Hold a log and look at the ground. Right-click toggles between vertical (a dashed circle) and horizontal (a dashed rectangle) placement. Dashed lines show where the next log will snap. This is how you build walls, floors, roofs, ramps and your own house shapes.
Some blueprint structures, such as the lean-to, can be extended with free building, so you can start from a prefab and add rooms.
-
1
Plant the corners
Place vertical logs. When a second one is in range, a dashed line connects them — that spacing works for foundations and walls.
-
2
Lay a foundation or floor
Four logs in a square, then fill the square with split logs. Use shorter (quarter) logs as legs to keep it level on a slope.
-
3
Stack walls
Full logs stacked on the ground or on a foundation edge. A wall is 6 logs tall and does not need vertical supports at the ends.
-
4
Cut doors and windows
Cut sections out of a finished wall. A door takes at least 2 logs (it is made of split planks); a window needs nothing extra. Lock a door by placing a stick on its flat side.
-
5
Roof it
A floor laid on top of the walls doubles as a flat roof. Floors and roofs block rain and snow once at least 3 split logs are in place.
Cutting logs and planks
With any axe equipped, aim at a placed log and you get red dashed cut guides.
- Cut widthwise to make 1/4, 1/2 and 3/4 lengths. You can do this to a vertical log that is not supporting anything; cutting logs lying on the ground is less reliable.
- Split lengthwise to make two flat planks. Planks cannot stand vertically; they are for floors, ramps, stairs and doors.
The game also cuts and splits logs for you: on slopes it shortens legs automatically, and prompts such as "make a door" or "lay planks" split full logs as needed. Struts made from split logs let you remove supporting logs underneath a beam to open up interiors.
Build on flat ground for your first house. Slopes work, but the automatic cuts and level-keeping eat logs and patience. Keep a log sled or log storage next to the build site so you are not walking back and forth.
First structures: what is worth the wood
The order matters more than the list. A drying rack and rain catcher in your first two days mean food and water stop interrupting the build. A large house first means building at night with nothing to eat.
Walls and defense
Stacked walls vs defensive walls
This is the single most important building fact for defense: cannibals and certain mutants can climb walls made of stacked horizontal logs. A tall stacked wall slows them, but it is not a barrier.
A defensive wall is built by planting logs vertically side by side and sharpening the top of each with an axe. Defensive walls prevent enemies from climbing over. The guide book includes a defensive wall gate so you have a way in.
| Wall | Climbable by cannibals | Best use |
|---|---|---|
| Stacked horizontal logs | Yes | House walls, interior divisions |
| Vertical logs, sharpened (defensive wall) | No | Perimeter |
| Stick fence | Easily broken | Decoration or marking paths, not defense |
| Stone walls (later) | — | Stronger; stone structures had their strength doubled in a late patch |
Openings cannibals use
- Ground-floor windows. Cannibals can jump through a window 3 logs tall. Keep large windows on upper floors.
- Doors. Cannibals break doors down. Lock doors with a stick, and do not rely on a door alone as your outer defense.
- Traps against the wall. The Hokey Pokey trap can give cannibals leverage to get over a defensive wall. Place large traps out in the approach, not hugging the wall.
Traps worth building
| Trap | What it does | Note |
|---|---|---|
| Stick spike | Planted stick sharpened with an axe; damages cannibals | Cheap; add 3 rocks at the base to make it sturdier |
| Fly Swatter | Swings up and knocks enemies back | Affordable; needs resetting after each trigger |
| Bone Maker | Erupts fire on whatever triggers it | Needs a vodka bottle; can set you on fire too |
| Hokey Pokey | Spiked ball swings down | Expensive; keep away from walls |
| Silent Alarm | Triggers a radio to warn you | Early warning rather than damage |
| Explosive / Molotov tripwire | One-use explosion or fire | Consumes the grenade or bottle |
Most traps must be reset after each use. Kelvin has an order to reset traps, which is the main reason a trap-heavy base is manageable.
Effigies made from cannibal body parts raise cannibal fear, but they do not stop attacks. Cannibals may hesitate, flee or ignore them; the AI is deliberately unpredictable. Treat effigies as a nudge, not a wall.
Raids: what is and is not documented
Players often say bigger bases draw bigger raids. We could not confirm that from a reliable source, so we are not repeating it. What is documented:
- Cannibal aggression rises with your actions — killing, entering villages, shooting, cutting trees — and does not come back down.
- Patrols of 2 to 3 cannibals wander around player structures and sometimes walk straight through them.
- Titans destroy walls and structures much faster than other cannibals.
- In 1.0, structures visibly distort at 70% of their health and partially collapse at 20%, so you can see damage before a section falls.
- The 1.0 custom game menu has search party frequency and building resistance settings if you want fewer visits or sturdier buildings.
How Kelvin and Virginia fit into a base
Kelvin: your log hauler
Kelvin takes orders through your notepad. For building, the useful ones are:
- Get logs (also sticks, rocks, fish, berries) and fill holder, drop here or give to me. He carries 2 logs at a time.
- Build: fire, shelter, finish structure and repair structure.
- Clear: removes trees in a 5, 10 or 20 meter radius — handy for clearing a building site.
- Later patches added orders to reset traps, fill log sleds and fill drying racks with fish.
The efficient loop: place a blueprint ghost, tell Kelvin to finish it, and keep a log storage next to the site for him to fill. He tires and rests periodically and drinks from nearby fresh water, which is one more reason to build near it. He does not fight; he retreats in combat and points at enemies he can see, and he can be knocked down but not killed by enemies.
Virginia: a guard, not a builder
Virginia cannot be given orders. Once her affinity is high she follows you, brings items, and — given a pistol or shotgun — fights alongside you without needing ammo. For base planning the key detail is that she stays near tents and fires, not log buildings or beds. A fire with a bench or chair in your base gives her somewhere to settle. Eating from your drying racks and planters raises her affinity, so those structures help with her too. If she is downed and you do not help her in time, she dies permanently.
Common mistakes
- Building a big stacked wall and calling it defense. Cannibals climb it. Sharpen vertical logs instead.
- Settling next to a cannibal village. Every tree you cut there raises aggression in the people next door.
- Starting with the dream house. You run out of logs, it gets dark, and you have no drying rack. Shelter, rack, rain catcher, storage first.
- Putting big traps right against the wall. They can help cannibals over it. Push them out into the approach.
- Ground-floor windows 3 logs tall. Cannibals jump through them.
- Not using Kelvin's finish-structure order. Hauling and filling ghosts yourself is the slowest way to build.
- Assuming the lake will always protect you. It freezes in winter.
For the first days before you settle, see the Beginner Guide. For fighting off what reaches your walls, see Combat and Cannibals, and for the caves and key items that pull you away from base, the Story Progression guide. Our overall verdict is in the Sons of the Forest review.
★Honest Take: the best building system in the genre, with a clunky edge
Free building with logs is the best thing in Sons of the Forest. Planting logs one by one, cutting quarters to level a floor on a slope and splitting planks for a door feels physical in a way blueprint menus never do, and it lets you build almost anything. The cost is friction: cuts on logs lying on the ground are fiddly, slopes eat logs, and support rules can trap you when you try to remove a piece later. The defensive side is honest once you know the one rule that matters — stacked walls are climbable, sharpened ones are not. Learn that, keep Kelvin hauling, and the base becomes the part of the game you look forward to coming home to.