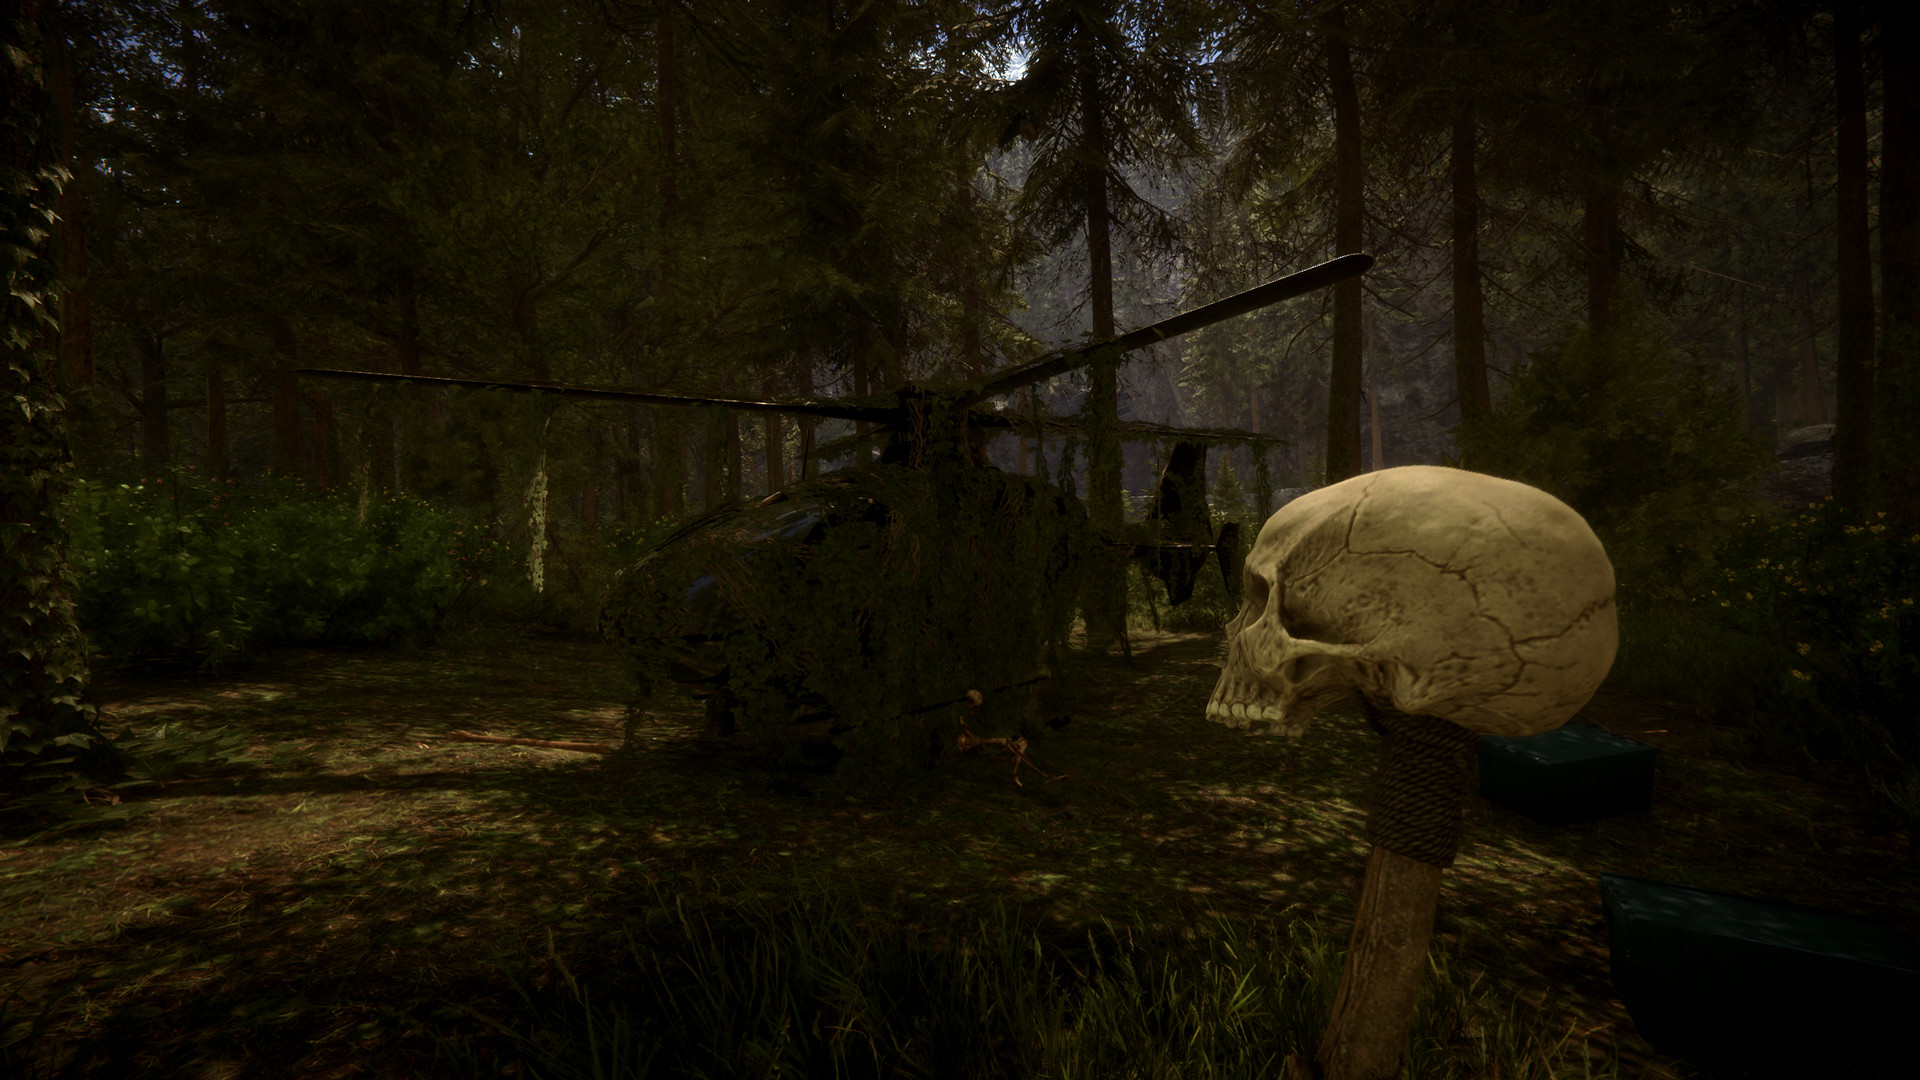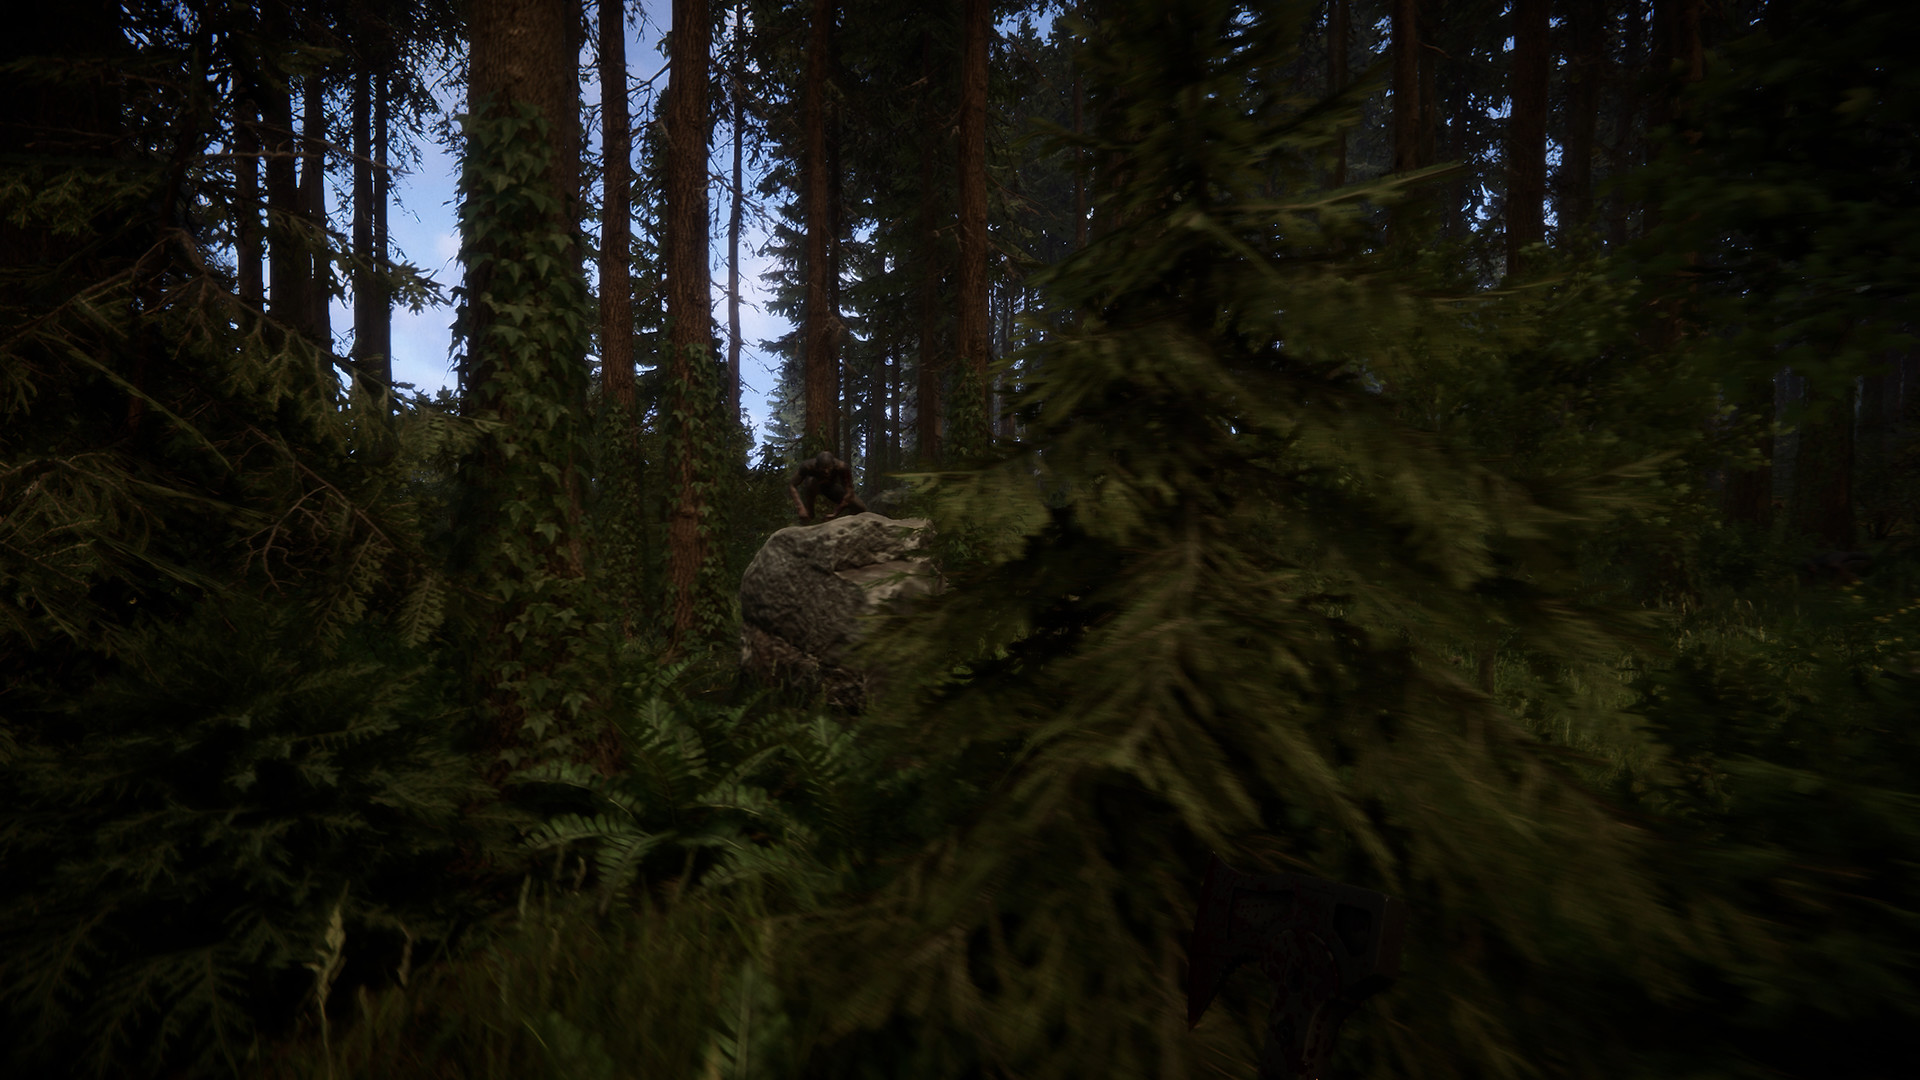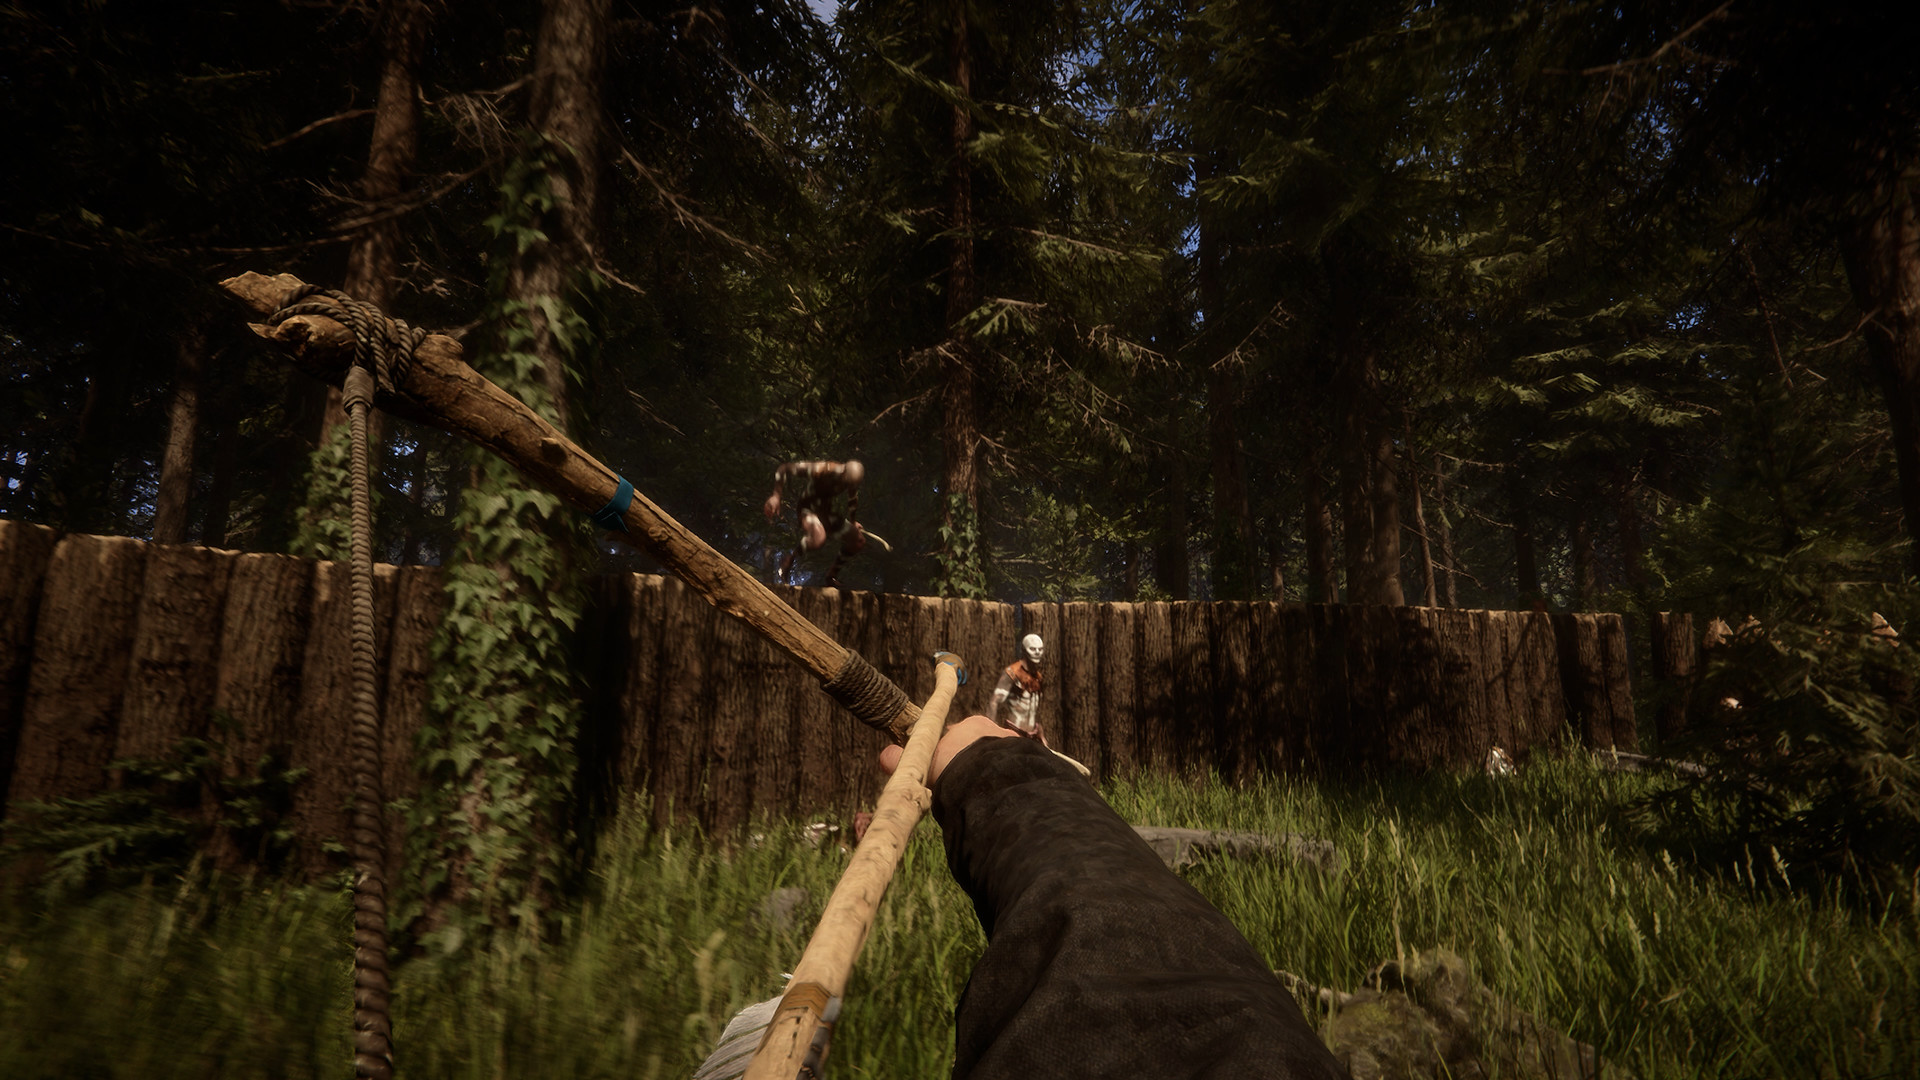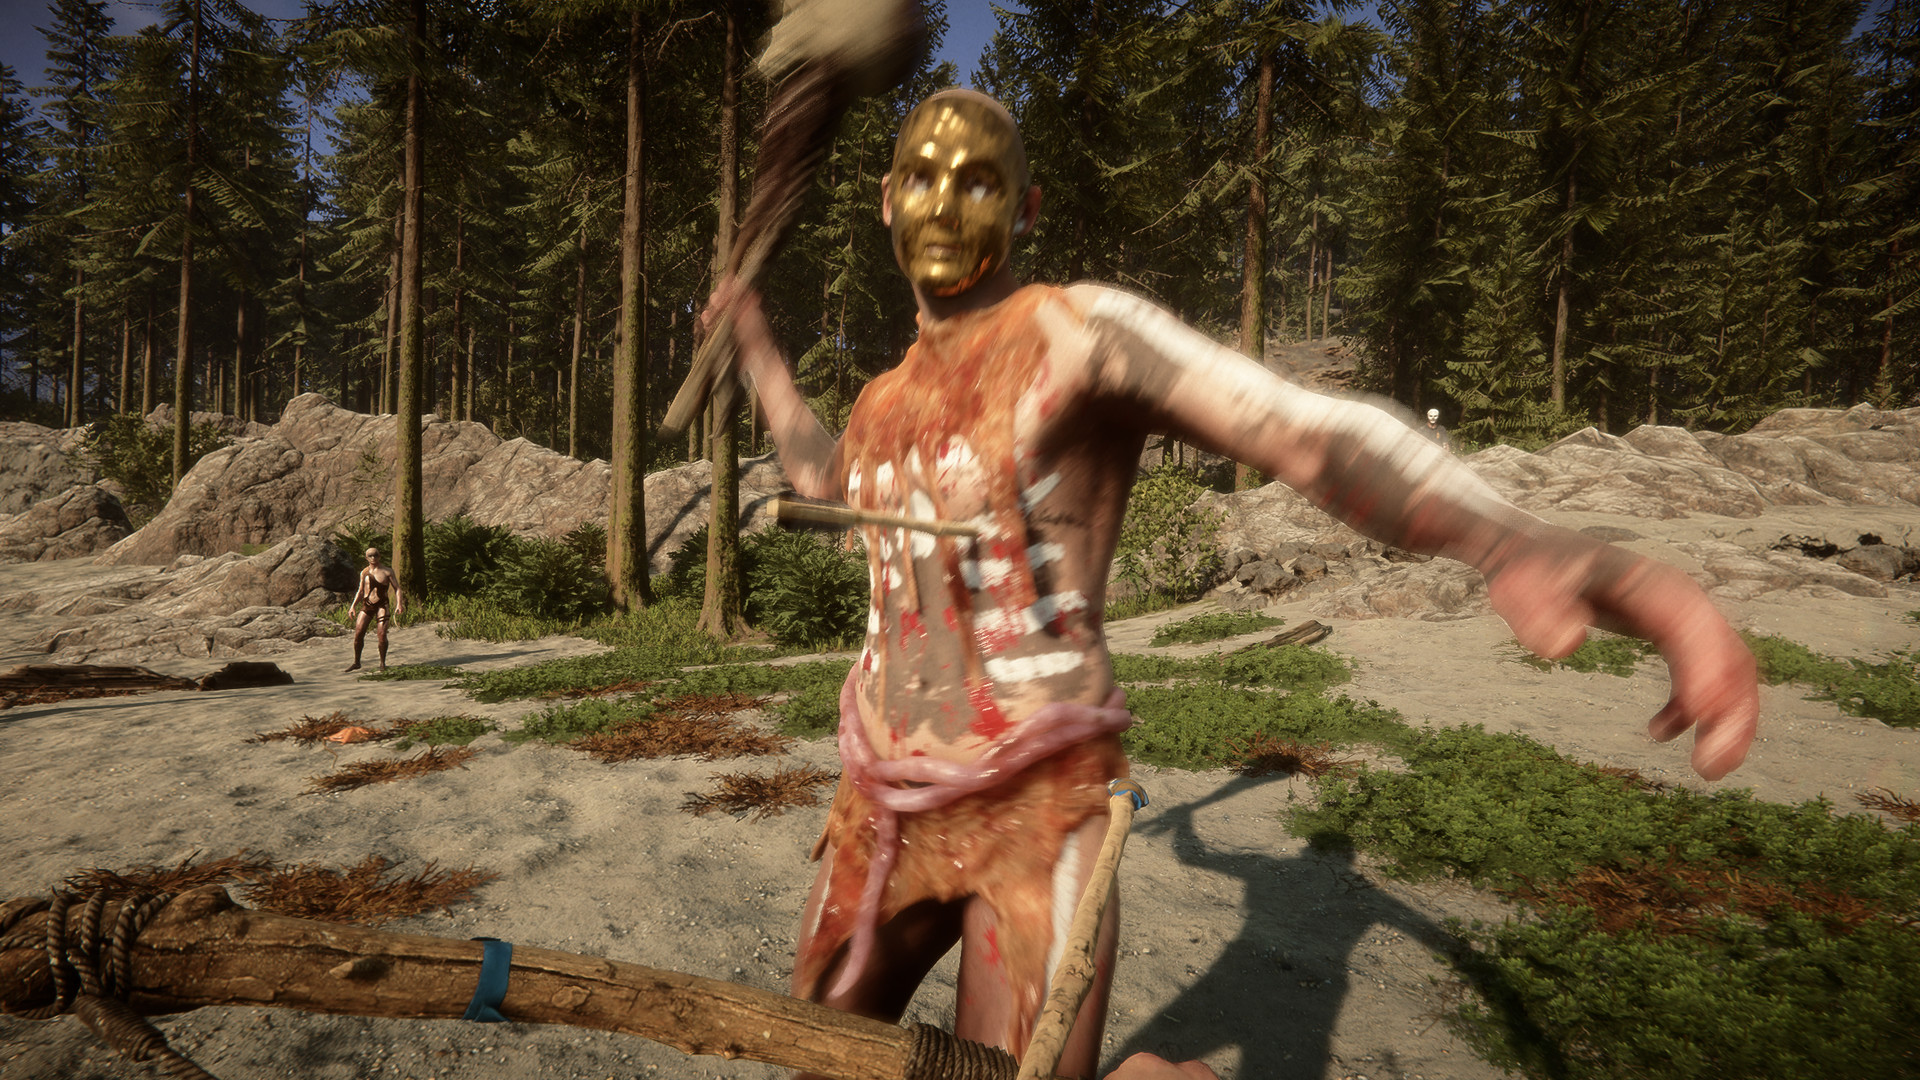
Most deaths in Sons of the Forest are not about aim. They come from treating every enemy the same way: swinging at a Fingers' chest instead of its legs, firing a whole magazine into a Heavy instead of one shot to the head, or meleeing a pack of Mutant Babies that a single Molotov would have cleared. Each enemy has a counter, and knowing it matters more than which weapon you hold.
This guide is written for the full 1.0 release. It starts with every enemy and its counter in one table, then covers the mechanics, the weapons and armor to chase, and how to keep cannibals from visiting your base every night.
Every enemy and how to beat it
| Enemy | Threat | Where and when | Best counter |
|---|---|---|---|
| Muddy cannibals | Low | From day 1. Crawl on all fours, hide in bushes and trees, travel in packs | One hit from a heavy weapon such as the Modern Axe; they start with more fear than other cannibals and flee easily |
| Regular cannibals (incl. Painted) | Medium | Villages and patrols from day 1. Painted ones come out at night in groups and glow | Block their swing, then counter. A thrown spear stuns them; leg hits can incapacitate |
| Special cannibals (Frank, Eddy, Greg, Henry, Igor, Elise) | Medium to high | Mixed into tribes as the game goes on | See the table below; each has a gimmick to read |
| Heavies (incl. many Golden-Masked leaders) | High | In villages from the start; more widely once enemy aggression reaches 50% | A headshot with any ranged weapon knocks him onto his back. Shoot an outboard motor and it explodes, killing him |
| Fat cannibals (Titans) | High | Camps and raiding parties, in groups of 1 to 4 | Any projectile staggers them and a headshot kills them. Highly vulnerable to explosives |
| Mutant Babies | Low alone, high in hordes | Caves and bunkers from the start, the surface later, sometimes at your base | A Molotov or grenade on the group; at range with room to back up; one hit from a heavy axe |
| Puffies (incl. Blue and Spotted) | Medium; variants high | Caves, and the surface near caves you have opened | They are blind and hunt by sound: sneak past or pick them off. A stun gun then melee; bombs for groups |
| Fingers | High | Caves, bunkers, raids, and the surface later | Hit the legs to knock them down; spear jabs to the legs keep one stunned. Shotgun or explosives |
| Twins | High | Caves, and the surface near opened caves; climb walls and ceilings | Firearms, explosives, the Stun Baton. A flare distracts them if they have not seen you |
| Caterpillar | High | Surface only, presumably from day 15; usually alone | Shotgun buckshot, stun weapons or explosives. It turns slowly, so sidestep and hit its sides |
| Holey and Legsy | Very high | Late game, mostly on the surface; Legsy also waits on cave ceilings | Ranged weapons and explosives. Hit a Holey in the few seconds after it lands; fight it away from your buildings |
| Armsy and Creepy Virginia | Very high | Late-game mutants; Armsy roams the surface only after you finish the story | Keep your distance and use ranged weapons; Armsy resists bullets more than melee and explosives |
| Demons | Very high | Deep caves reached through the Luxury Bunker, later the surface too | The Cross sets them on fire. Back up so their front attack misses, then shotgun. Ancient Armor cuts their damage by 70% |
| Sluggy | None in a fight | Wedged in cave passages, blocking the way | Any explosive blows it apart |
Mutant and cannibal names here are the ones the community wiki uses. The named special cannibals (Frank, Eddy and so on) are nicknames for variants, not unique characters.
The special cannibals
| Variant | How to recognize it | What to do |
|---|---|---|
| Frank | Darker skin, carries a torch, douses himself in vodka and charges while on fire | Do not trade blows with a burning enemy. Back off and use ranged weapons |
| Eddy | Carries 3 crafted spears on his back and throws them at range | Close the distance or take cover. You can loot his spears afterwards |
| Greg | Carries an effigy and plants it near you or your base | The effigy makes nearby cannibals more likely to go for your buildings, so deal with him early |
| Henry | Skin mask, very agile and sturdy, dodges your swings | Ranged weapons; do not chase him with slow melee |
| Igor | Antlers strapped to a sack mask, charges head first | Sidestep the charge, then punish him |
| Elise | The only female variant, golden dress, bone knuckle dusters, acrobatic rolls | Block and counter, or shoot her |
Bosses
Three story fights stand apart from the roster: Edward and Barbara Puffton in the Food and Dining Bunker's banquet hall, the Giant Demon at the end of the Hell Cave (it burns from the Cross like regular Demons), and Jianyu Zhang at the very end. Where they sit in the story is covered in the Story Progression guide.
Combat basics: blocking, dodging, stamina, stealth
Attacking and blocking
The primary action (left mouse) attacks, and holding it charges a power attack on weapons that have one. The secondary action (right mouse) blocks with a melee weapon. Weapons differ a lot here: the Tactical Axe, Modern Axe, Firefighter Axe and Crafted Club block well, the katana and machete only moderately, and the chainsaw not at all. Bladed weapons can cut limbs off, even on a living enemy; the club is blunt and cannot.
Dodging
There is no dodge key in the default controls. Dodging means stepping sideways, backing off or jumping. Many attacks are telegraphed: Mutant Babies screech before they launch, Fingers can be read by counting their swings, Caterpillars turn slowly, and backing away from a Demon makes its front attack miss.
Stamina
Sprinting, swinging, jumping and swimming fast all drain stamina, and it refills when you stop. Hunger, thirst and tiredness shrink the bar you can use, and cold turns part of it light blue and locks it. Fight fed, watered and warm, and do not sprint into a fight you then cannot swing in.
Stealth
Crouch (Ctrl) to sneak. Standing in thick vegetation raises your stealth further; the eye icon dims and the screen edges darken as you become harder to see. Leaf Armor adds 10% stealth per piece, up to 100% with all ten. Puffies are blind and track sound, which makes them easy to sneak past or kill one by one.
Being defeated is not always the end. You may wake up tied up in a cannibal camp, in water about to drown, or sealed in a mutant cocoon, and your belongings will be in your backpack, which you have to go back for. Do not count on it as a free retry: in single-player the wiki describes the second defeat as a death scene.
Weapon tiers: from the first day to the endgame
| Stage | Melee | Ranged and explosives | Where |
|---|---|---|---|
| Day one | Tactical Axe, Crafted Spear, Crafted Club | Crafted Bow with stone arrows, thrown spears | Emergency Pack; spear: 2 sticks, duct tape, utility knife; club: stick, skull, rope |
| First trips | Machete, Modern Axe, Stun Baton | Pistol, Stun Gun, Slingshot, Molotov | Machete: beach camp on the north coast. Modern Axe: abandoned camp in the north. Stun Baton: skull pile near the Rope Gun Cave. Pistol: survival raft. Stun Gun: Rebreather Cave. Slingshot: outside the Shovel Cave |
| After the shovel | Firefighter Axe | Shotgun, Compound Bow, Revolver | Shotgun: operative's grave. Firefighter Axe: Maintenance Bunker A. Compound Bow: Maintenance Bunker B. Revolver: Maintenance Bunker C under the golf course dig site |
| Keycard bunkers | Katana, Electric Chainsaw | Crossbow | Crossbow: Food and Dining Bunker. Chainsaw: Entertainment Bunker cinema. Katana: Residential Bunker, behind keycard doors |
| Late game | Solafite upgrades | Rifle, Cross (for Demons) | Rifle: Cave D (Ancient Armor Cave), via the far-side entrance. Cross: Rope Gun Cave |
What each weapon is good for
Most weapons can later be upgraded with 6 solafite each. On the pistol and revolver the upgrade is cosmetic only, so spend solafite on melee weapons, the rifle or the shotgun first.
Armor: every type and how to get it
You have ten armor slots: each upper and lower arm, each upper and lower leg, the torso and the head. Each piece absorbs damage until it breaks, and a better piece replaces a worse one, so wear whatever you find and upgrade slot by slot.
| Armor | How to get it | Strength | Notes |
|---|---|---|---|
| Leaf Armor | 10 leaves and 1 cloth per piece | Lowest durability | +10% stealth per piece, up to 100% at ten |
| Hide Armor | 2 hides and 1 cloth per piece | Better than leaf | Protection, some stealth and warmth; needs hunting |
| Bone Armor | 4 bones, 1 rope, 1 duct tape per piece | Durability 65 | Bones come from burnt bodies. The base for Solafite Armor |
| Creepy Armor | Skin dead mutants: 1 or 2 pieces each (not Mutant Babies) | Durability 80 | No crafting at all. The best armor cannibals ever wear |
| Tech Armor | Tech Mesh (250 printer resin at a 3D printer), wire, duct tape, circuit board and batteries per piece | Second best | A full set needs 2,500 resin. Expensive but takes 3 to 6 extra hits per piece |
| Solafite Armor | Bone Armor plated with 12 solafite in the Armor Plater (blueprint in the Luxury Bunker) | Best in the game | Running the Armor Plater causes a Solafite Storm that sends two waves of mutants at it |
| Ancient Armor (formerly Golden Armor) | Inside the spacecraft at the end of Cave D | Flat 30% damage reduction, 70% against Demons | Replaces all ten slots and never breaks. Damaged pieces you were wearing are destroyed when you put it on |
Equip Ancient Armor with fresh pieces or none at all. Undamaged armor goes back to your inventory, but any piece that has taken damage is destroyed.
The practical route: leaf or bone armor for the first days, creepy armor as soon as you start clearing caves (each mutant you skin pays you back), then tech armor if you have resin to spare or Solafite Armor late in the game. Cannibals wear armor too, more of it in winter and more as their aggression rises, so a fight that was easy on day 3 can take twice as long on day 30.
How cannibal aggression grows, and how to keep raids down
Cannibal behavior runs on a set of hidden values the wiki has documented:
- Anger toward you starts at 10 (Muddies were lowered to 6 in a patch). At 100 cannibals become aggressive and actively hunt and attack you.
- Anger rises when you destroy villages, kill cannibals, stand in a village, stay close to cannibals, cut trees, and shoot, whether at them or at anything else.
- There is currently no way to lower it. What you do on day 2 still counts on day 40.
- Their general aggression also rises with the in-game day and the number of cannibals you have killed, and their armor rating climbs with it. Heavies are in villages from the start and spawn more widely once enemy aggression reaches 50%.
- Fear pushes the other way: when a cannibal's fear is equal to or higher than its anger, it flees. Effigies, taunting with a held head or skull, damage and gunshots all add fear.
Building structures can draw a raiding party, and patrols of 2 or 3 wander around player structures. Mutants also come to the surface over time, especially around opened cave entrances and in winter, and cannibal villages can be overrun by mutants.
-
1
Do not log next to a village
Cutting trees is one of the actions that raises anger. Build your base out of a tribe's territory and fell trees there.
-
2
Kill only what attacks you
Each kill raises anger and general aggression. A cannibal posturing at you will often back down if you do not swing.
-
3
Use silent weapons on the surface
Gunshots raise anger even when you miss. Spears, bows and axes do the job against surface cannibals; keep guns for mutants.
-
4
Plant effigies at the approaches
Player-built effigies add fear to cannibals within roughly 5 meters, and heads add more than limbs. They make cannibals hesitate or flee, not stop.
-
5
Adjust the custom settings if you want fewer visits
Custom games let you set enemy aggression, search party frequency, enemy health, damage and armor, building resistance, or turn enemies off.
Defending your base
Walls and traps are covered in depth in the Base Building guide. The combat side in short:
- Use sharpened vertical log walls, not stacked logs; cannibals climb stacked walls.
- Know what ignores walls. Caterpillars cartwheel over most defensive walls and fences, and Holeys jump over barricades and onto roofs and knock buildings down in a few hits. Meet a Holey away from your buildings.
- Fat cannibals go for your structures during raids rather than for you. A projectile staggers them and a headshot kills them, so shoot them before they reach the wall.
- Traps handle raids while you are away. Most need resetting after each trigger, and Kelvin has an order to do it.
- Greg's effigy is a beacon. If a cannibal plants one near your base, other cannibals become more likely to go for your buildings.
Kelvin and Virginia in a fight
Kelvin does not fight. He retreats, comes back when the fight is over, and points at enemies, but only ones he can see, because he is deaf. Enemies can knock him down but cannot kill him; he gets up on his own or faster if you help. You can kill him, and that is permanent, so watch your swings and your line of fire when he is near. Before a cave run or a big fight, the Stay order (here, at shelter or hidden) parks him out of the way.
Virginia can fight once her affinity is high enough. Give her a pistol and a shotgun and she dual-wields them without using any of your ammo, which makes her the best use of a spare gun in the game. She may be too scared to use them at first. She can be downed by mutants, cannibals and players, and if you do not revive her in time she dies for good. Killing the enemies she points out raises her affinity. Holding the Cross makes her move away from you.
Earning her trust is covered in the Beginner Guide.
Common mistakes
- Standing in front of Fingers. Their swing covers almost all the ground around them. Go for the legs.
- Unloading on a Heavy's body. One headshot with any ranged weapon puts him on his back.
- Meleeing a Mutant Baby horde. One Molotov or grenade does the job without the damage.
- Shooting at everything on the surface. Every shot raises cannibal anger, and the anger never comes back down.
- Logging next to a village. Same problem: you are raising the anger of the people who live there.
- Wearing damaged armor into Ancient Armor. The damaged pieces are destroyed.
- Ignoring creepy armor. Every mutant you skin is free armor that beats bone armor.
- Fighting a Holey next to your house. It flattens buildings in a few hits.
- Firing beside Kelvin. Enemies cannot kill him, but you can.
★Honest Take: a combat system that rewards reading over reflexes
Fighting in Sons of the Forest is at its best when it feels like a puzzle: the Heavy that falls over from one arrow, the Fingers you drop by its legs, the Demons that scatter from a cross. Learn those counters and the game goes from terrifying to tense in a good way. Its weaknesses are just as real. Blocking and dodging are thin, with no dodge key and a block that mostly comes down to which weapon you hold, and late-game mutants like the Holey and Caterpillar can make walls feel pointless. The anger system is a clever idea that the game never explains, so most players learn that every tree they cut near a village counts against them only after the raids start. Know the counters, keep a stock of explosives, skin every mutant you kill, and the island stops being a place that hunts you and becomes one you hunt in.