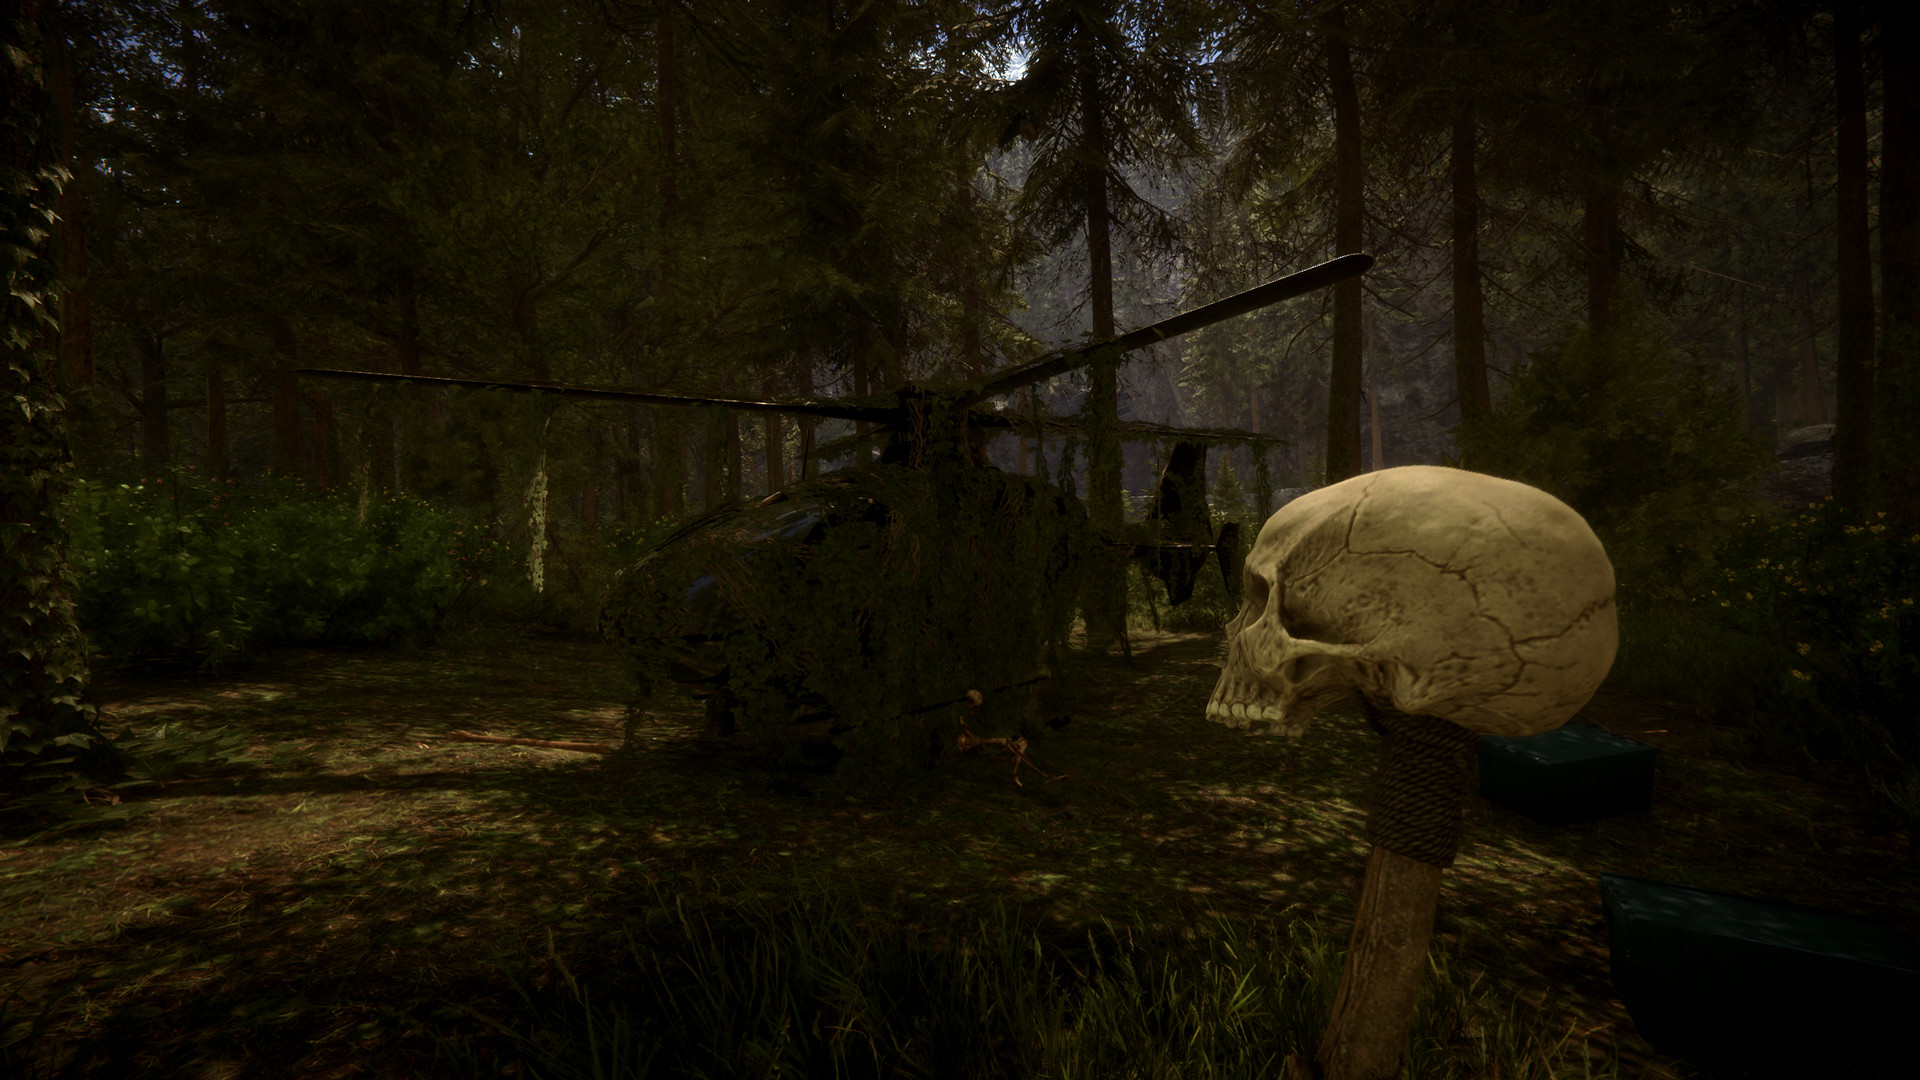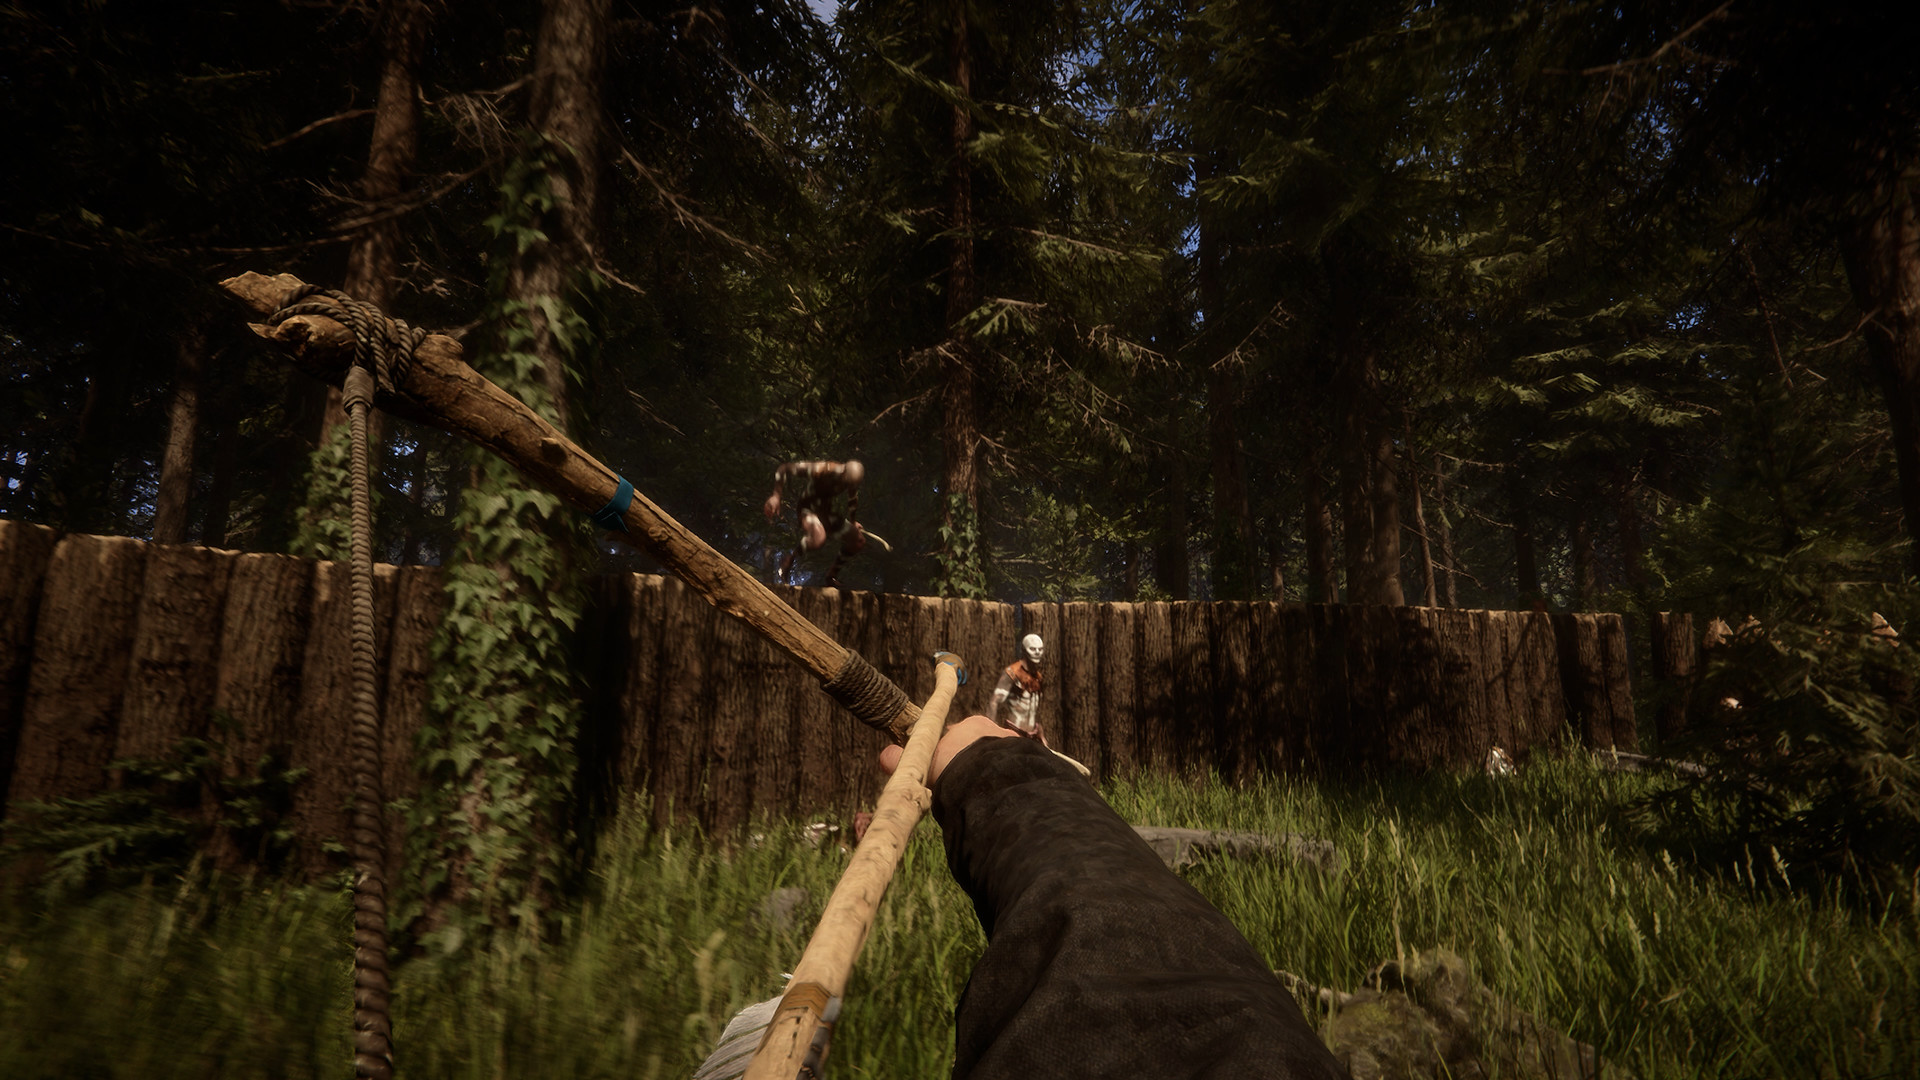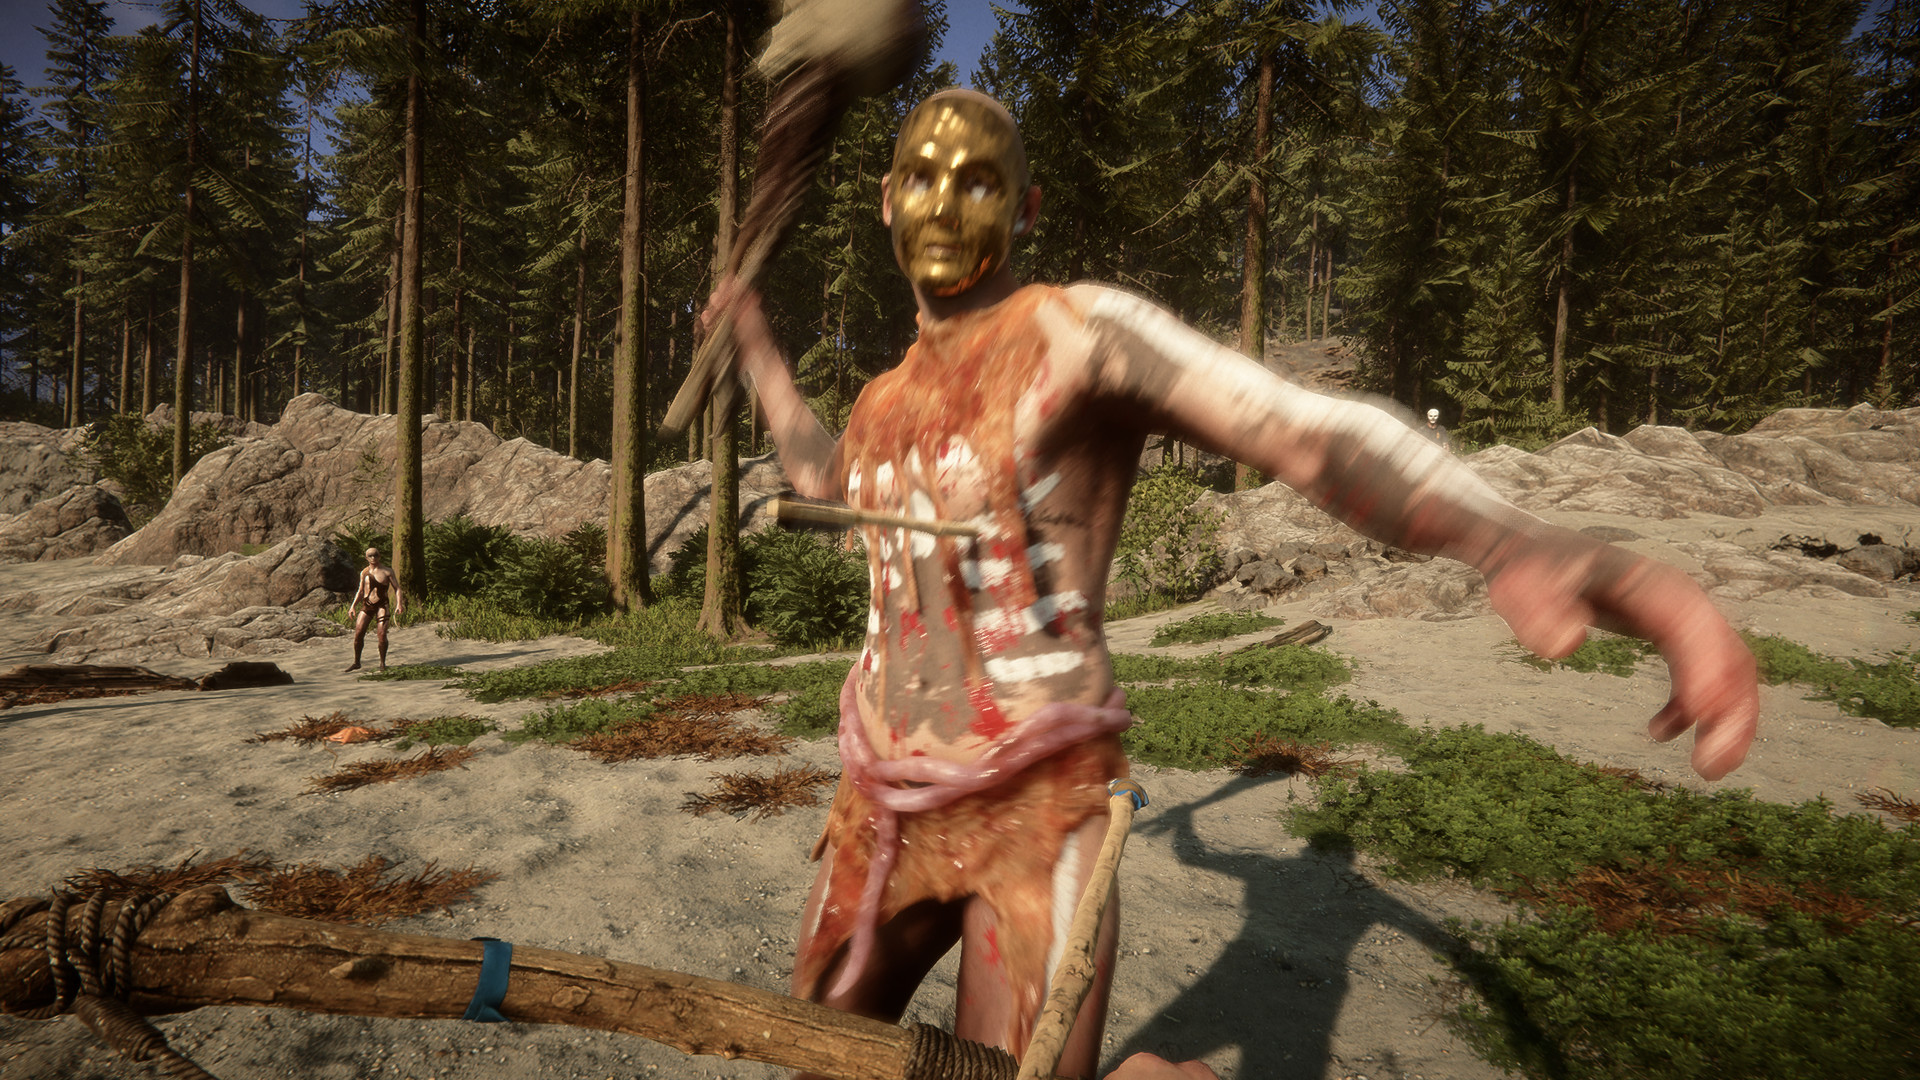
Sons of the Forest has a full story with an ending, but it never gives you a quest log. Progress is a chain: a cave gives you a tool, the tool opens another cave or a buried bunker, and a laptop inside puts the next bunker on your GPS. Miss one link and the island feels like it has run out of things to do.
This guide is written for the 1.0 release and later. It gives the whole chain first as a checklist, then explains each step. Locations are given at the level the GPS shows you, a cave or a part of the island, not exact coordinates. Everything up to the ending section is light on story spoilers; the ending itself sits behind a warning.
The story progression checklist
Work down this table. Each row needs what the rows above it gave you.
| # | Key item or step | Where (general area) | What it needs | What it unlocks |
|---|---|---|---|---|
| 1 | Rebreather | Rebreather Cave, northern shore | Nothing; break the planks at the entrance | Every flooded passage. A laptop near the entrance reveals the Entertainment Bunker |
| 2 | Rope Gun | Rope Gun Cave, west side, uphill from the forest crash site | Getting past the Sluggy | The zipline gap in the Shovel Cave; your own ziplines |
| 3 | Shovel | Shovel Cave, at a river confluence northwest of the snowy mountain | Rope Gun and Rebreather | Buried bunker hatches and graves. A laptop reveals Maintenance Bunker A |
| 4 | Maintenance Keycard | Maintenance Bunker A, north of the island, upstream from the beach crash site | Shovel | Doors in the Food and Dining and Entertainment Bunkers. A laptop reveals Food and Dining |
| 5 | VIP Keycard | Food and Dining Bunker, northwest | Maintenance Keycard; a flooded stretch | The dining hall and the Puffton fight. A laptop reveals another bunker |
| 6 | Guest Keycard | Entertainment Bunker, west side | Maintenance Keycard | The locked rooms in Entertainment and the entrance to the Residential Bunker |
| 7 | Residential Bunker | East side, near the largest lake | Guest Keycard | Unlocks the Luxury Bunker door; a laptop reveals the Luxury Bunker |
| 8 | Ancient Armor | Cave D (Ancient Armor Cave), by a lake on the southwest side of the mountain | Rebreather | The key to the golden door, once plated |
| 9 | Armor Plater blueprint | Luxury Bunker, on the beach on the east side of the mountain | Residential Bunker done | The structure that plates the Ancient Armor |
| 10 | Pickaxe and 12 Solafite | Pickaxe Cave, east side; Solafite deposits in caves | Nothing special | Fuel for the Armor Plater |
| 11 | Plated Ancient Armor | Your own Armor Plater | 12 Solafite; surviving the Solafite Storm | Opens the golden door in the Luxury Bunker |
| 12 | Hell Cave and the end | Below the Luxury Bunker | Plated armor; a Cross, ammo and meds | The final fights and the ending choice |
Steps 1 and 2 can be done in either order, and Cave D (step 8) can be done any time after you have the Rebreather. Everything else is a fixed chain. If the next bunker is not on your GPS, you have missed a laptop: discoverable laptops show a flashing exclamation mark and a bright red light.
The first three caves are covered step by step in the Beginner Guide, so this guide moves faster through them and spends its time on the parts after the Shovel.
The early chain: Rebreather, Rope Gun, Shovel
-
1
Rebreather Cave (northern shore)
The cave forks. One branch holds the Stun Gun on a dead worker; the other ends in a flooded chamber with the Rebreather by the water and a shark in it. No tools are needed to reach it. The laptop near the entrance puts the Entertainment Bunker on your GPS.
-
2
Rope Gun Cave (west side)
Uphill from the forest crash site. A Sluggy blocks the route; the timed explosives on a body right in front of it are the easy answer. The Rope Gun sits near a lit section by an existing zipline. Pick up the Cross here too: you will want it for the Demons at the end.
-
3
Shovel Cave (northwest of the snowy mountain)
A wall of stalagmites with a zipline over it stops you at the entrance without the Rope Gun, and large flooded sections stop you without the Rebreather. It is harder than the first two, with a Legsy ambush. You also find the Wetsuit and a weapon flashlight, and a laptop reveals Maintenance Bunker A. The Shovel is at the far end beside a dead worker.
The Rebreather runs on Air Tanks, about 400 seconds each, so carry spares before a long dive. The Rope Gun needs Zipline Rope; you can craft more from a Printed Grappling Hook and rope.
Keycards and the bunker chain
Once you have the Shovel, the story moves into the bunkers. Every keycard is used automatically at a card reader and is never consumed, so you can always go back to a door you skipped.
Maintenance Bunker A and the Maintenance Keycard
Maintenance Bunker A is a buried hatch by a bend in the river that runs down to the beach crash site, a good way upstream. Dig it open and you find the Maintenance Keycard, the Firefighter Axe, a 3D printer, a pistol rail and laser sight, and a laptop that reveals the Food and Dining Bunker. While you have the Shovel out, dig up the shotgun in the grave in the northwest, under a cross of sticks.
Food and Dining Bunker and the VIP Keycard
In the northwest, entered through a cave and a hatch. The front storage room is open; the Maintenance Keycard opens the hydroponics area beyond it, with the crossbow and its bolts. Past a flooded section are the VIP Keycard and a laptop that reveals another bunker. The VIP Keycard opens the dining hall, where Edward and Barbara Puffton fight you as mutants. Bring your strongest weapons; the Combat guide covers the enemies you meet on the way.
Entertainment Bunker and the Guest Keycard
On the west side, near the forest crash site. The maintenance room inside the entrance has a 3D printer and a sleeping bag you can save at, before any keycard door. The Maintenance Keycard opens the gym and spa; the Guest Keycard lies on a table in a nightclub booth. Use it on two doors here: the computer room (Shotgun Rail, and a computer that reveals Maintenance Bunker B) and the lounge, which leads to the cinema with the Electric Chainsaw.
Residential Bunker and opening the Luxury Bunker
On the east side, near the largest lake. The Guest Keycard is needed to explore it fully. This is one of the hardest bunkers: several floors of narrow corridors with Fingers, Twins and a Demon. In a surveillance room on the second level you unlock the Luxury Bunker's door, and a laptop in the same residential room as the Spacesuit reveals the Luxury Bunker on your GPS. The Katana, the Putter, a pistol and the Gold Mask are also here.
The Gold Mask is an outfit, not a story key. Older guides say you need a "Golden Mask" together with the armor to reach the ending. You do not: only the plated Ancient Armor is required.
Reading the GPS markers
The GPS (press M) shows caves, bunkers and objectives as icons but never says what they are. This is how to read it for story progression.
| Marker | What it means | What to do |
|---|---|---|
| Purple markers at the start | Three dead members of the earlier team, carrying the pistol, flashlight and shotgun | Raft and cliff first; the grave needs the Shovel |
| Cave icons | The marked caves, including the Rebreather, Rope Gun, Shovel, Ancient Armor and Pickaxe Caves | Check which tools each needs before you go in |
| A new bunker icon | A bunker revealed by the laptop you just read | This is your next step in the chain |
| Luxury Bunker icon | The final bunker, revealed by the Residential Bunker laptop | Do not go until you have the Ancient Armor and Solafite |
| Blue K | Kelvin's position | Park him with Stay before a long cave run |
| Your own icons | GPS Locators on sticks or given to Virginia | Mark half-cleared caves, dig sites and Solafite deposits |
The GPS loses its signal underground, so inside caves and bunkers you navigate by memory. GPS Locators are worth using heavily in the late game: you can carry up to 10, choose an icon for each, and craft more from a 3D Printed Case, a circuit board, batteries and wire. A locator on a stick at each cave you leave half done saves a lot of wandering.
The Ancient Armor, Solafite and the golden door
This is where most players stall after the keycards, because 1.0 changed how the last door works.
-
1
Get the Ancient Armor from Cave D
Cave D, the Ancient Armor Cave, is the largest cave in the game and runs under the mountain. Its main entrance is cut into the rock by a lake on the southwest side, with dead cultists and a book outside. You need the Rebreather for a flooded section. Deep inside, in a room full of Demons, a golden spaceship holds a skeleton wearing the armor.
-
2
Get the Armor Plater blueprint
It is in the Luxury Bunker, on the beach on the east side of the mountain. You can enter once you have unlocked its door in the Residential Bunker. The golden door is in the same bunker, so you will see it before you can open it.
-
3
Get the Pickaxe and mine 12 Solafite
The Pickaxe is in the Pickaxe Cave on the east side of the island. Solafite deposits are mostly inside caves, with some exposed in the snowy mountains. Two strikes per piece, and you can carry 20.
-
4
Plate the armor
Build the Armor Plater, load the Ancient Armor and 12 Solafite. A cycle takes about two and a half minutes and causes a Solafite Storm: lightning and two waves of mutants aimed at the Plater. If the Plater is destroyed mid-cycle, you get the armor back unplated and lose the Solafite.
-
5
Open the golden door
Take the plated armor to the golden door in the Luxury Bunker. It is put on automatically when you use the door. Beyond it is the Hell Cave.
Build the Armor Plater somewhere you can defend, not in the middle of your main base: the storm's lightning and mutants can damage nearby structures. Before you put the Ancient Armor on, take off any damaged armor pieces. Undamaged pieces go back to your inventory, but damaged ones are destroyed.
The Ancient Armor replaces all ten armor slots with one bar. It cuts all direct damage by a flat 30% and Demon damage by 70%, and it never breaks. That 70% is why it matters so much in the Hell Cave. For how it compares with Solafite Armor and the other sets, see the armor table in the Combat guide.
What else Solafite does
Solafite is not only for the story door. The same Armor Plater turns Bone Armor into Solafite Armor (12 per piece), and a Weapon Plater uses 6 per cycle to plate weapons and tools. The wiki notes that plating raises damage on most melee weapons, while the Cross and the guns only change their look, and a plated Pickaxe mines a piece in one strike instead of two. Plate the Pickaxe early if you plan to plate a lot.
Optional items that make the end easier
None of these are required for the story, but each one makes the late game noticeably safer.
Artifact pieces
The Artifact is a separate side chain. Its pieces sit in barricaded sections of caves marked by many wooden crosses; one is in the Rope Gun Cave, and the core piece is in the skeleton's hands next to the Ancient Armor in Cave D. The last piece only becomes reachable after you choose to stay at the ending. The assembled Artifact runs on Solafite and can coat structures to double their resistance, teleport you to a Teleporter you have built, and power shrines. You do not need it to finish the story.
Spoiler warning: the endings
Spoilers from here. The rest of this section describes the final area, the last fights and both endings. Skip to Common mistakes if you want to see them yourself.
The Hell Cave and the final fights
The golden door leads into the Hell Cave, a lava cave full of Demons. Tim LeBlanc travels through it with you. At the end is the Giant Demon, a spider-like Demon that also drops on you from the ceiling; it burns from the Cross like the regular ones. Tim blocks the way out until it is dead. A later patch added a large stock of ammo near the end of the cave, so take it all before moving on.
Beyond the Giant Demon is the Cube. A cutscene follows, and back on the surface you fight Jianyu Zhang, the final boss. He swings a helicopter as a club, charges, leaps, and spawns Mutant Babies and Twins. Explosives work well against him; melee is risky because his attacks knock you down. After he takes enough damage he drops the helicopter, and you can use it as cover.
Leave or stay
| Choice | What happens | What it requires |
|---|---|---|
| Leave the island | You board the helicopter with Tim and Eric LeBlanc. The epilogue shows what happens to the survivors, and the credits roll | Choose the helicopter at the end. Achievement: Fought Demons |
| Stay on the island | You stay with your companions. A new cave unlocks with the final Artifact piece, so you can craft the Artifact. New enemies appear, including Armsy and a Giant Demon on the surface, and cannibals can wear Solafite Armor | Choose the Artifact at the end. Achievement: Fight Demons |
There is no third, secret ending. Kelvin and Virginia change the leave ending's epilogue: if they are alive, they go with you and appear in it. Finishing the story with all companions alive also earns Keep Your Friends Close, which additionally needs Virginia at maximum trust. If you care about that, protect Virginia in every fight, because her death is permanent.
Common mistakes
- Trying the Shovel Cave first. You cannot cross the entrance without the Rope Gun or the flooded parts without the Rebreather.
- Skipping laptops. Bunkers stay off the GPS until you read the laptop that reveals them. If you are stuck, a laptop in the last bunker you cleared is the usual cause.
- Looking for a Golden Mask. It is not needed. Old guides also call the Ancient Armor "Golden Armor"; it is the same item.
- Walking to the golden door with unplated armor. Since 1.0 it needs 12 Solafite in an Armor Plater first, and the Plater blueprint is in the Luxury Bunker itself.
- Plating next to your main base. The Solafite Storm brings two waves of mutants and lightning. Build the Plater somewhere you can defend.
- Putting on the Ancient Armor over damaged armor. The damaged pieces are destroyed.
- Entering the Hell Cave without a Cross. Demons and the Giant Demon are far easier when they burn. Bring meds and a full stock of ammo too.
- Letting Virginia die before the end. It does not block the ending, but she will not be in the epilogue and you lose the companion achievement.
Related guides
Start with the Beginner Guide for the first caves and Kelvin. The Combat guide covers Demons, armor and weapons for the Hell Cave, and the Base Building guide helps with a defensible spot for the Armor Plater. Our overall verdict is in the Sons of the Forest review.
★Honest Take: a good chain hidden behind a quiet GPS
The progression in Sons of the Forest is better designed than it first looks. Each cave hands you exactly what the next one needs, the bunkers tell a coherent story through their notes, and the moment the golden door finally opens feels earned. The problem is that the game explains almost none of it. Bunkers are invisible until you find the right laptop, the GPS never says what an icon is, and the 1.0 change that made the Ancient Armor need Solafite plating is easy to miss, which is why so many players stand in front of the golden door wondering what is wrong. The ending also comes fast after a long survival middle: hours of keycards, then the Hell Cave, the Cube and the final fight in one push. Follow the checklist, read every laptop, plate the armor somewhere safe, and bring a Cross, and the final stretch is a satisfying payoff rather than a wall.